Conquer Silksong Part 11! Navigate the treacherous Citadel, defeat 2 major bosses, unlock the First Shrine, and grab vital upgrades for 100% completion & Platinum.
Walkthrough Video
Cheats & Solution
🎮 Silksong - Ultimate Silksong Platinum Walkthrough Part 11 - 100% Completion Guide & Pro Strategies
🔥 What You’re Getting in this Silksong Platinum Walkthrough Part 11
This guide breaks down a massive chapter in our 100% completion journey for the Silksong Platinum trophy. In Part 11, you’ll:
• 🎯 Conquer the Citadel - Navigate treacherous rotating chambers and deadly new enemies to reach the heart of Act 2: the First Shrine.
• ⚡ Defeat Two Major Bosses - Master the patterns of the dual Cogworkers and survive the dazzling performance of a new theatrical foe.
• 🚀 Unlock a Weapon Upgrade & More - Find the crucial Pale Oil to sharpen your needle, grab a new Mask Shard for more health, and collect a vital Cog Heart.
• 💪 Complete Key Side Quests - Progress the main story by finding the Vault Keeper’s Melody and knock out several wishes for massive rewards and world progression.
⏰ Time Investment: 25 minutes to read, lifetime of Pharloom mastery.
📖 The Complete Breakdown
🎮 Section 1: Journey to the First Shrine - Citadel Navigation
Based on segments [0:00 - 13:09] from the original content
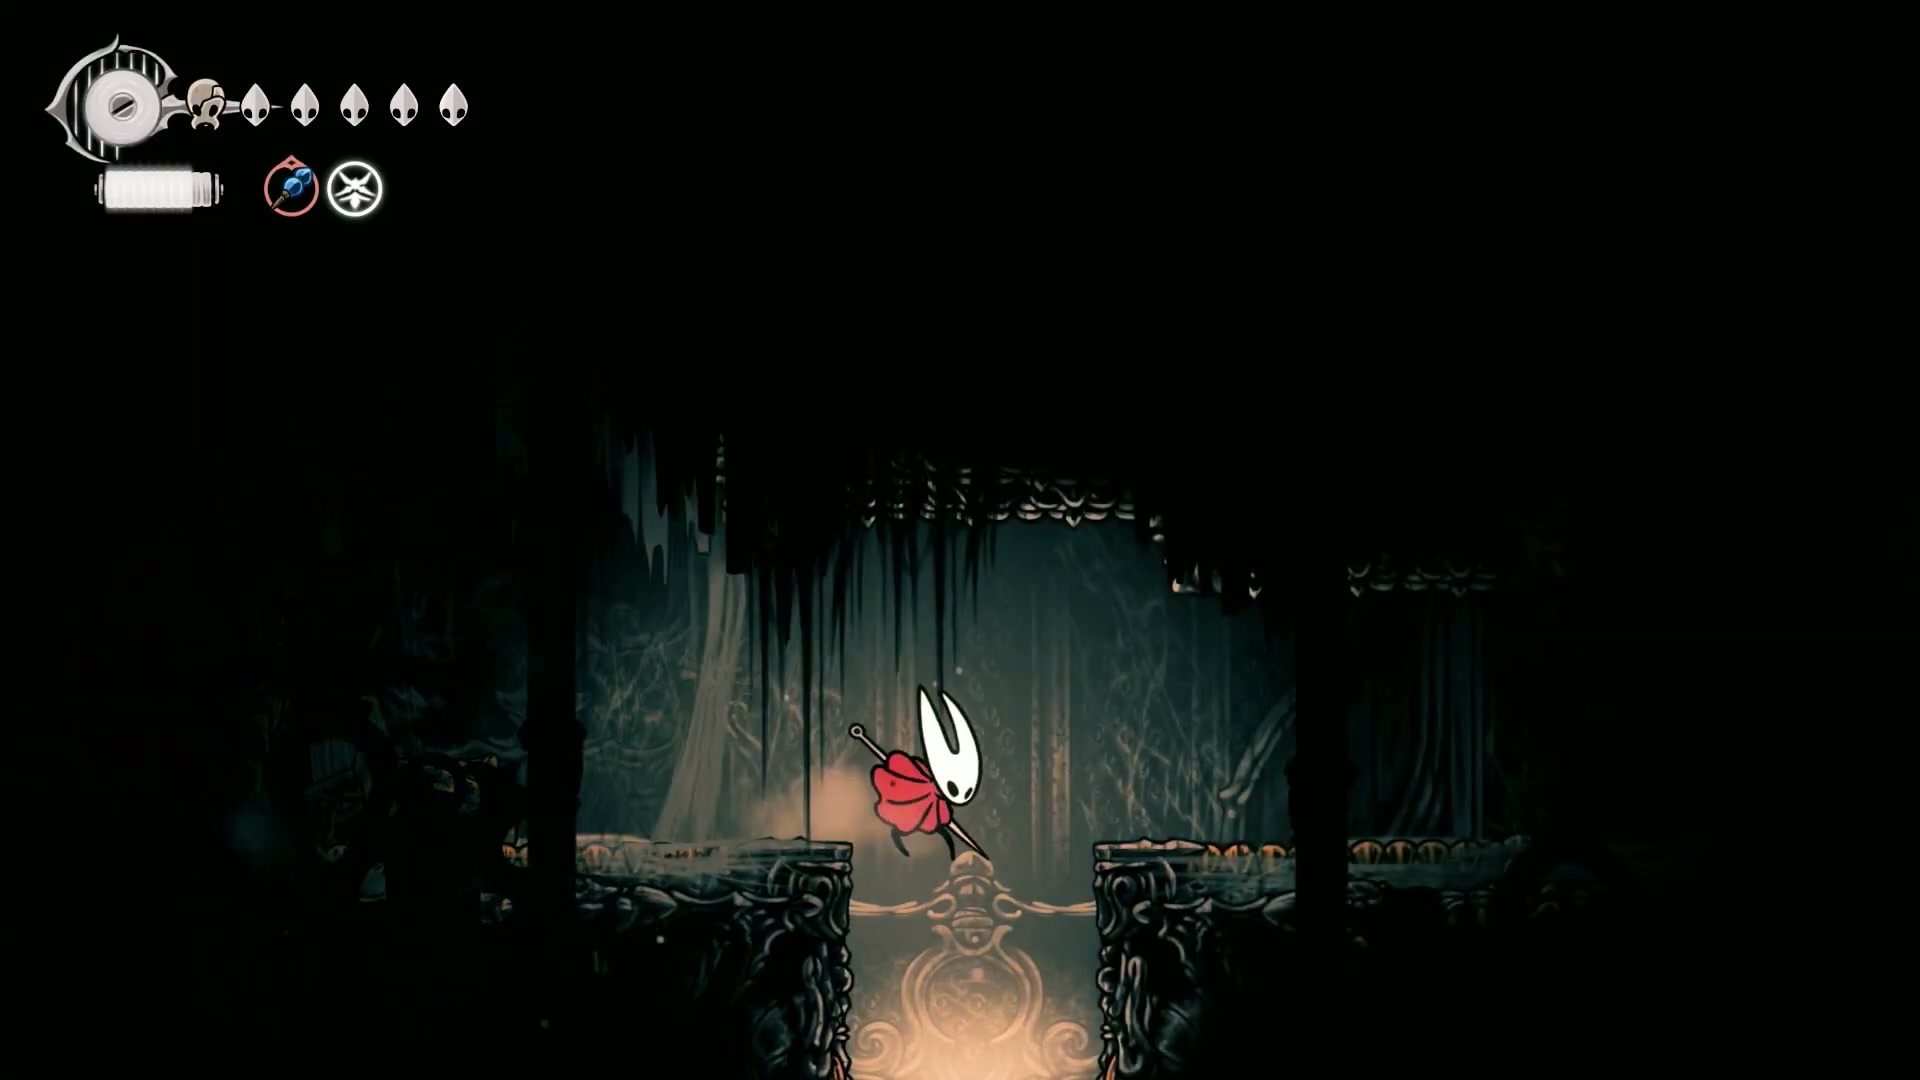
Welcome back to Part 11 of the full Silksong Platinum Walkthrough! We’ve just opened up the Citadel and our next objective is to push through to the First Shrine, a central hub that will blow the world map wide open. This is a huge chapter filled with upgrades, bosses, and secrets, so let’s get into it.
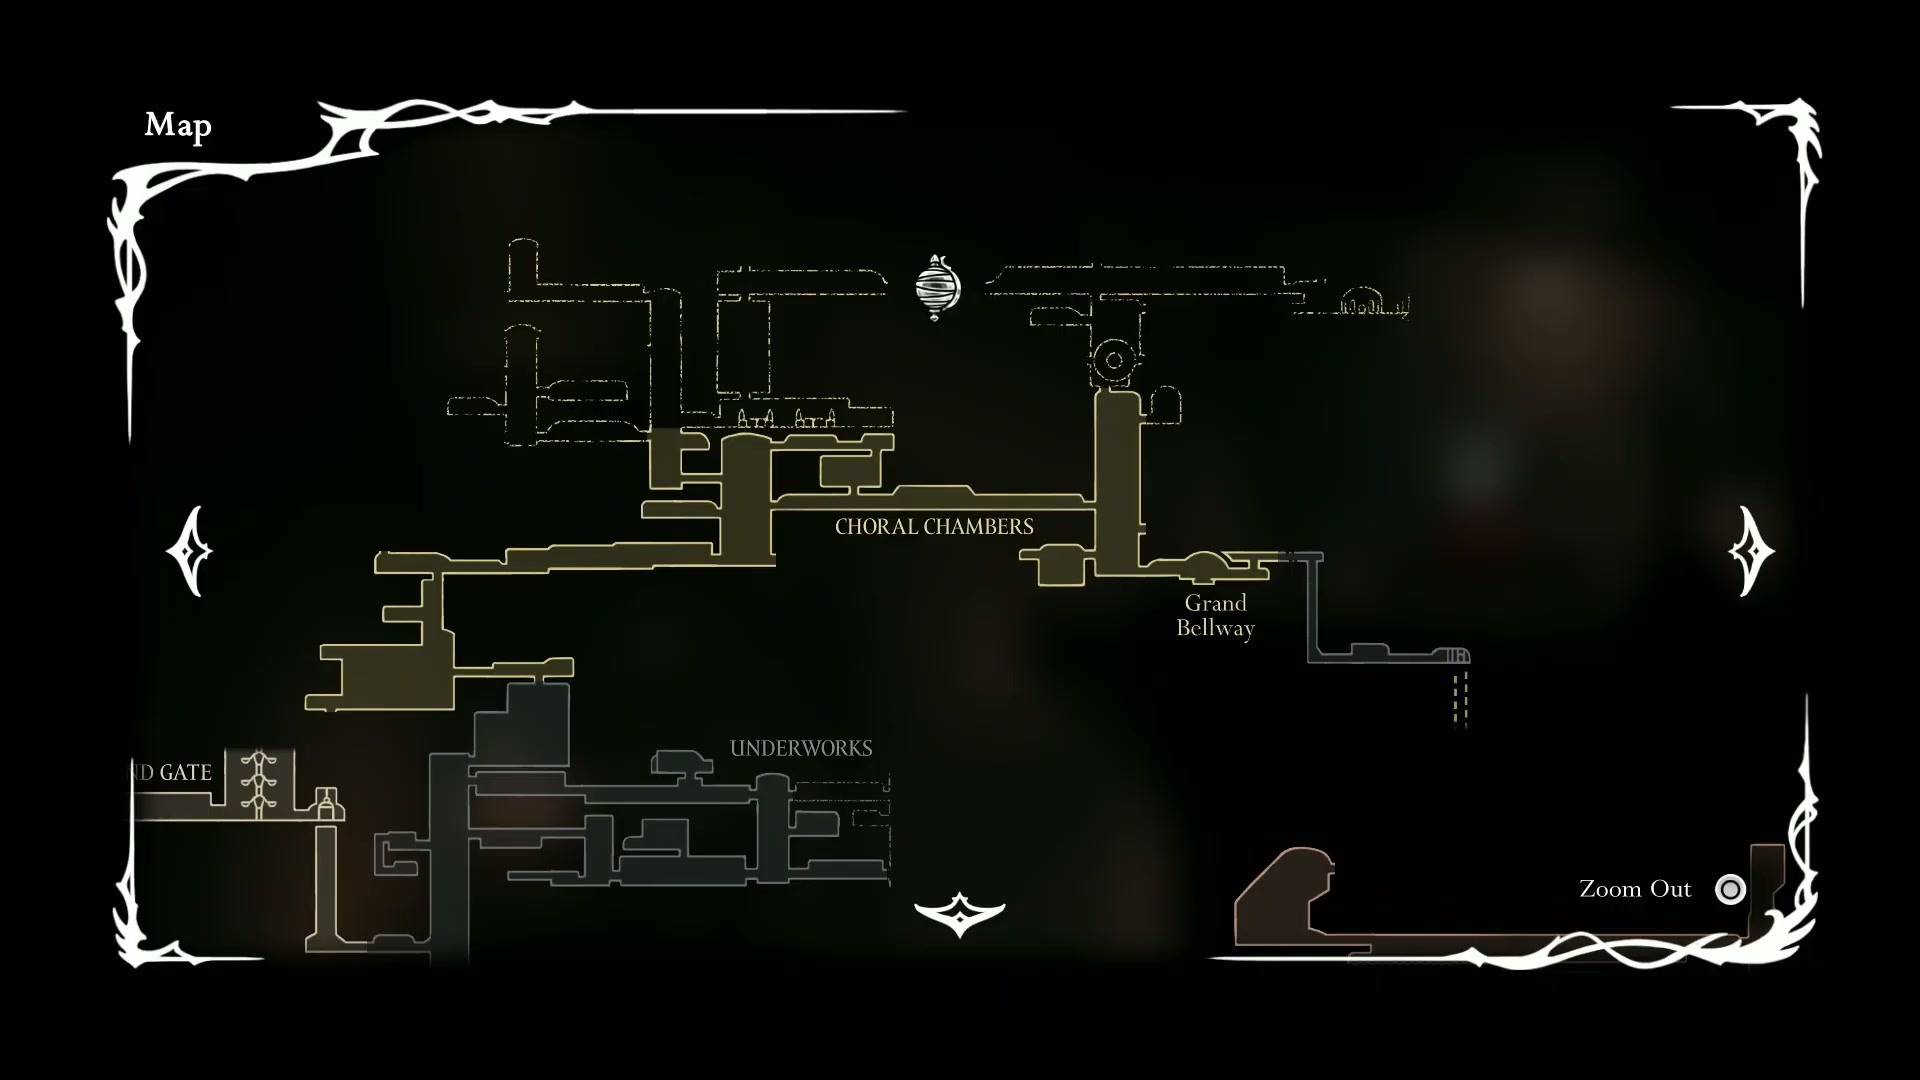
First, make your way from Greymoor back to the Grand Bellway. Our path is up the main shaft, heading towards the top right of the map.
🔥 Key Takeaways:
- 💡 Act 2 Enemy Changes: As you progress through Acts, enemy placements and types will change. Advancing to Act 3 is a point of no return for some journal entries, so be sure to farm what you need in Act 2.
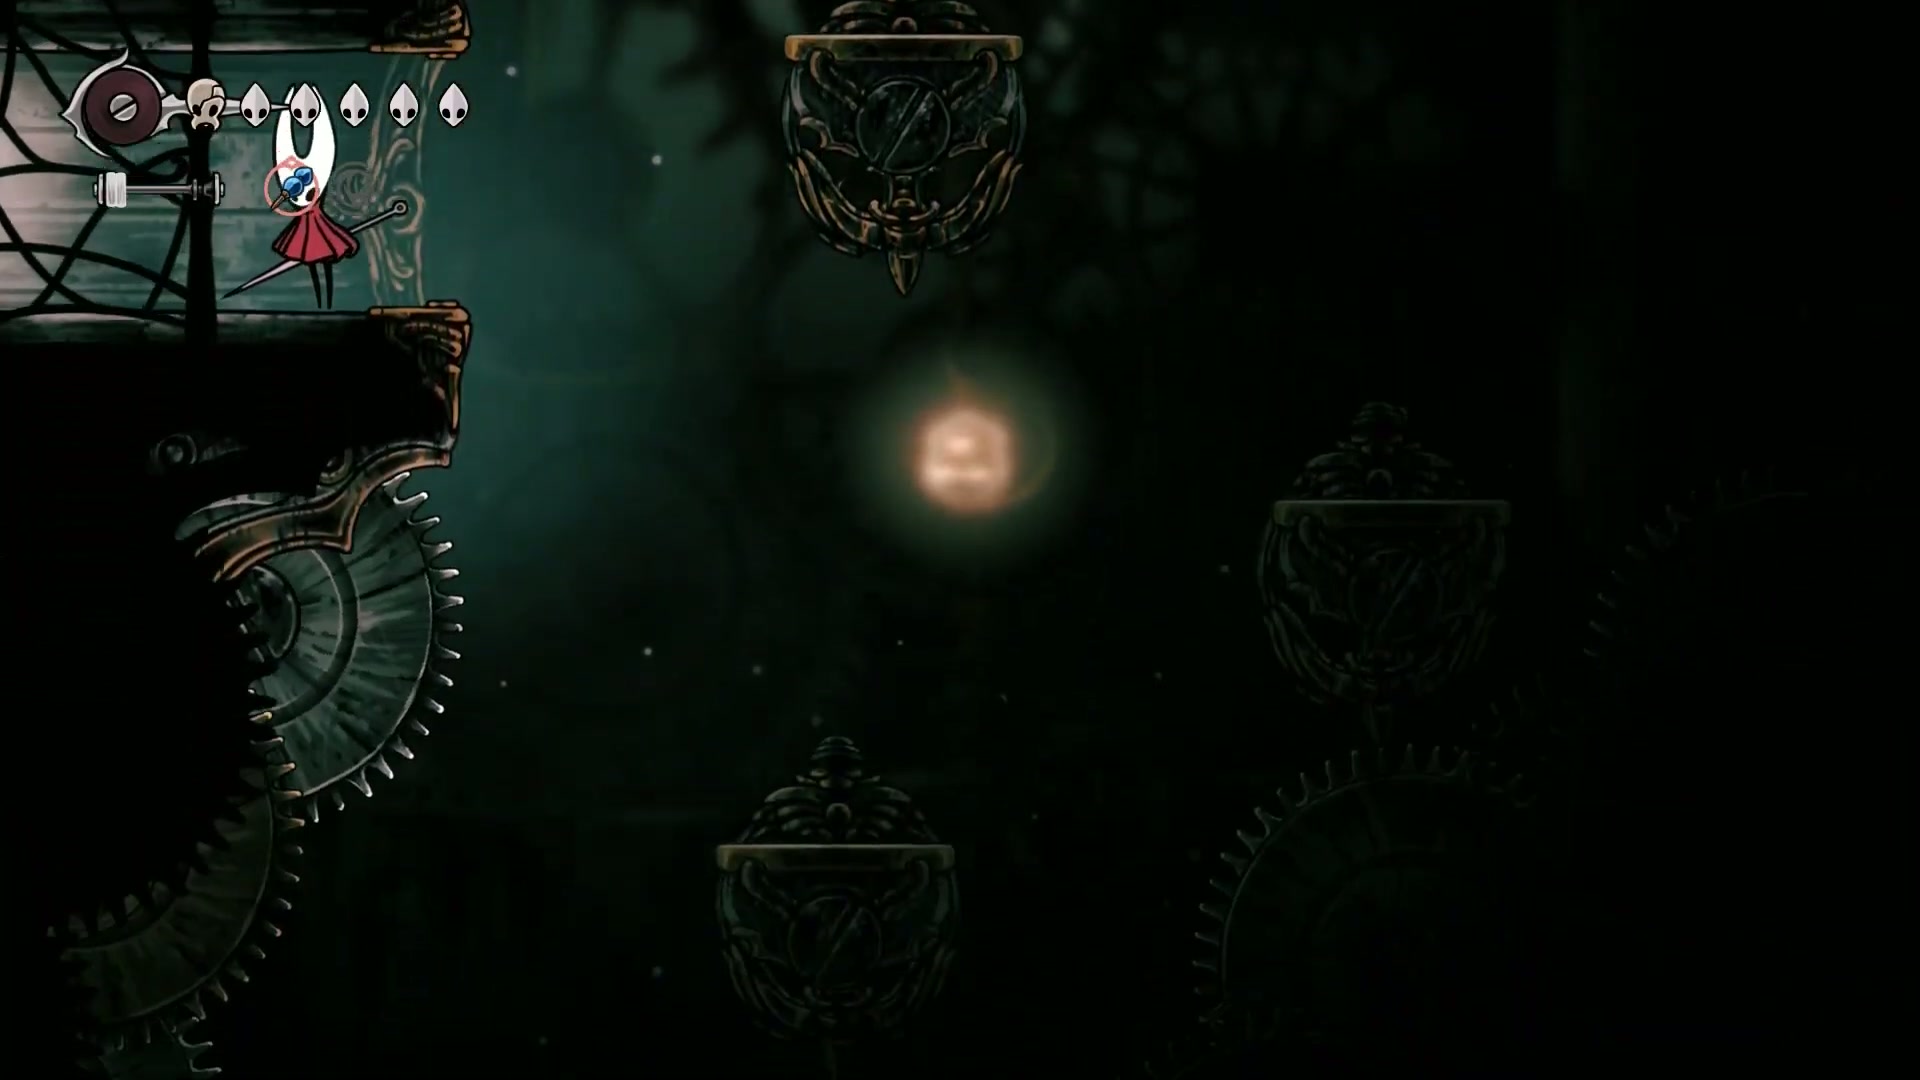
- ⚡ Rotating Chamber Puzzle: Early in the Citadel, you’ll find a rotating chamber controlled by a lever. Hit the lever to change its orientation from vertical to horizontal. It’s smart to rotate it after you pass through the first time to set up your return path for later.
- 🎯 Scam Alert: You’ll come across a vendor selling a silk ball for 40 beads. Don’t fall for it! It’s a total scam just to refill your silk, which you can do easily by hitting enemies.
🎮 Step-by-Step Path to the First Shrine:
-
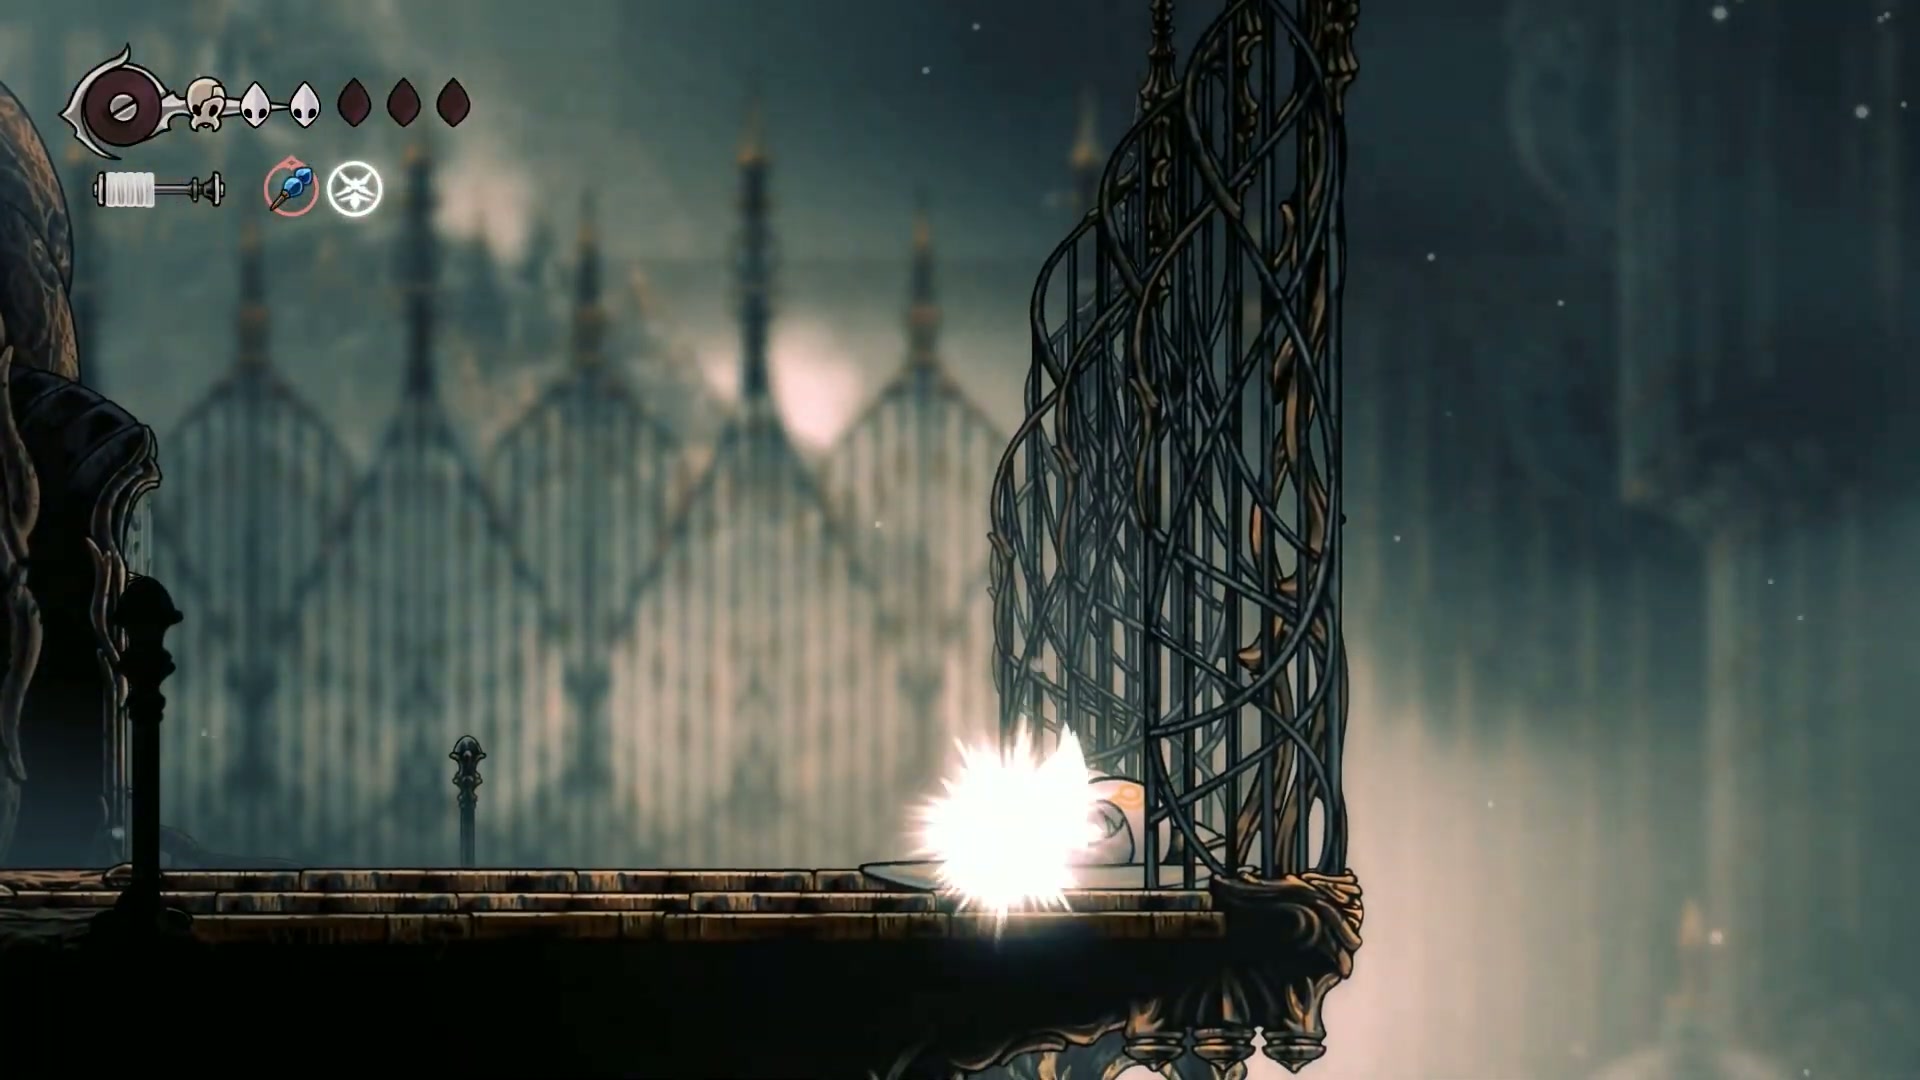
Ascend the Grand Bellway - From the Coral Chambers, head up the main vertical shaft. Follow the path upwards and to the right.

-
Activate the Fast Travel - Before proceeding too far, you’ll find a new Bellway fast travel point. It’s crucial you buy this, as it connects the Citadel to the Grand Bazaar. If you’re low on beads, there’s a great farming spot just ahead.

-
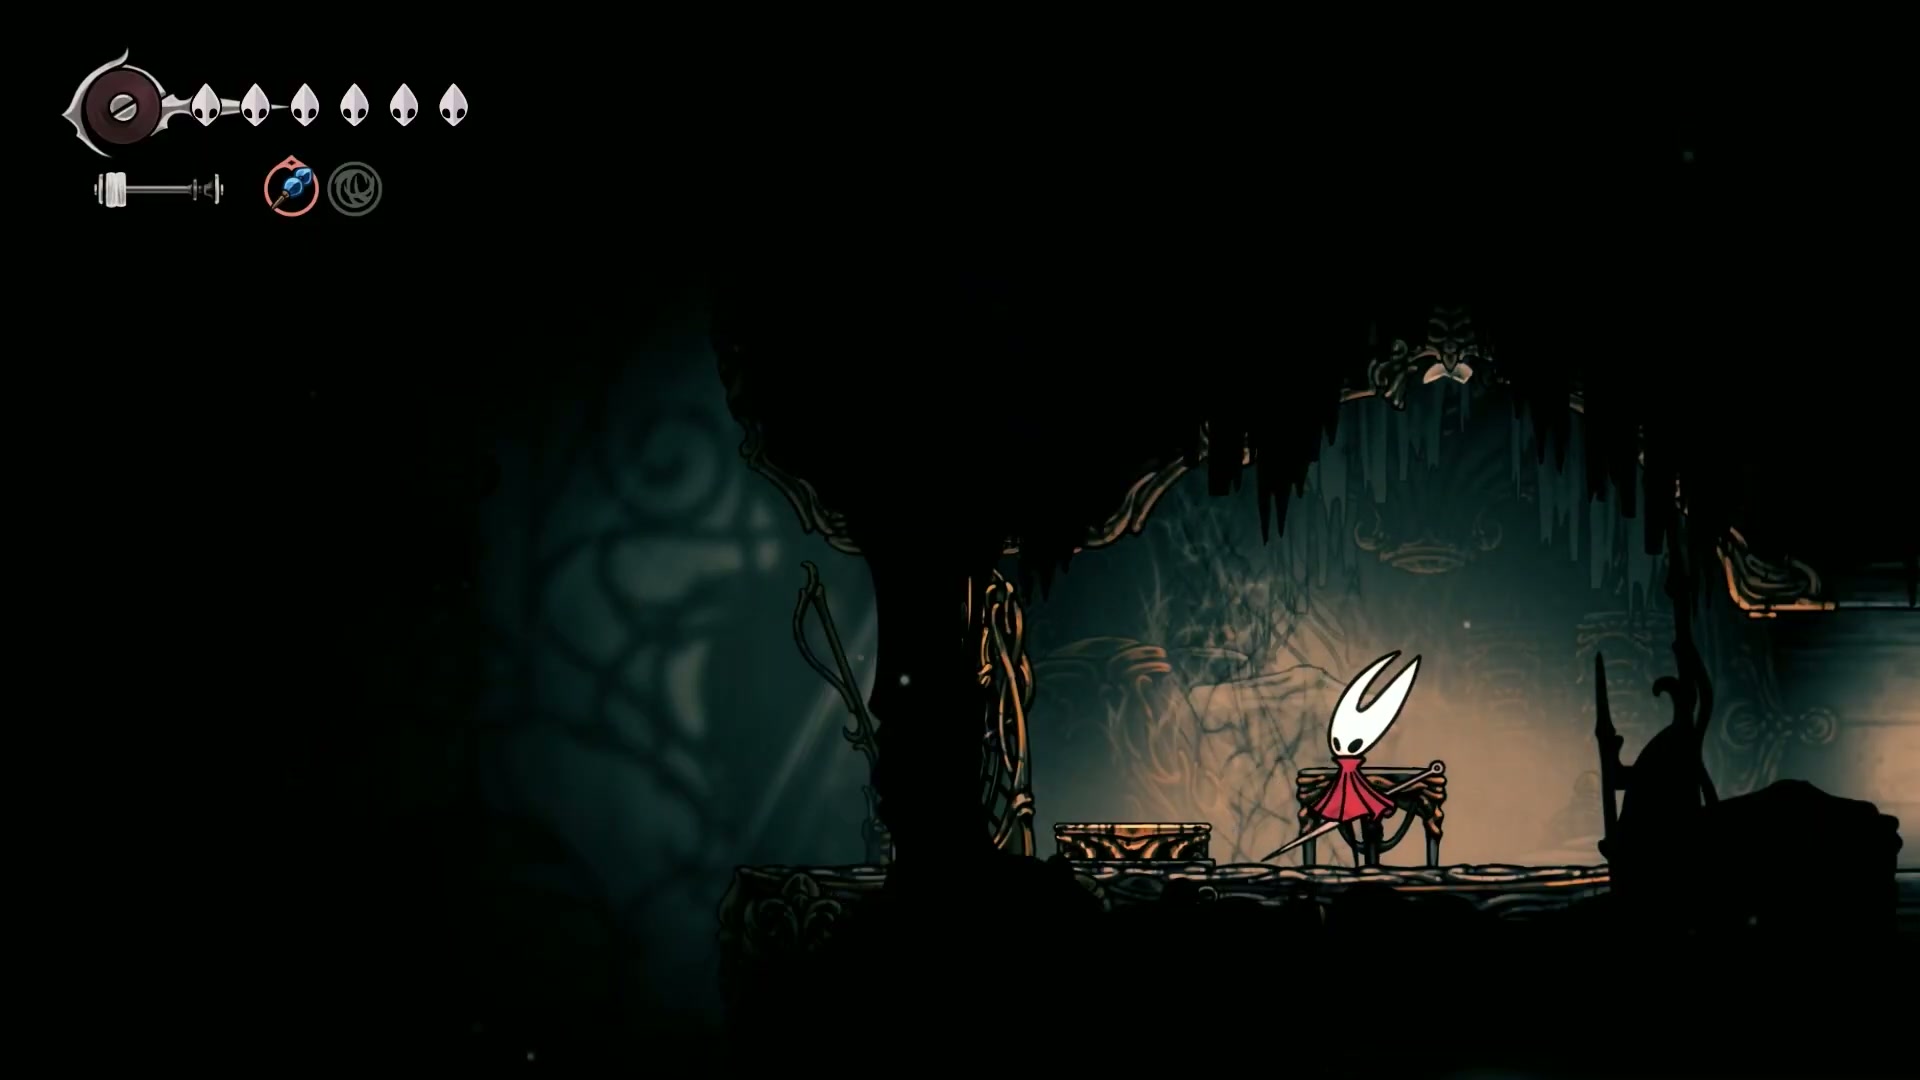
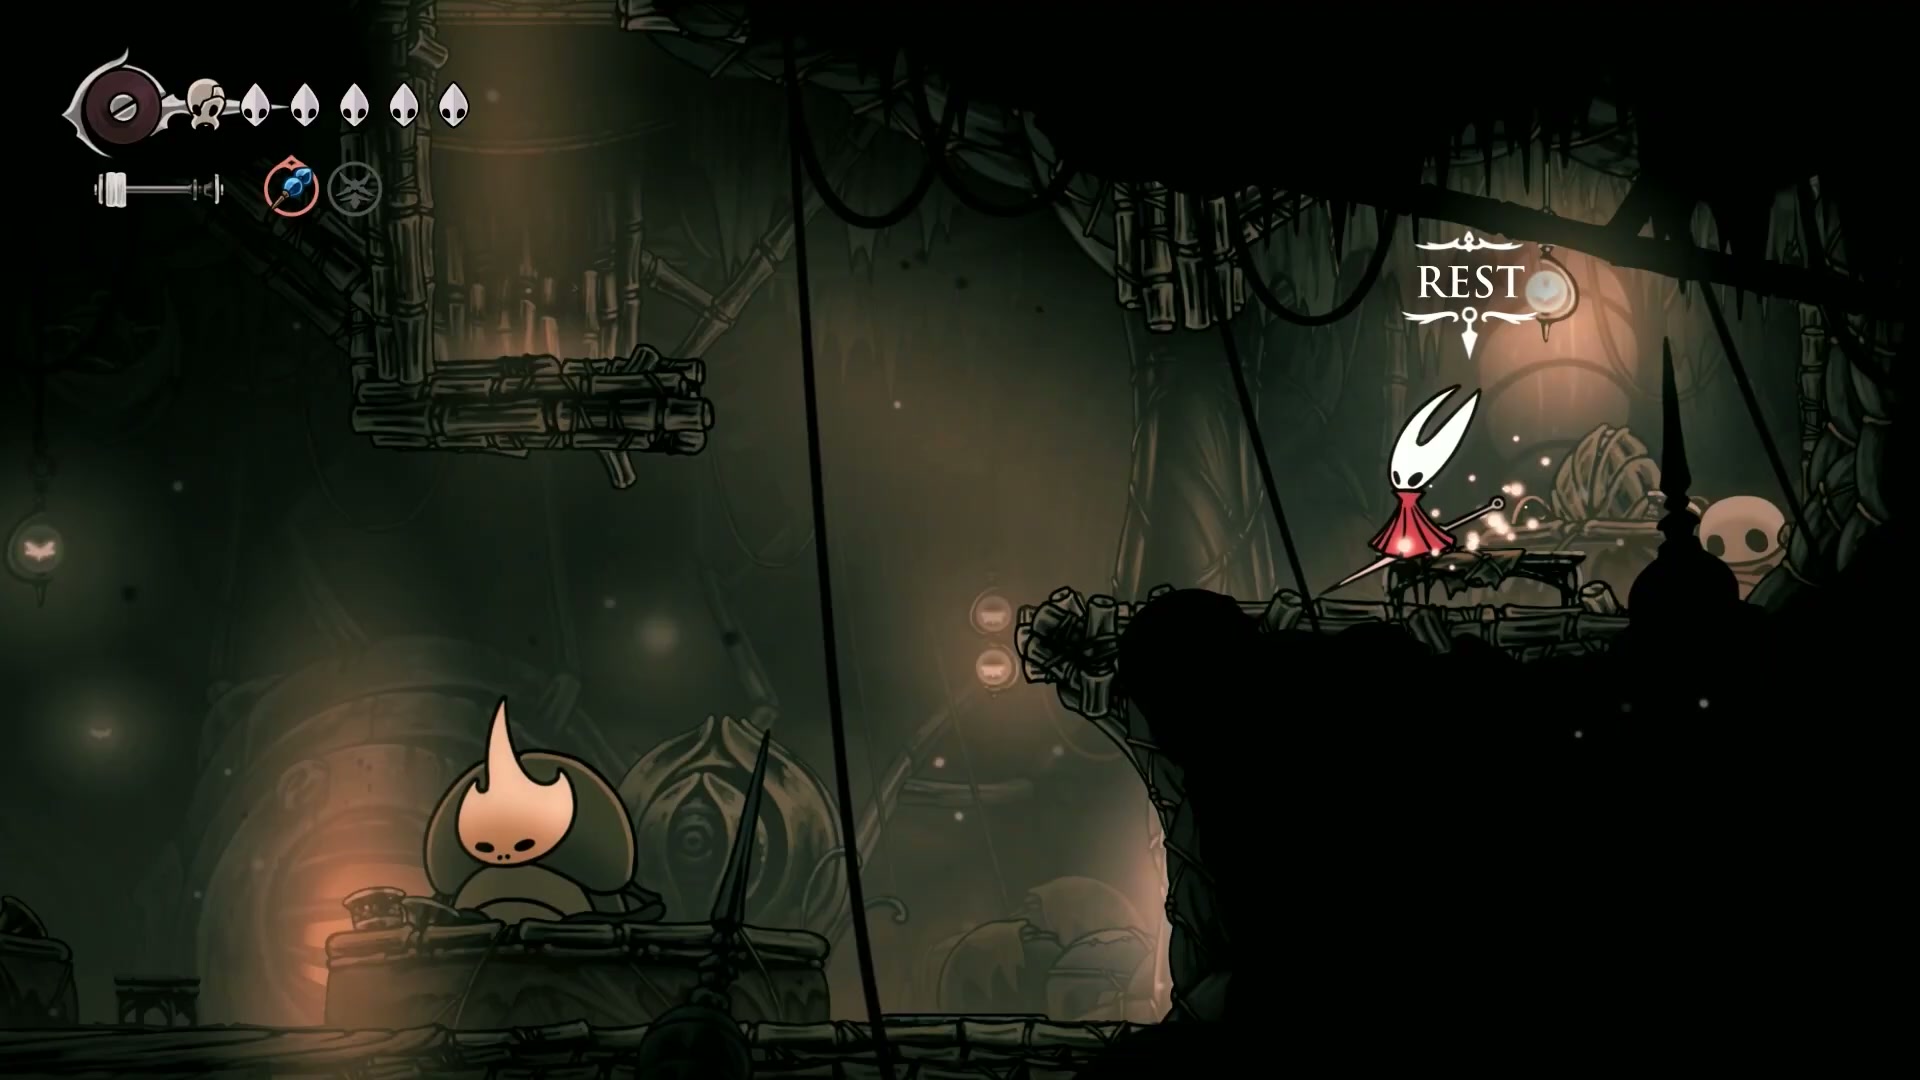
Grab the White Key & Rest - Just past the farming spot, grab the White Key and rest at the bench. This area serves as the entrance to the First Shrine hub. After resting, the world state will reset, populating the area with new NPCs.
⚡ Section 2: First Shrine Hub & The Cogworker Boss Fight
Covering segments [13:09 - 19:32] insights
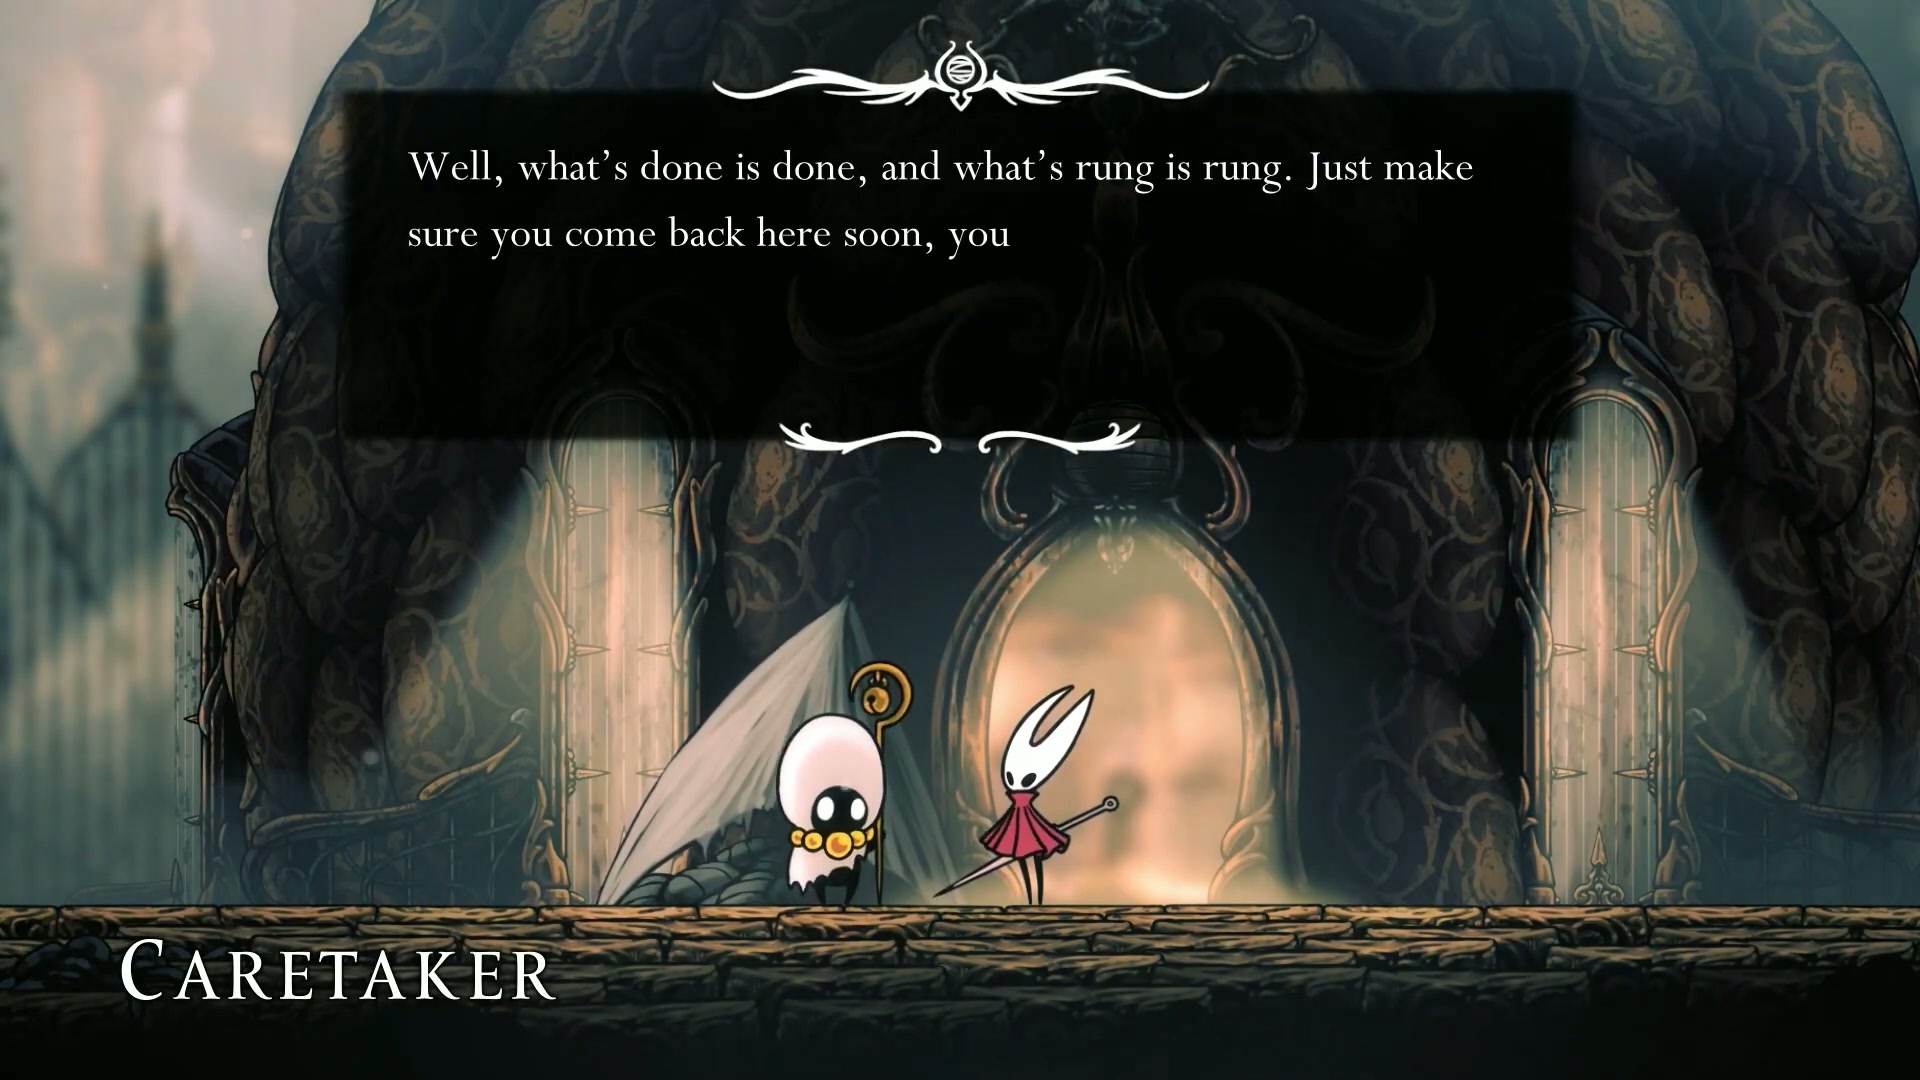
The First Shrine is the “Bone Bottom” of Act 2—a new safe zone with NPCs and a Wish Board.
🚀 Key Actions in First Shrine:
- 🎯 Accept New Wishes: Interact with the Wish Board to accept three new wishes: Wandering Merchant, Fine Pens, and Building Up Songclave.
- 💪 Donate Beads: If you have the Rosary Beads, immediately donate them for the Building Up Songclave wish. It’s better to spend them on platinum trophy progress than risk losing them to an upcoming boss.
- 💬 Talk to NPCs: Exhaust the dialogue with the Caretaker and the scared little pilgrim to progress their stories.
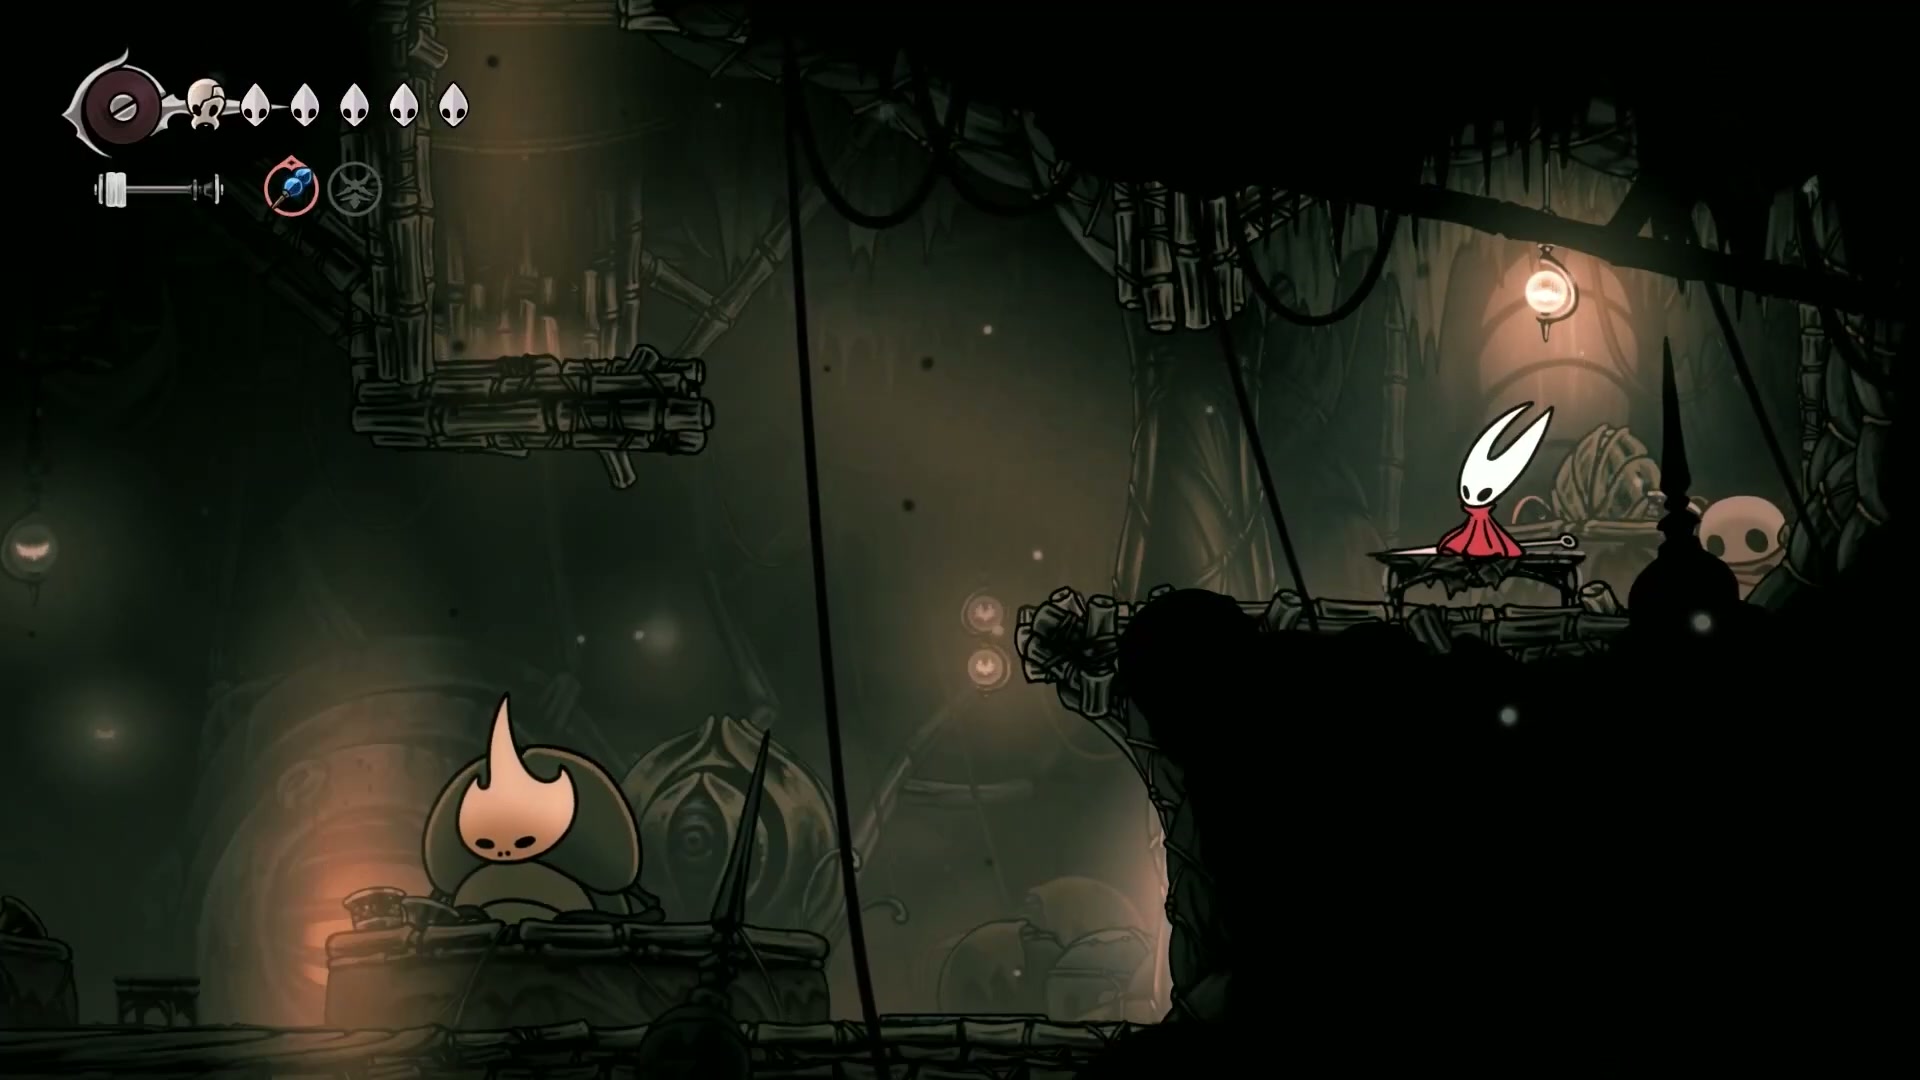
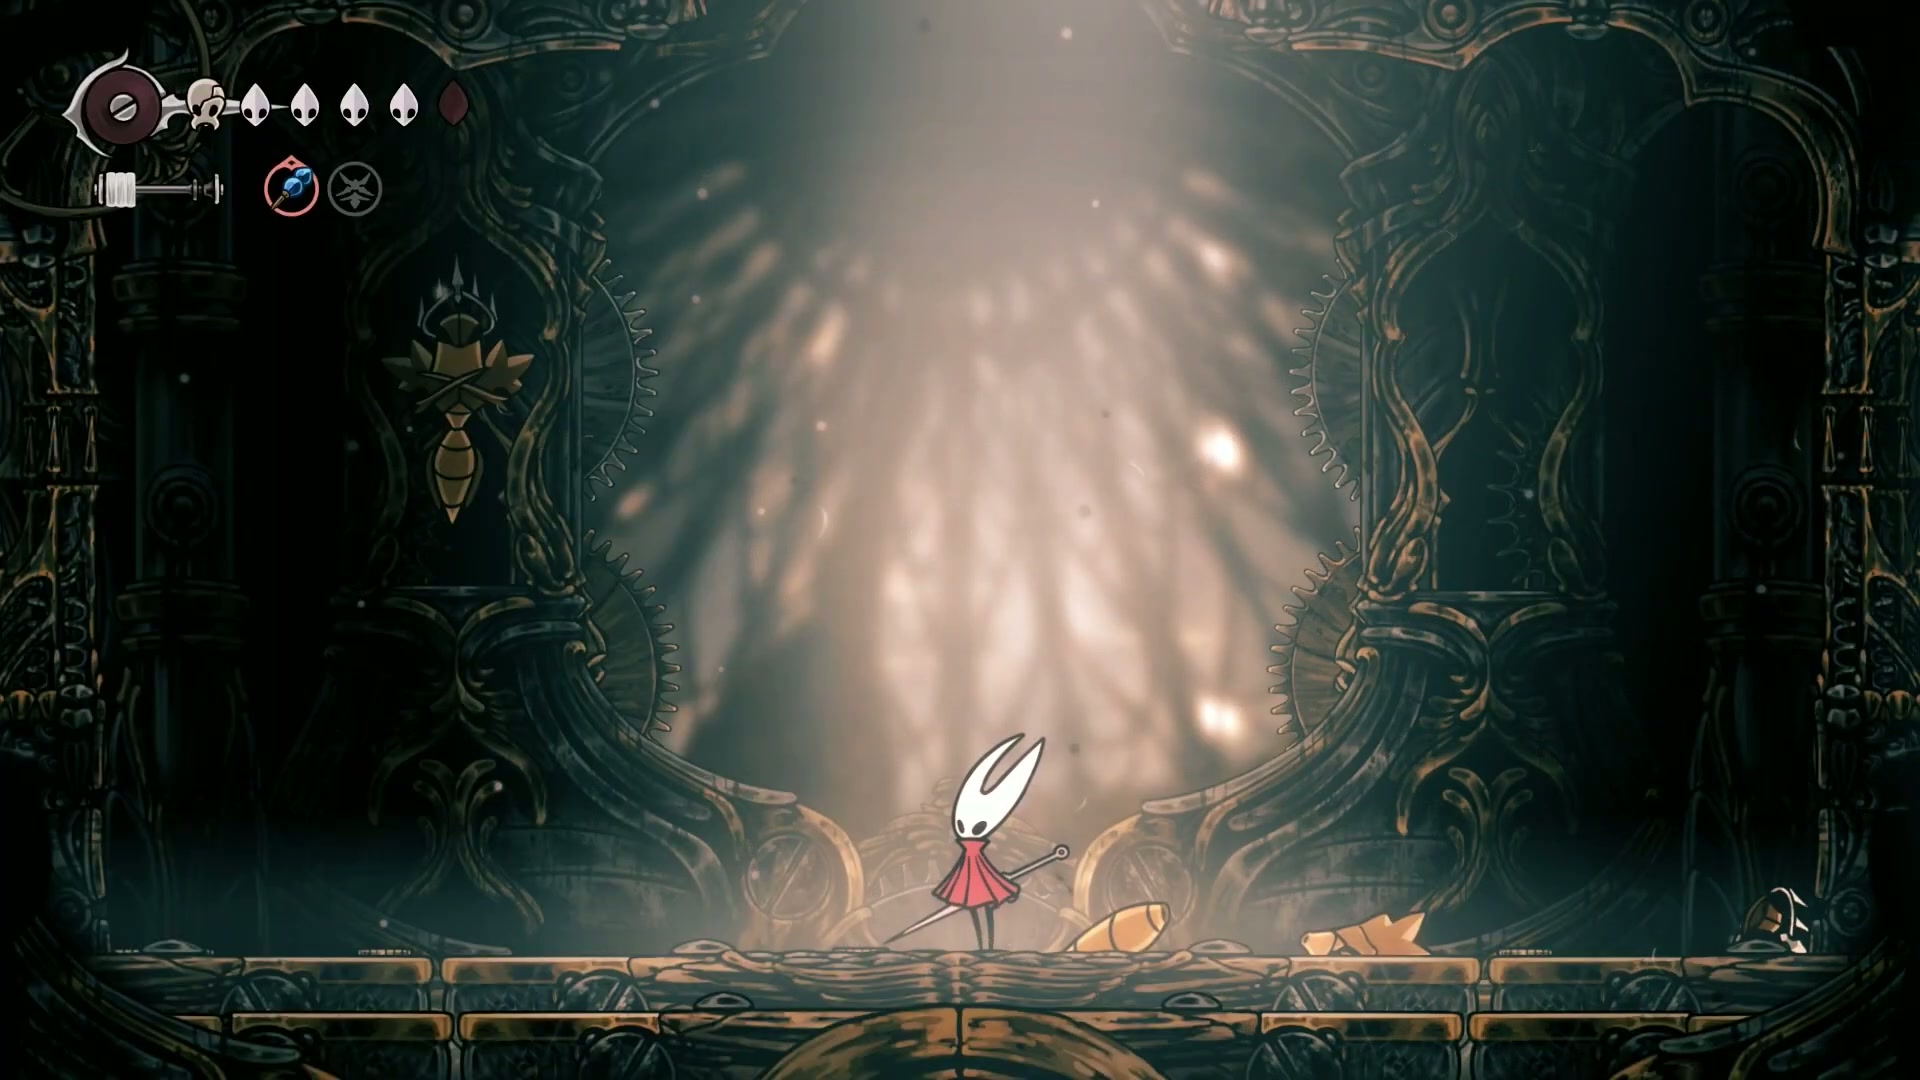
Now, it’s time for our first boss of the chapter. Head out of the shrine to the left and continue upwards to the boss arena.
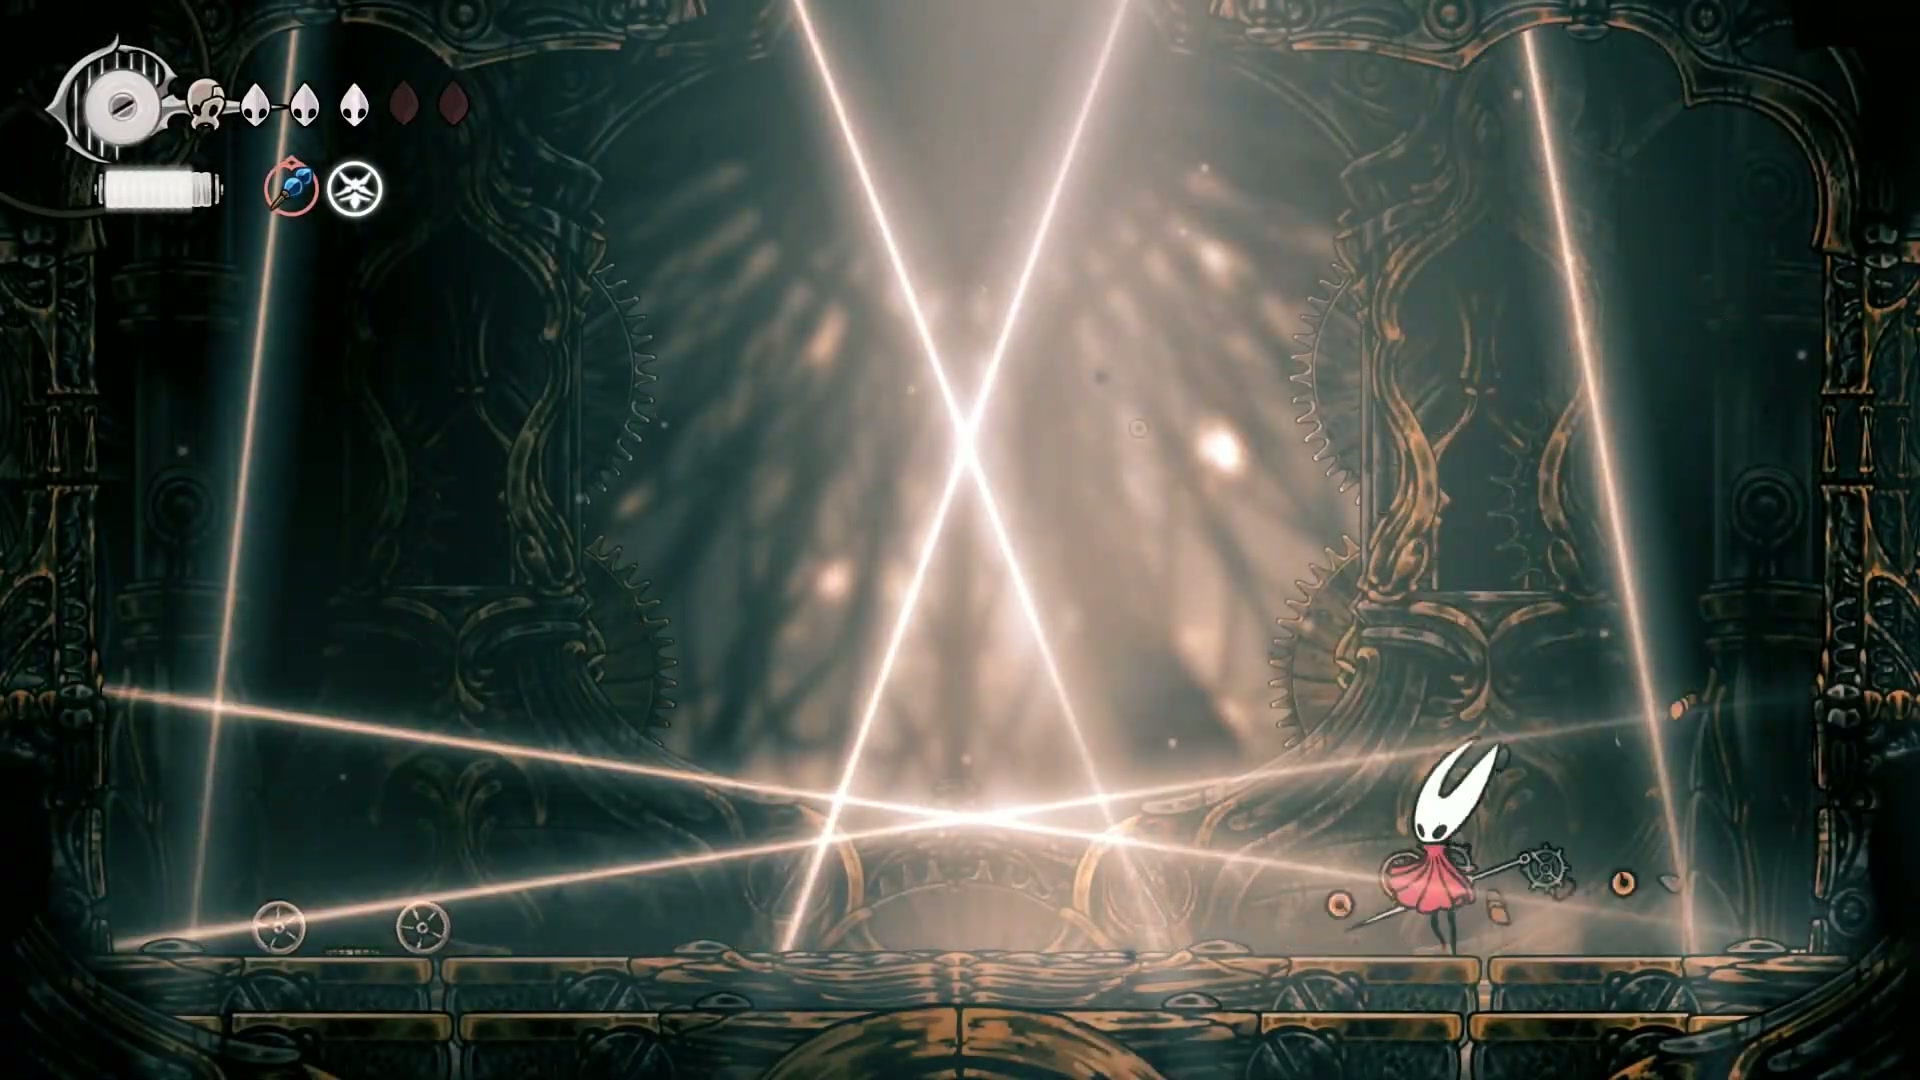
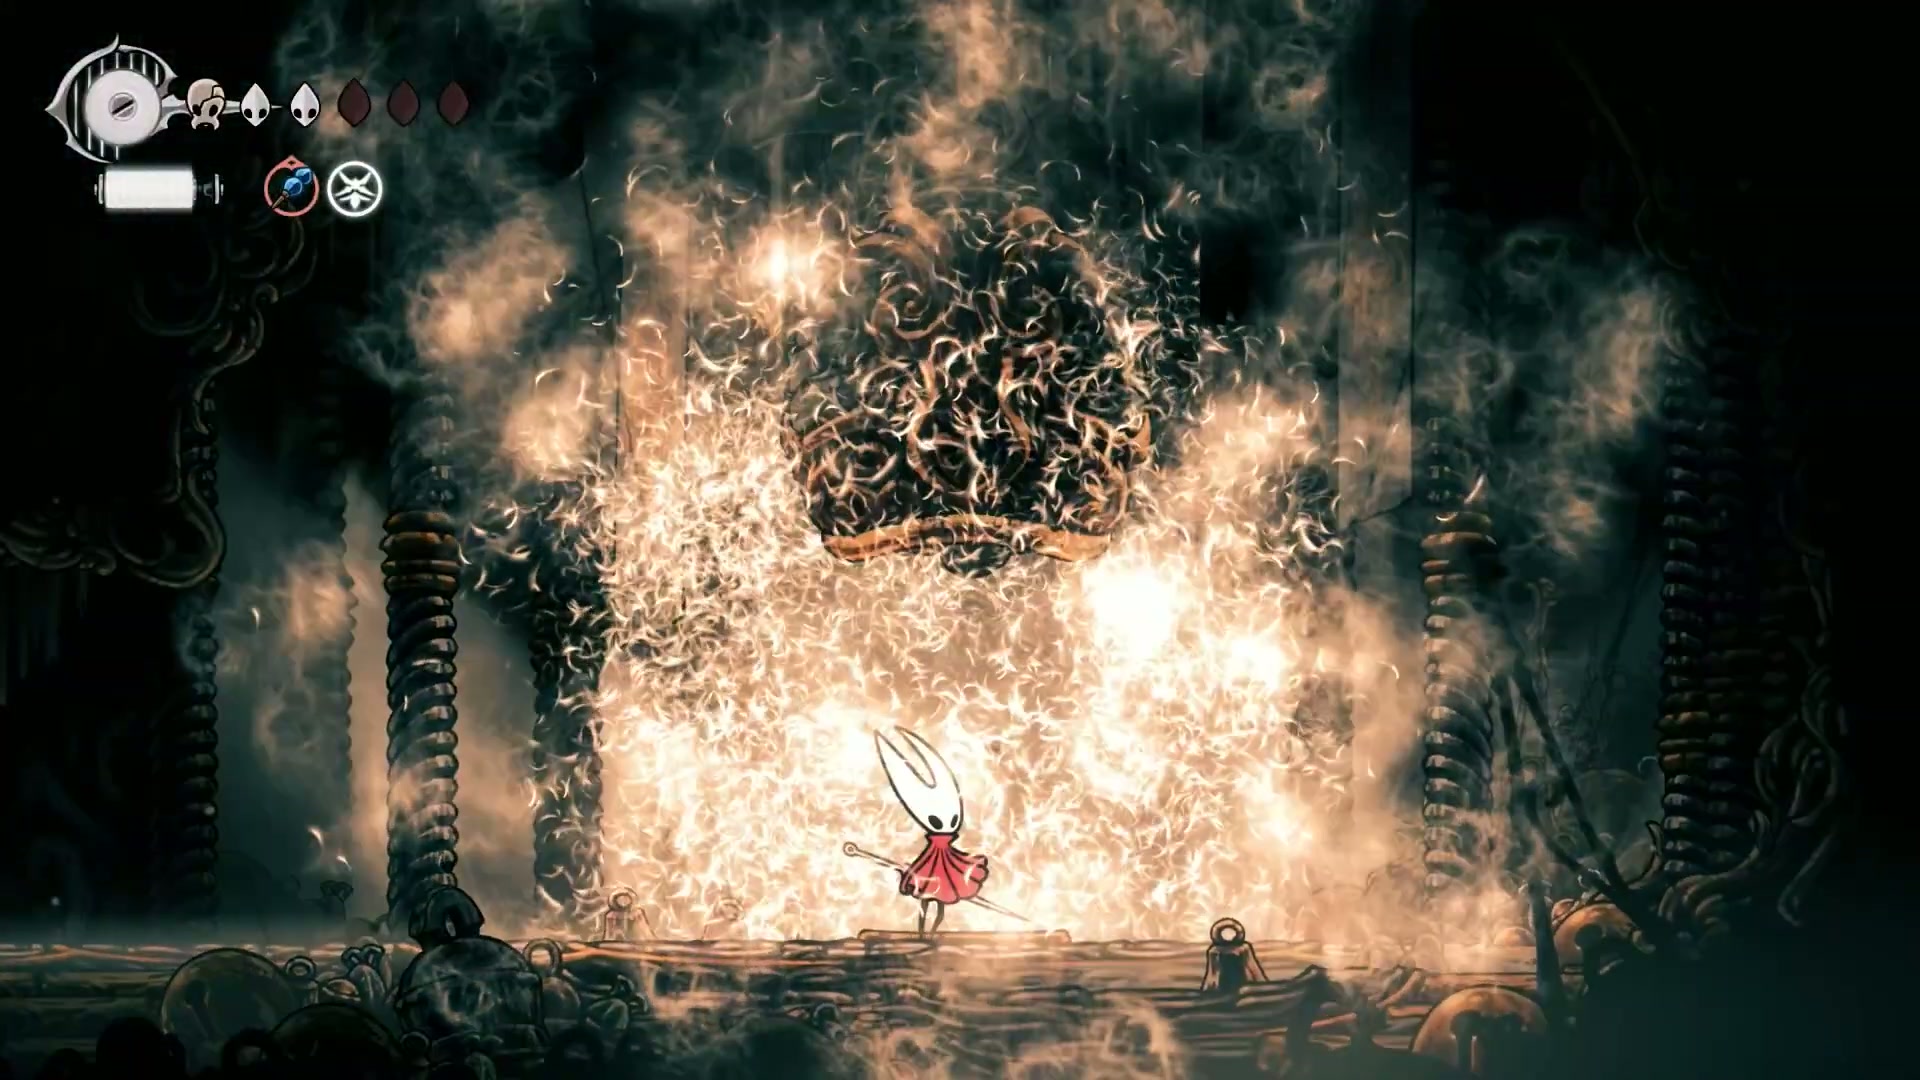
🔥 Boss Strategy: The Cogworkers
This is a visually stunning duo boss fight that’s all about pattern recognition. The golden rule: never be in the way of the white line.
Phase 1: The two bugs will telegraph their dash attacks by drawing a white line. Dodge the lines and get hits in when you can. Watch out for their AOE slam when they drop from above.
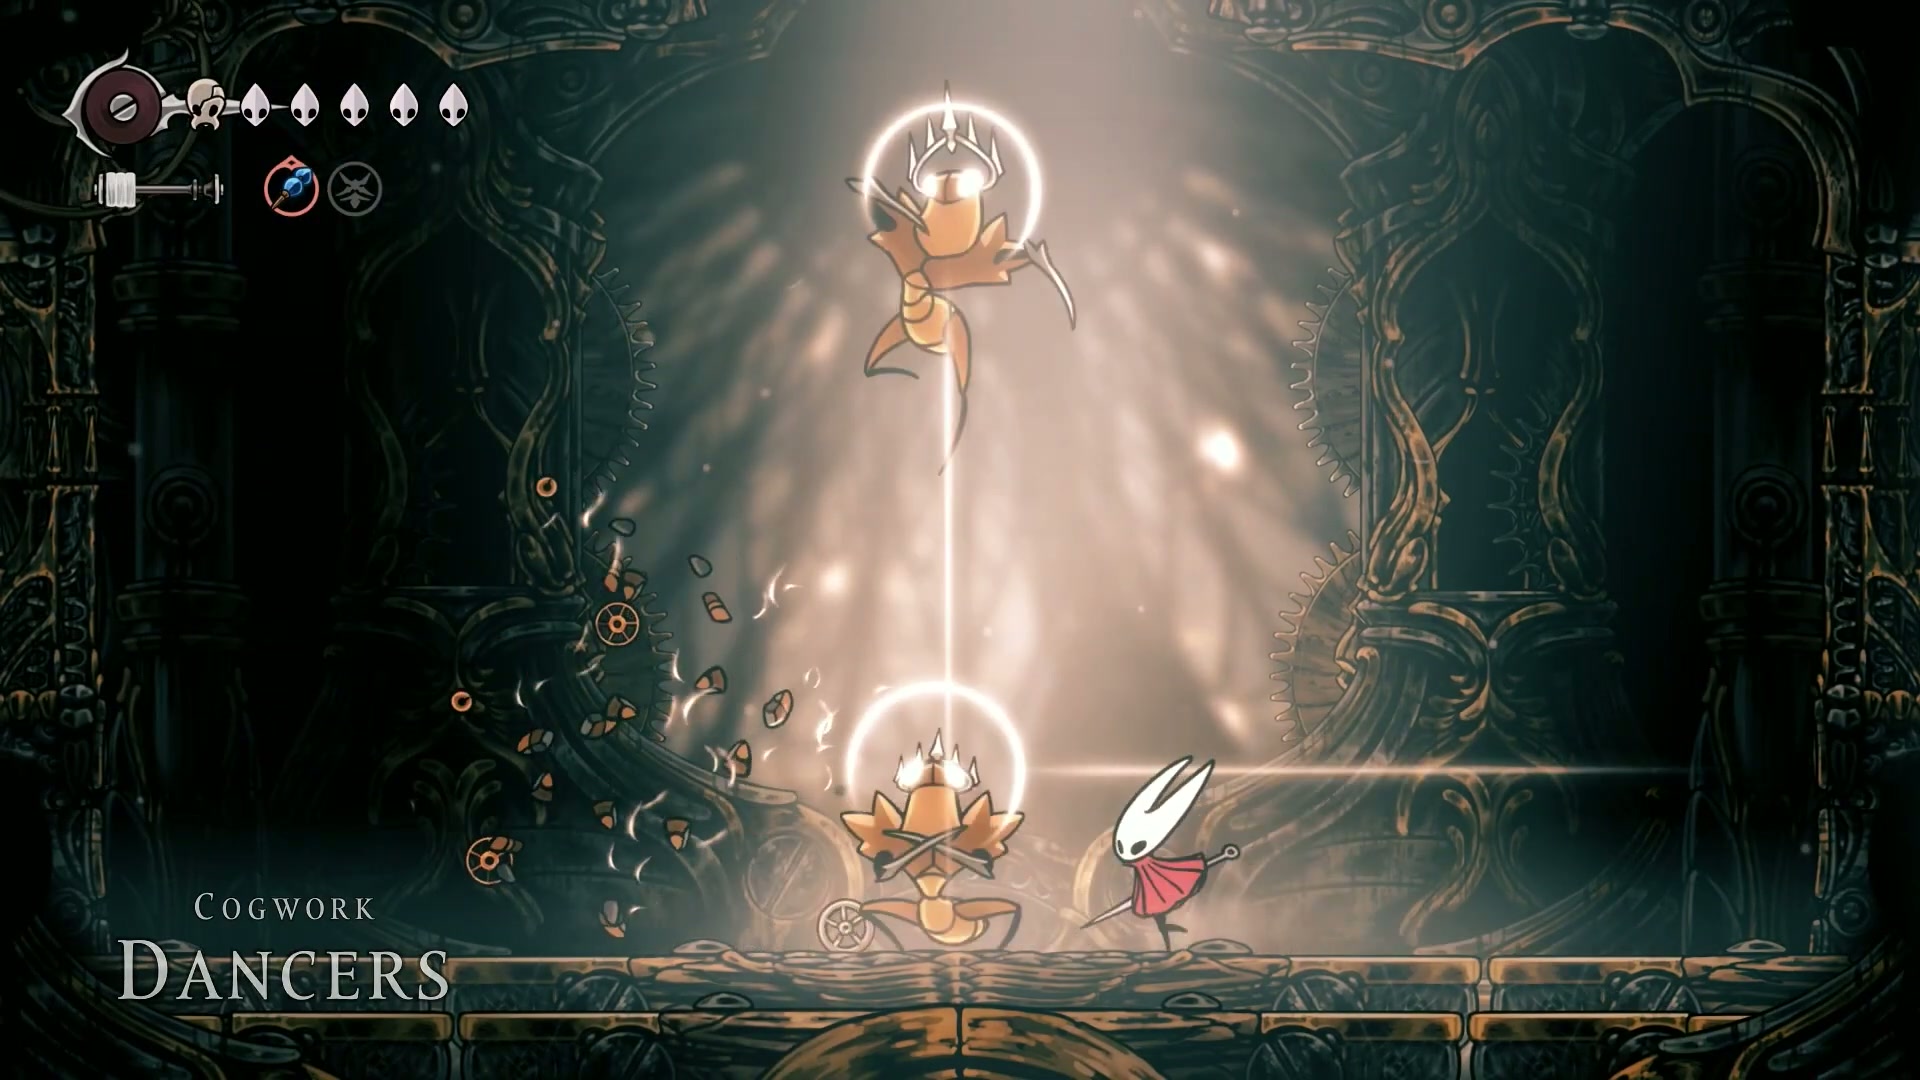
Phase 2: The attacks get faster. They’ll also perform a move where they draw lines all over the arena. Find a safe spot and wait it out.
Phase 3 & 4: One bug goes down, and the fight becomes reminiscent of the Mantis Lords. Their attacks are slightly delayed from one another. Focus on taking one down completely. The final phase is a pathetic, sad showdown with the lone survivor. Put him out of his misery.
💥 Section 3: The Vault Keeper’s Melody & The Cogwork Core
Deep dive into segments [18:15 - 42:26] content
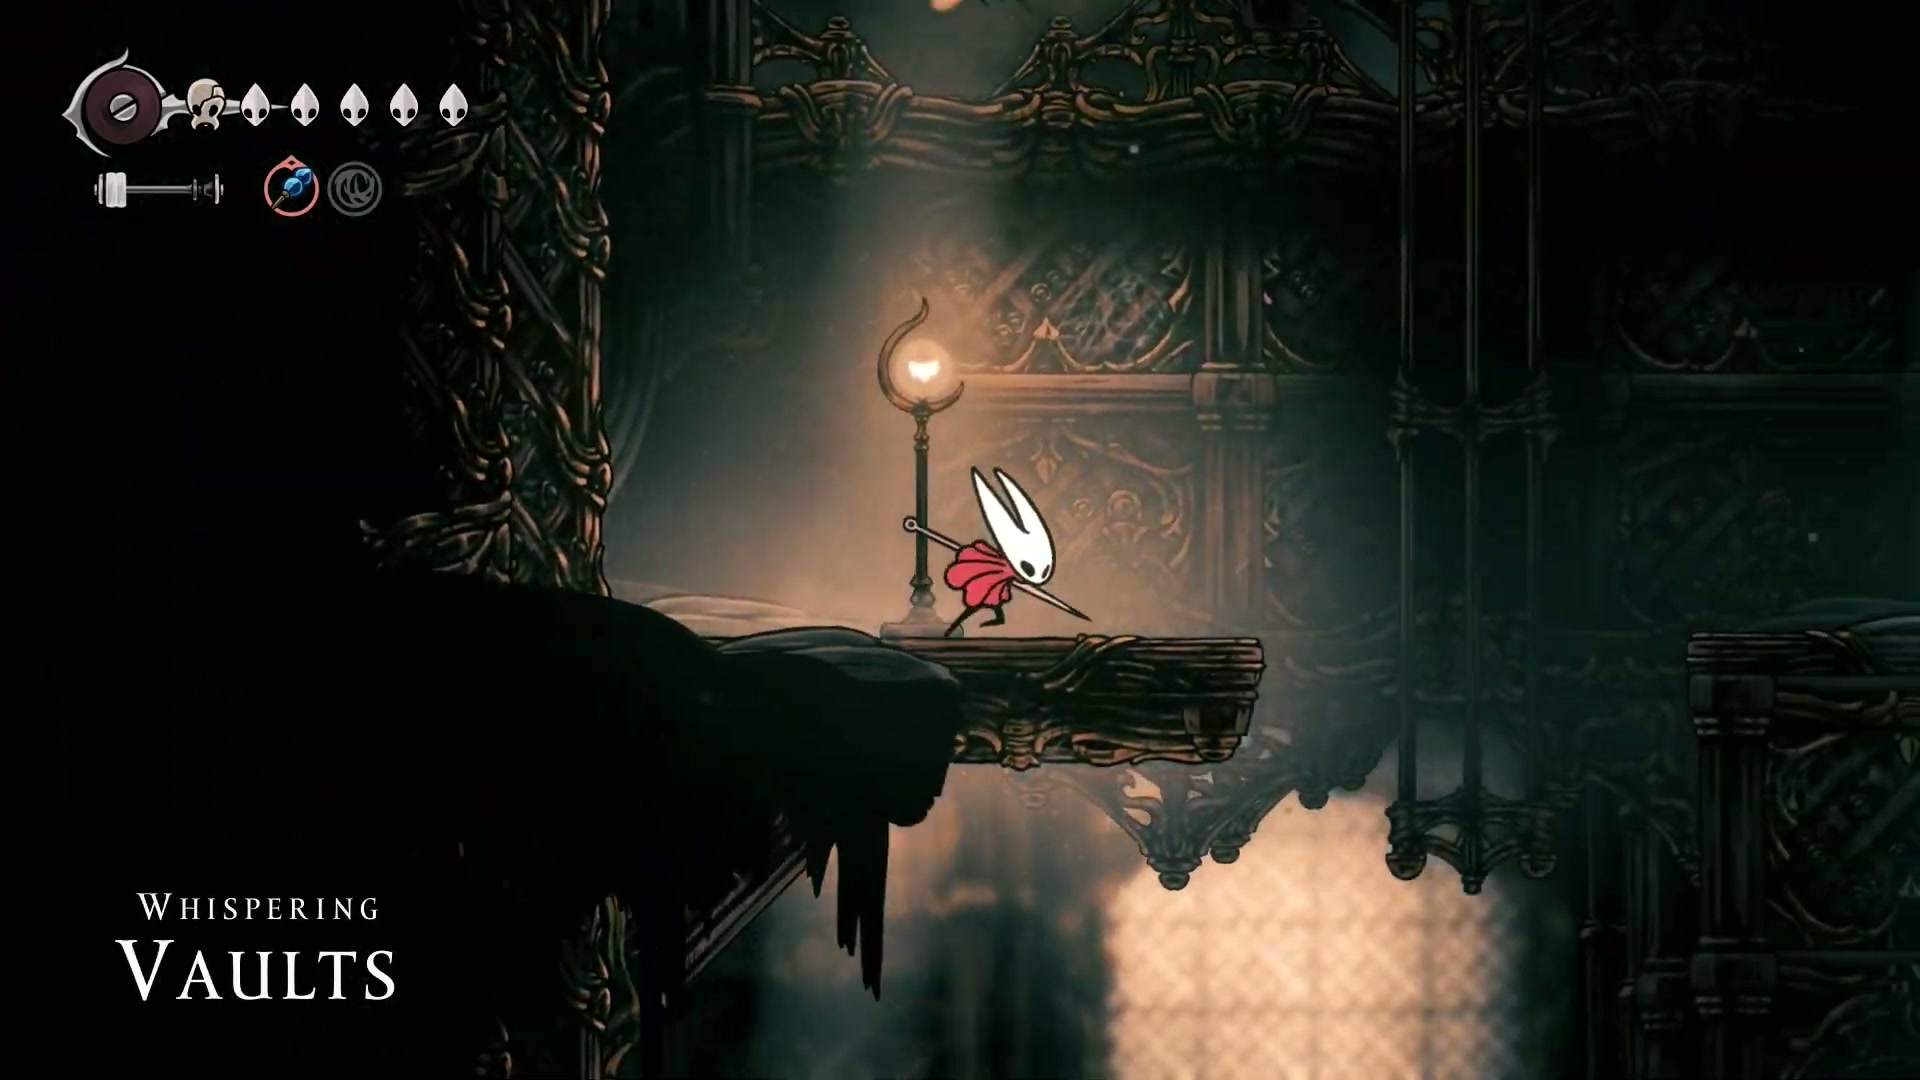
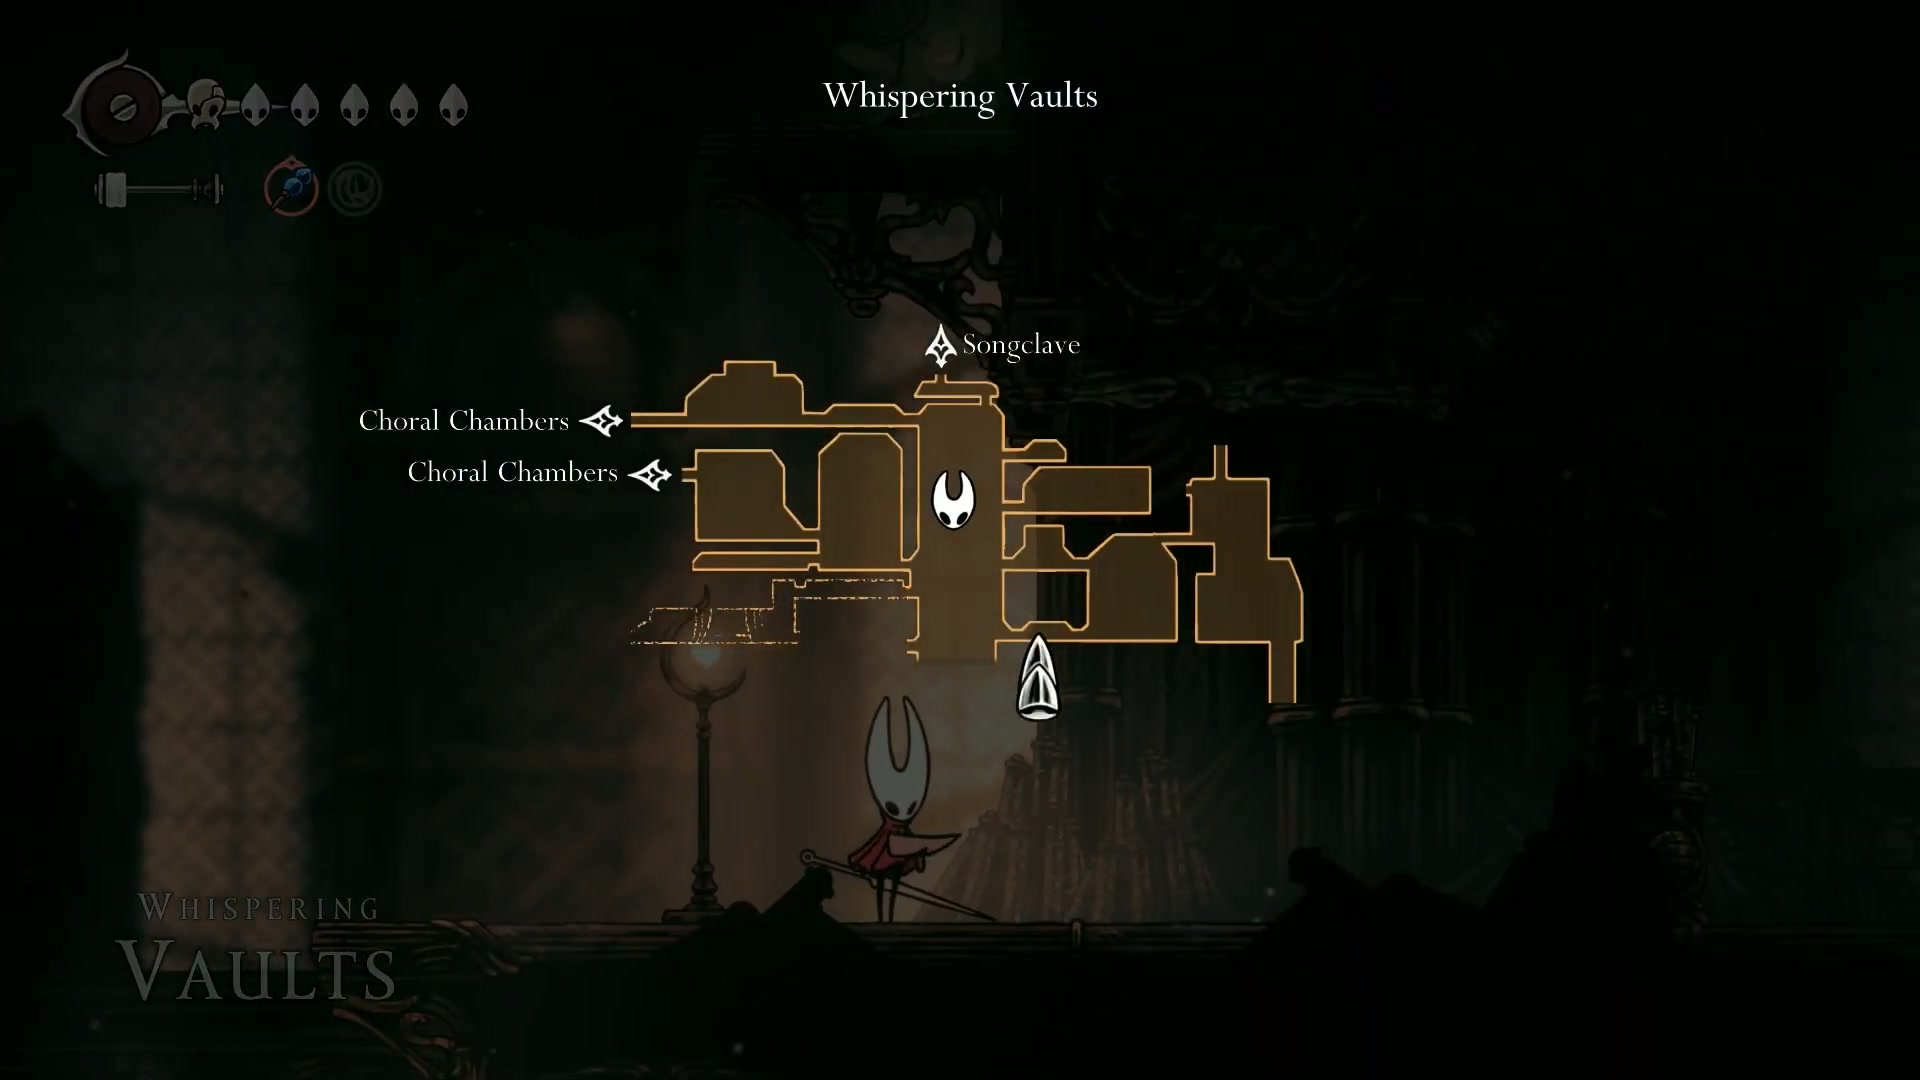
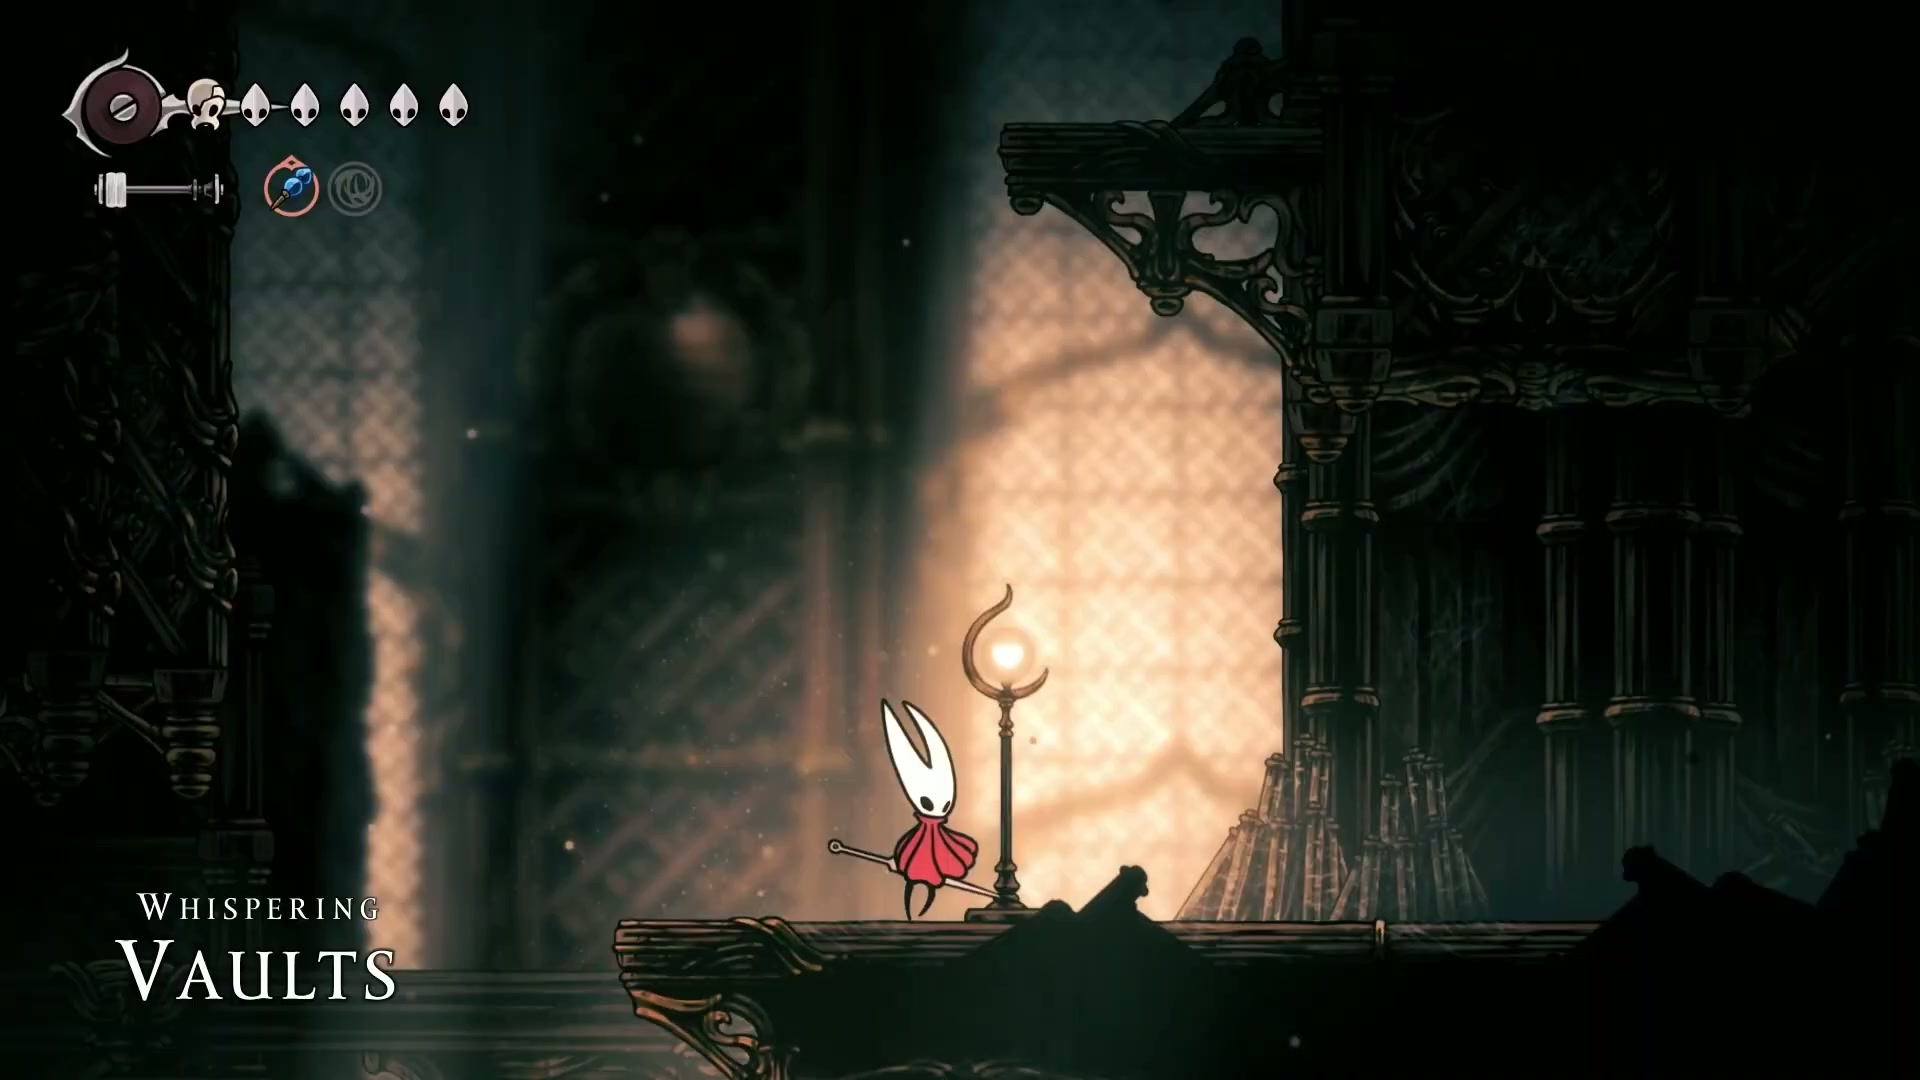
After defeating the Cogworkers, you’ll learn your main objective for this part of the game: find the three melodies of the Vault Keeper, the Architect, and the Conductor. For our 100% completion guide, the optimal path is to pursue the Vault Keeper’s Melody first. This will open up the entire Whispering Vaults area and connect multiple zones.
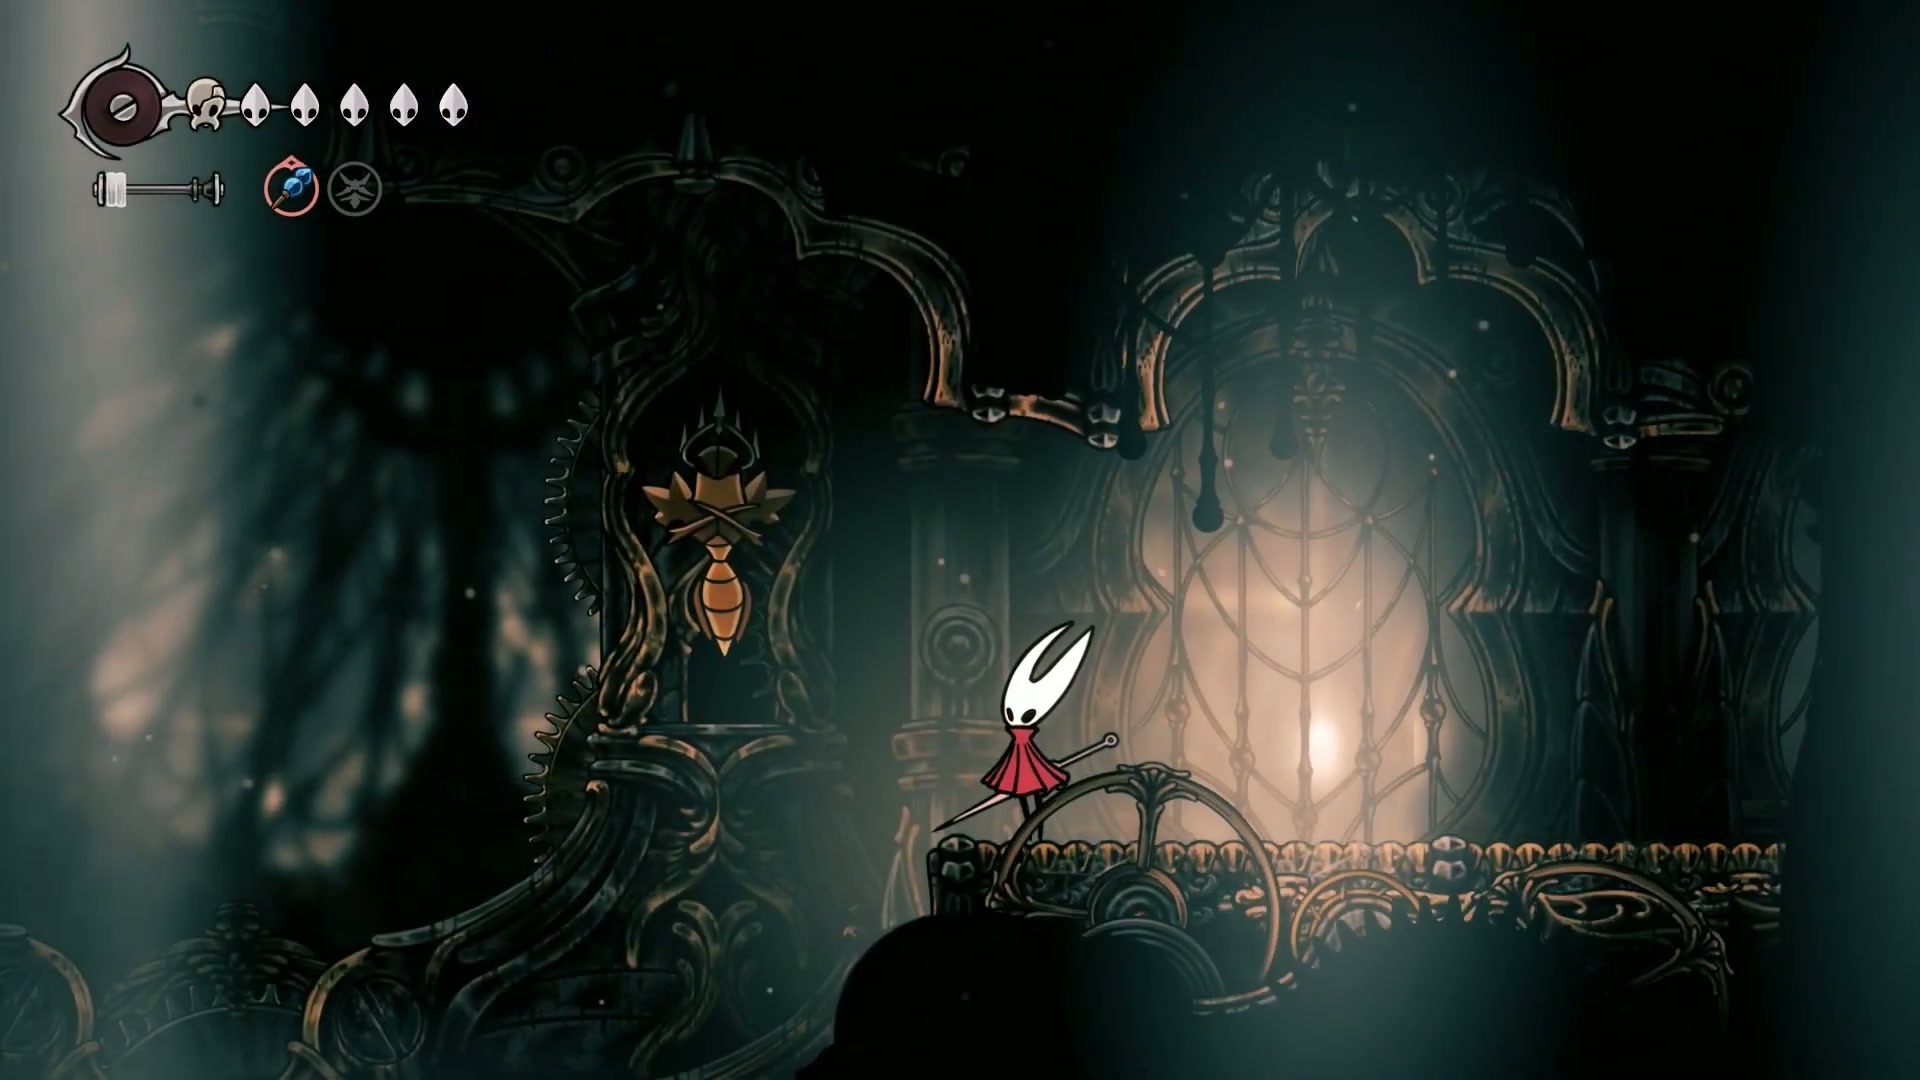
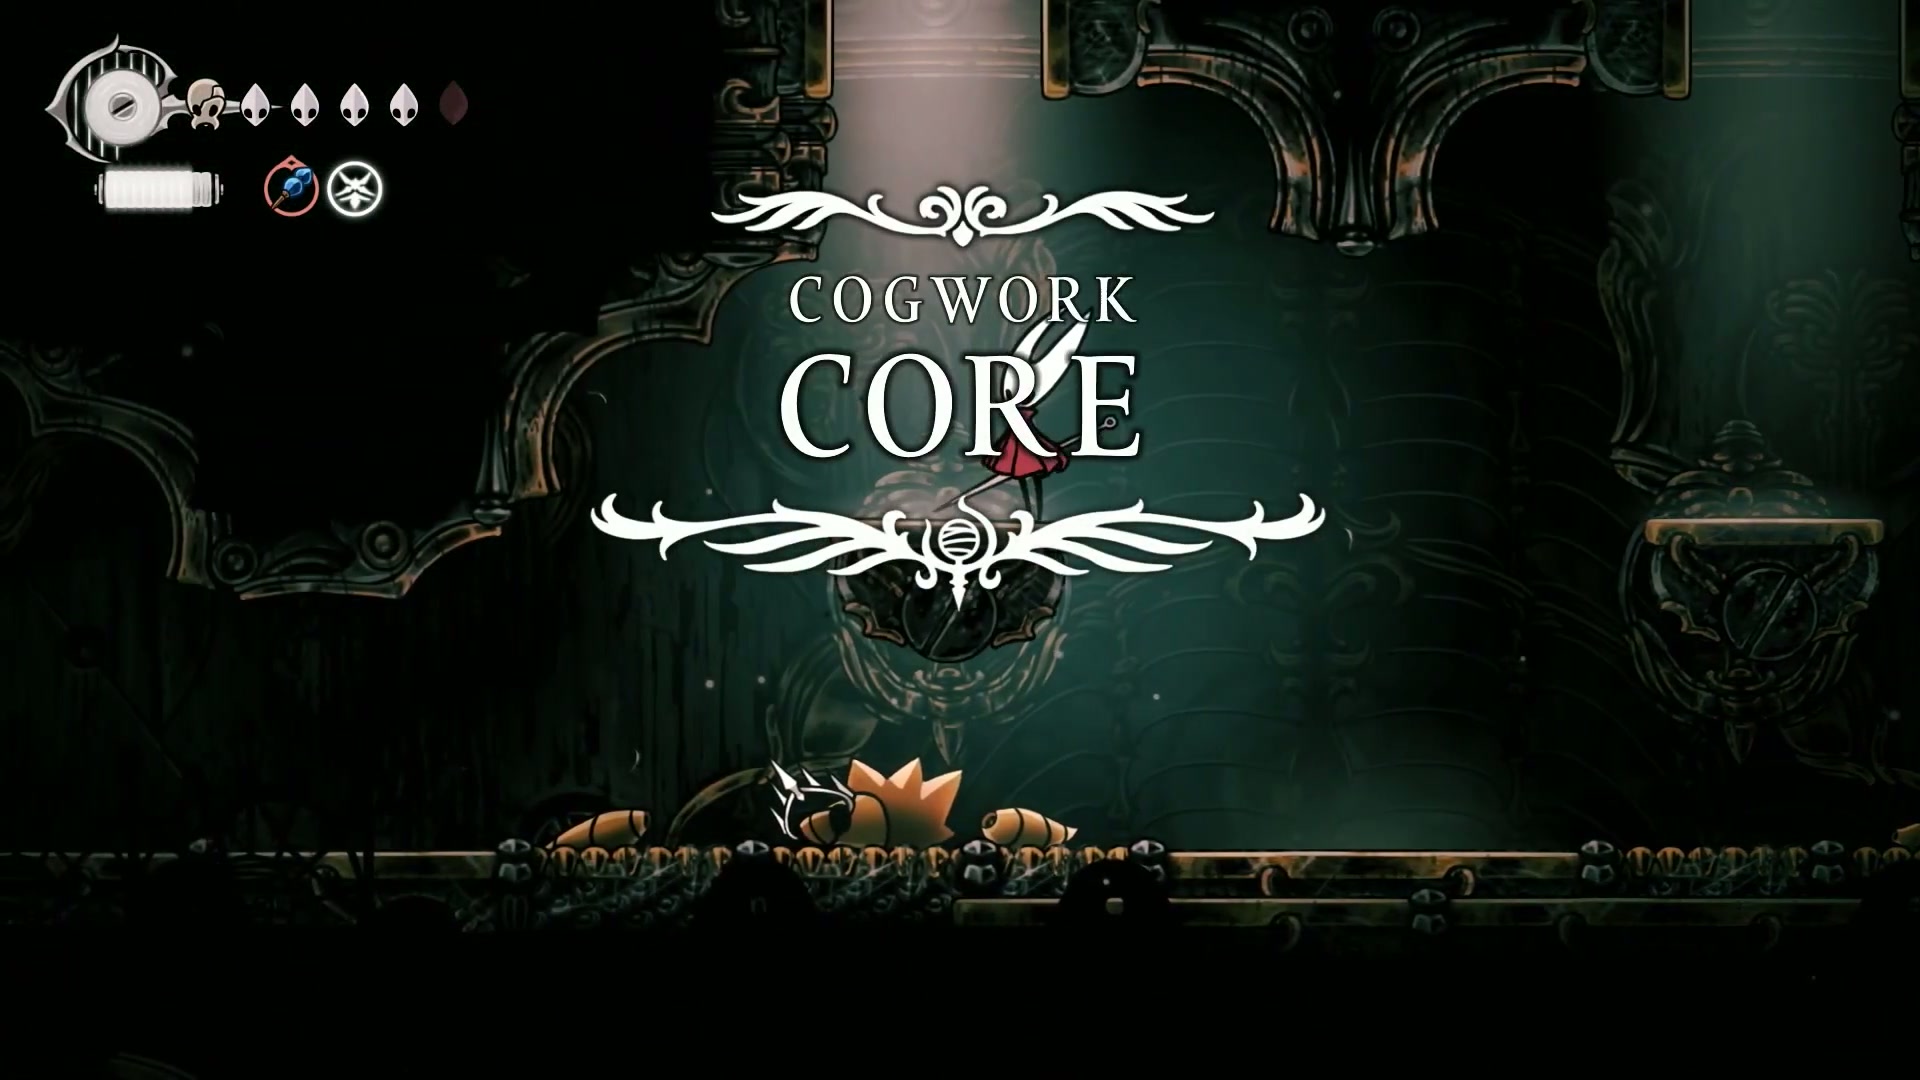
Head through the gates into the Cogwork Core, a treacherous platforming section reminiscent of Hollow Knight’s Path of Pain.
🏆 Cogwork Core Walkthrough:
- New Enemies & Map: In this new area, you’ll encounter new gear-based enemies. After dropping down, grab the map to reveal the Cogwork Core.
- Gear Obstacle Course: This section requires precise pogo jumps and dashes off of moving and spinning gears. Take your time. Your goal is to navigate a series of platforming challenges to reach the bottom left of the area.
- Find the Mask Shard: After a lockdown fight sequence, you’ll open a shortcut back to the Coral Chambers. This is where you can finally grab the Mask Shard you likely saw earlier.
- Open the Path to Whispering Vaults: Return to the main gear course and navigate the final tricky pogo section to open a shortcut back to the bench and the path forward into the Whispering Vaults.
🧠 Master-Tier Strategies & Pro Tips
🎯 Elite Technique: Downward Dash Attack
[Segment Reference: 40:21 - 41:05]
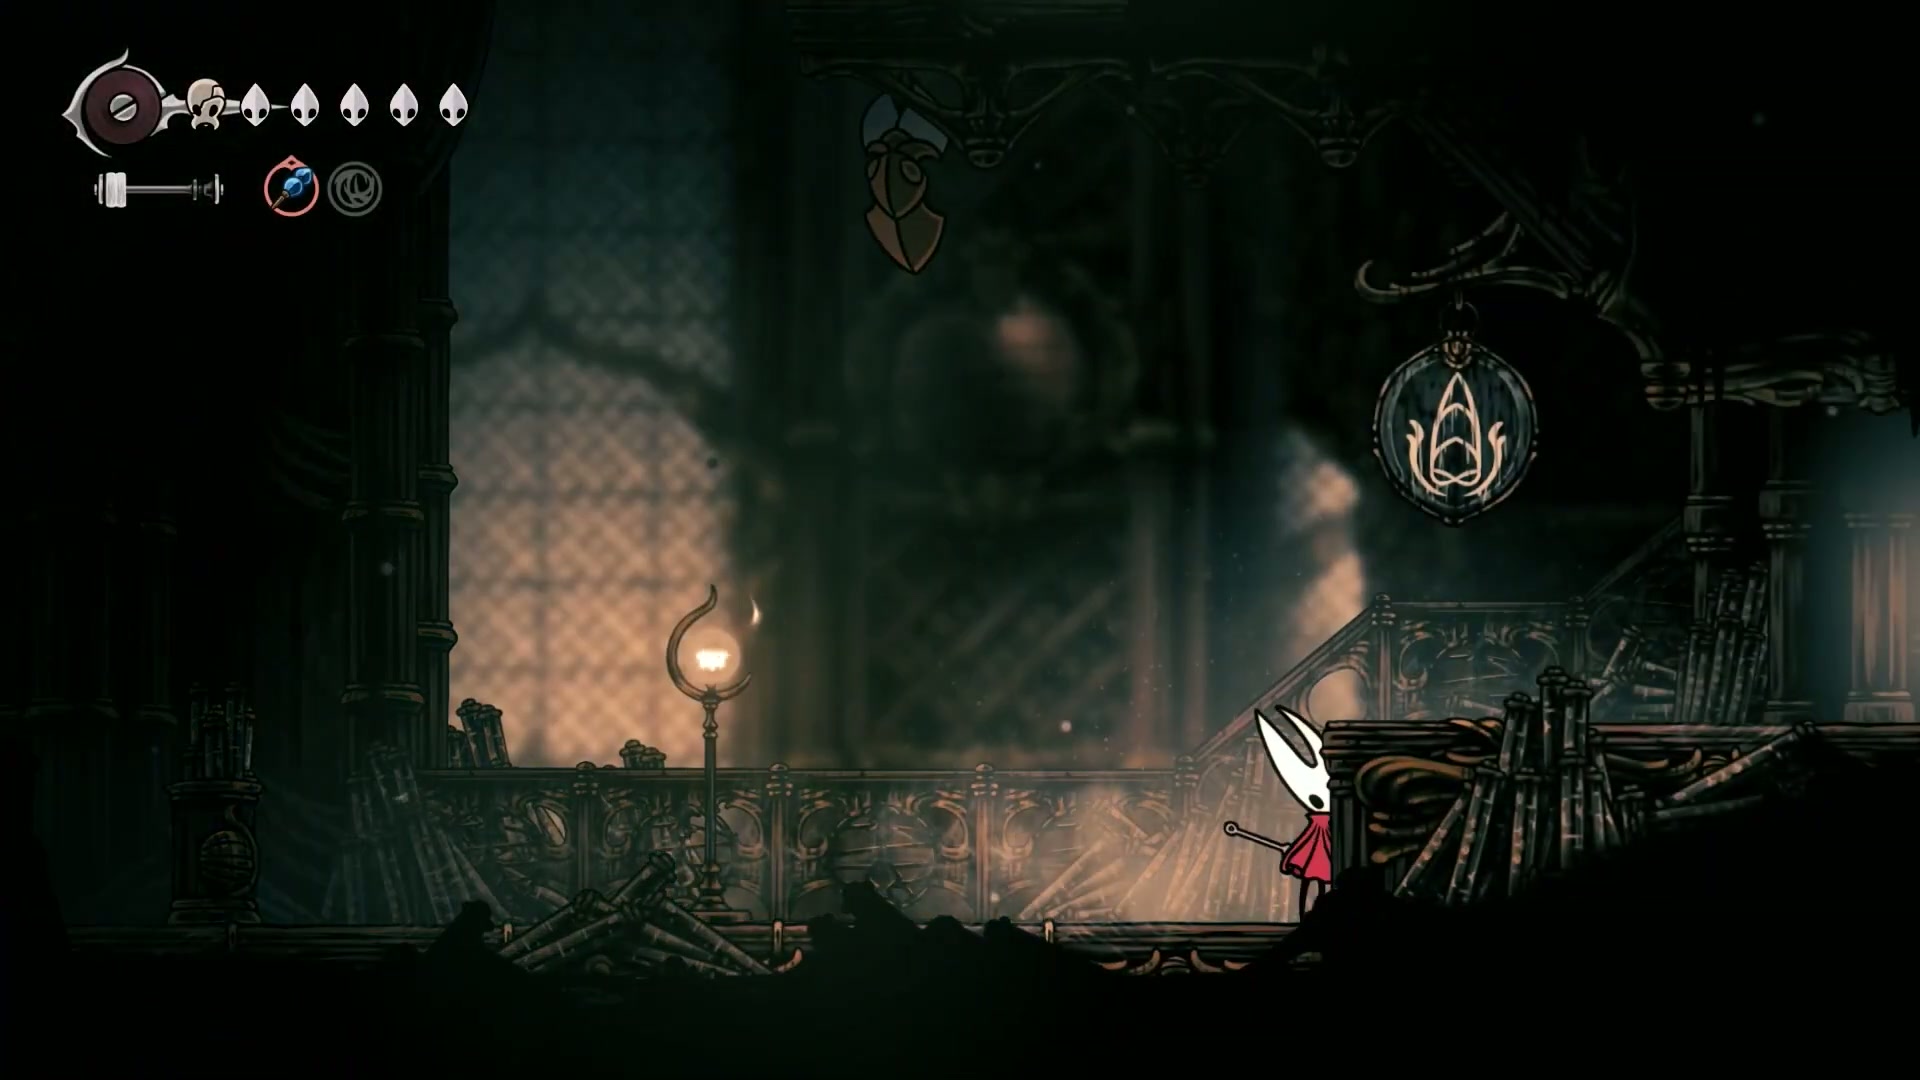
The Whispering Vaults introduces puzzles that require a new move: the Downward Dash Attack. We haven’t needed it until now, but it’s essential for 100% completion.
🔥 How to Execute:
- While in the air, hold DOWN on your analog stick/D-pad and press the ATTACK button.
- Hornet will perform a powerful downward slam, capable of breaking fragile floors and hitting switches below her. This is different from a standard pogo (down + jump). Practice this move, as it’s key for solving the sliding block puzzles ahead.
⚠️ Don’t Be a Noob - Common Fails to Avoid
Based on insights from the content, here’s what NOT to do:
-
❌ Rushing into Act 3 - Segment: 01:54 - 02:23
- The creator explicitly warns that progressing from Act 2 to Act 3 is a major point of no return for certain enemies needed for the Hunter’s Journal.
- ✅ Fix: Before you advance the main story to Act 3 later in the walkthrough, take the time to farm any missing journal entries. We will cover this in detail before it’s time.
- 🎯
Silksong Platinum WalkthroughImpact: Rushing ahead can make the “Complete the Hunter’s Journal” trophy significantly harder, compromising your 100% run.
-
❌ Wasting Beads on Scams - Segment: 06:18 - 06:30

- In the Citadel, a vendor sells a “silk ball” for 40 beads. It’s a one-time use item that just refills your silk. This is a massive waste of currency.
- ✅ Fix: Never buy consumable healing items unless absolutely necessary. Your needle is the best way to regain silk, and it’s free. Save your beads for permanent upgrades, keys, and crucial Wish Board donations.
🎉 Epic Moments & Legendary Quotes
🔥 Most Hype Moments from the Content:
[00:50] - “The stage is a weapon and therefore it must be fought for.”
[19:35] - “If you choose wrong you do die… I’m just kidding guys. They both go the same spot.”
[91:03] - “I really love the cutscene… I like how he cuts his hair off. He has to shave his insect hair.”

✅ Your Silksong Platinum Walkthrough Part 11 Checklist
🎮 Immediate Actions (Do This Now):
- [X] Navigate the Citadel and reach the First Shrine. - Referenced in segment [00:05 - 08:00]
- [X] Defeat the Cogworkers boss duo. - Referenced in segment [14:09 - 17:40]
- [X] Collect the Mask Shard in the Cogwork Core. - Referenced in segment [25:40 - 25:50]
⚡ Short-term Goals (This Chapter):
- [X] Find the Vault Keeper’s Melody (Part 1 & 2). - Referenced in segment [42:26 - 43:27]
- [X] Defeat the Theater Troupe Boss and get the Claw Mirror. - Referenced in segment [65:56 - 69:15]
- [X] Find the Pale Oil and upgrade your weapon with Pliny. - Referenced in segment [47:23 - 91:03]
🏆 Long-term Mastery (100% Completion):
- [X] Complete the “Fine Pens” & “Wandering Merchant” wishes. - Referenced in segment [81:22 - 84:46]
- [X] Donate to all “Building Up” wishes in First Shrine & Bellheart. - Referenced in segment [10:35 & 90:00]
- [X] Explore the Whispering Vaults and connect the Exhaust Organ. - Referenced in segment [34:45 - 73:00]
🌟 Final Boss: Summary & Next Moves
This chapter was an absolute beast! You’ve navigated one of the most complex areas yet, established a new hub in the First Shrine, taken down two bosses, and unlocked a critical weapon upgrade. The world of Pharloom is now significantly more connected, setting the stage for the next leg of our Silksong 100% completion guide.
🎯 Key Wins You Just Unlocked:
- 🎮 A Fully Connected World - You’ve linked the Citadel, Whispering Vaults, and Exhaust Organ, creating a massive, interconnected travel network. - Covered in segment [73:01 - 74:00]
- ⚡ Weapon Upgrade Level 2 - Your needle is sharper than ever, making future encounters much easier. - Detailed in segment [91:03 - 92:09]
- 🏆 Main Quest Progression - By finding the Vault Keeper’s Melody, you’re on the direct path for a crucial story-related trophy. - Explained in segment [80:00 - 80:45]
🚀 Your Next Quest:
Now that we’ve cleared out the wishes and upgrades from this chapter, our next move will be to tackle the upper half of the Cogworks and explore the vast, uncharted Bilewater area. Prepare for new challenges, new platforming puzzles, and even more secrets as we push towards 100% completion in Chapter 12!
💬 Join the Gaming Community!
🌟 This Guide Helped You Level Up?
Share the epic knowledge! If this Silksong Platinum Walkthrough Part 11 guide helped you conquer the Citadel, spread the love in the gaming community!
🎮 Share Where Gamers Gather:
- 🎯 Discord Servers - Drop this in your Hollow Knight & Silksong communities
- 🐦 Twitter/X - Tweet your boss wins
- 📱 Reddit - Share in r/Silksong and r/HollowKnight
- 📺 Twitch/YouTube - Reference in your streams/videos
- 💬 Gaming Forums - Help other players master this chapter
🔧 Found a Bug in Our Guide?
Help us patch this content! Spotted any errors or have suggestions to make this 100% Completion Guide even more epic?
🛠️ Submit Feedback - Let’s make this the ultimate Silksong resource!
🎯 More Epic Gaming Content
Stay tuned for more guides that actually help you git gud!
🏷️ Tags: #Silksong #SilksongWalkthrough #SilksongGuide #PlatinumTrophy #100Percent #Gaming #HollowKnight #TeamCherry #Metroidvania #BossFight