Master Silksong Platinum Walkthrough Part 6: Hunter's March. Skip 500 beads, find Wanderer's Crest, & conquer all bosses for 100% completion with pro strategies.
Walkthrough Video
Cheats & Solution
🎮 Silksong - Ultimate Silksong Platinum Walkthrough Part 6 - 100% Completion Guide & Pro Strategies
🔥 What You’re Getting about Silksong Platinum Walkthrough Part 6 - 100% Completion Guide
This guide breaks down everything about Hunter’s March in our Silksong Platinum Walkthrough Part 6 - 100% Completion Guide so you can:
• 🎯 Conquer Hunter’s March - Overcome the area that makes YouTubers cry and get 100% completion.
• ⚡ Unlock Game-Changing Gear - Find the Wanderer’s Crest and Crest of the Beast to revolutionize your combat style.
• 🚀 Save 500 Beads - Learn the “legal cheese” to skip a massive farming grind and access a secret area for free.
• 💪 Master Elite Boss Fights - Get step-by-step strategies for the brutal lockdown arenas and the final boss of the zone.
⏰ Time Investment: 25 minutes to read, a lifetime of not rage-quitting in Hunter’s March.
📖 The Complete Breakdown
🎮 Section 1: The 500 Bead Skip - Wyrmways Cheese
Based on segments [1:46 - 4:17] from the original content
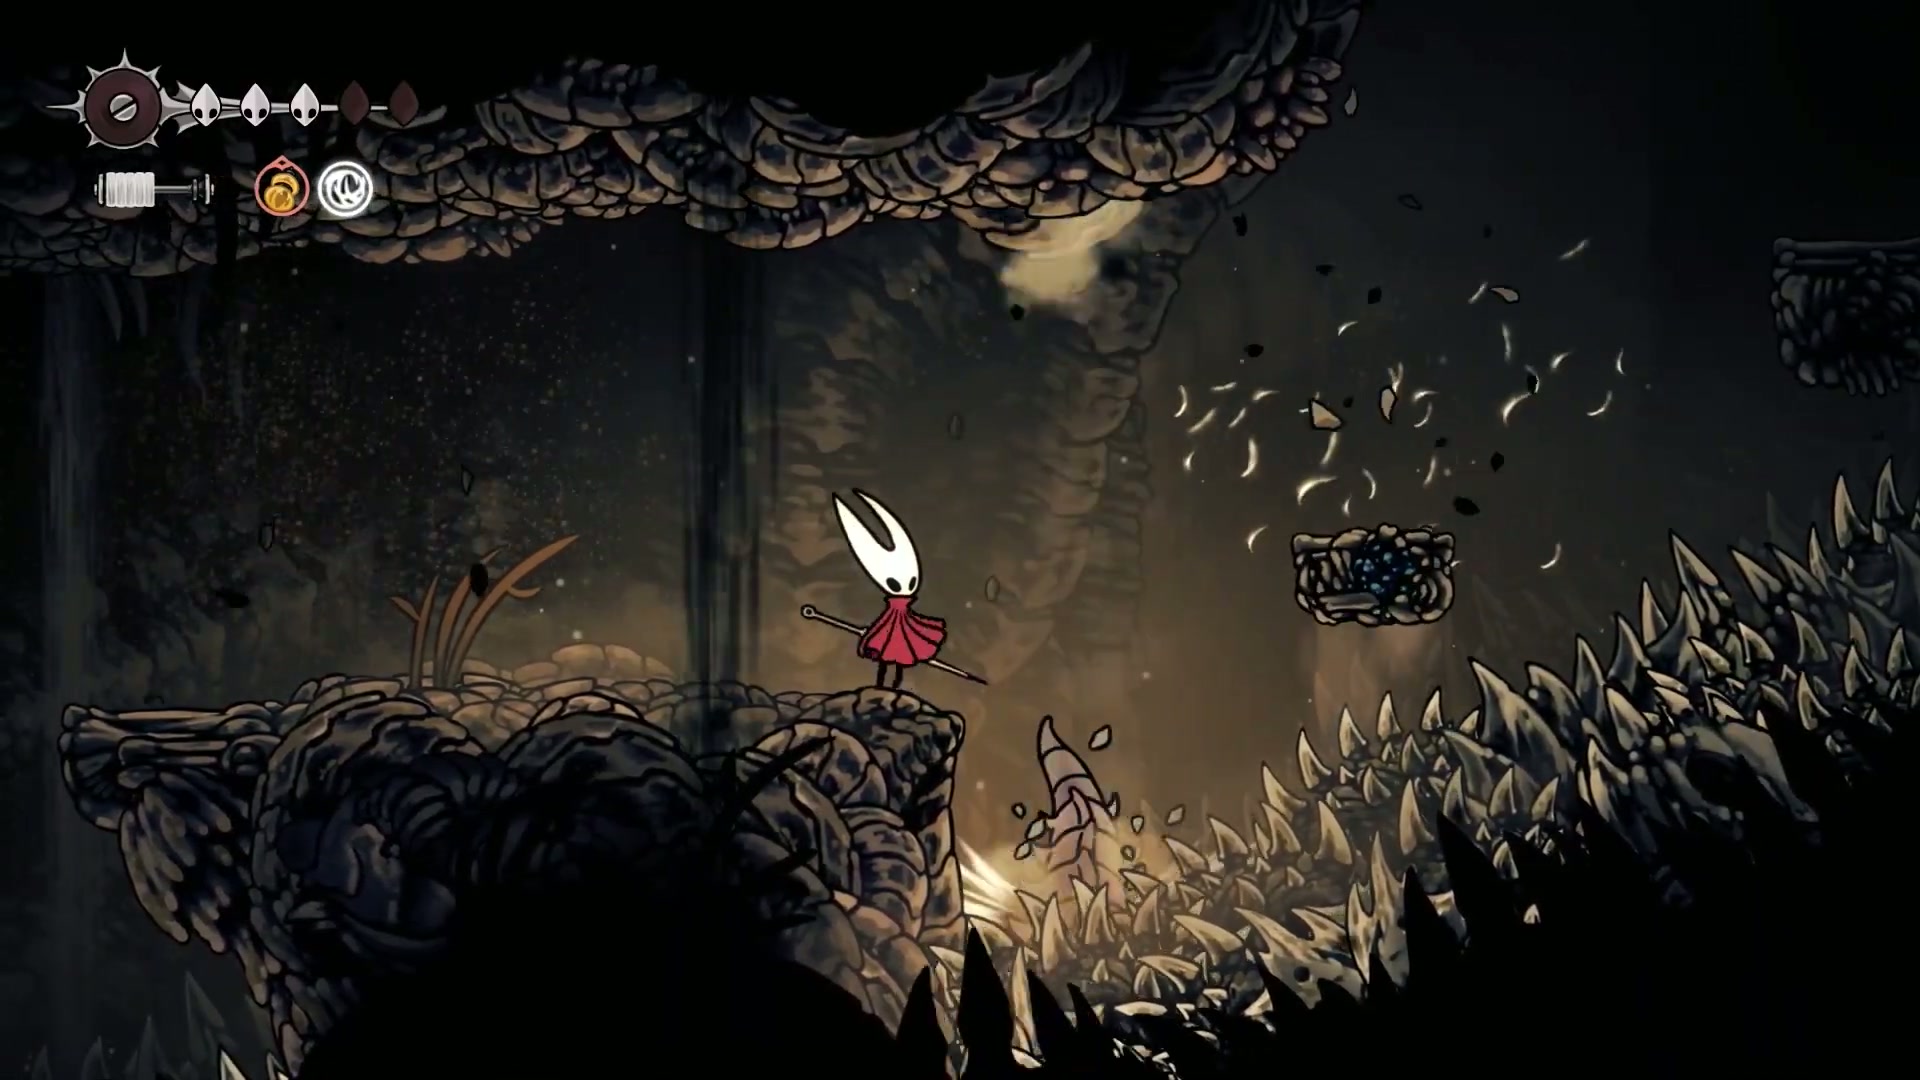
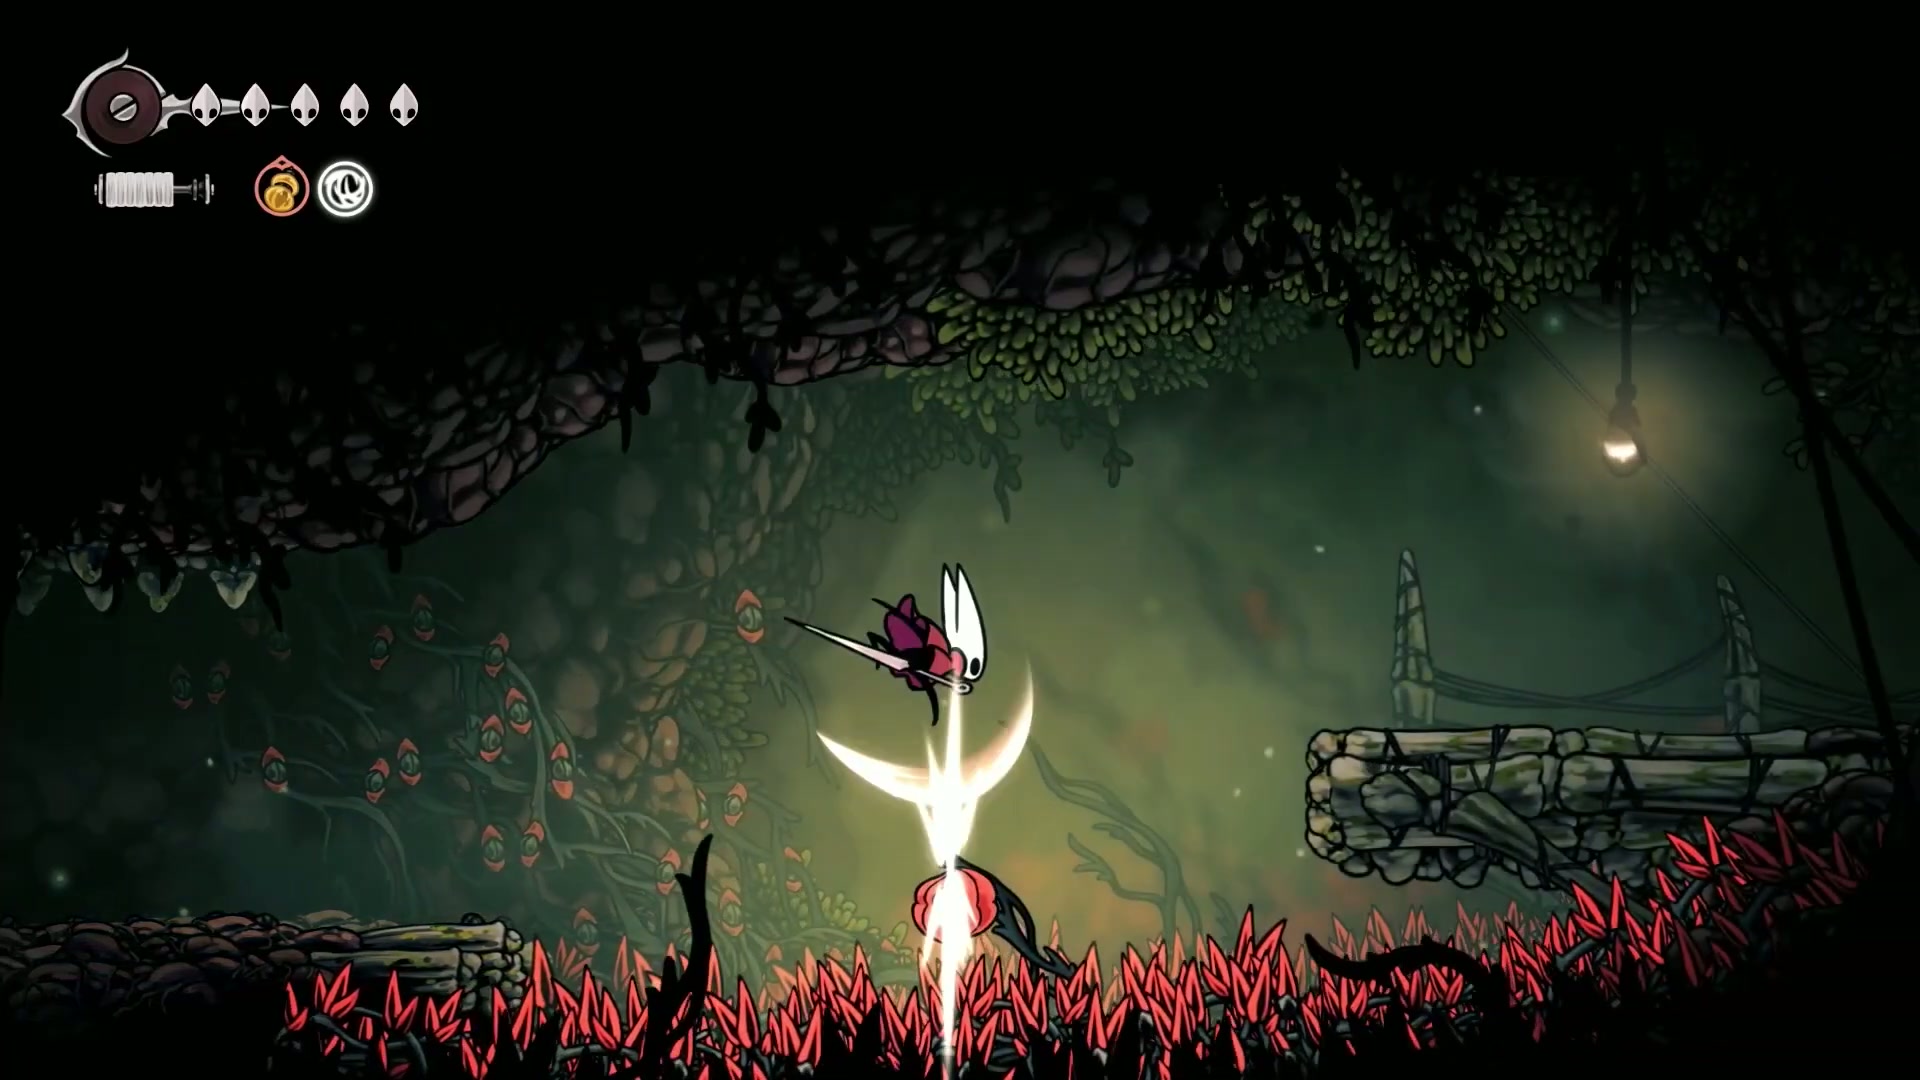
Welcome to Hunter’s March, the place responsible for more broken controllers than any other zone in Pharloom. The community hype is real, but a lot of it comes from players attempting this optional area way too early, without key abilities like dash, wall cling, or float. We have those, and we’re going to use them to pull off a legendary cheese that saves us from farming 500 beads for a key in Bone Bottom. I’m a broke bitch, and you probably are too. Let’s go cheese the shortcut.
🔥 Key Takeaways:
- 💡 You need at least 70 beads in your possession for this section.
- ⚡ This cheese skips the 500-bead key from Bone Bottom, saving hours of farming.
- 🎯 Resting at the correct bench is mandatory in case you die.
💬 Community Quote:
“sometimes in life you can get screwed over, but other times you’re going to get fucked. And today, ladies and gentlemen, we’re going to do both.”
🎮 Step-by-Step Breakdown:
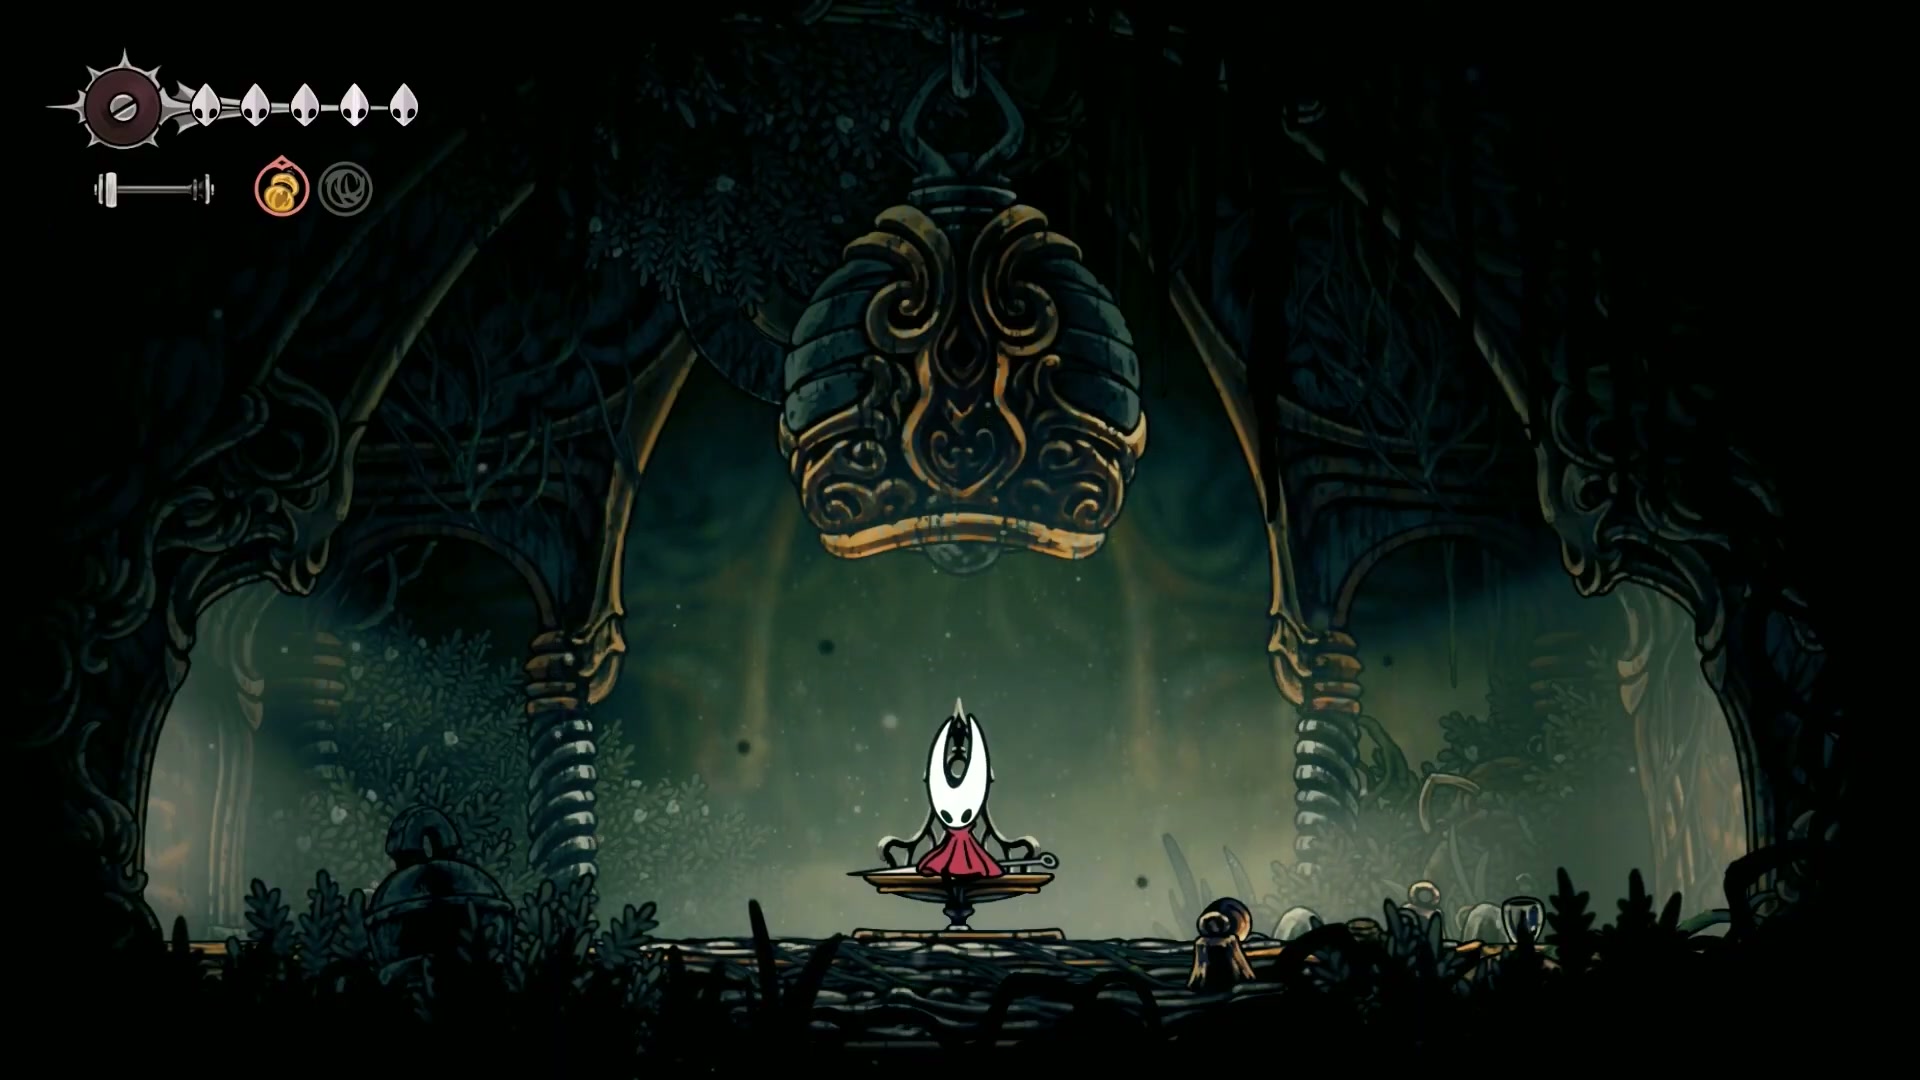
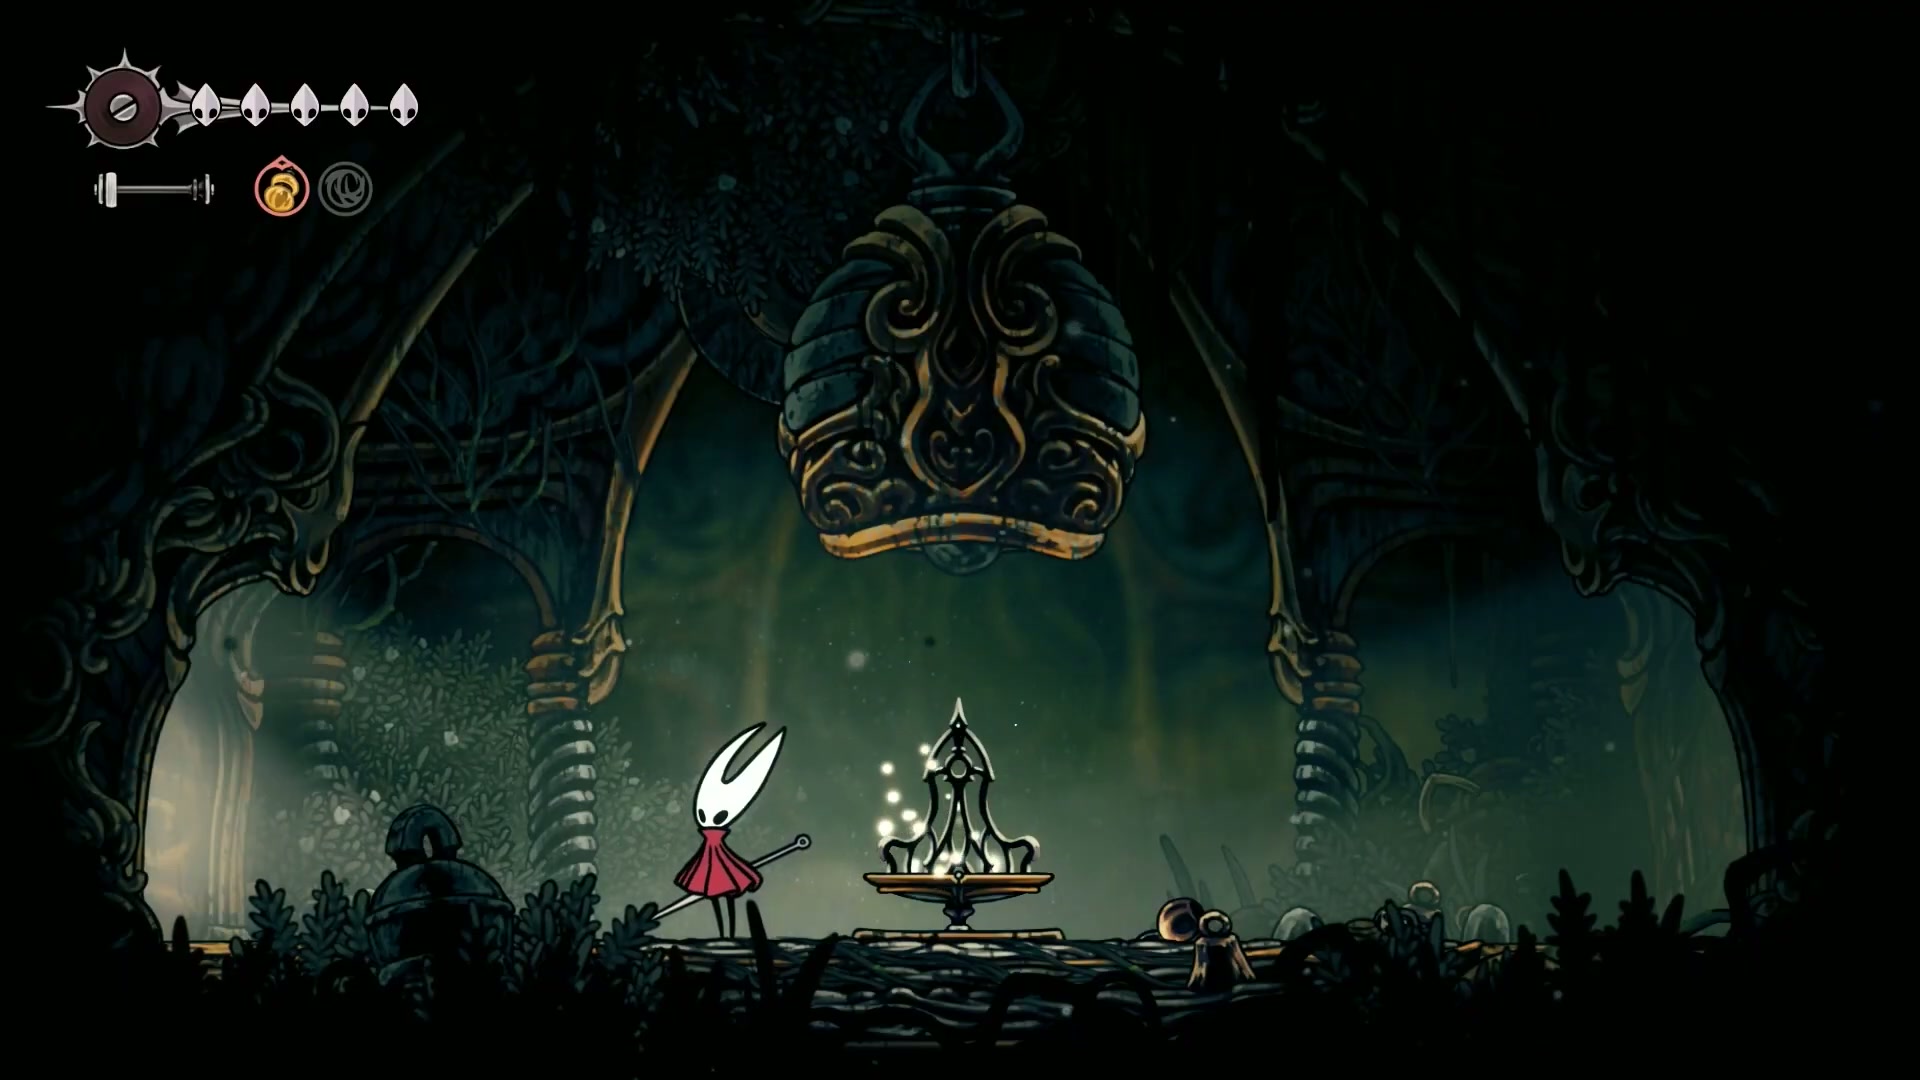
-
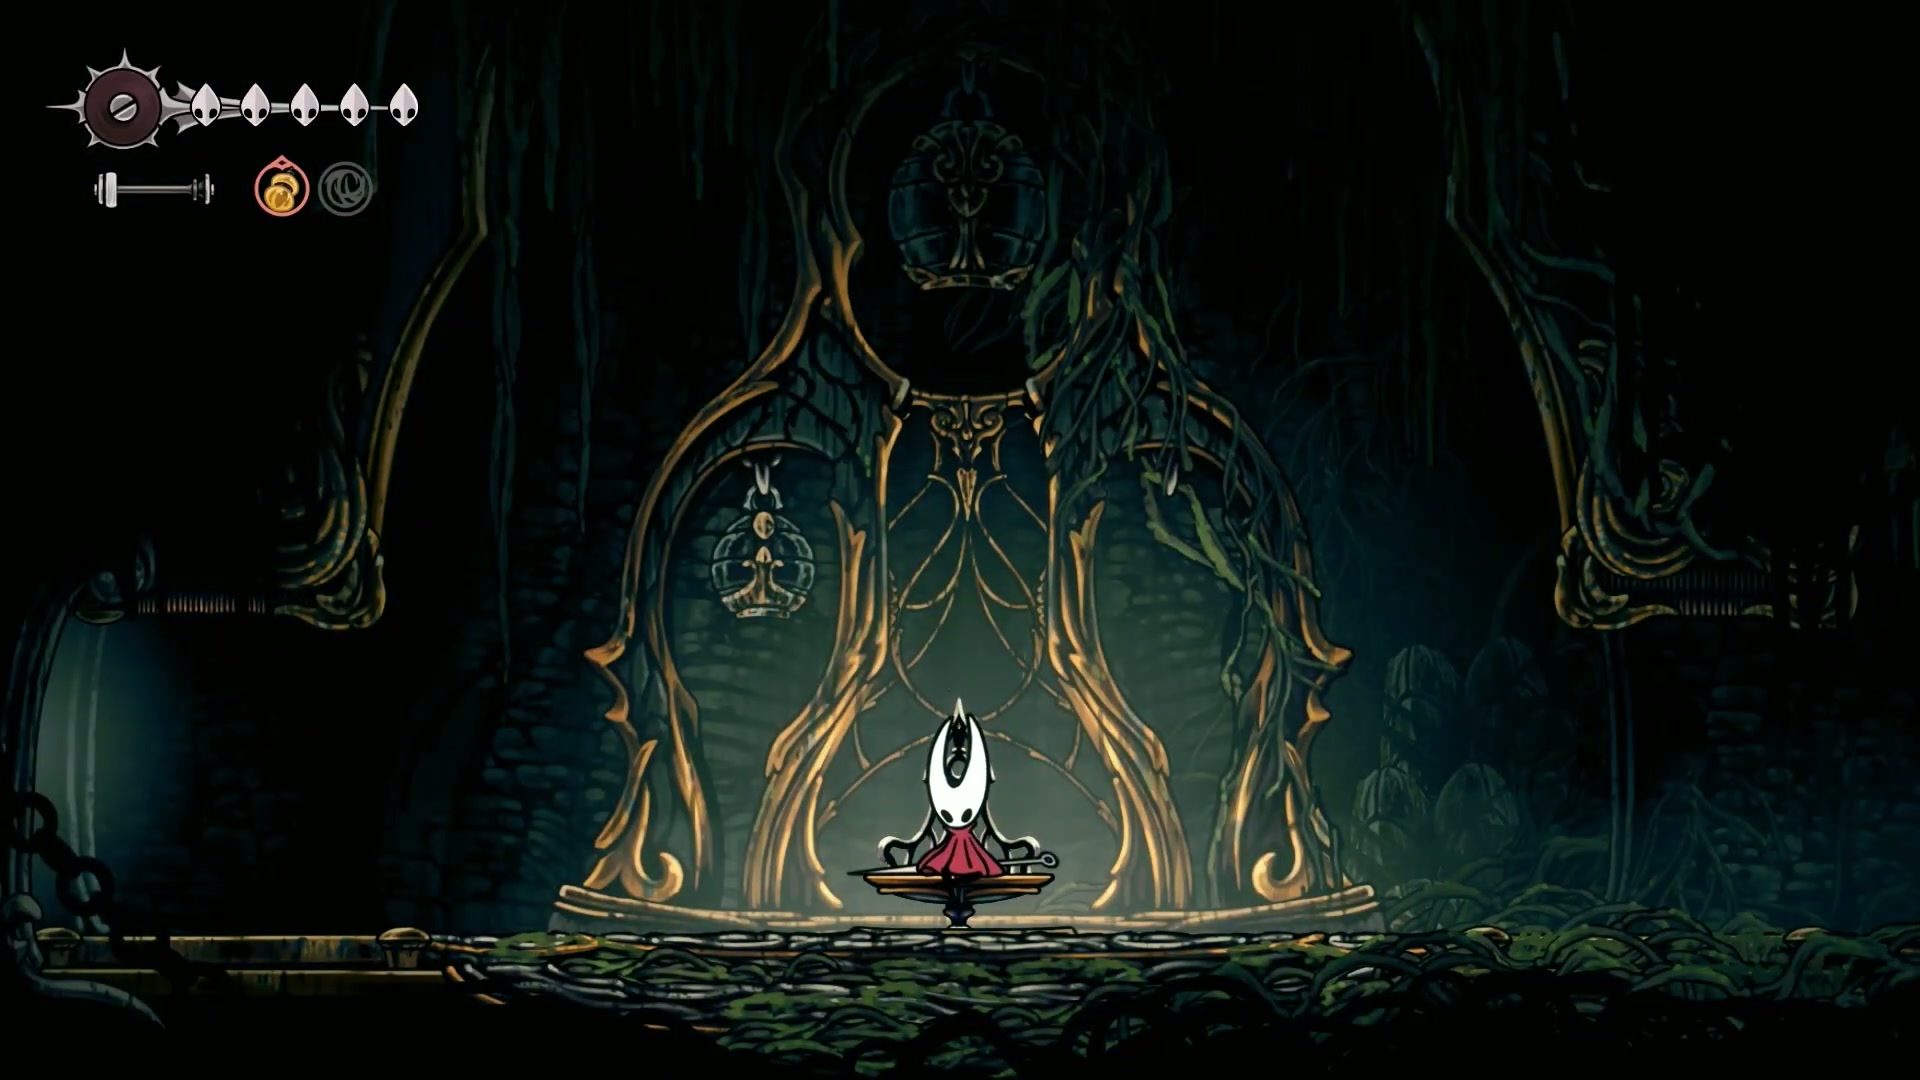
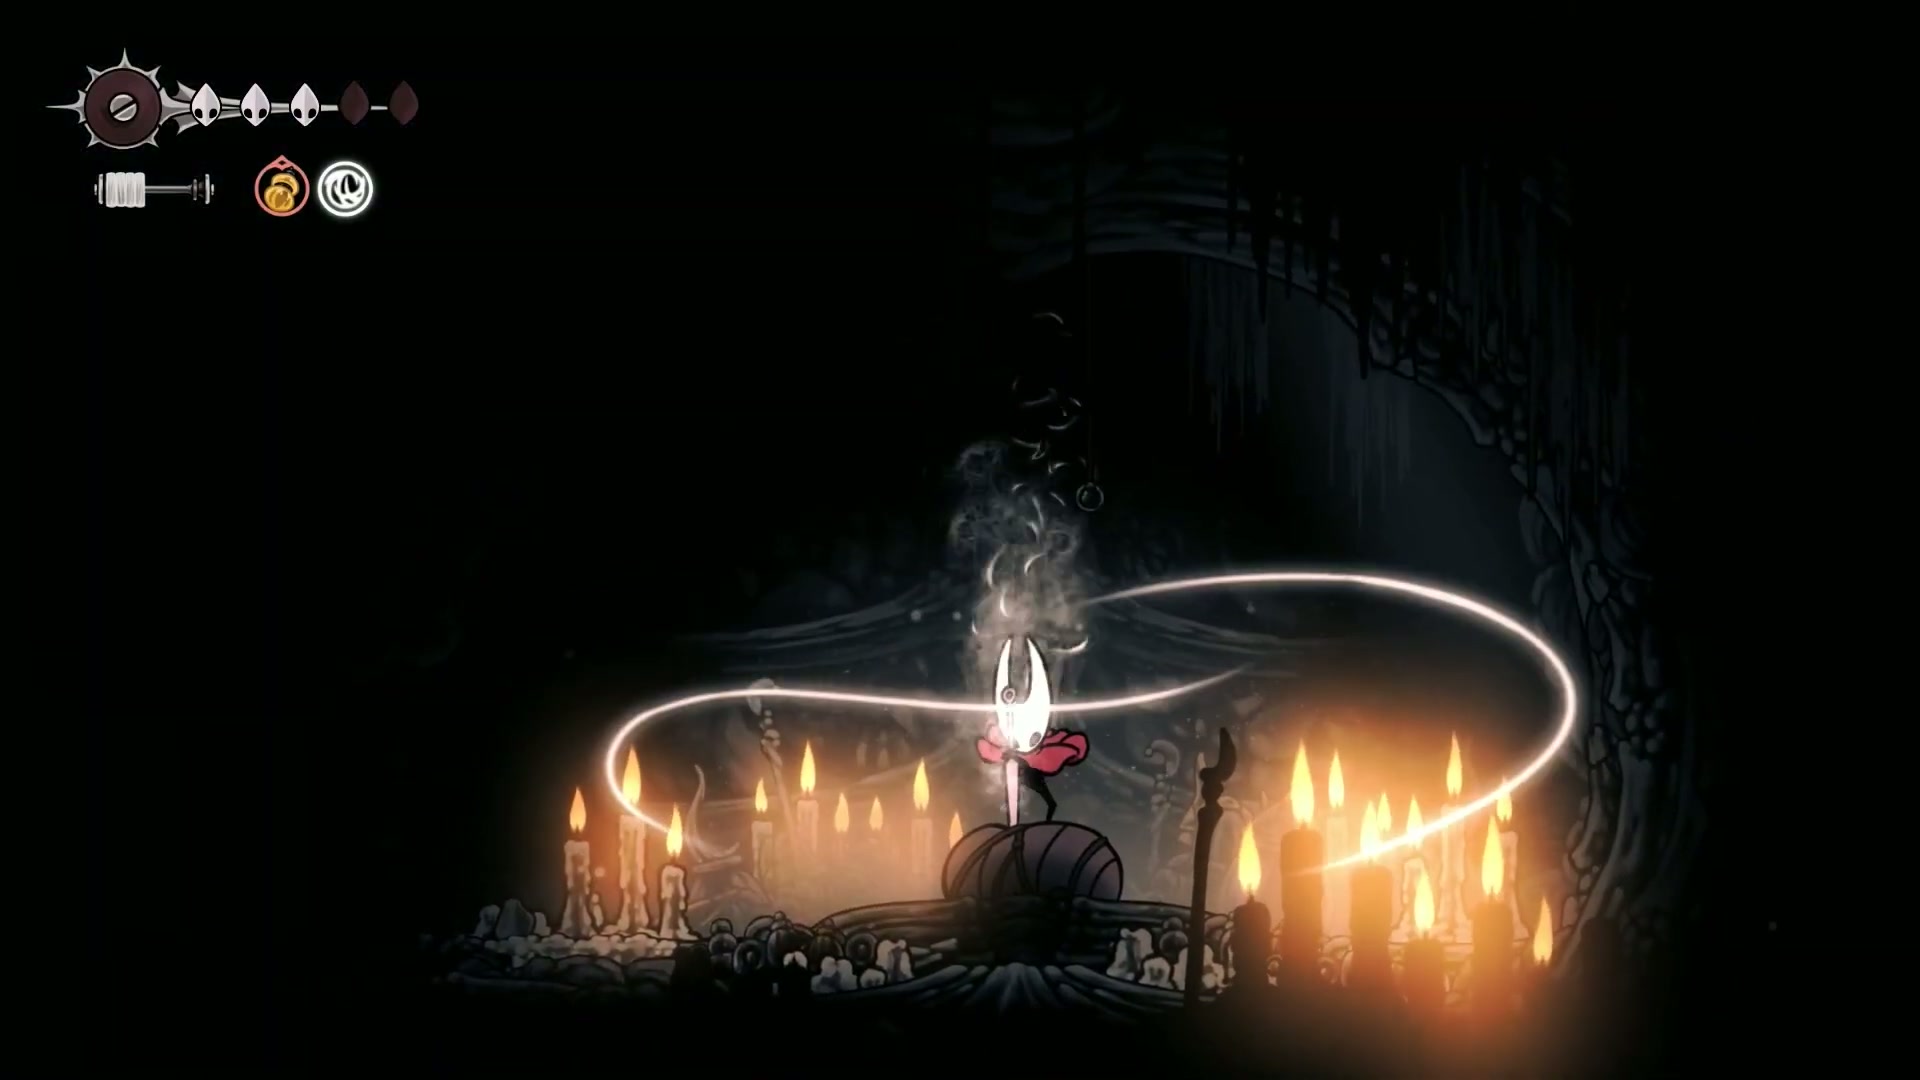
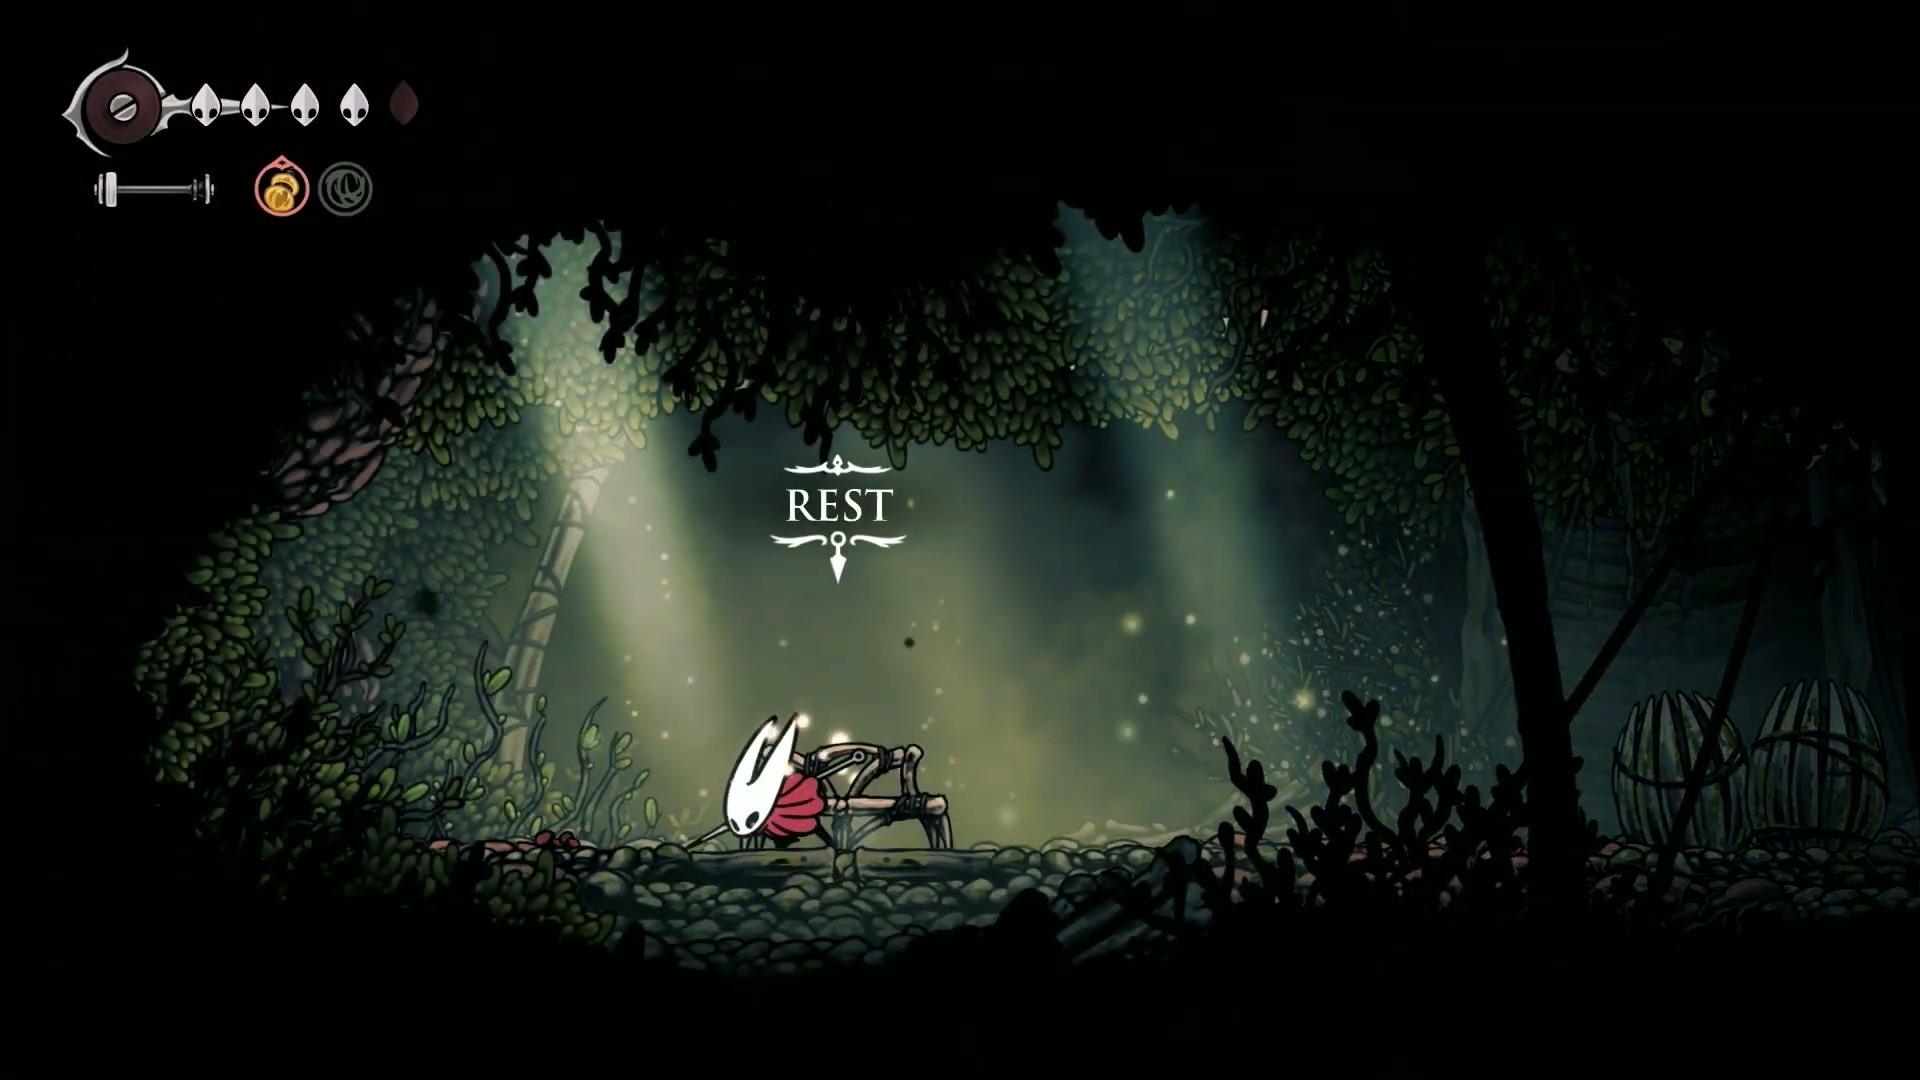
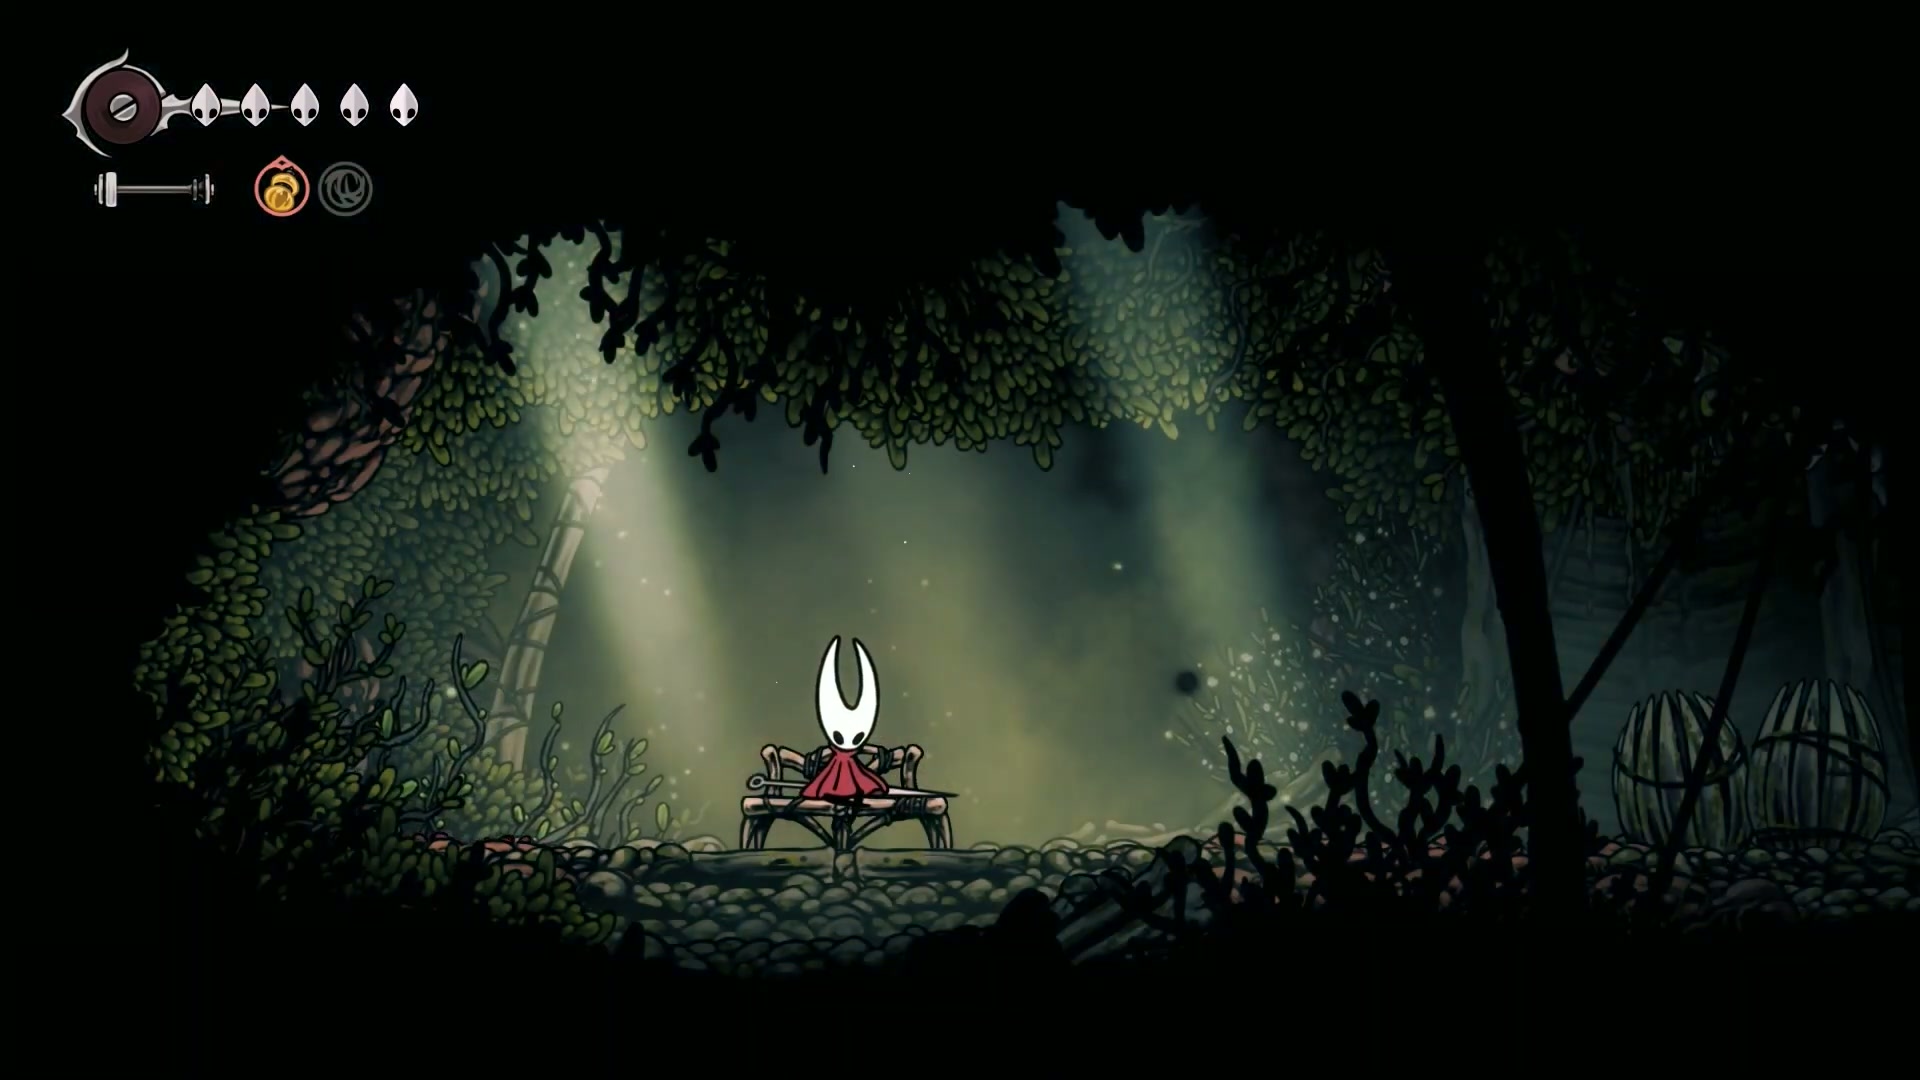
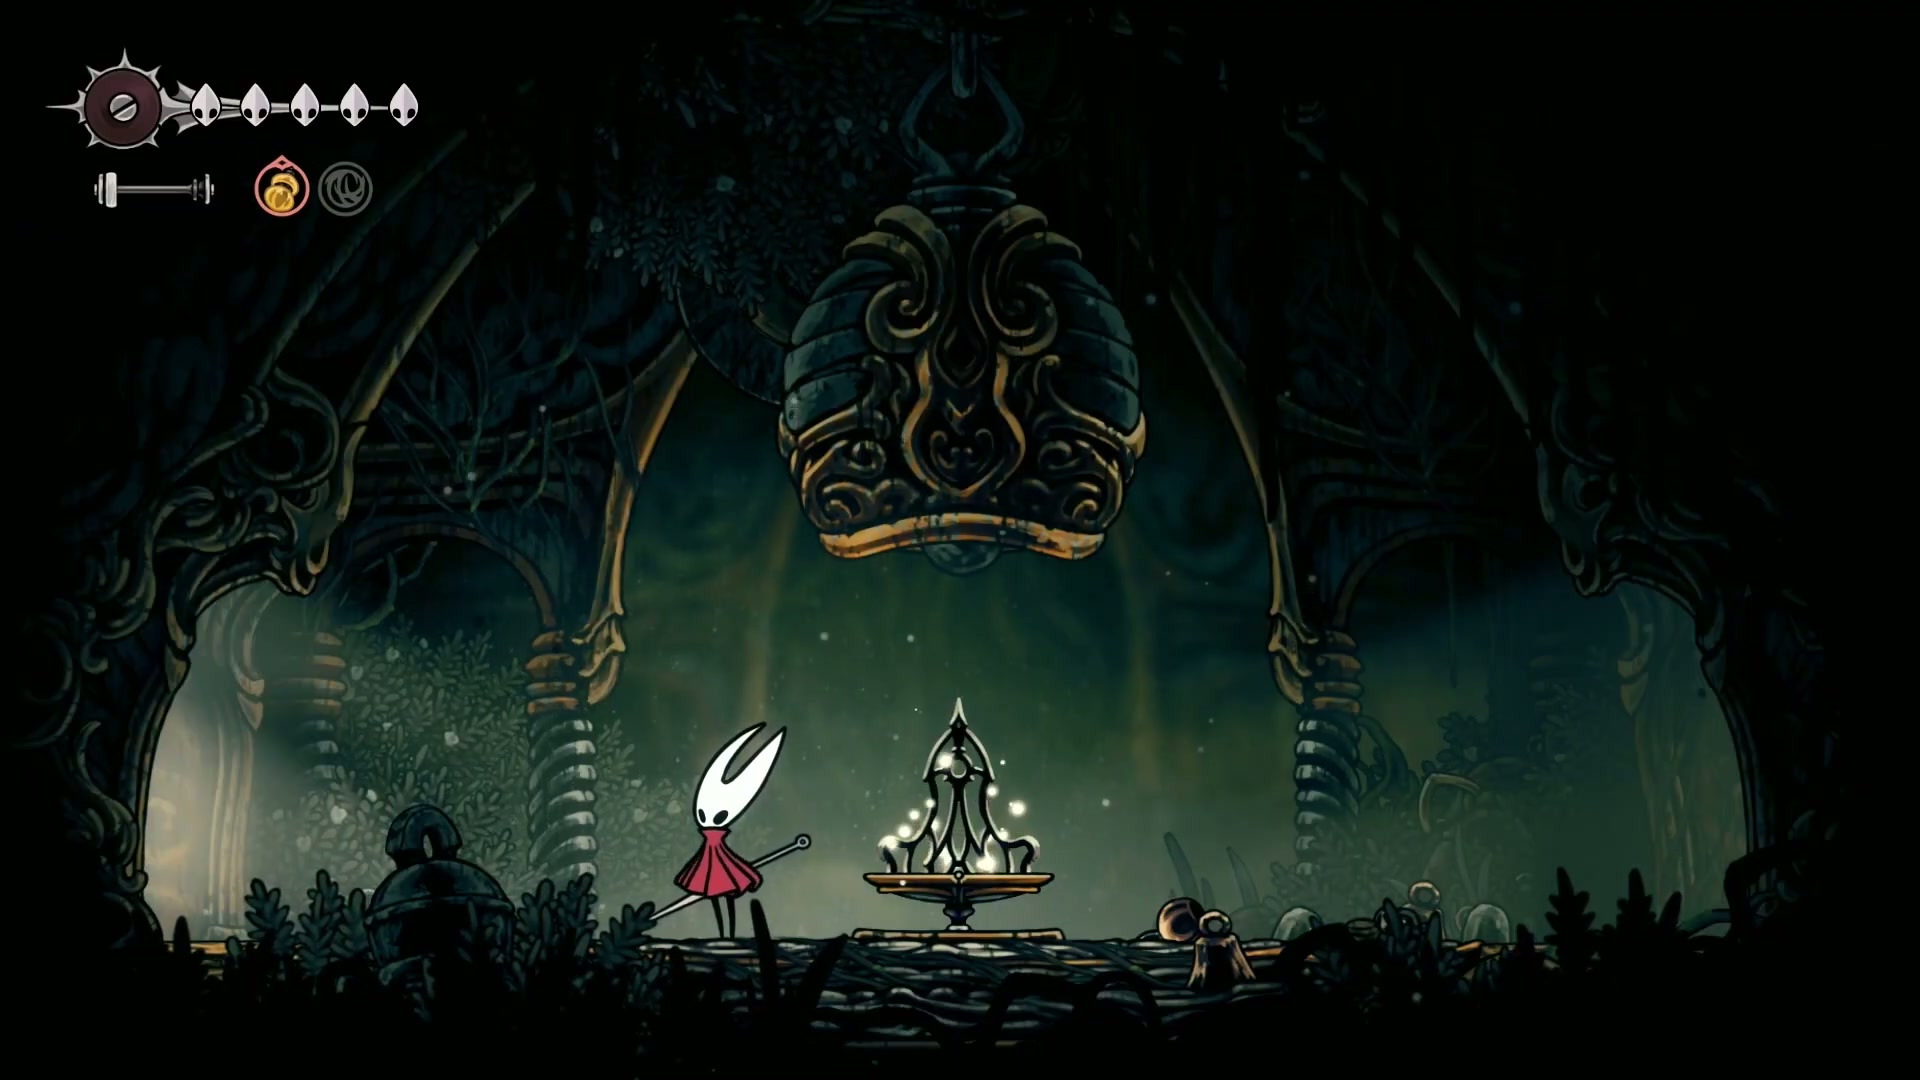
The Setup - From the start of the area, drop all the way down. Make sure you have at least 70 beads. Head to the bench shown above and REST. This is your respawn point. Do not skip this.
-
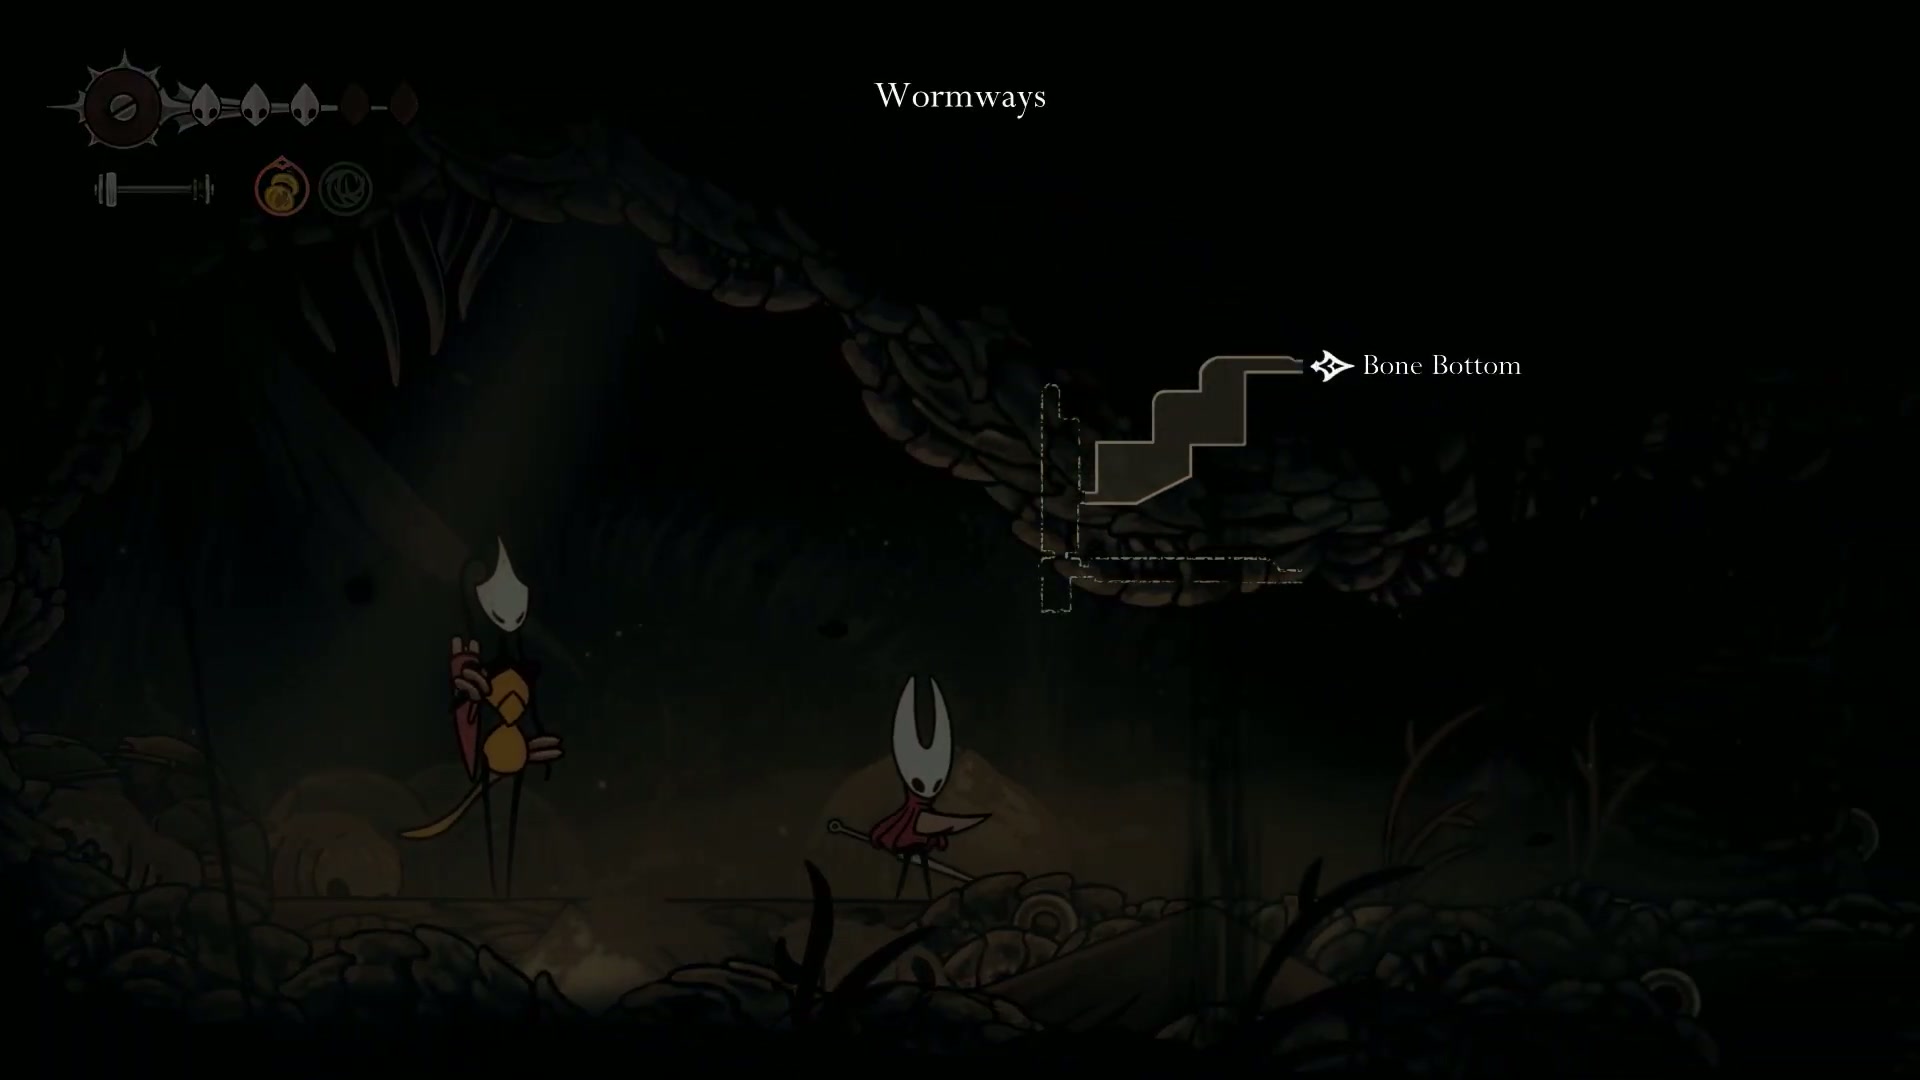
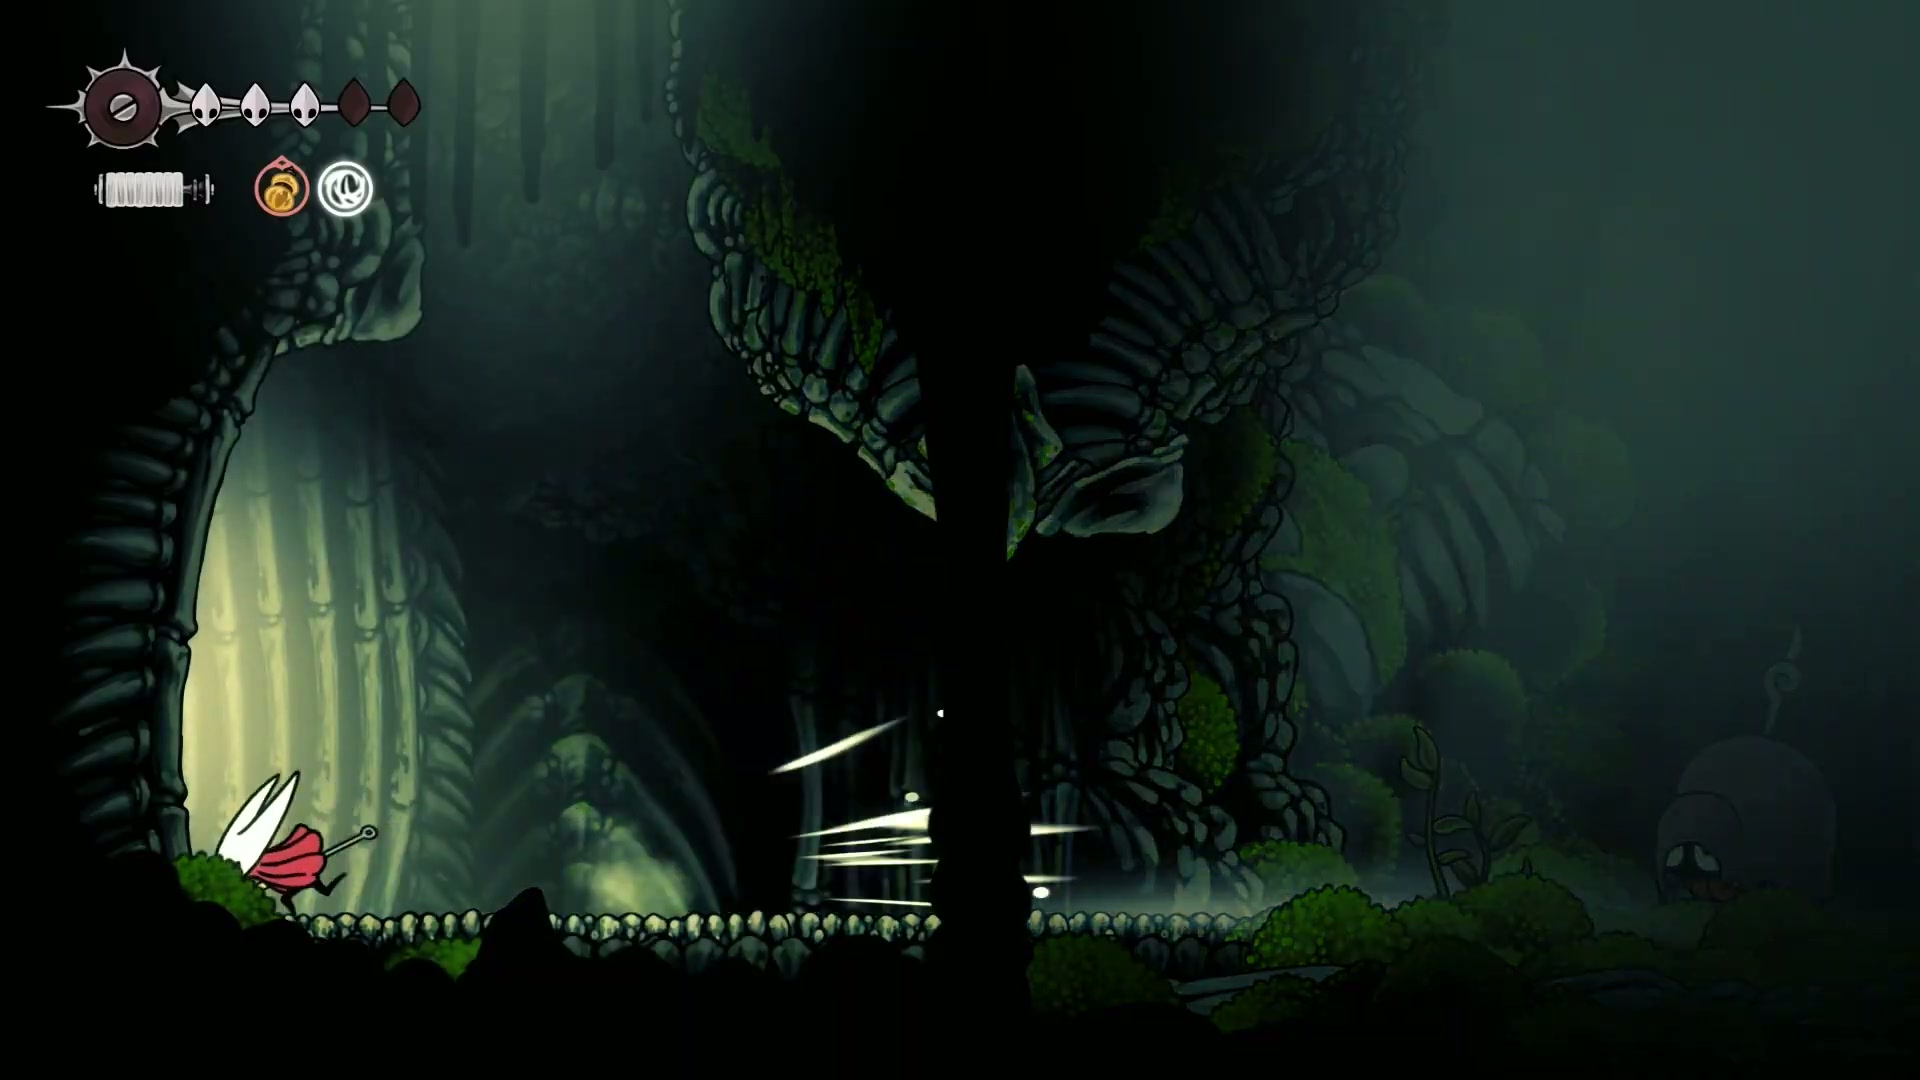
The Back Door - Head left from the bench. Instead of going right (which loops back to an elevator), jump across the cages. Go all the way to the left past the breakable bead caches and enter the hidden doorway. This is the “back door” into the area the 500-bead key is supposed to unlock.
-
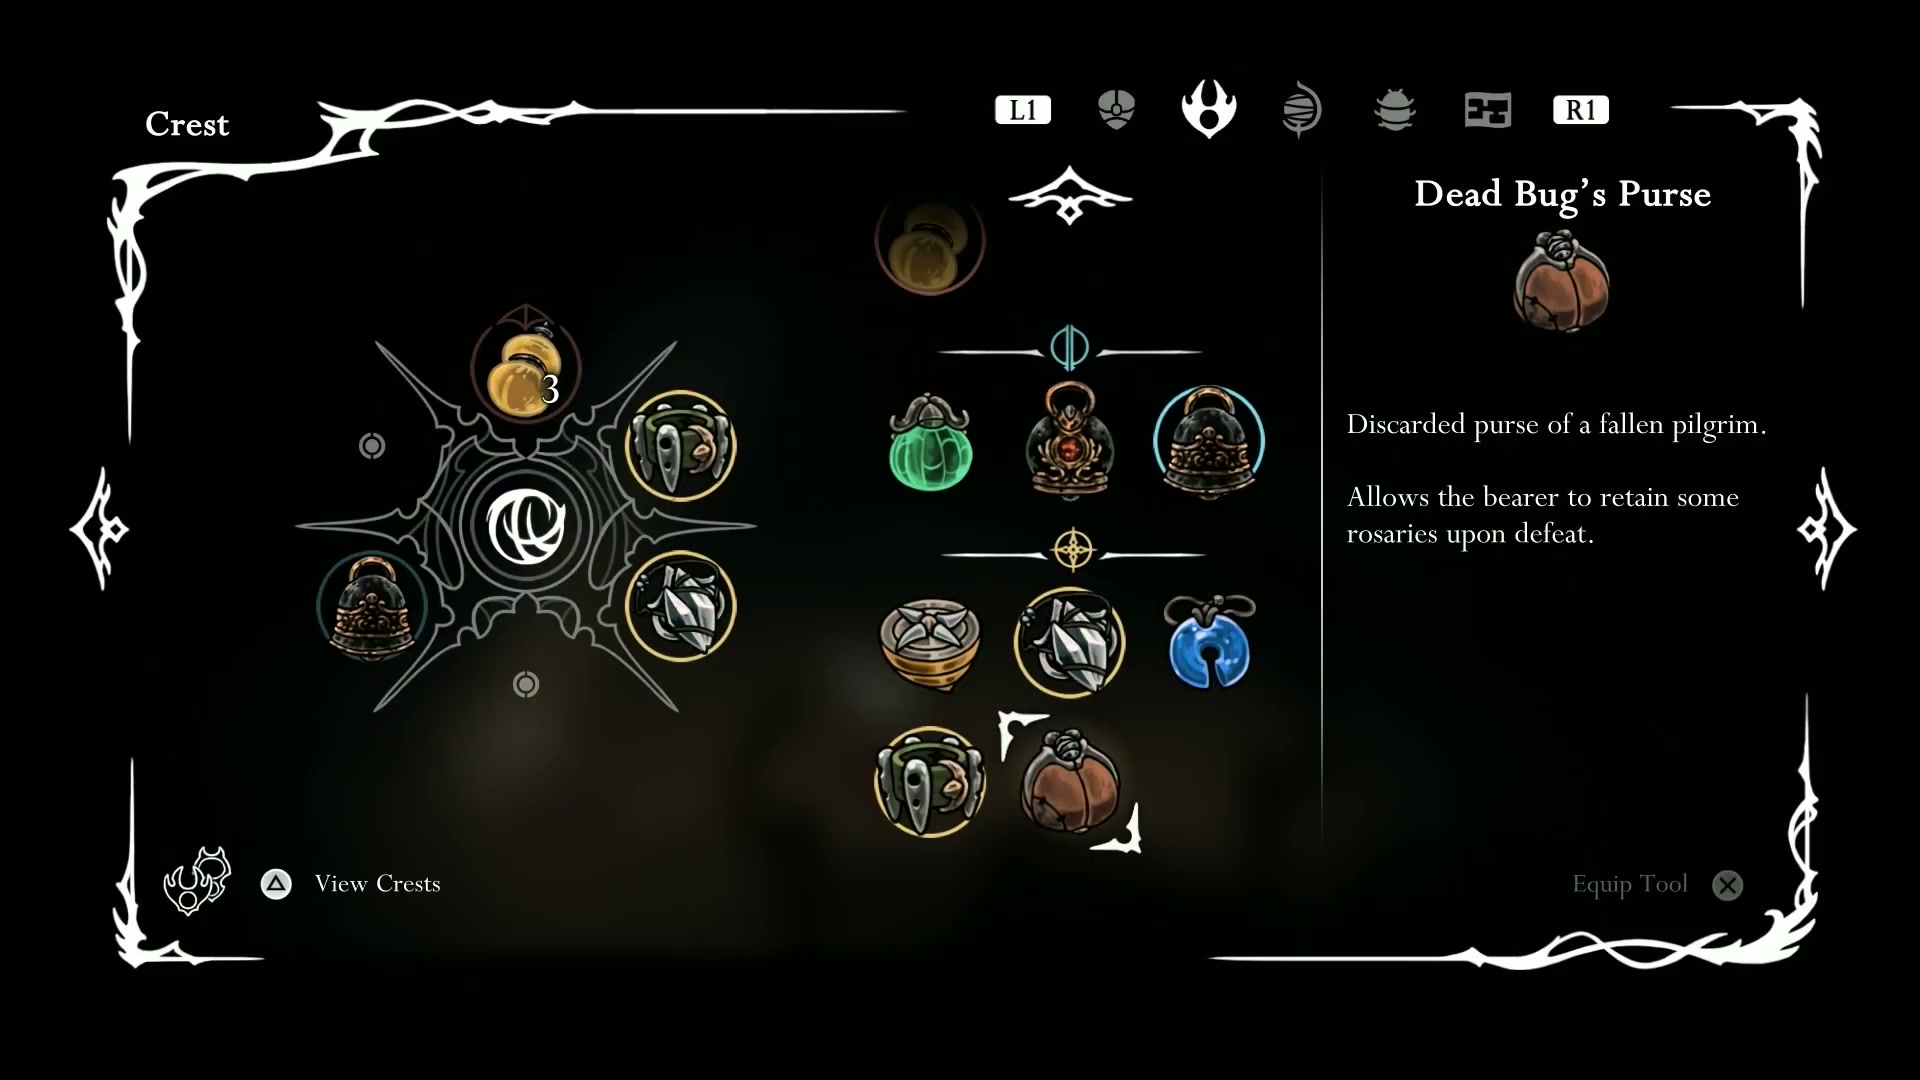
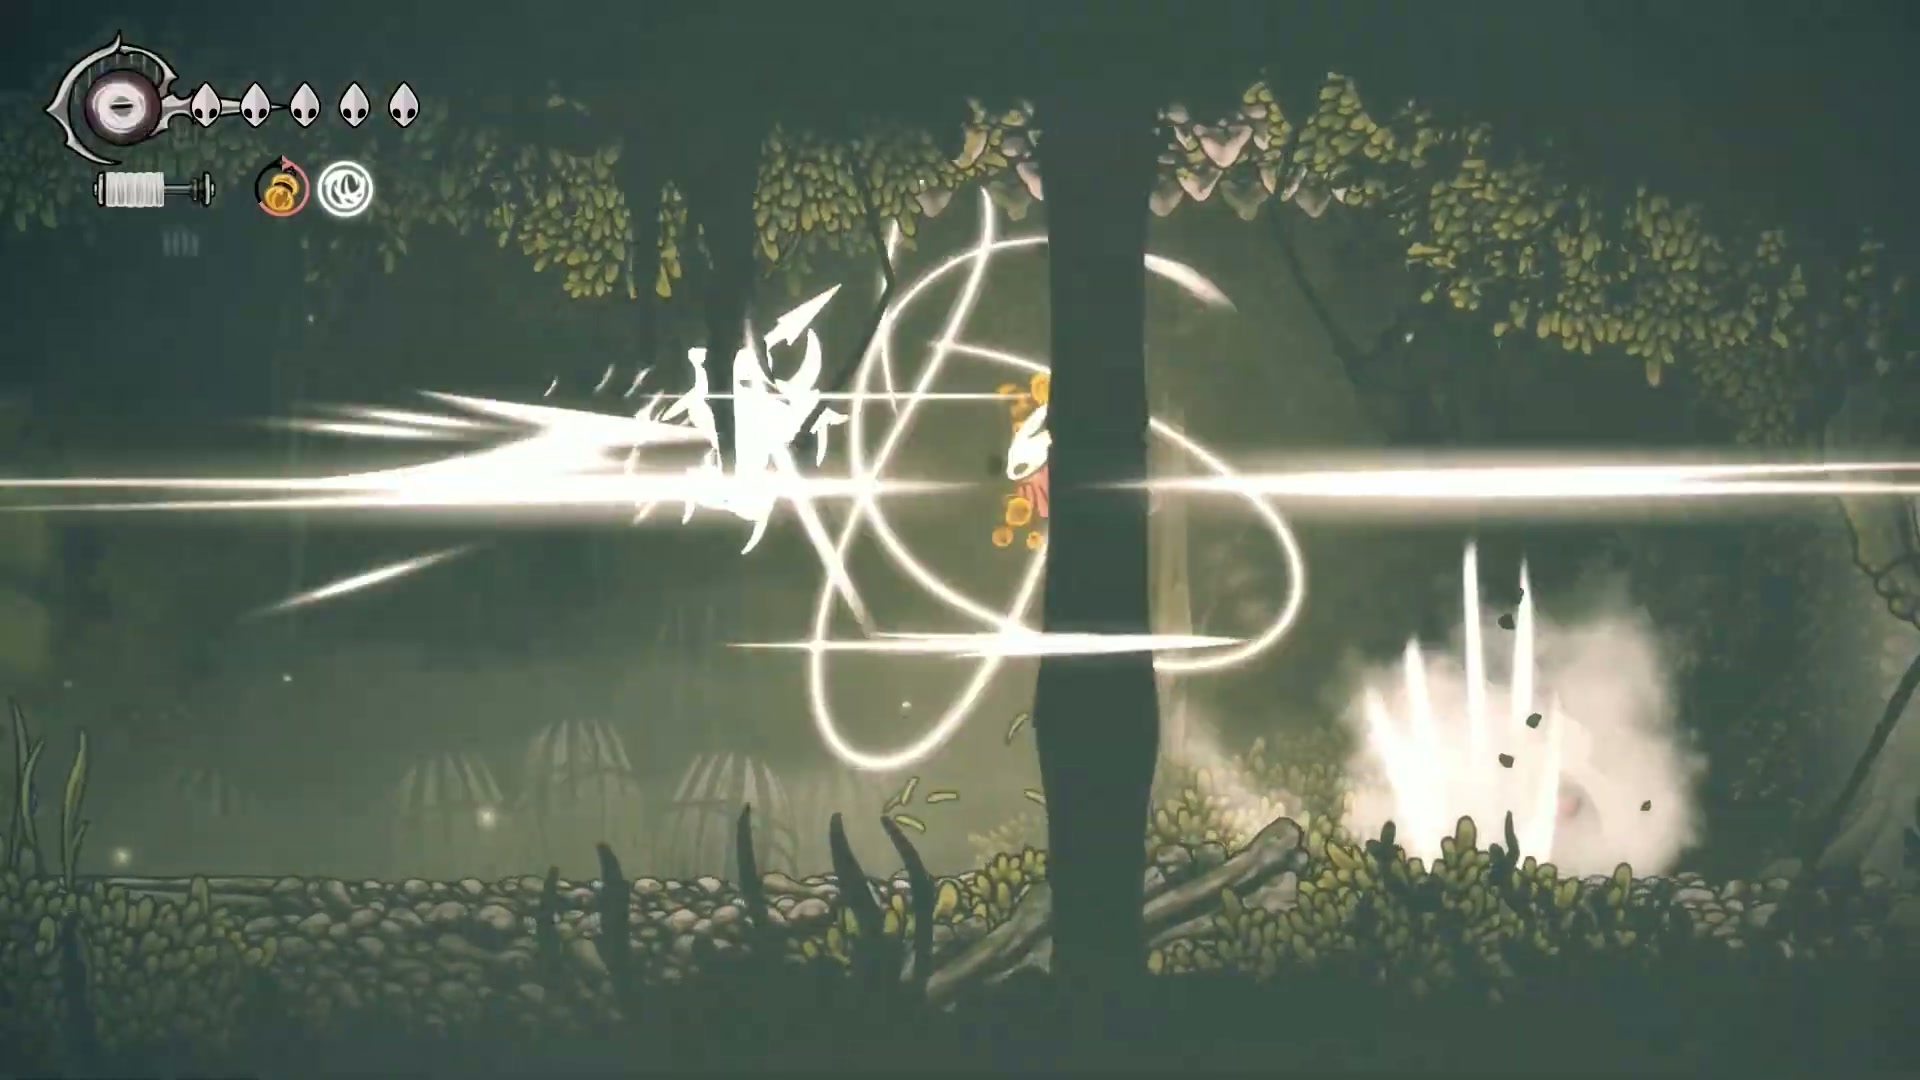
Secure the Goods - Inside this secret area, pick up the Dead Bug’s Purse, a key item that lets you keep some beads upon death. You’ll also need to get a journal entry by killing one of the small skittering bugs. Lure one near spikes or use your thread ability for an easy kill.
⚡ Section 2: Navigating Wyrmways & Finding the Wanderer’s Crest
Covering segments [4:17 - 14:23] insights
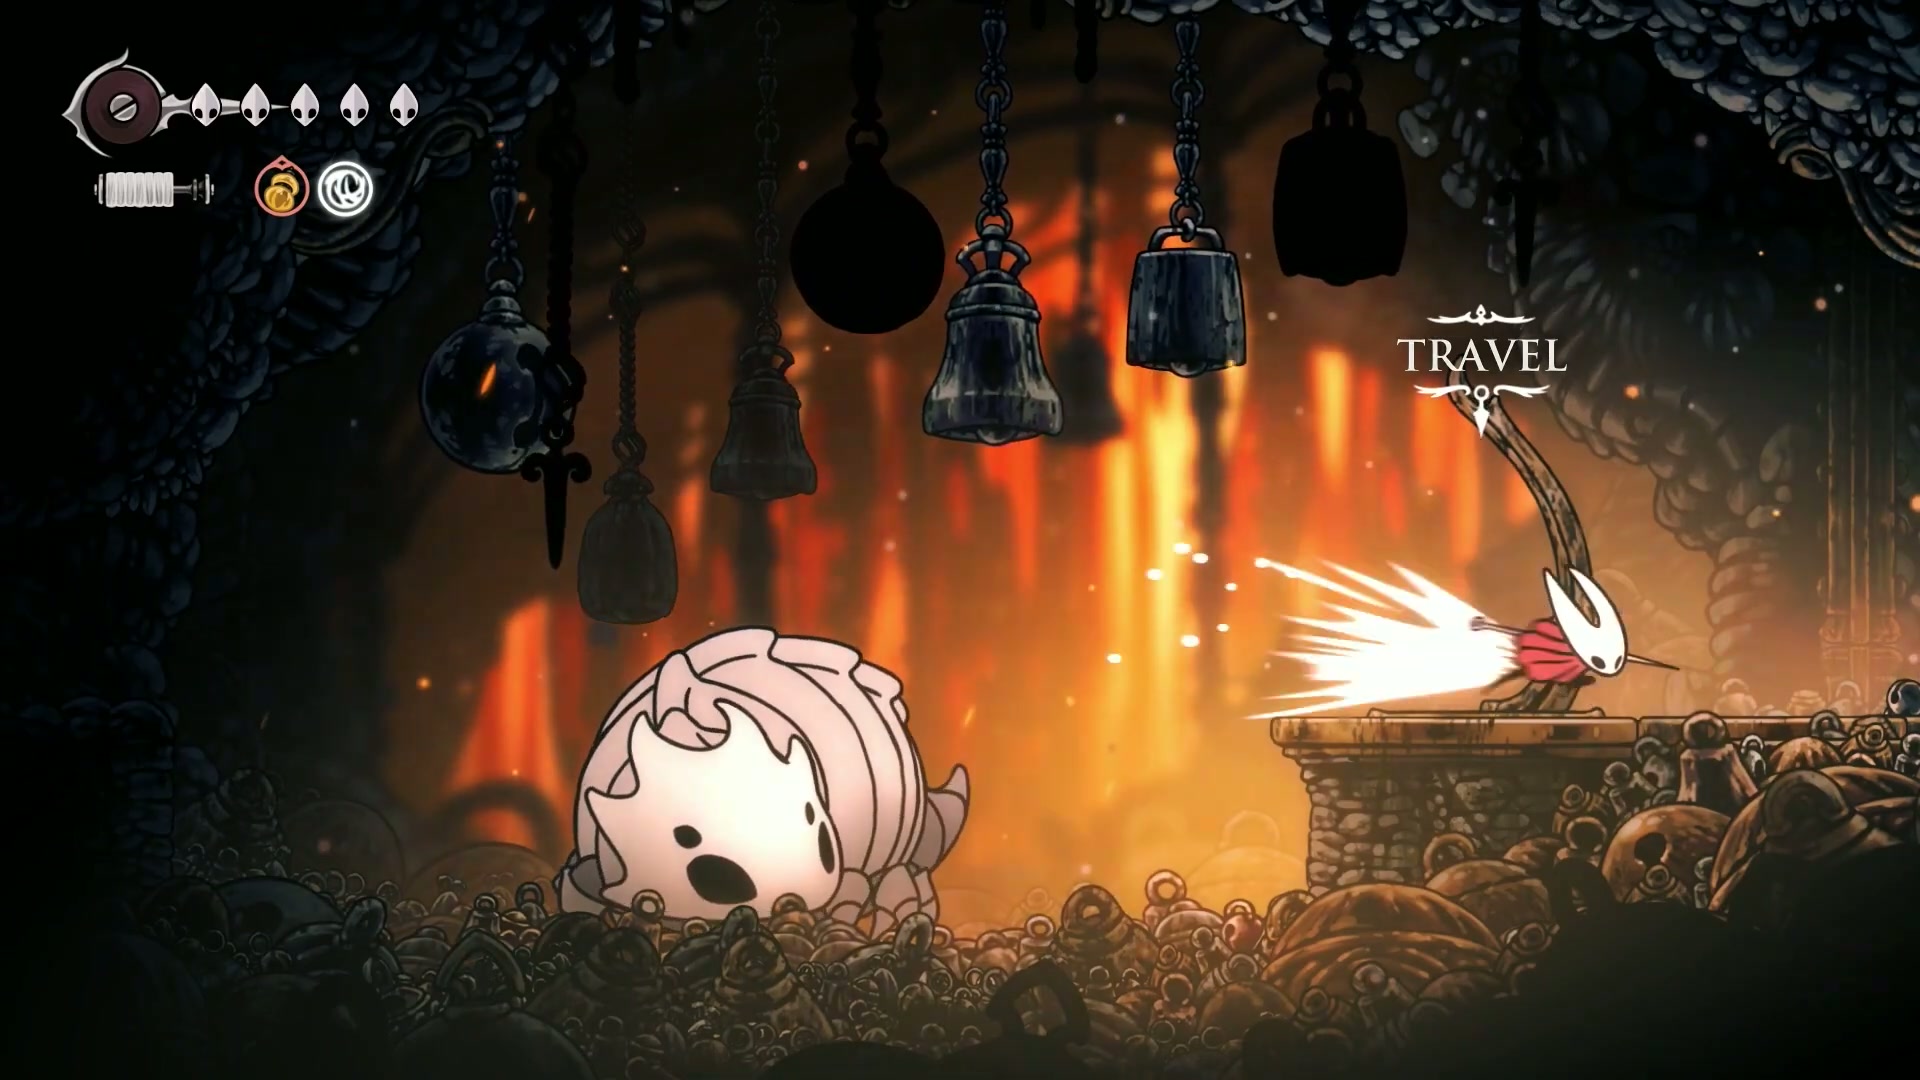
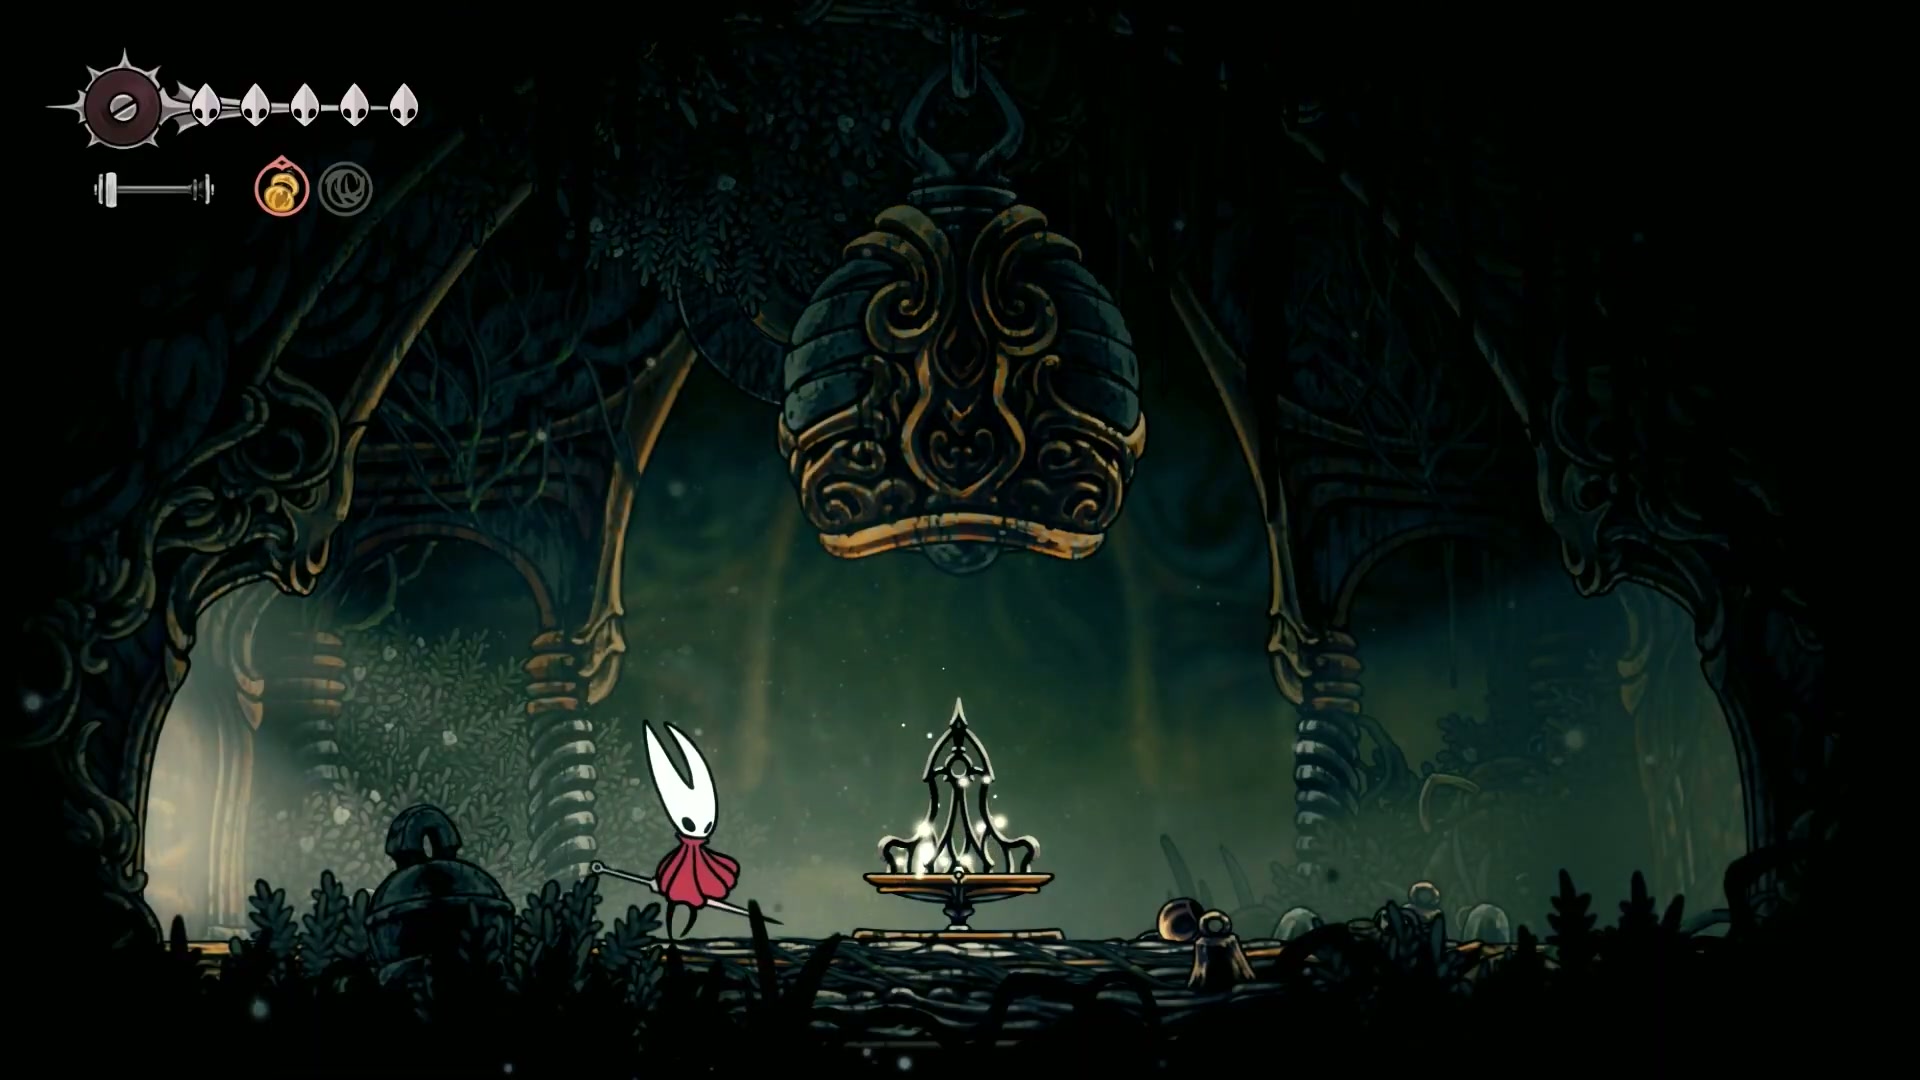
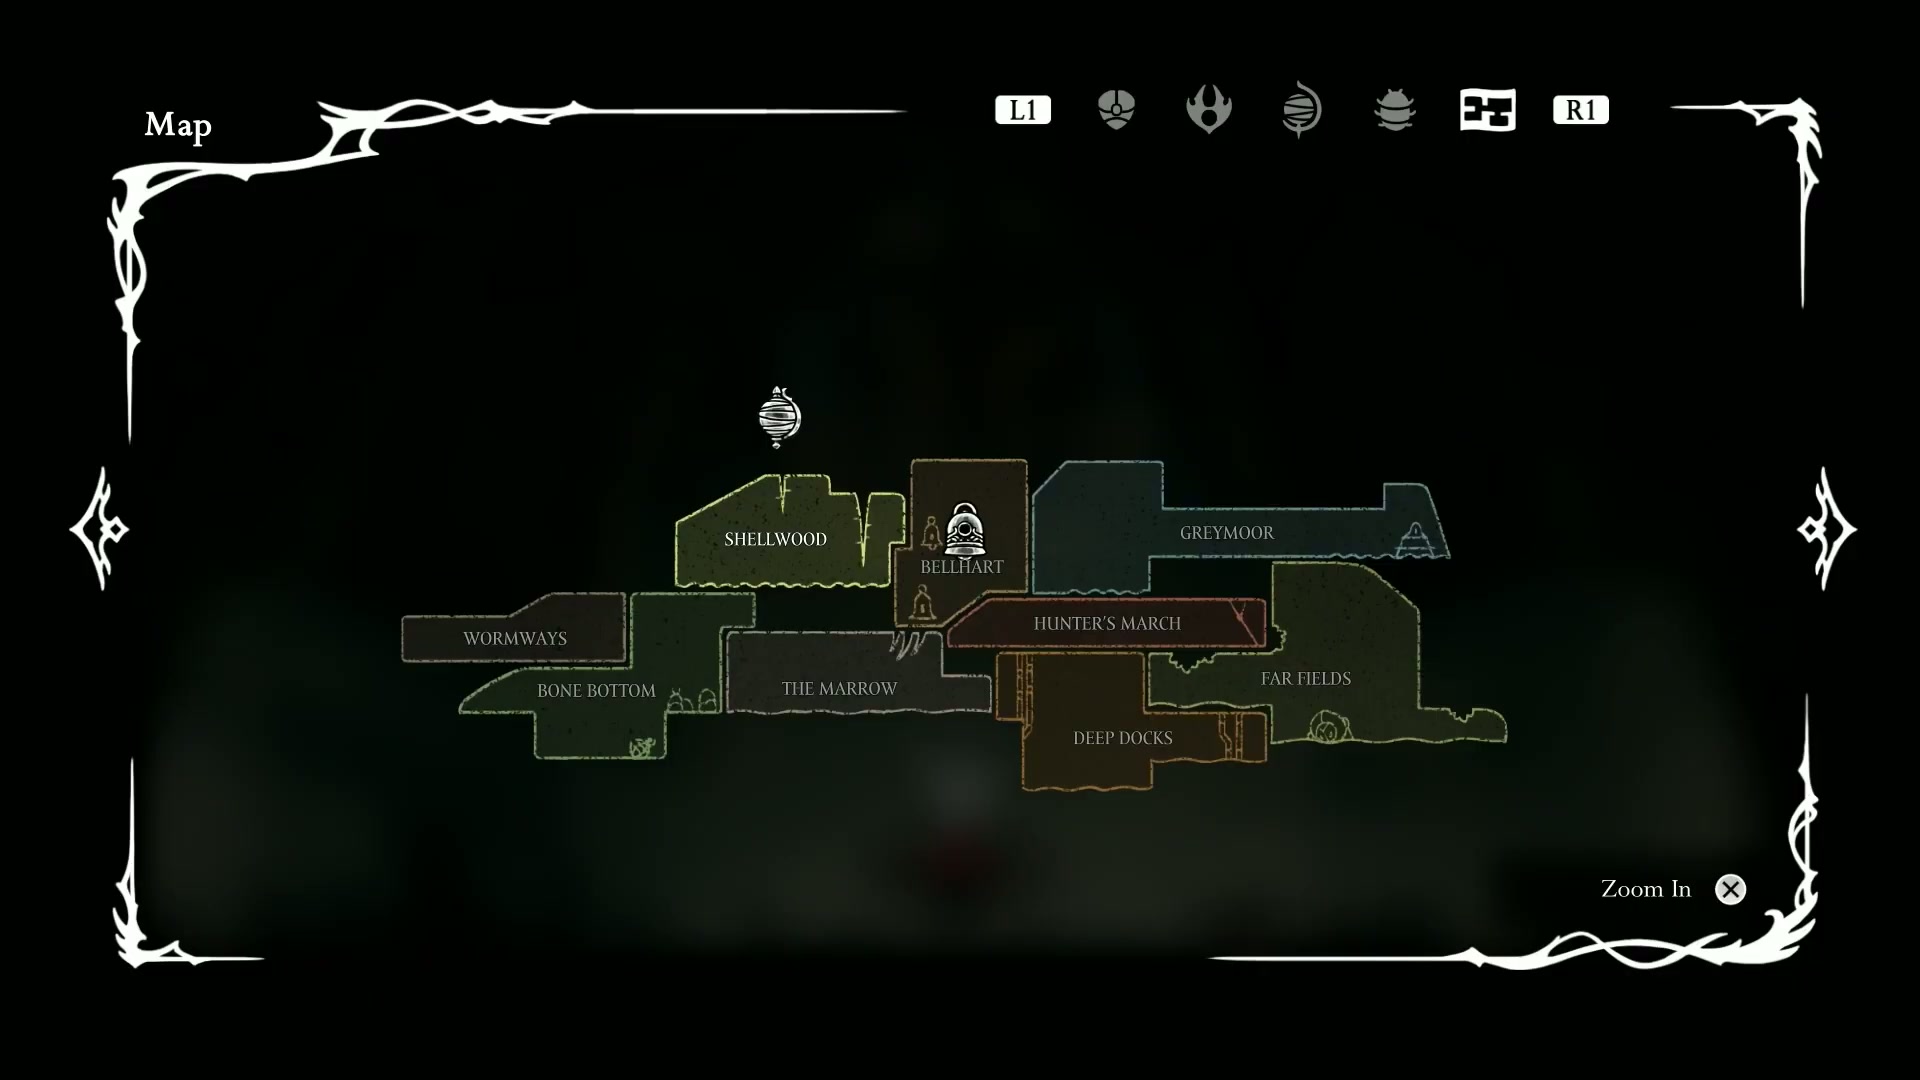
Now that you’re in, find our boy, good old Shaq the map maker. For 70 beads, he’ll unlock the Wyrmways fast travel network for this area. This zone is small but packed with secrets, including the real reason we’re here: the ultimate secret weapon for conquering Hunter’s March.
🚀 Pro Player Moves:
-
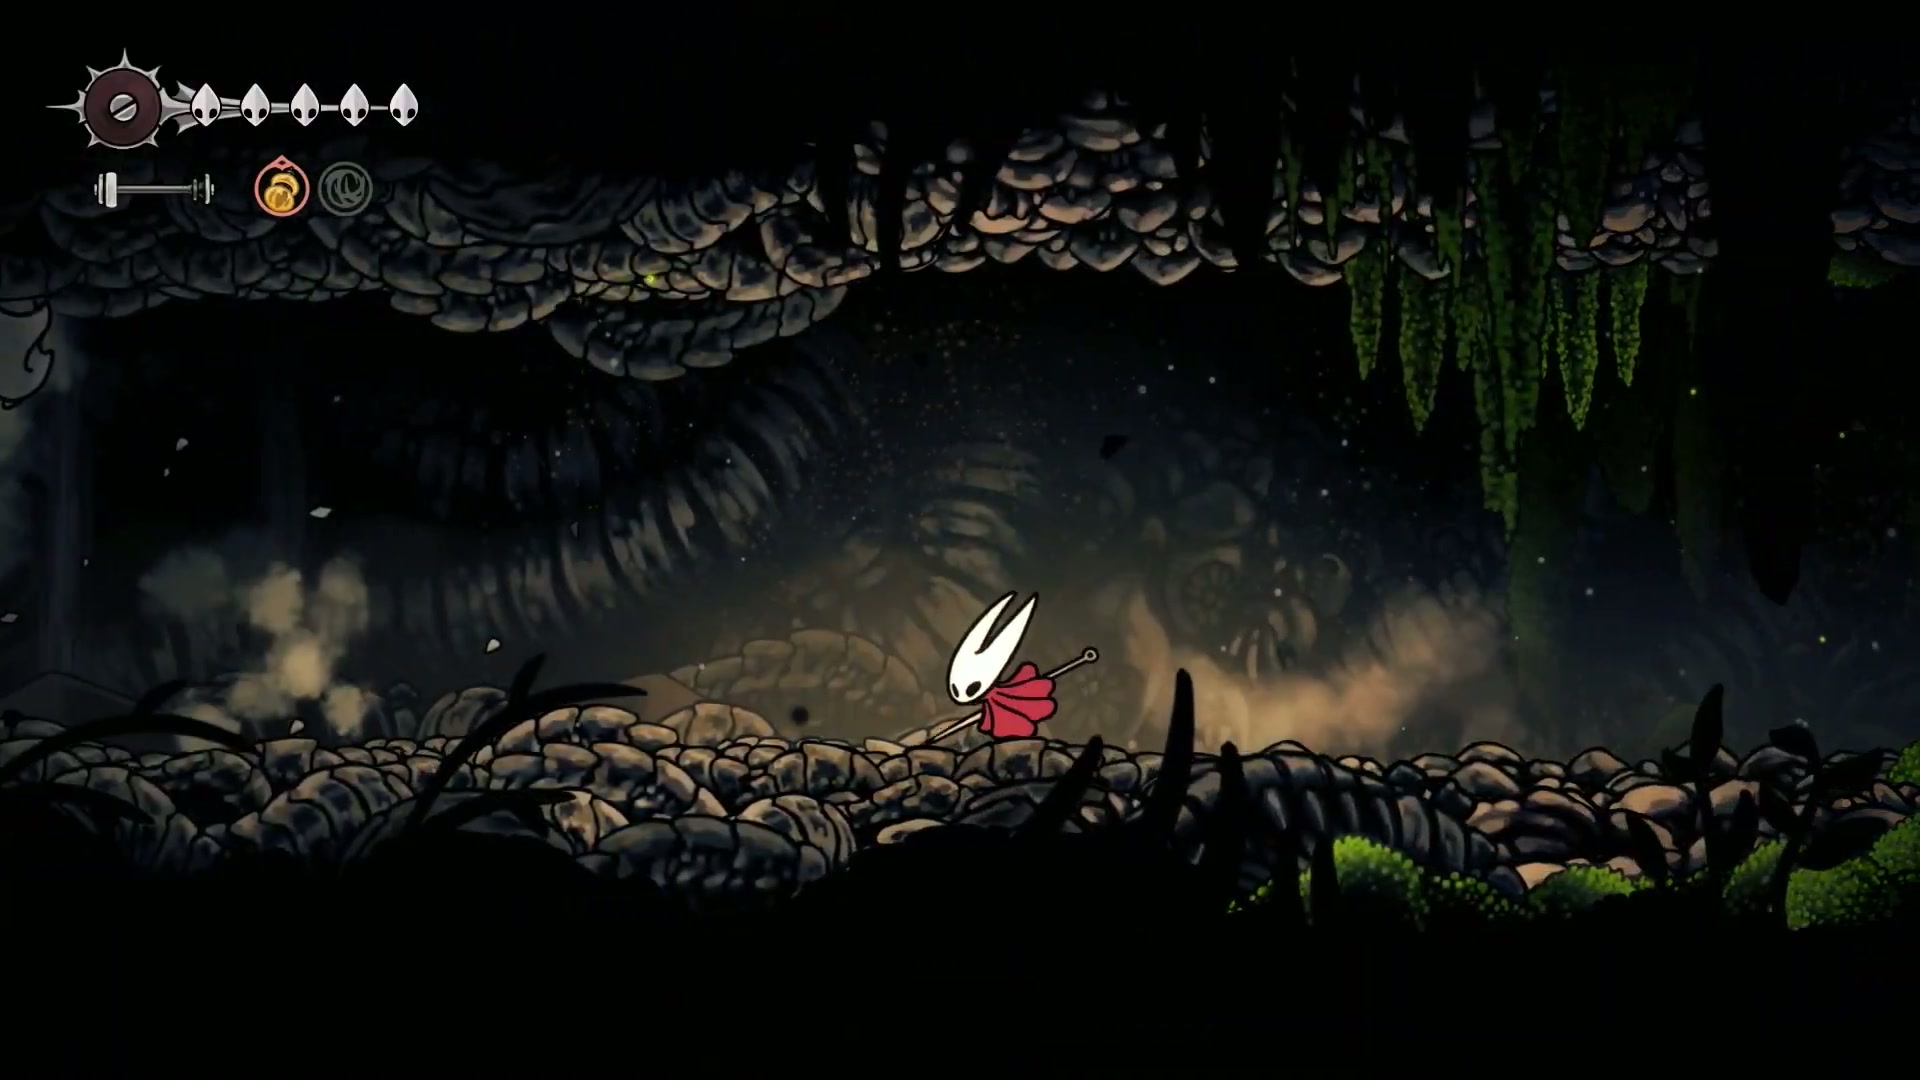
🎯 Health Farming: Find the endlessly respawning enemy near the bottom of Wyrmways to easily farm silk and get your heals back. This is a lifesaver since benches are scarce.
-
💪 Shortcut Mastery: After grabbing a Mask Shard and rescuing a kidnapped flea, you’ll backtrack to the locked door you were supposed to use the 500-bead key on. By coming from this direction, you can break it open and create a permanent shortcut, saving you a fortune.
-
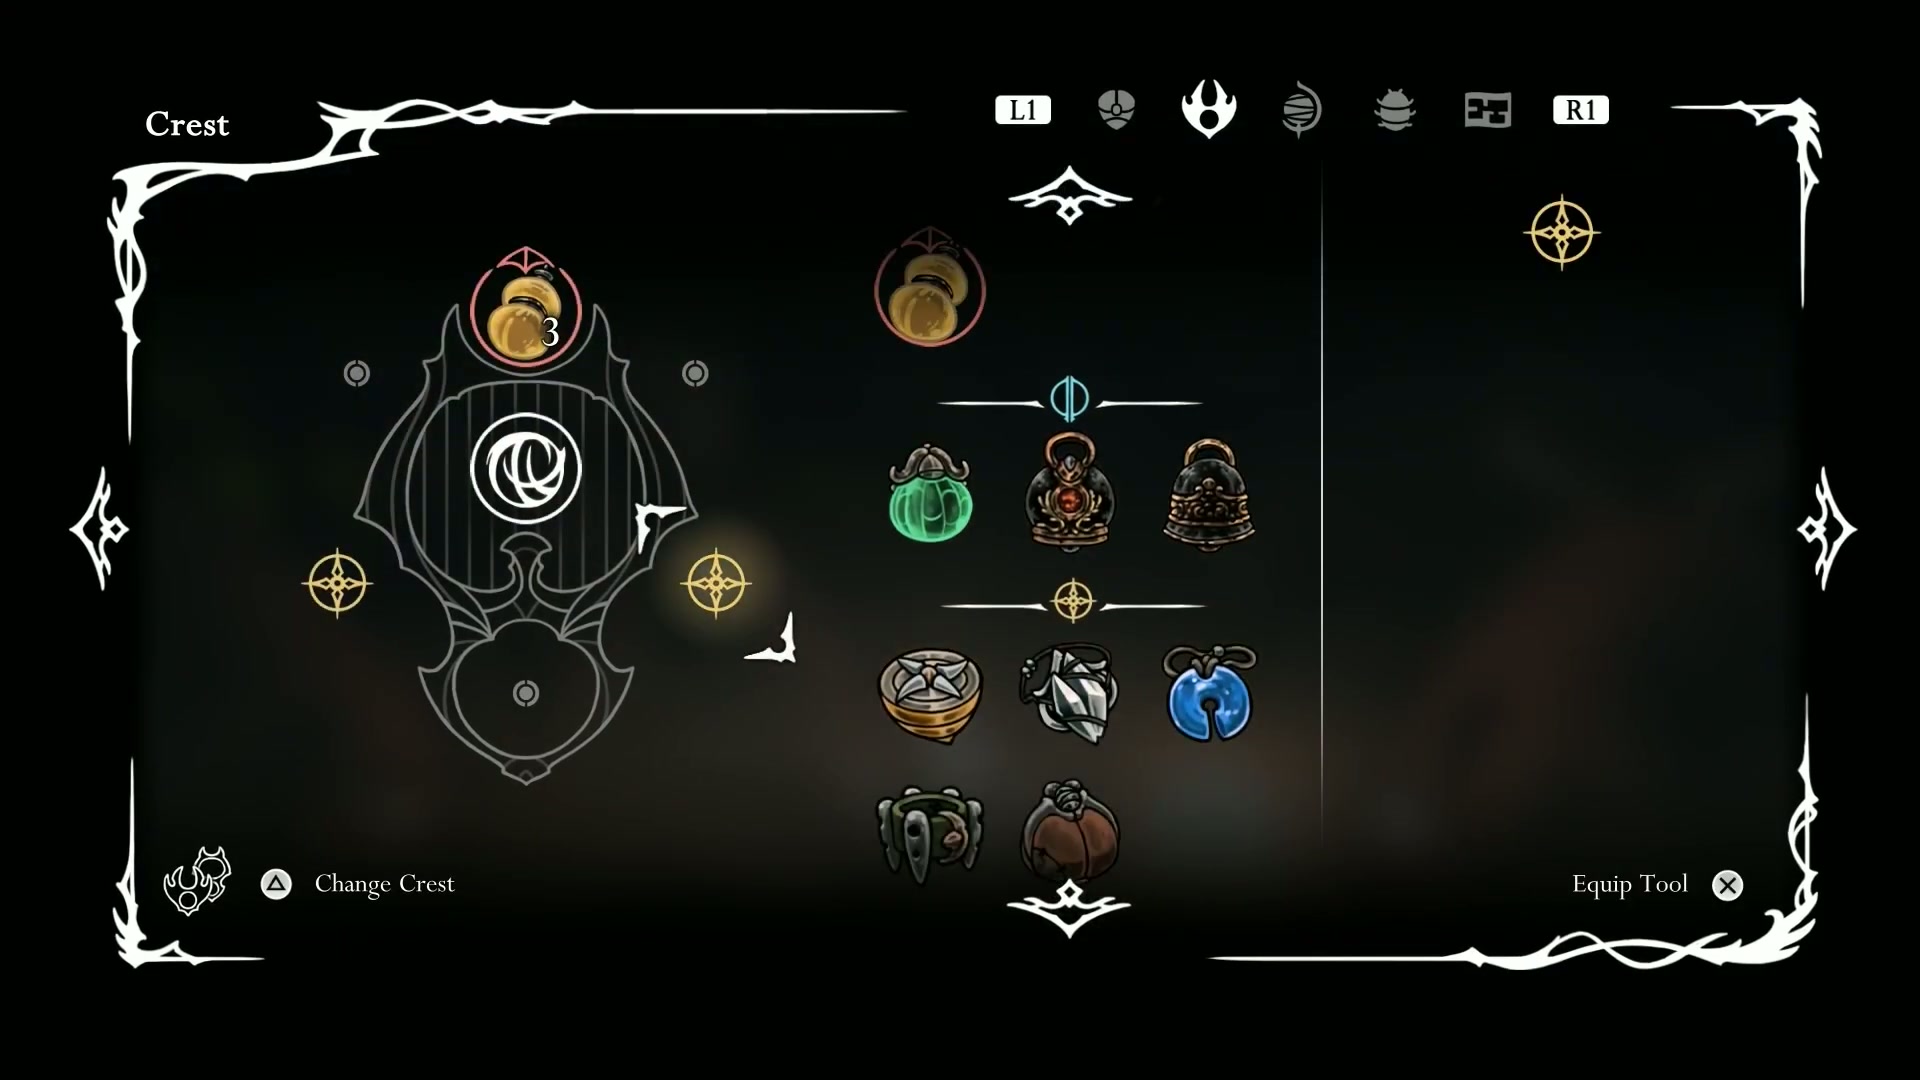
🔥 The Secret Weapon: Navigate through a small lockdown arena to find the Wanderer’s Crest. This item is a complete game-changer, giving you the classic Hollow Knight downward pogo and a rapid-fire needle attack. This is mandatory for making the rest of Hunter’s March manageable.
💥 Section 3: Hunter’s March - Conquering The Gauntlet
Deep dive into segments [17:32 - 30:45] content
With the Wanderer’s Crest equipped, you’re ready to tackle the main event. Fast travel to Deep Docks and head into Hunter’s March proper. The first thing you MUST do is rest at the bench. It’s the only one for a long, brutal stretch. This is where the real Silksong Platinum Walkthrough Part 6 begins.
🏆 Boss-Level Execution:
- The Lockdown: You’ll face a five-phase lockdown arena early on. Use your new rapid-fire pogo to control space and shred through the waves of enemies. Stay mobile and don’t get cornered.
- The Troll Bench: You’ll eventually see a bench sign. DO NOT SIT ON IT. This is a trap. Go past it and find a device to disable the trap, making the bench safe to use. Many a run has ended here.
- The Mini-Boss Arena: Prepare for a tough duo fight: the boss from the zone entrance returns, but this time he has a smaller, projectile-tossing buddy with a bone skull. Your strategy is simple: go all-out on the small guy first. Once he’s down, the main boss is a straightforward bait-and-punish fight.
🧠 Master-Tier Strategies & Pro Tips
🎯 Elite Silksong Platinum Walkthrough Part 6 Techniques
[Segment Reference: 14:27 - 15:44, 32:20 - 34:05]

The key to this entire chapter is mastering the Wanderer’s Crest. It reverts Hornet’s combat to feel more like the Knight’s, which is incredibly powerful for both traversal and combat in the tight corridors of Hunter’s March.
🔥 Advanced Technique Breakdown:
-
Rapid-Fire Pogo - Segment: [14:27 - 15:44]

The downward pogo isn’t just for bouncing on spikes. It’s a rapid-fire damage machine. You can stay above enemies, dealing constant damage while remaining relatively safe from their ground attacks. This trivializes many of the tougher non-boss encounters. -
Mini-Boss Triage - Segment: [32:20 - 34:05]
In the duo mini-boss fight, your ONLY priority at the start is eliminating the smaller bone-skull enemy. He clutters the screen with projectiles. Use your Thread Storm and dash attacks to rush him down. Once he’s gone, the arena is yours to control, and the main boss becomes predictable.
⚠️ Don’t Be a Noob - Common Fails to Avoid
Based on insights from the content, here’s what NOT to do:
- ❌ Falling for the Troll Bench - Segment: [28:58 - 29:16]
- ✅ Fix: When you see the bench sign, proceed with caution. Go past the bench to the right and find the hidden device. Strike it to disable the trap before you rest.
- 🎯
Silksong Platinum Walkthrough Part 6 - 100% Completion GuideImpact: Dying here after the brutal lockdown fight is one of the most soul-crushing setbacks in the game. Disabling it is crucial for progress.
- ❌ Tackling Hunter’s March Too Early - Segment: [1:12 - 1:36]
- ✅ Fix: Follow this guide and wait until this point in the game. Having the full mobility kit (dash, wall cling, float) and getting the Wanderer’s Crest makes the area challenging but fair, not impossible.
- 💡 Pro Tip: The area is technically accessible right after the Morrow boss, but it’s a trap for new players. Patience and preparation are key.
❓ Community FAQ - Your Questions Answered

🎮 Q1: Do I really have to farm 500 beads for the key? - Referenced in segment [1:53 - 2:05]
A: Absolutely not! That’s the noob route. This guide is built around the “legal cheese” that lets you access the Wyrmways from a secret back entrance near the first bench in the area. You save hours of farming and feel like a genius for doing it.
⚡ Q2: What’s the best loadout for the Hunter’s March boss fights? - Referenced in segment [16:29 - 17:11]
A: The Wanderer’s Crest is non-negotiable. Pair it with Flea Brew, the Weighted Belt for extra tool power, and Thread Storm. This gives you the pogo/rapid-fire from the crest, extra healing, and a burst damage option with the thread tool for taking down priority targets like the smaller enemies in boss fights.
🎯 Q3: How do I beat the final boss of Hunter’s March? He’s too fast! - Referenced in segment [36:35 - 39:20]
A: The key is to be reactive, not aggressive. Let him make the first move. He will always telegraph whether he’s going high or low. If he lunges, jump over or dash under him. When he summons minions, kill them ASAP. For the big minions, you can actually bait his nosedive attack to kill them for you! Patience is your weapon here.
✅ Your Silksong Platinum Walkthrough Part 6 Mastery Checklist
🎮 Immediate Actions (Do This Now):
- [ ] Skip the 500 bead farm by using the secret back door. - Referenced in segment [3:13 - 3:17]

- [ ] Find and equip the Wanderer’s Crest. - Referenced in segment [14:09 - 14:17]
- [ ] Rest at the first two mandatory benches in Hunter’s March. - Referenced in segment [18:22 - 18:26]
⚡ Short-term Goals (This Week):
- [ ] Master the downward pogo for combat and traversal. - Referenced in segment [19:09 - 19:17]
- [ ] Defeat the duo mini-boss in the arena. - Referenced in segment [32:20 - 34:05]
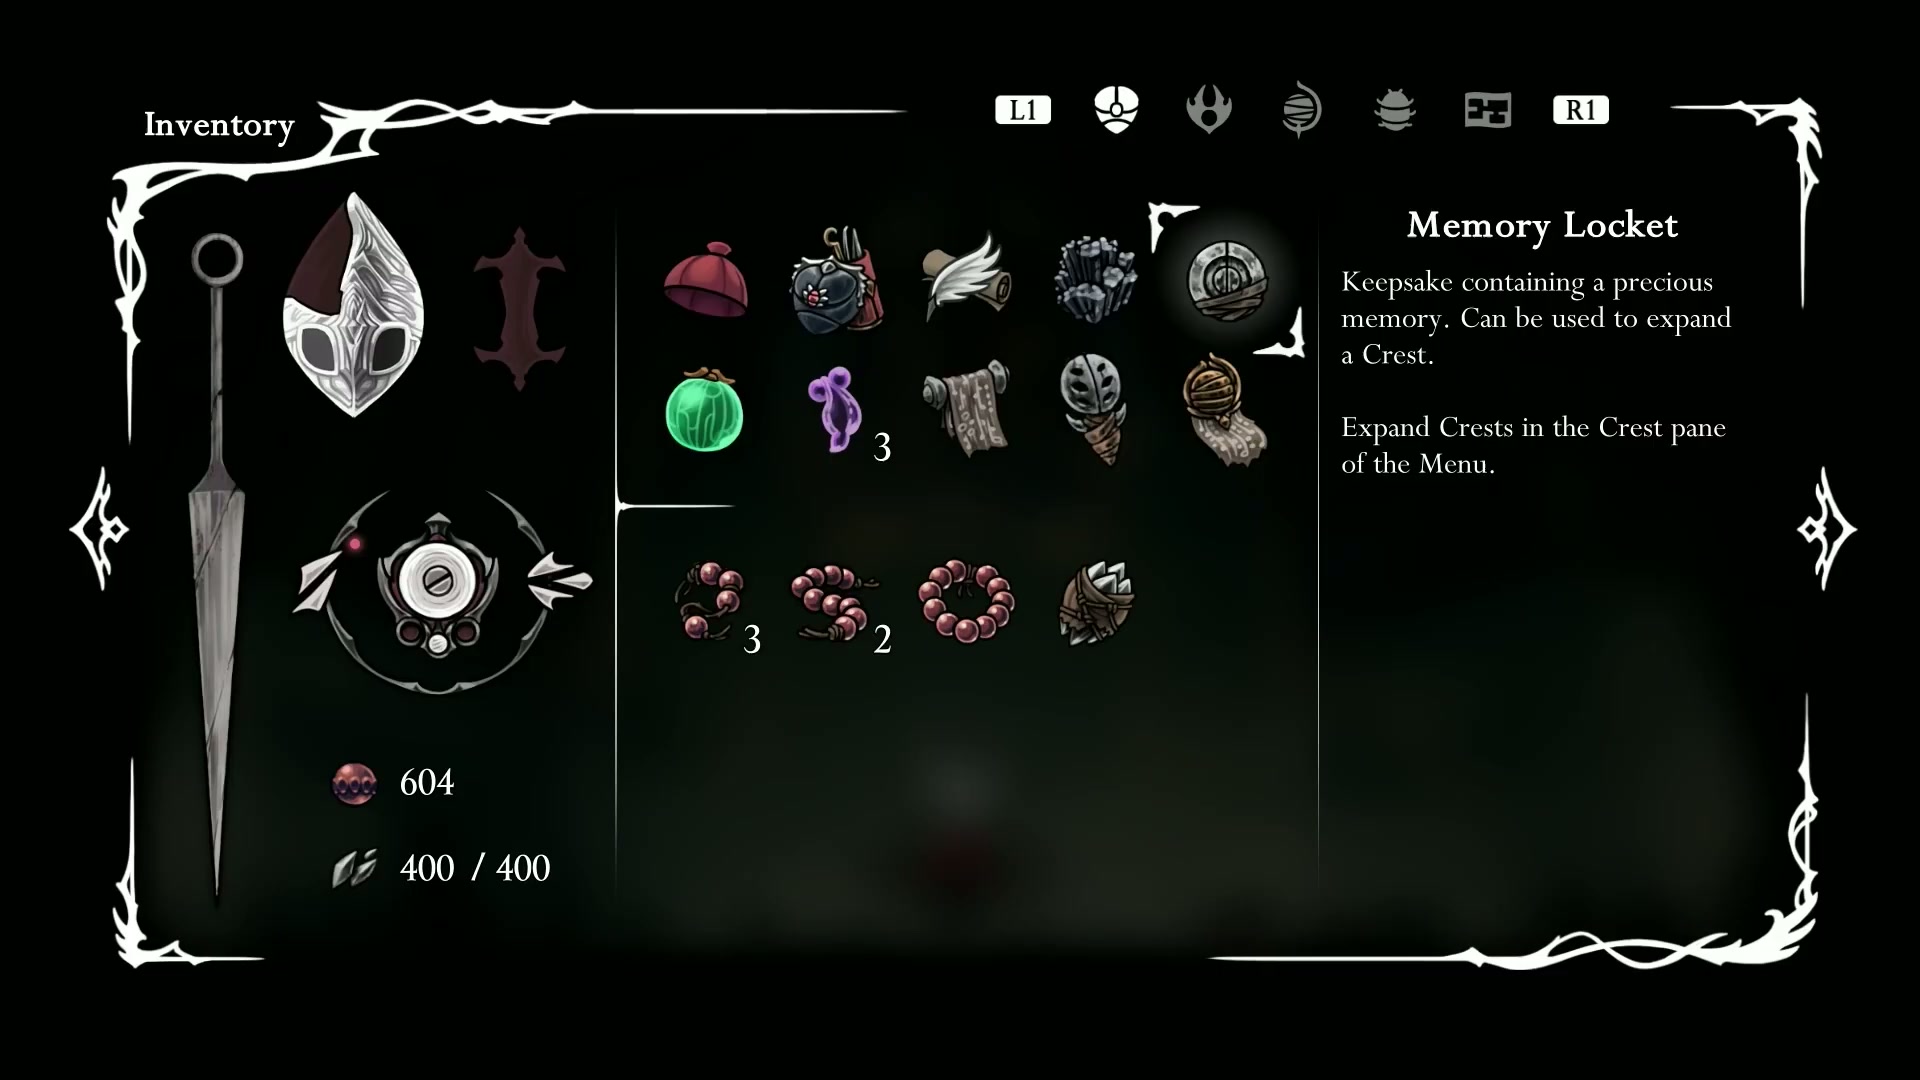
- [ ] Collect all major items: Dead Bug’s Purse, Mask Shard, Memory Locket, and Weaver Effigy. - Referenced in segment [43:00 - 43:26]
🏆 Long-term Mastery (This Month):
- [ ] Defeat the final boss of Hunter’s March. - Referenced in segment [36:35 - 39:20]
- [ ] Achieve 100% map completion for Wyrmways and Hunter’s March. - Referenced in segment [42:23 - 42:28]
- [ ] Obtain the Crest of the Beast. - Referenced in segment [39:56 - 40:13]
🌟 Final Boss: Summary & Next Moves
You did it. You marched on Hunter’s March and came out the other side with a 100% clear, two new god-tier crests, and your sanity intact. This Silksong Platinum Walkthrough Part 6 was designed to turn one of the game’s biggest stumbling blocks into a display of pure skill.
🎯 Key Wins You Just Unlocked:
- 🎮 Mastered the Wyrmways skip, saving 500 beads and hours of your life. - Covered in segment [1:46 - 4:17]
- ⚡ Acquired the Wanderer’s Crest, fundamentally changing your combat options. - Detailed in segment [14:09 - 14:17]
- 🏆 Conquered every boss and collected every key item in Hunter’s March for 100% completion. - Explained in segment [17:32 - 40:13]
🚀 Your Next Quest:

With the Crest of the Beast, you can now steal health from enemies. Your next quest is to head back to Shellwood, regroup, and prepare for the next major area. The power you’ve gained in Hunter’s March will be essential for what lies ahead.
💬 Join the Gaming Community!
🌟 This Guide Helped You Level Up?
Share the epic knowledge! If this Silksong Platinum Walkthrough Part 6 - 100% Completion Guide helped you conquer Hunter’s March, spread the love!
🎮 Share Where Gamers Gather:
- 🎯 Discord Servers - Drop this in your Hollow Knight communities
- 🐦 Twitter/X - Tweet your Hunter’s March wins
- 📱 Reddit - Share in r/HollowKnight and r/Silksong
- 📺 Twitch/YouTube - Reference this guide in your streams/videos
- 💬 Gaming Forums - Help other players master this brutal area
🏷️ Tags: #Silksong #SilksongWalkthrough #SilksongGuide #HollowKnight #HollowKnightSilksong #SilksongTips #Gaming #GamerLife #ProTips #TeamCherry #Metroidvania