Conquer Silksong Part 2 with our 100% Platinum Completion Guide. Master The Marrow, defeat bosses, unlock the Straight Pin, learn pro pogo tips, and prep for Deep Docks.
Walkthrough Video
Cheats & Solution
🎮 Silksong - Ultimate Silksong Platinum Walkthrough Part 2 - 100% Completion Guide & Pro Strategies

🔥 What You’re Getting in this Silksong Platinum Walkthrough Part 2 - 100% Completion Guide
Welcome back, weavers! Part 2 of our Silksong Platinum Walkthrough is here, and we’re officially shifting into a 100% Completion Guide. This guide breaks down the intricate paths of The Marrow, preps us for future zones, and nets you some powerful new tools.
This guide breaks down everything so you can:
• 🎯 Master The Marrow - Uncover every last secret, collectible, and shortcut in this dense, bone-filled zone.
• ⚡ Defeat Tough Mini-Bosses - Learn the patterns and cheese strats for the heavy-hitting guardians you’ll face.
• 🚀 Unlock a New Combat Tool - Acquire the Straight Pin and learn how to use this versatile ranged weapon.
• 💪 Prep for Two Future Areas - Lay the groundwork for conquering the Hunter’s March and the Deep Docks.
⏰ Time Investment: 20 minutes to read, lifetime of Pharloom domination.
📖 The Complete Breakdown
🎮 Section 1: The Early Bird Gets the Shard - Backtracking for a Secret Mini-Boss
Based on segments 0:55 - 1:45 from the original content
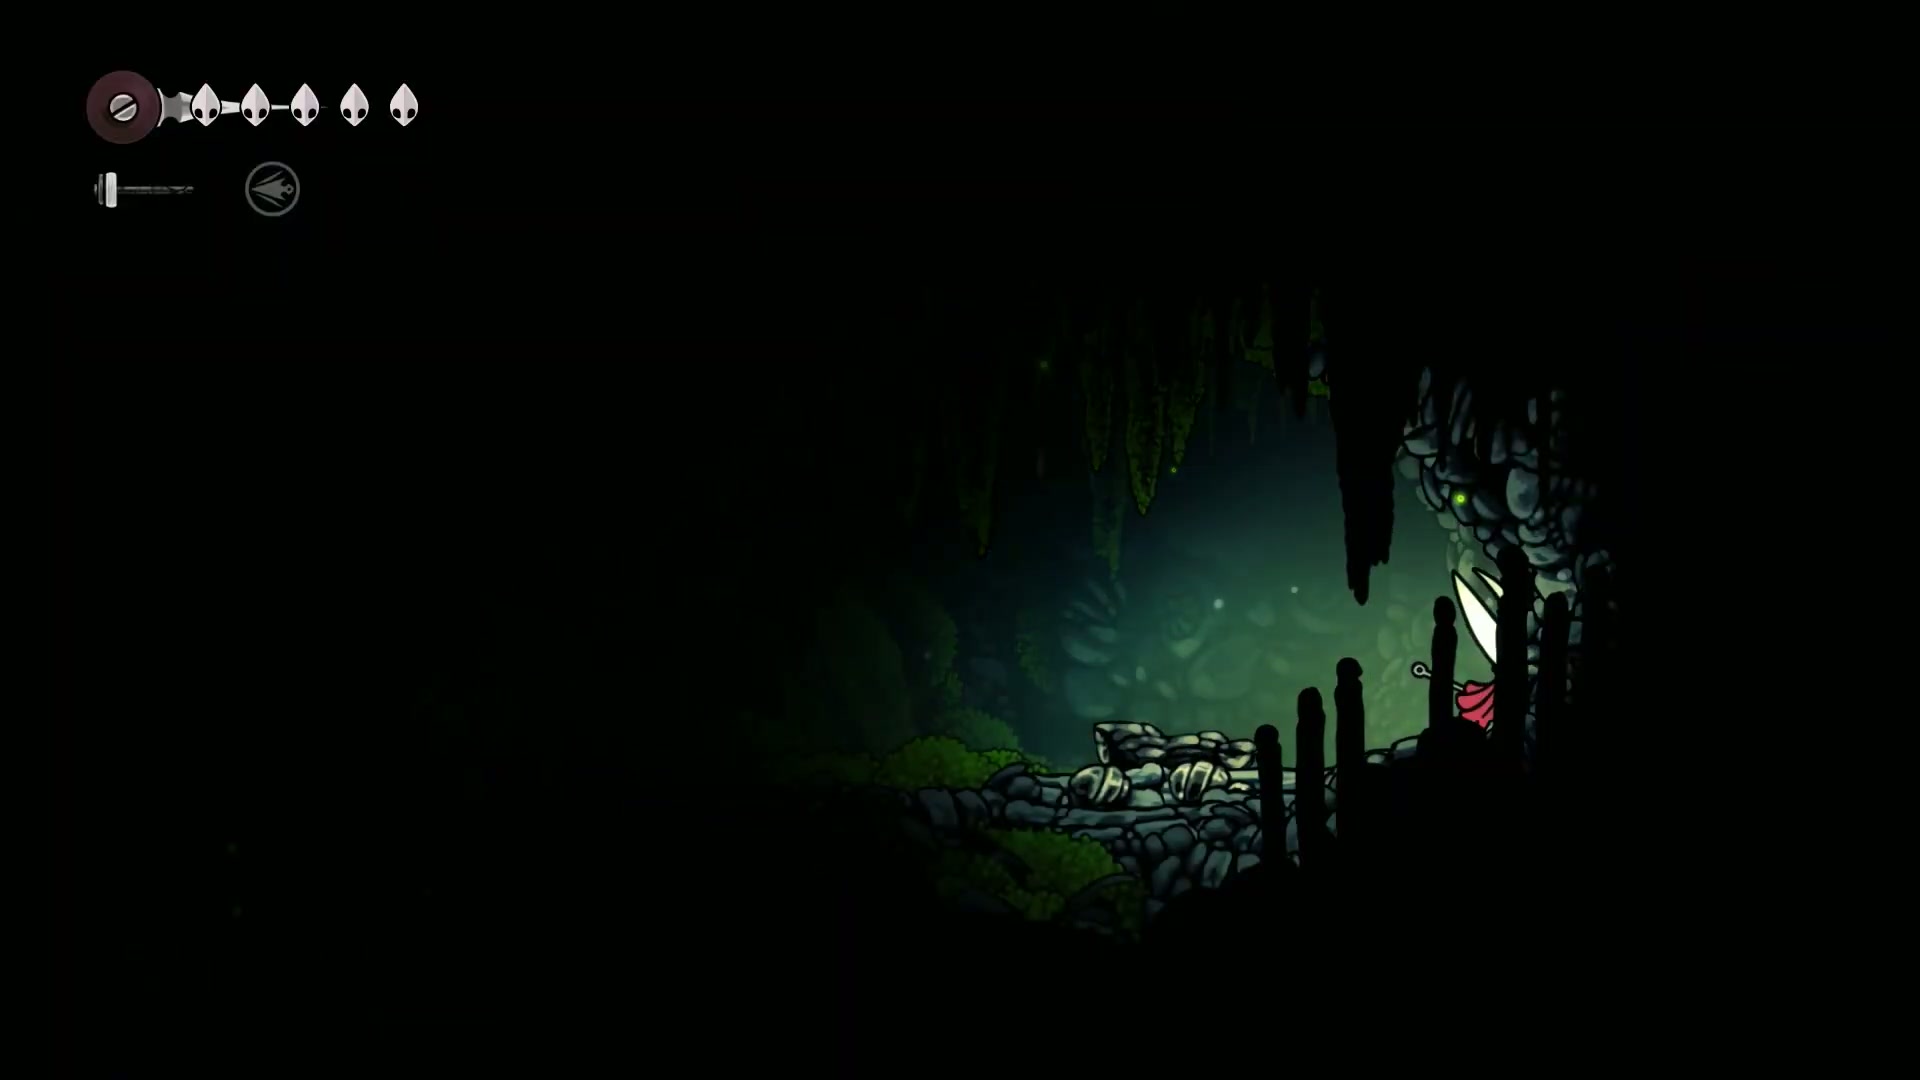
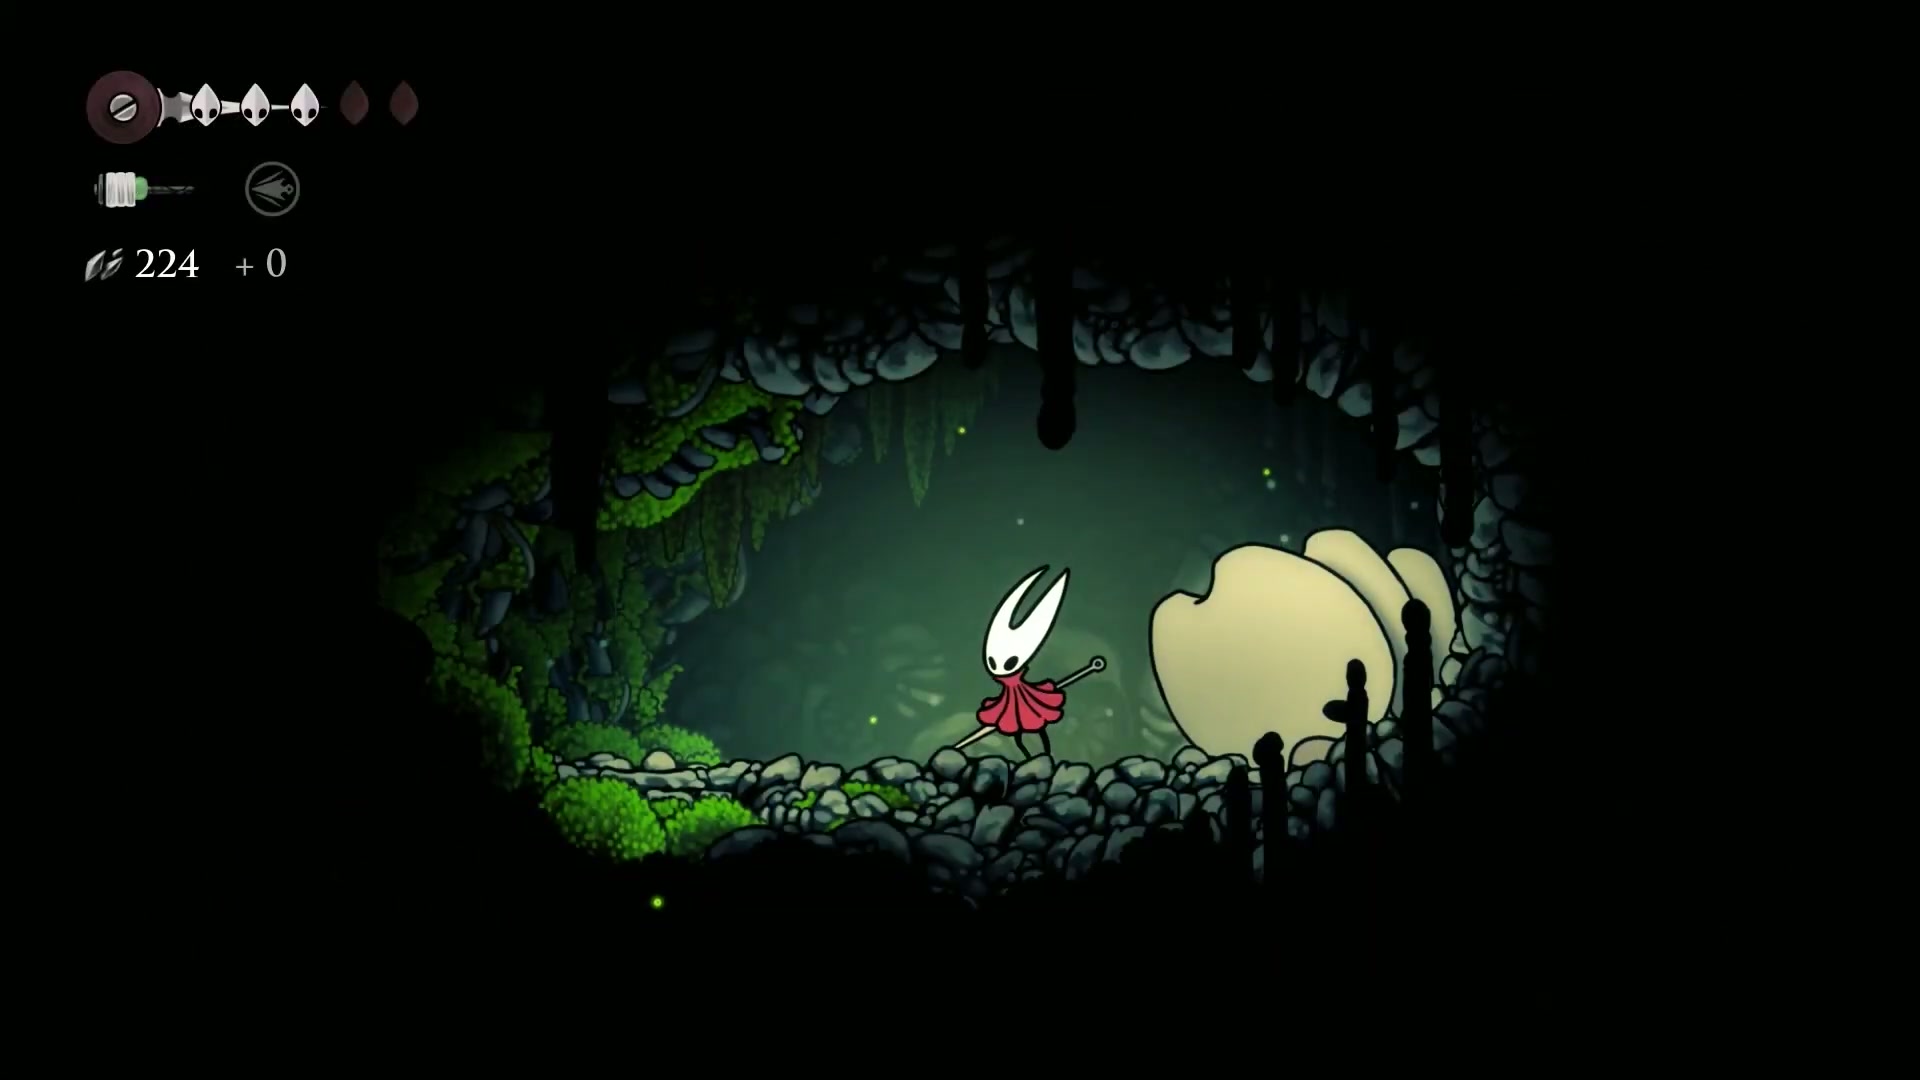
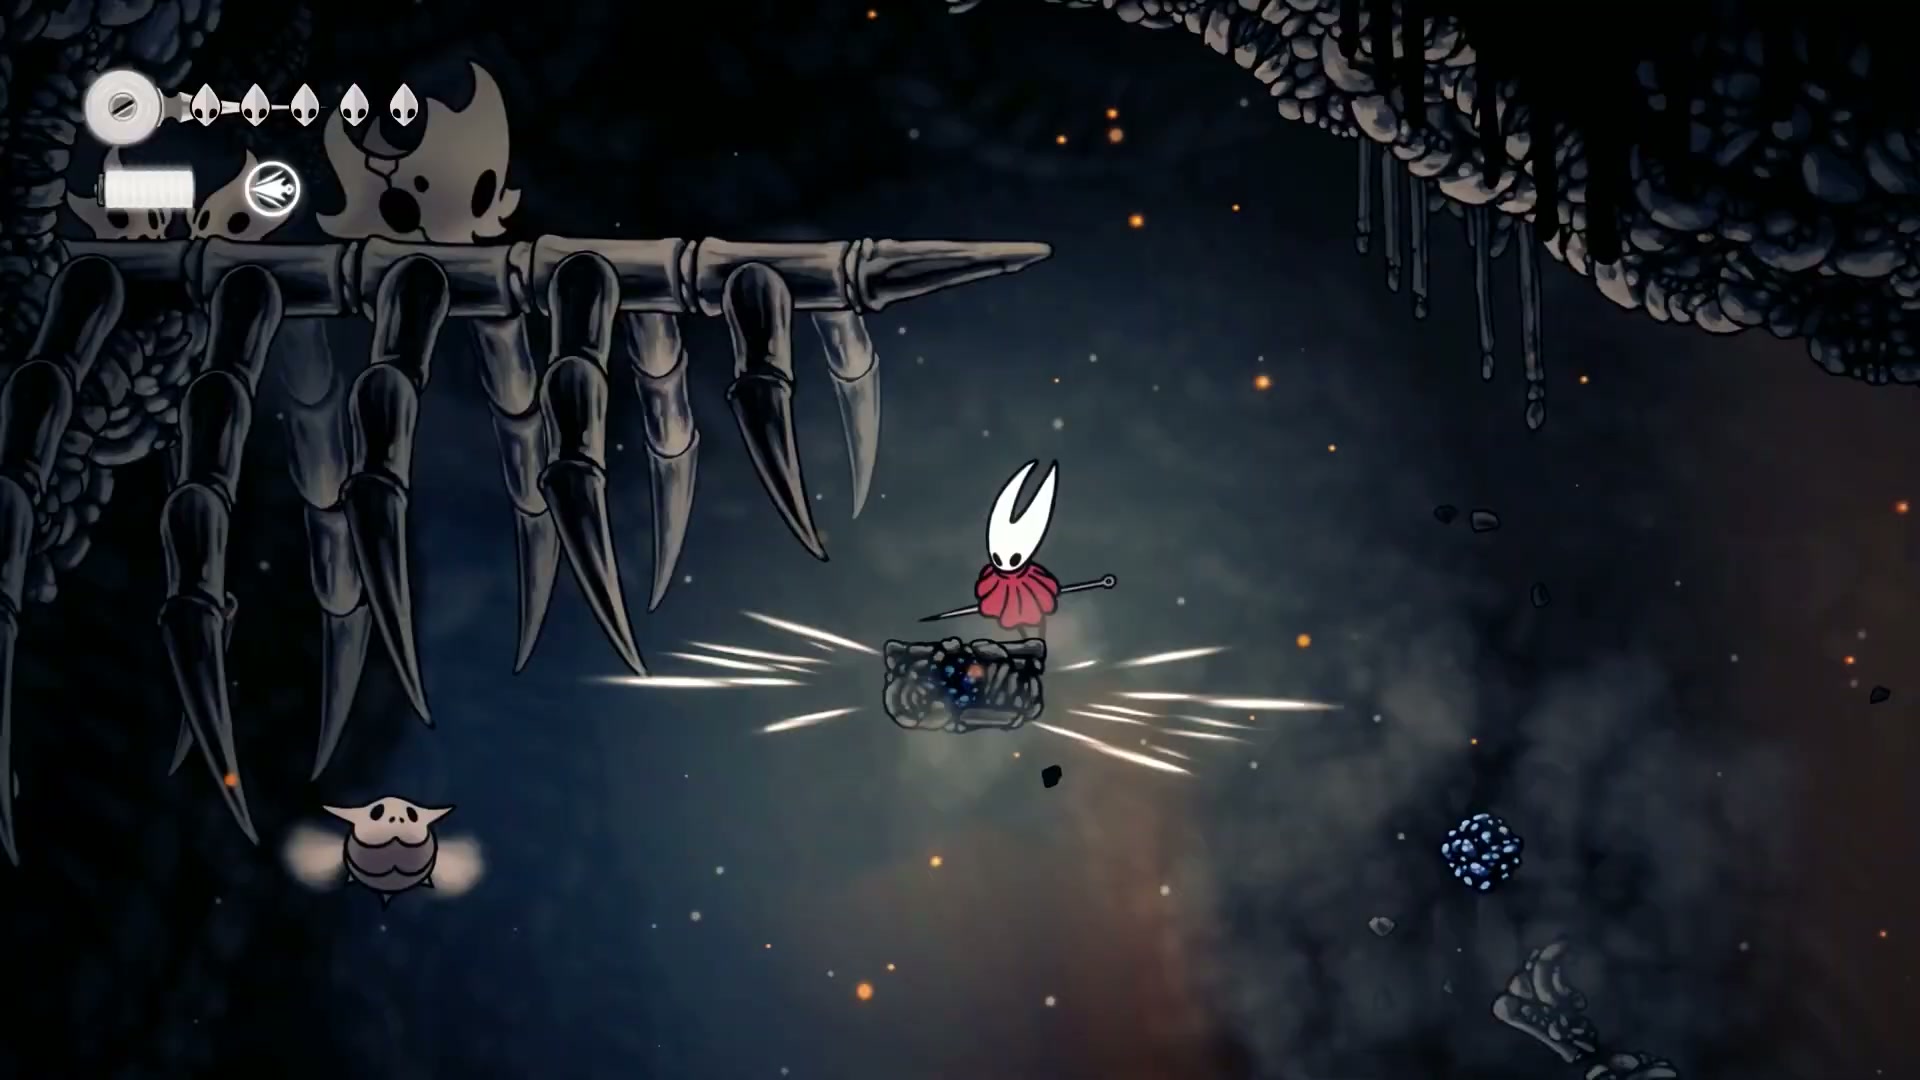
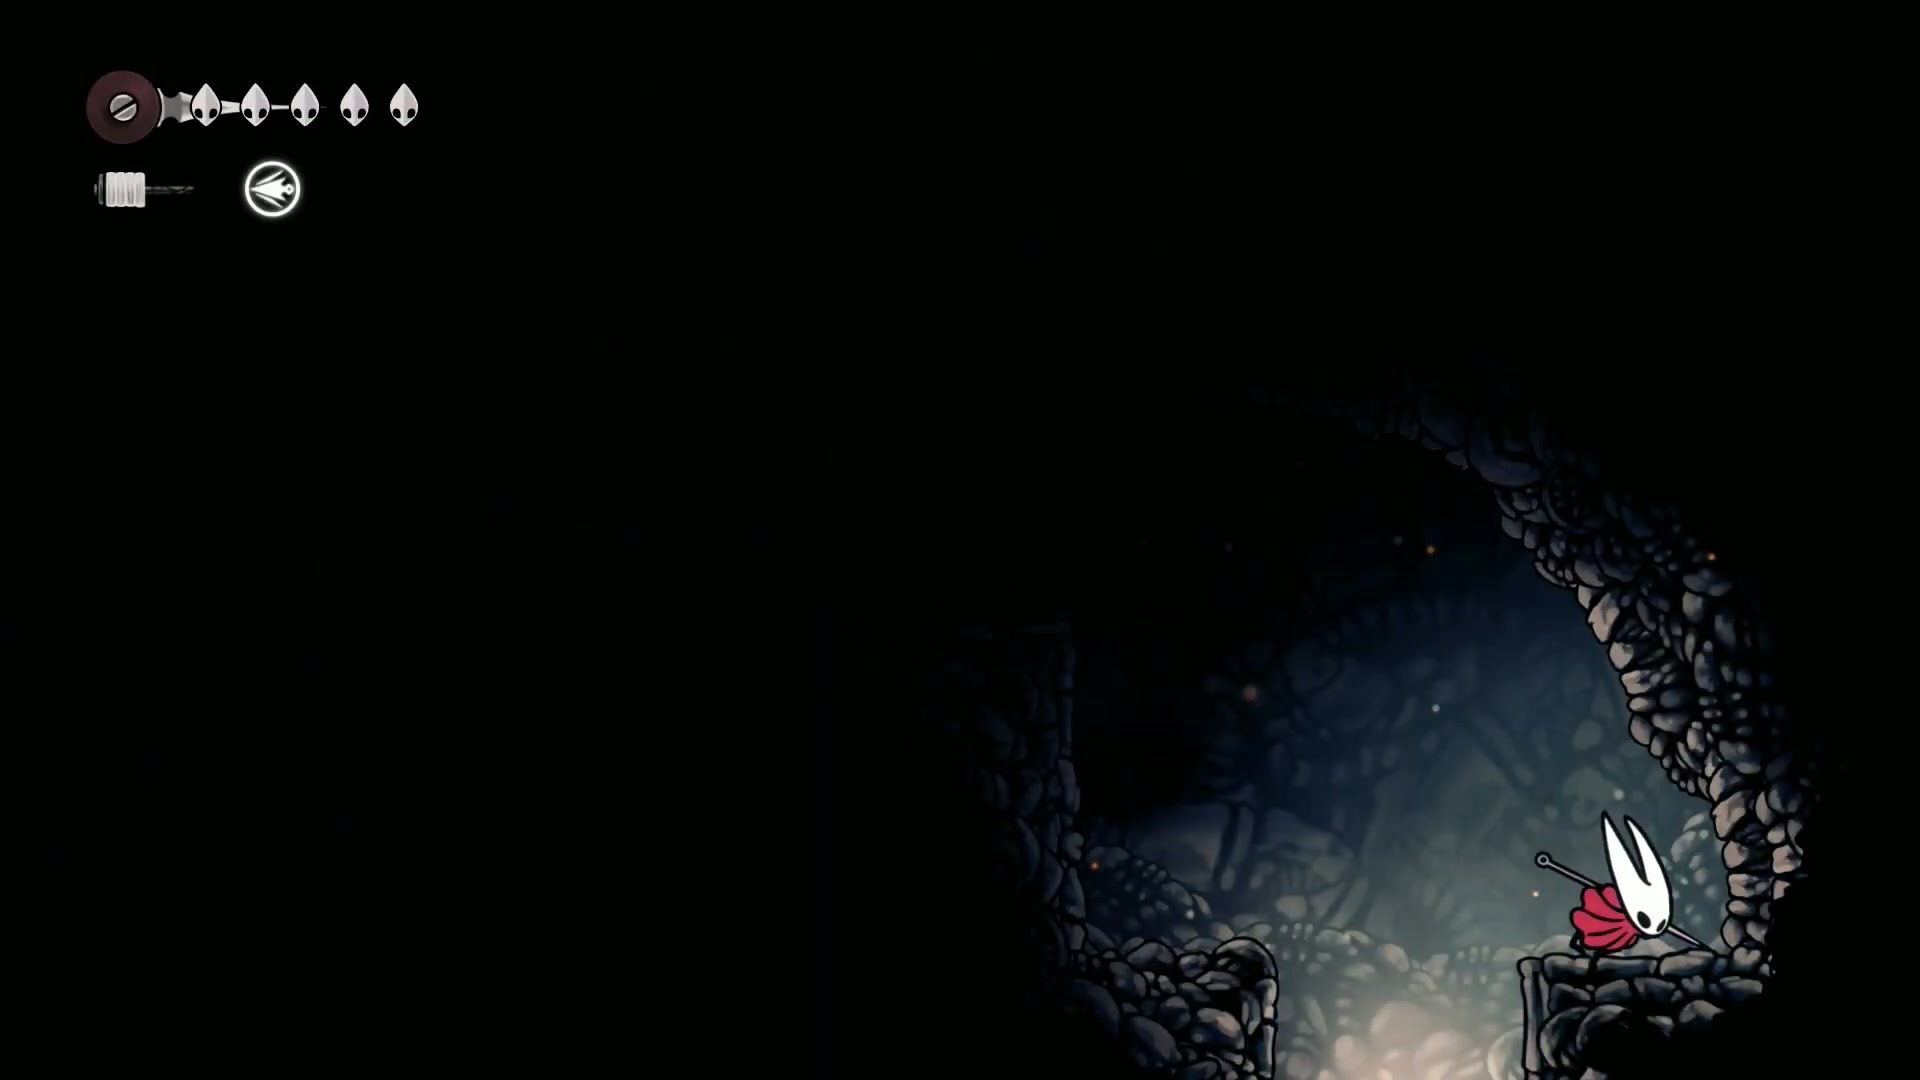
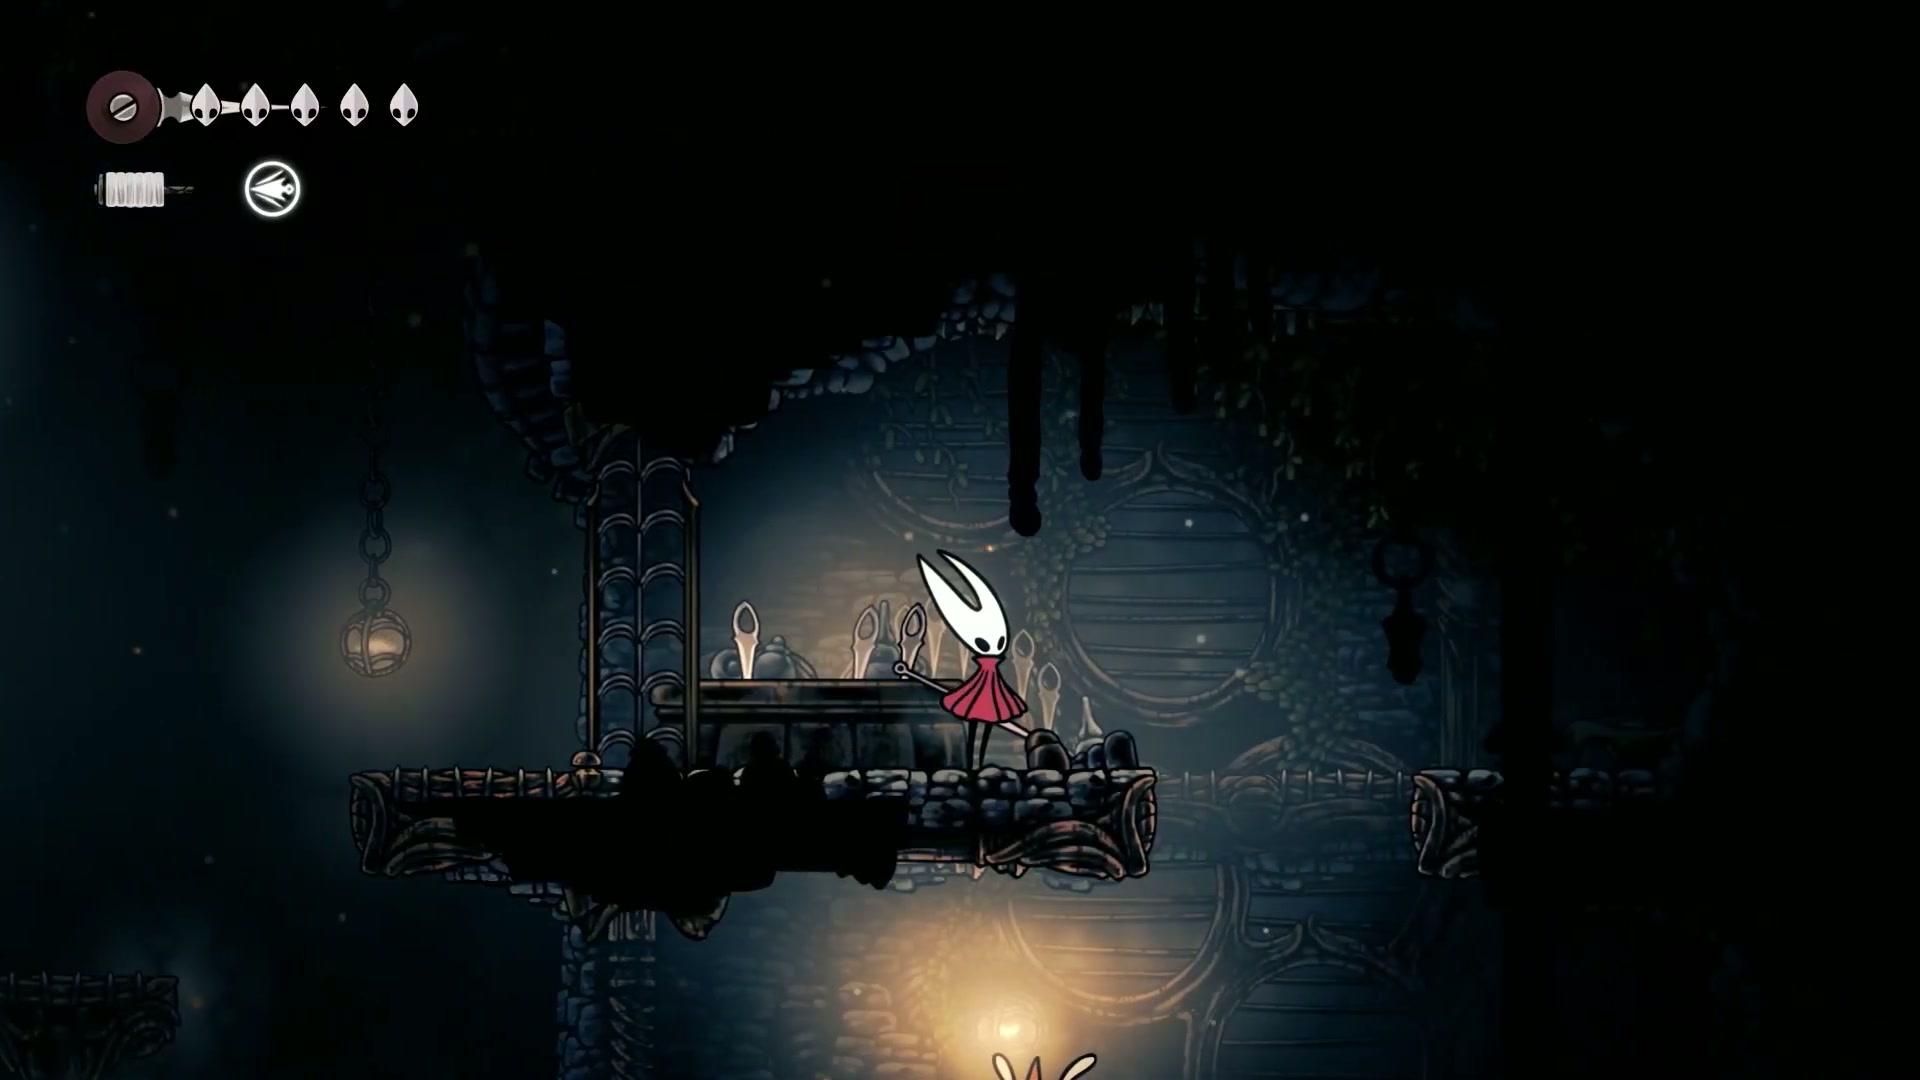
Before we push forward, we’re taking a quick detour. Remember that secret room near the very beginning of the game? We’re heading back there. Drop down the hole that leads back to the spawn area to find a hidden passage in the top left.
Inside, a massive enemy sleeps. He hits like a truck, but his patterns are simple.
🔥 Key Takeaways:
- 💡 This mini-boss has a simple charge attack. He’ll charge back and forth four times.
- ⚡ Bait his attack, run completely out of the room to avoid damage, then dash back in for one or two hits.
- 🎯 Use your spear for extra damage to speed up the fight.
💬 Community Quote:
“Now, this man hits like a truck. So what you want to do, if you want to play it safe, get a couple cheap shots in and then run away.”
🎮 Step-by-Step Takedown:
-
Wake 'Em Up - Land a few hits while he’s sleeping for some free damage.

-
Bait and Weave - As soon as he starts his charge, dash out of the small arena. He can still hit you if you’re too close to the entrance.

-
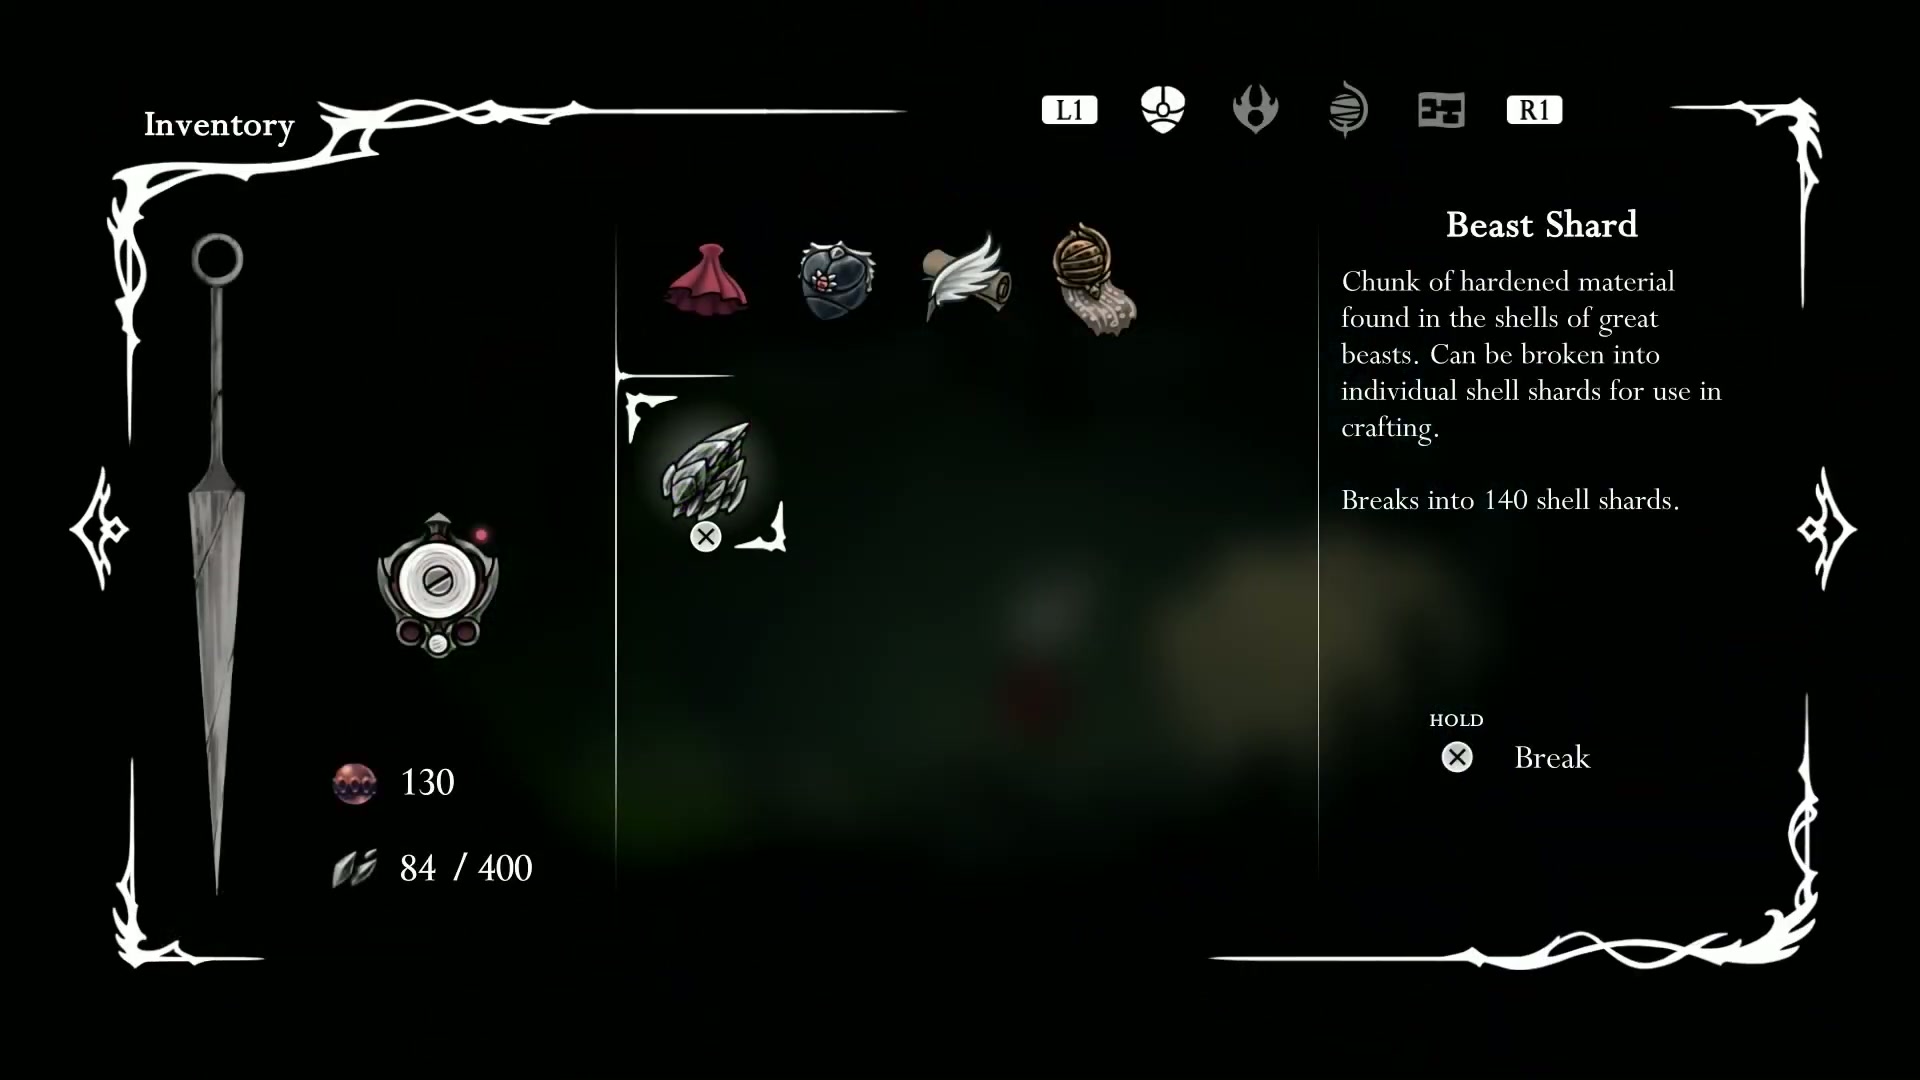
Punish and Repeat - After his fourth charge, he’ll pause. Rush in, land a hit or a spear attack, and immediately retreat. Repeat this until he’s down, dropping a valuable Beast Shard.
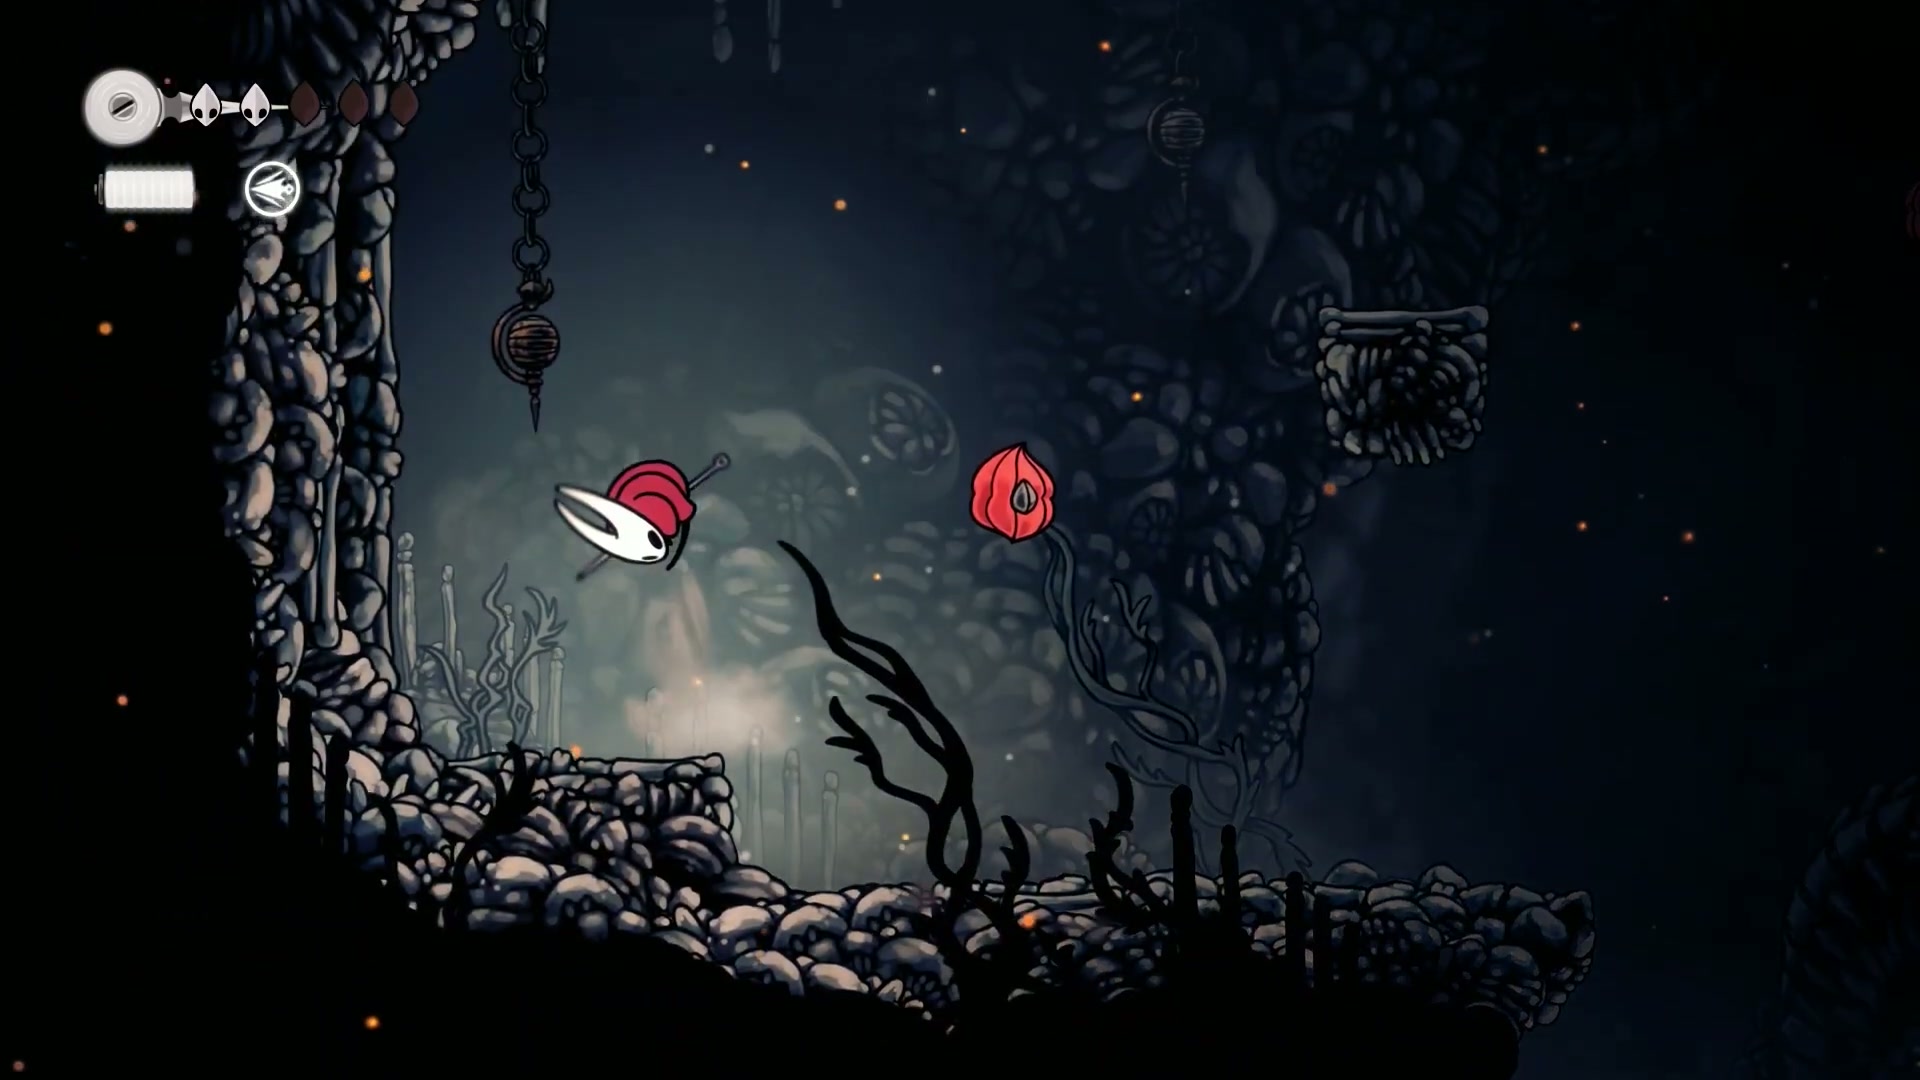
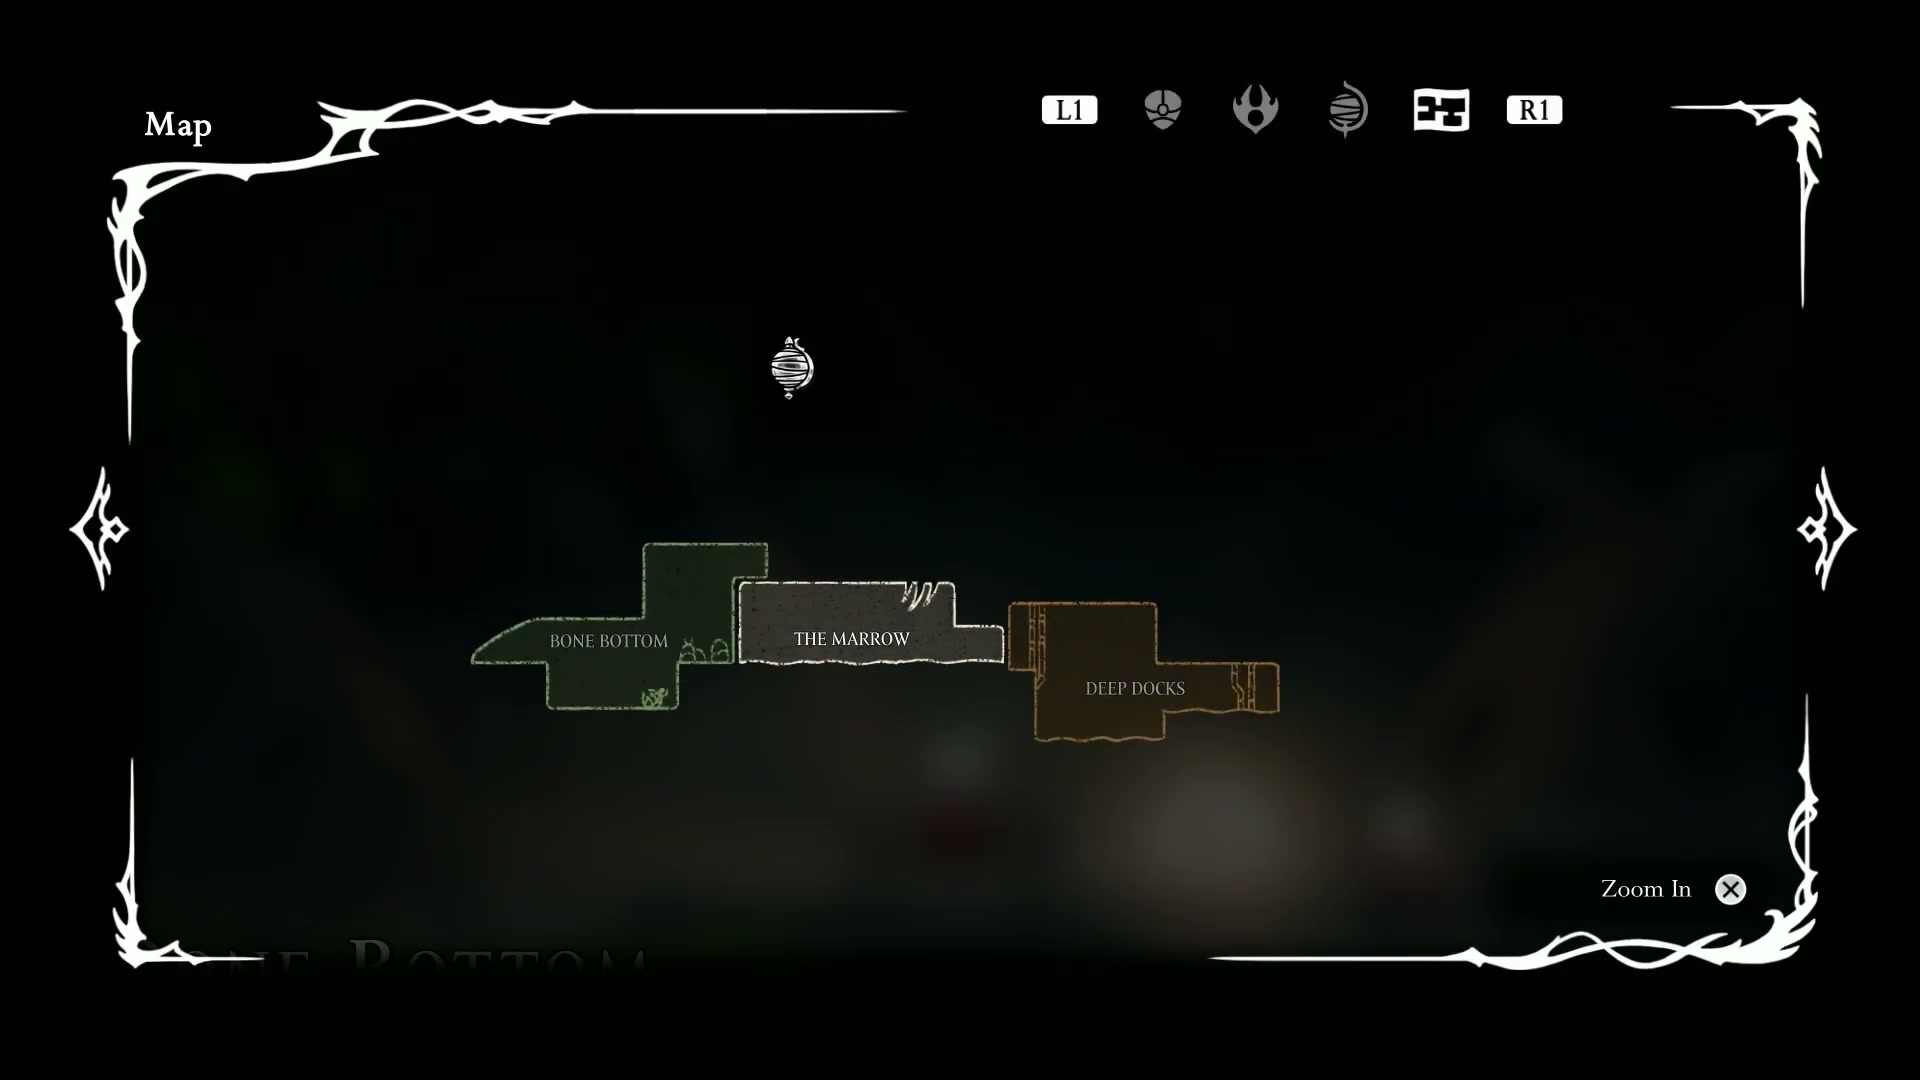
⚡ Section 2: Unlocking The Marrow - Shortcuts and Pilgrim Shawls
Covering segments 4:56 - 5:58 insights
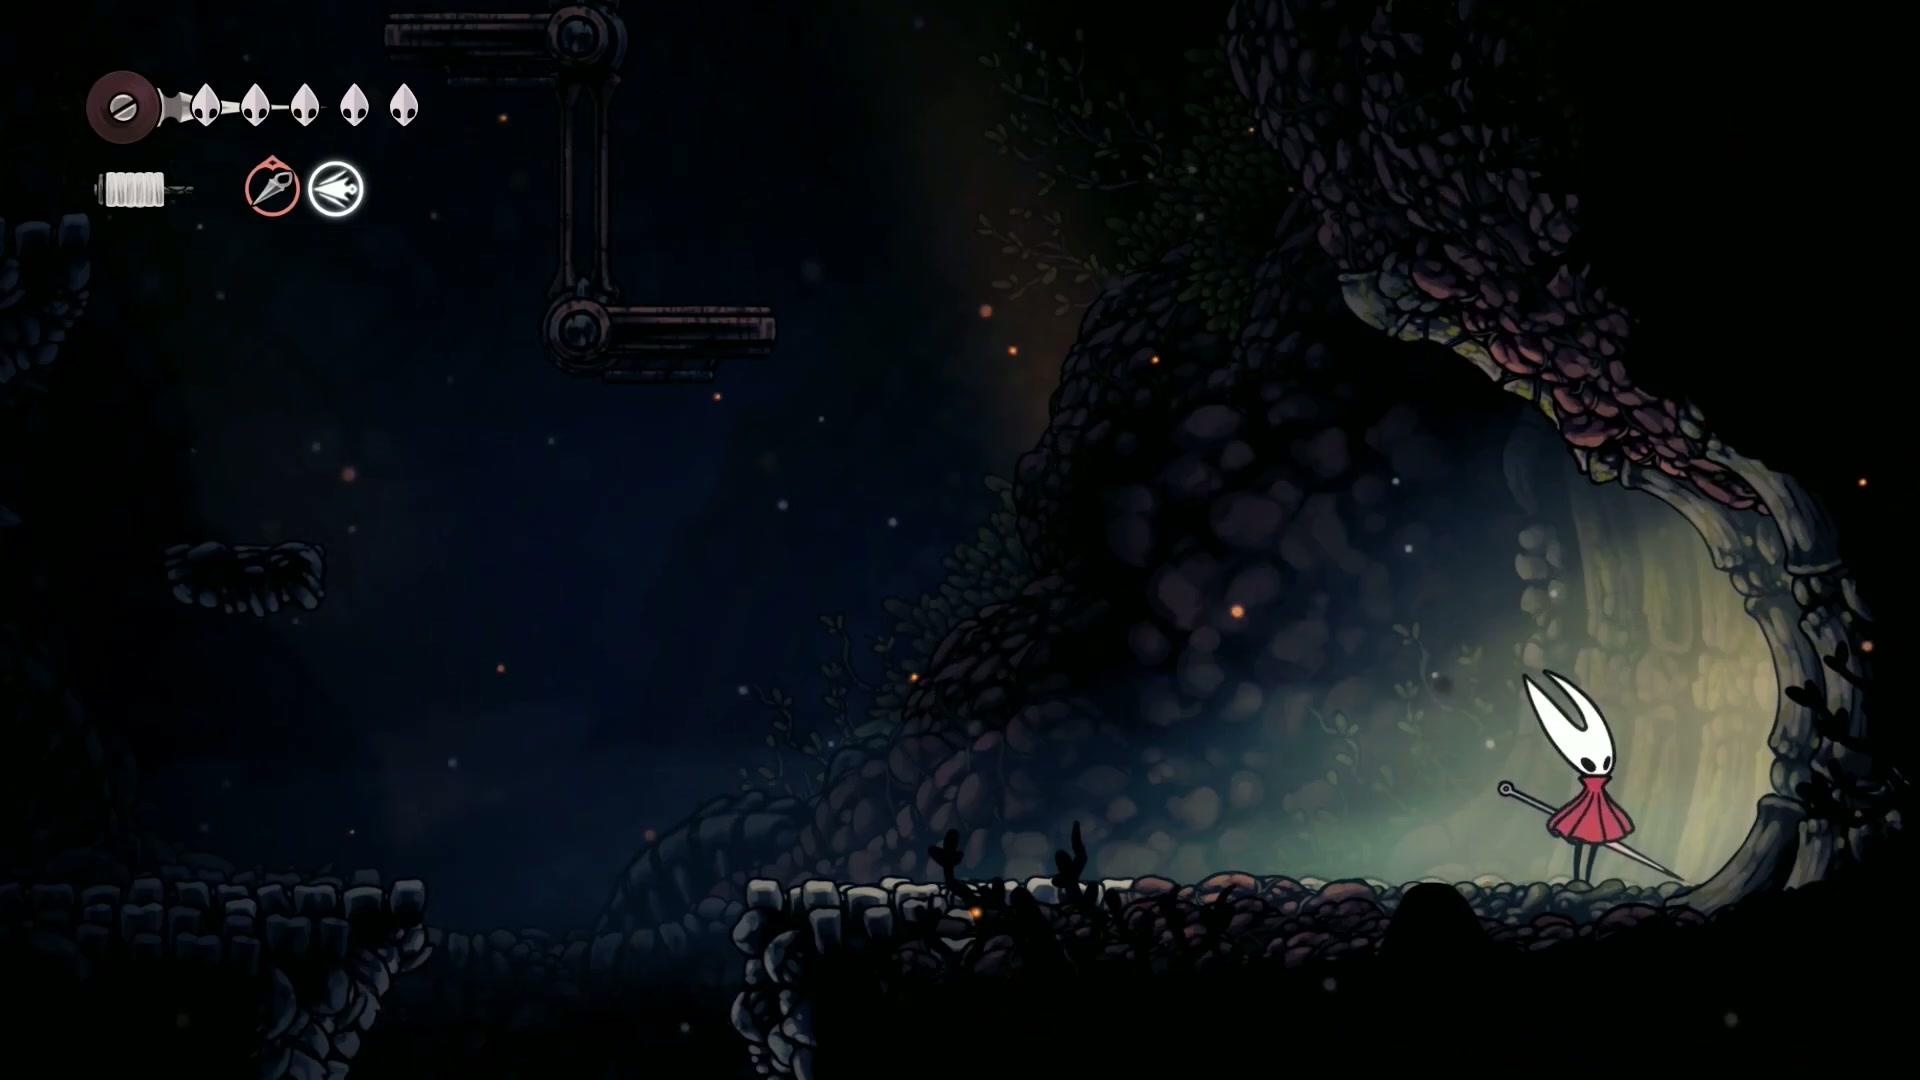
With the mini-boss handled, it’s time to backtrack through the spawn area and take the elevator up to Moss Home. We’re here to open a critical shortcut that makes this Silksong Platinum Walkthrough much smoother.
Right after a bit of platforming, you’ll find a secret breakable wall on the right. Smashing through this reveals a path that connects back to the main section of The Marrow, right near the bell travel system we unlocked in Part 1.
🚀 Pro Player Moves:
-
🎯 Find the Secret Wall: It’s located in the Moss Grotto area, allowing you to bypass a huge section of early-game terrain.
-
💪 Hunt for Pilgrim Shawls: From this point on, you’ll encounter Pilgrim enemies. Defeat them for a chance to get a Pilgrim Shawl. We need a total of 12 for a quest later on, so kill them every time you see them!
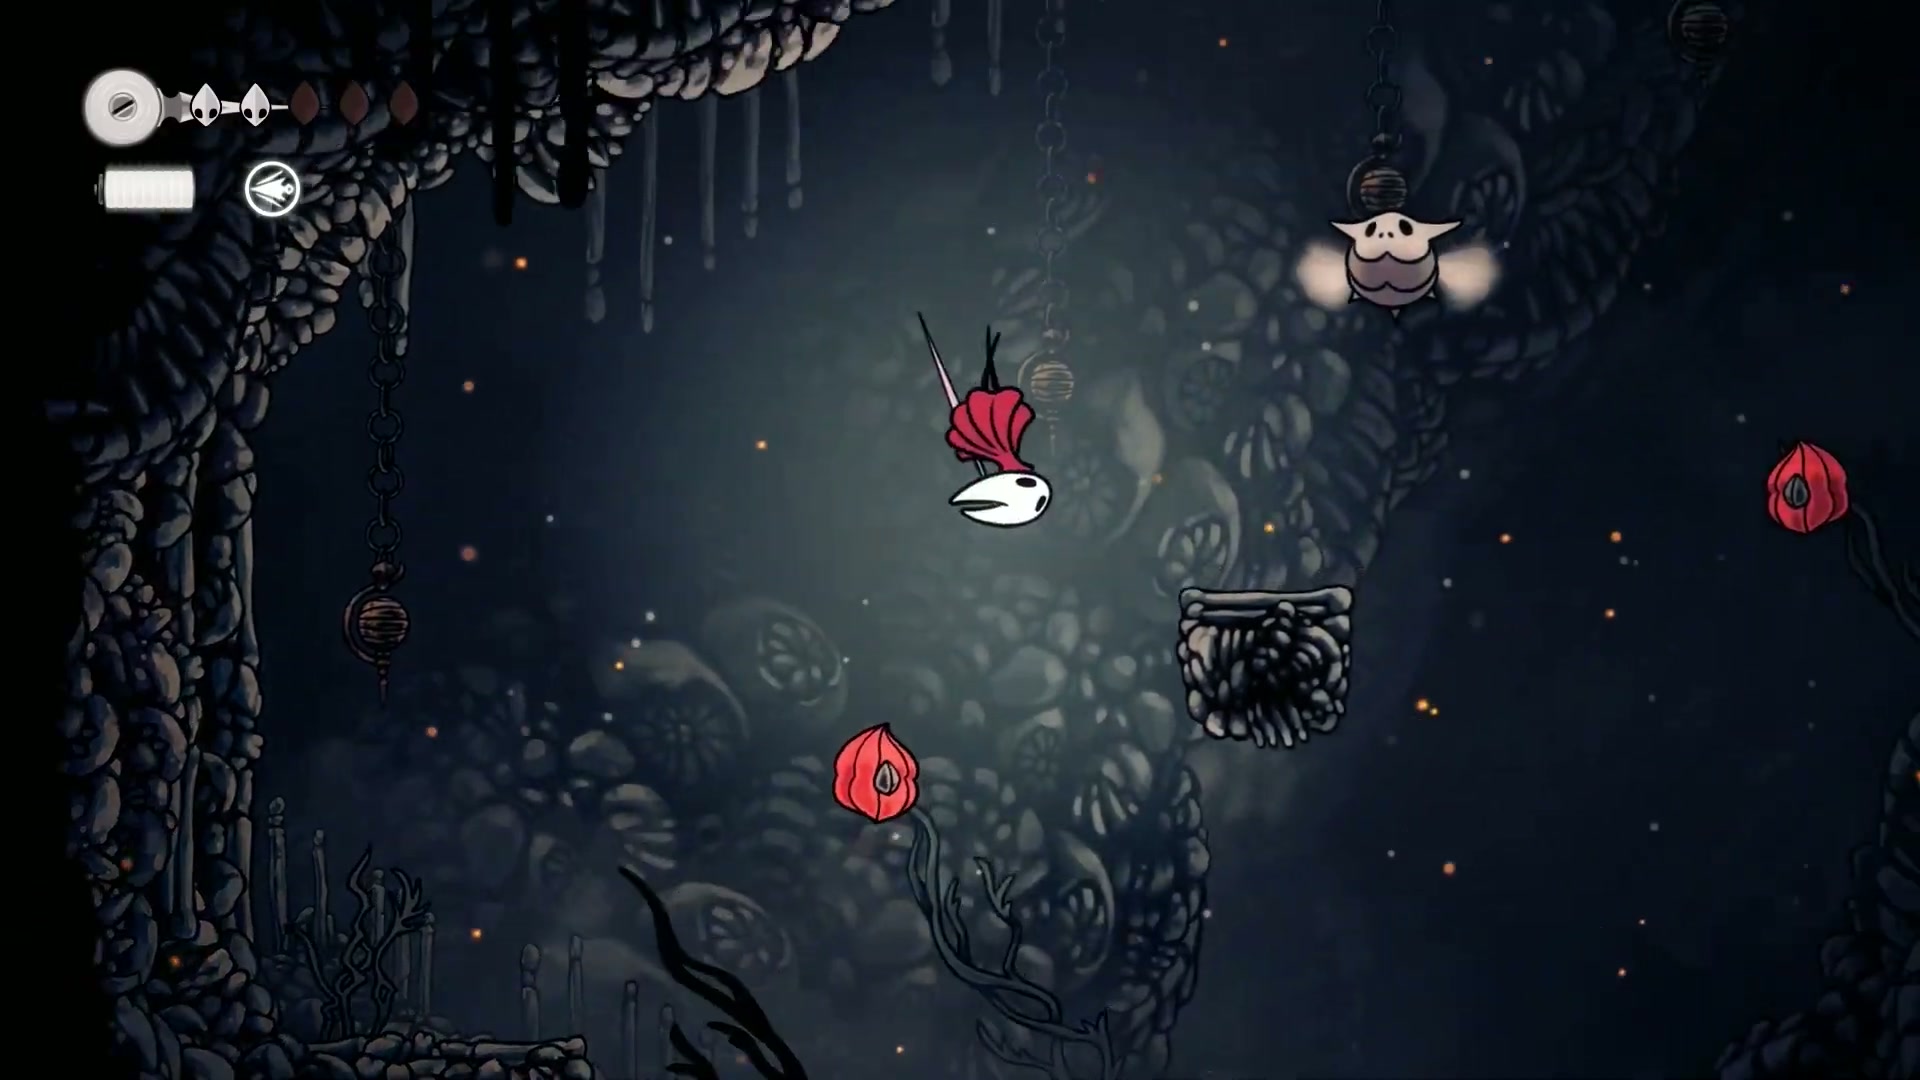
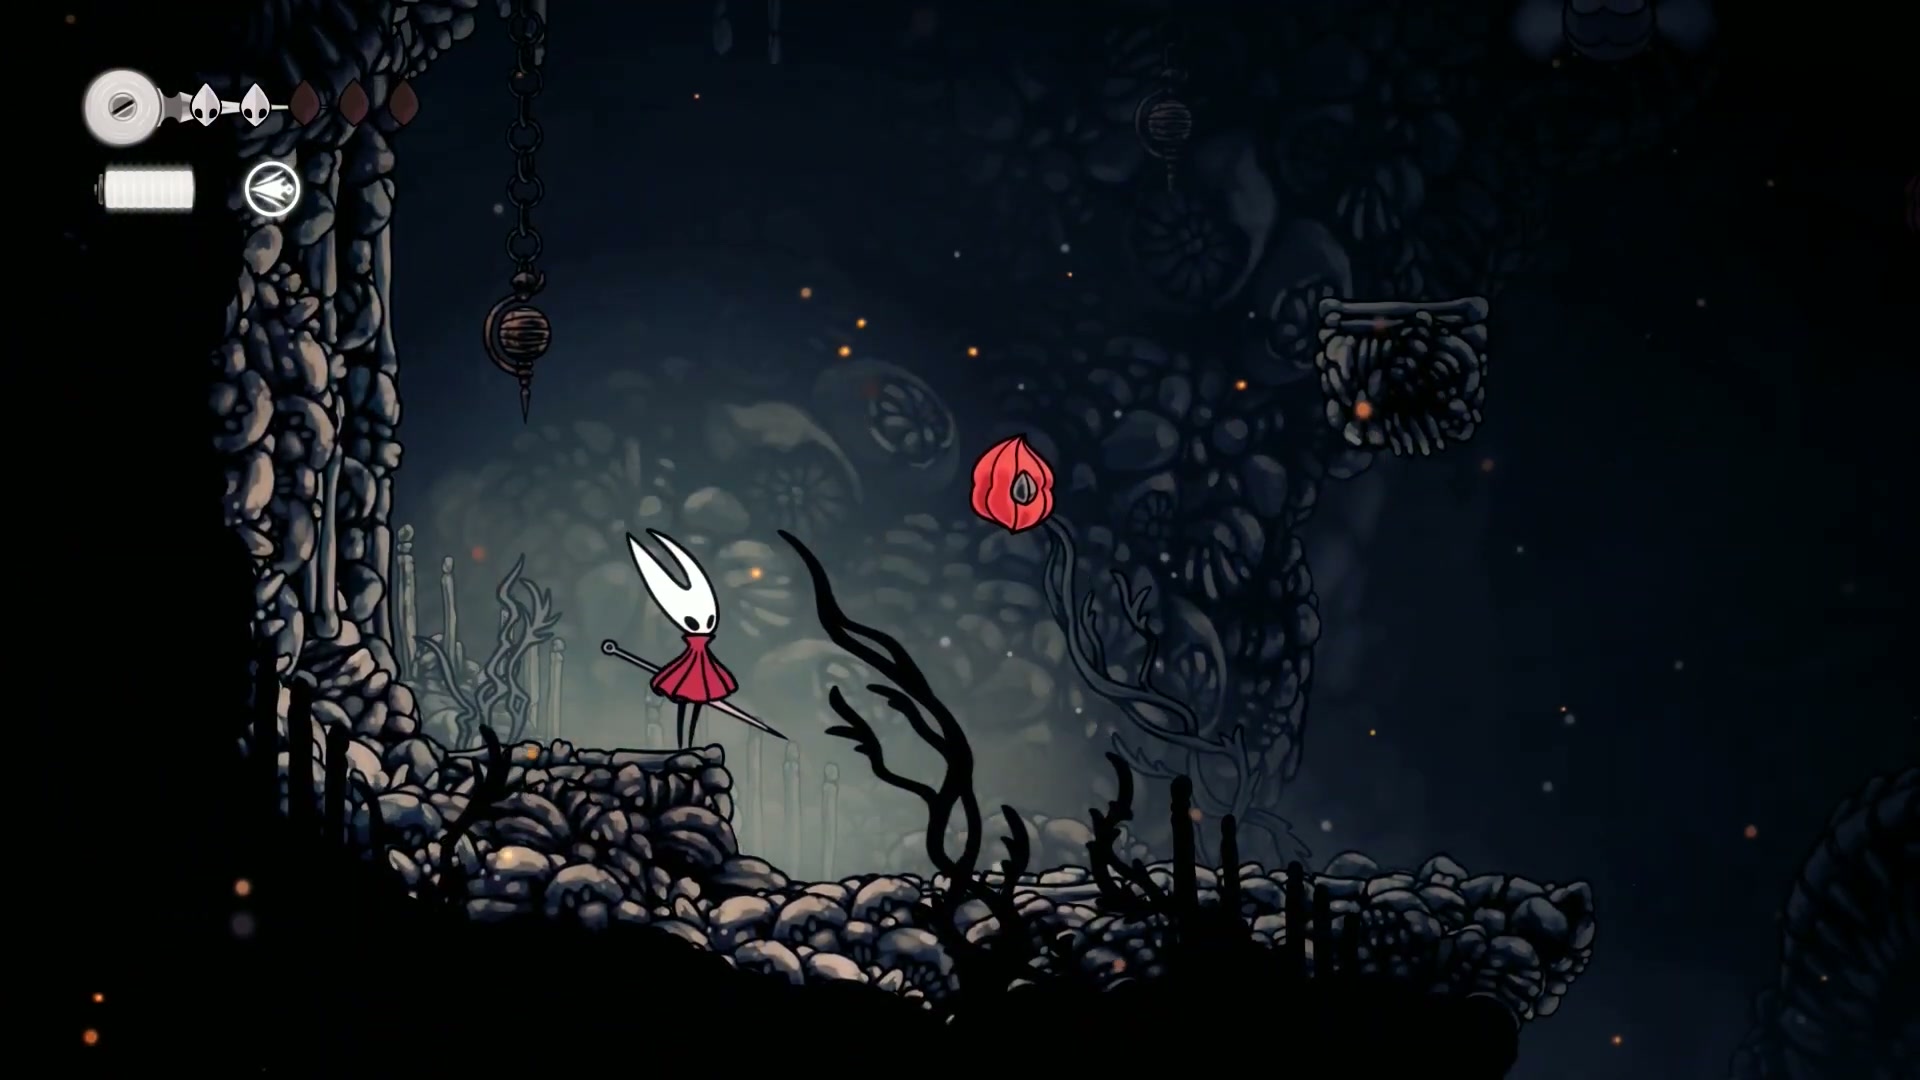
💥 Section 3: Freeing Fleas and Mastering the Pogo
Deep dive into segments 7:15 - 9:31 content
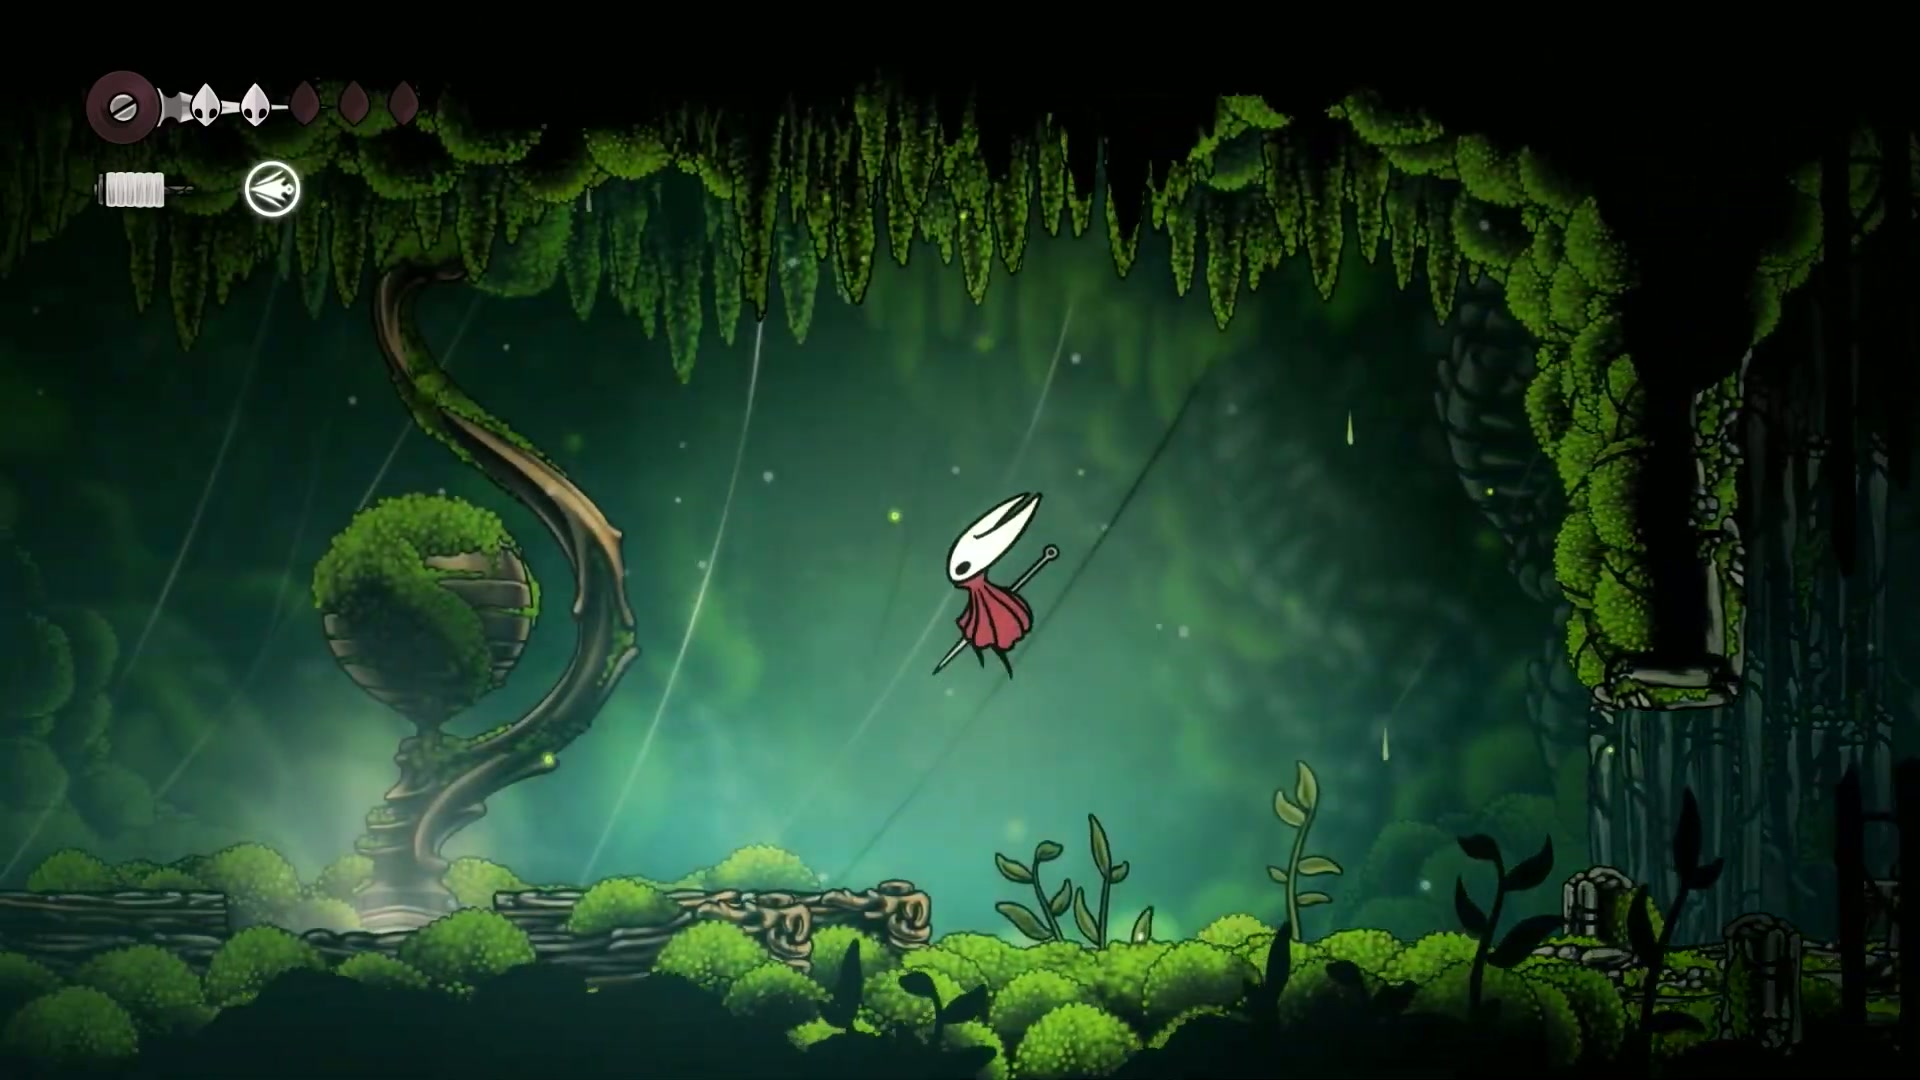
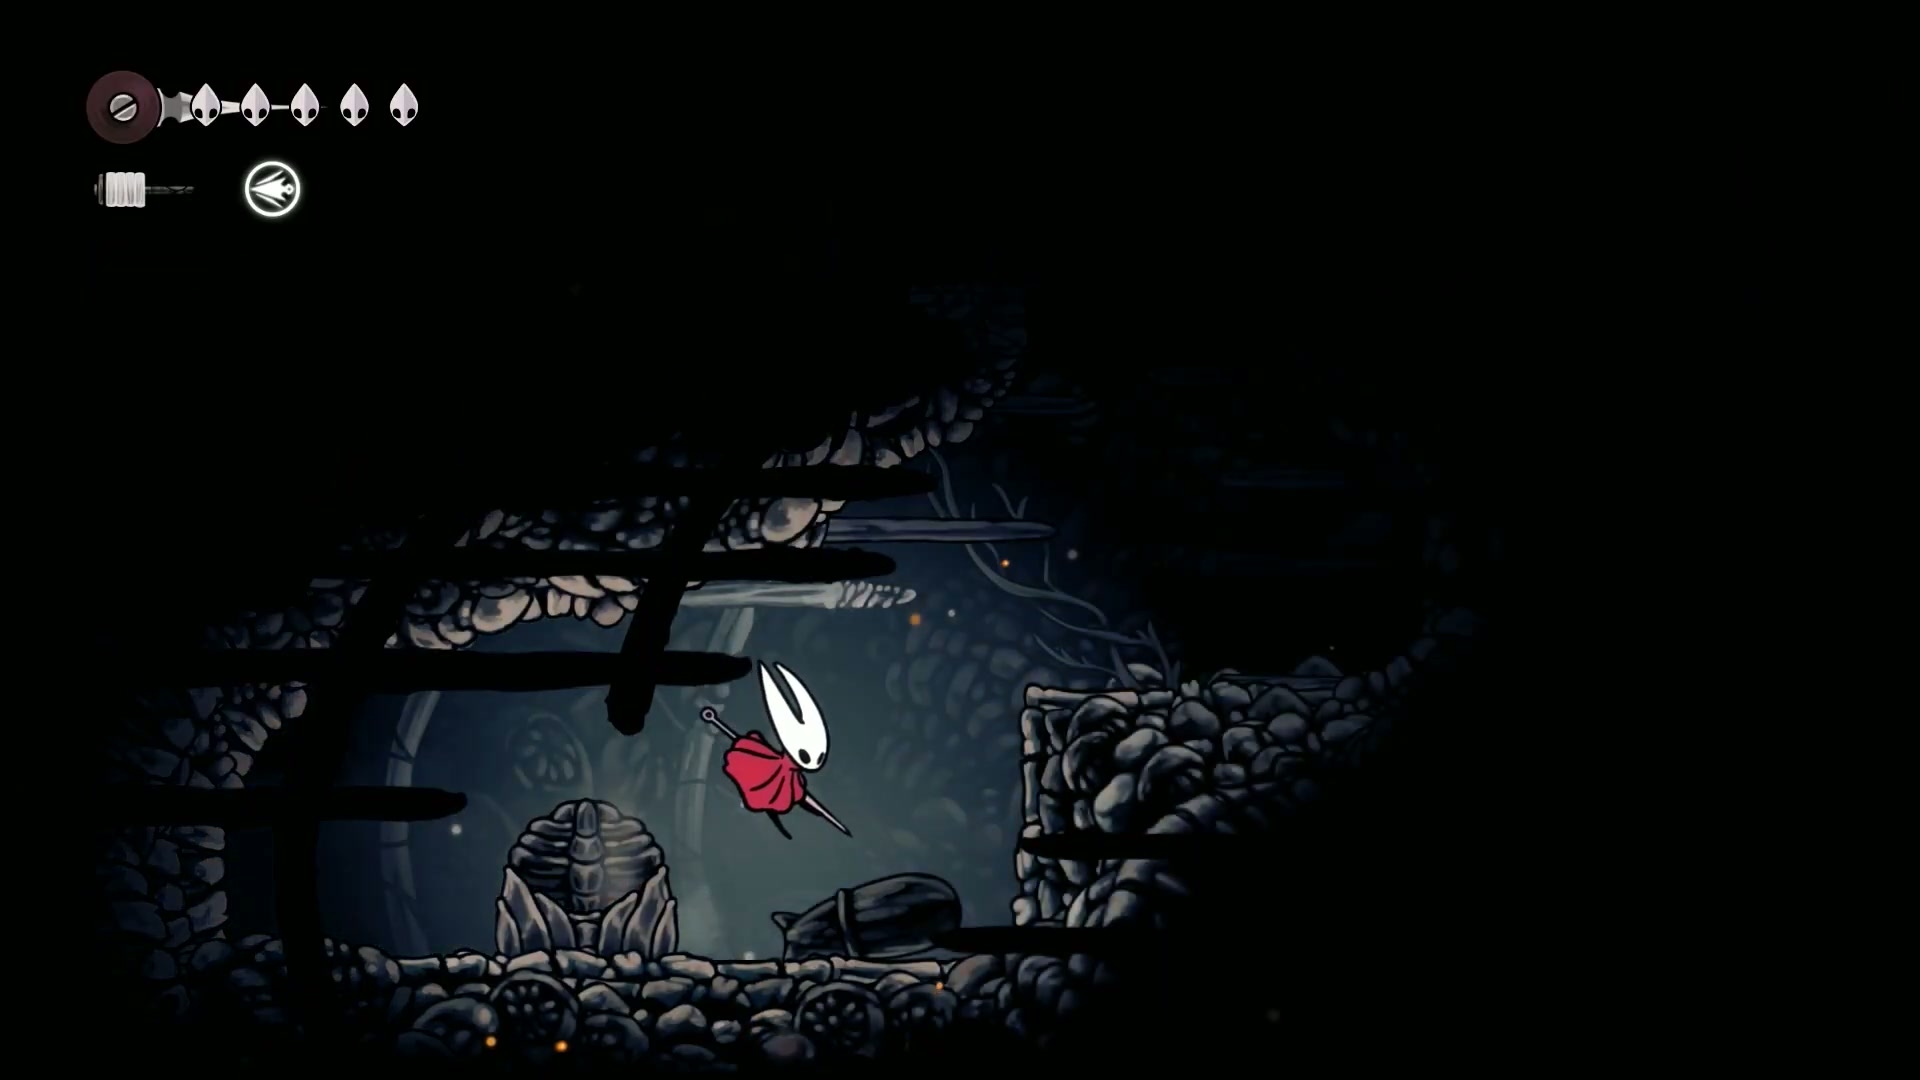
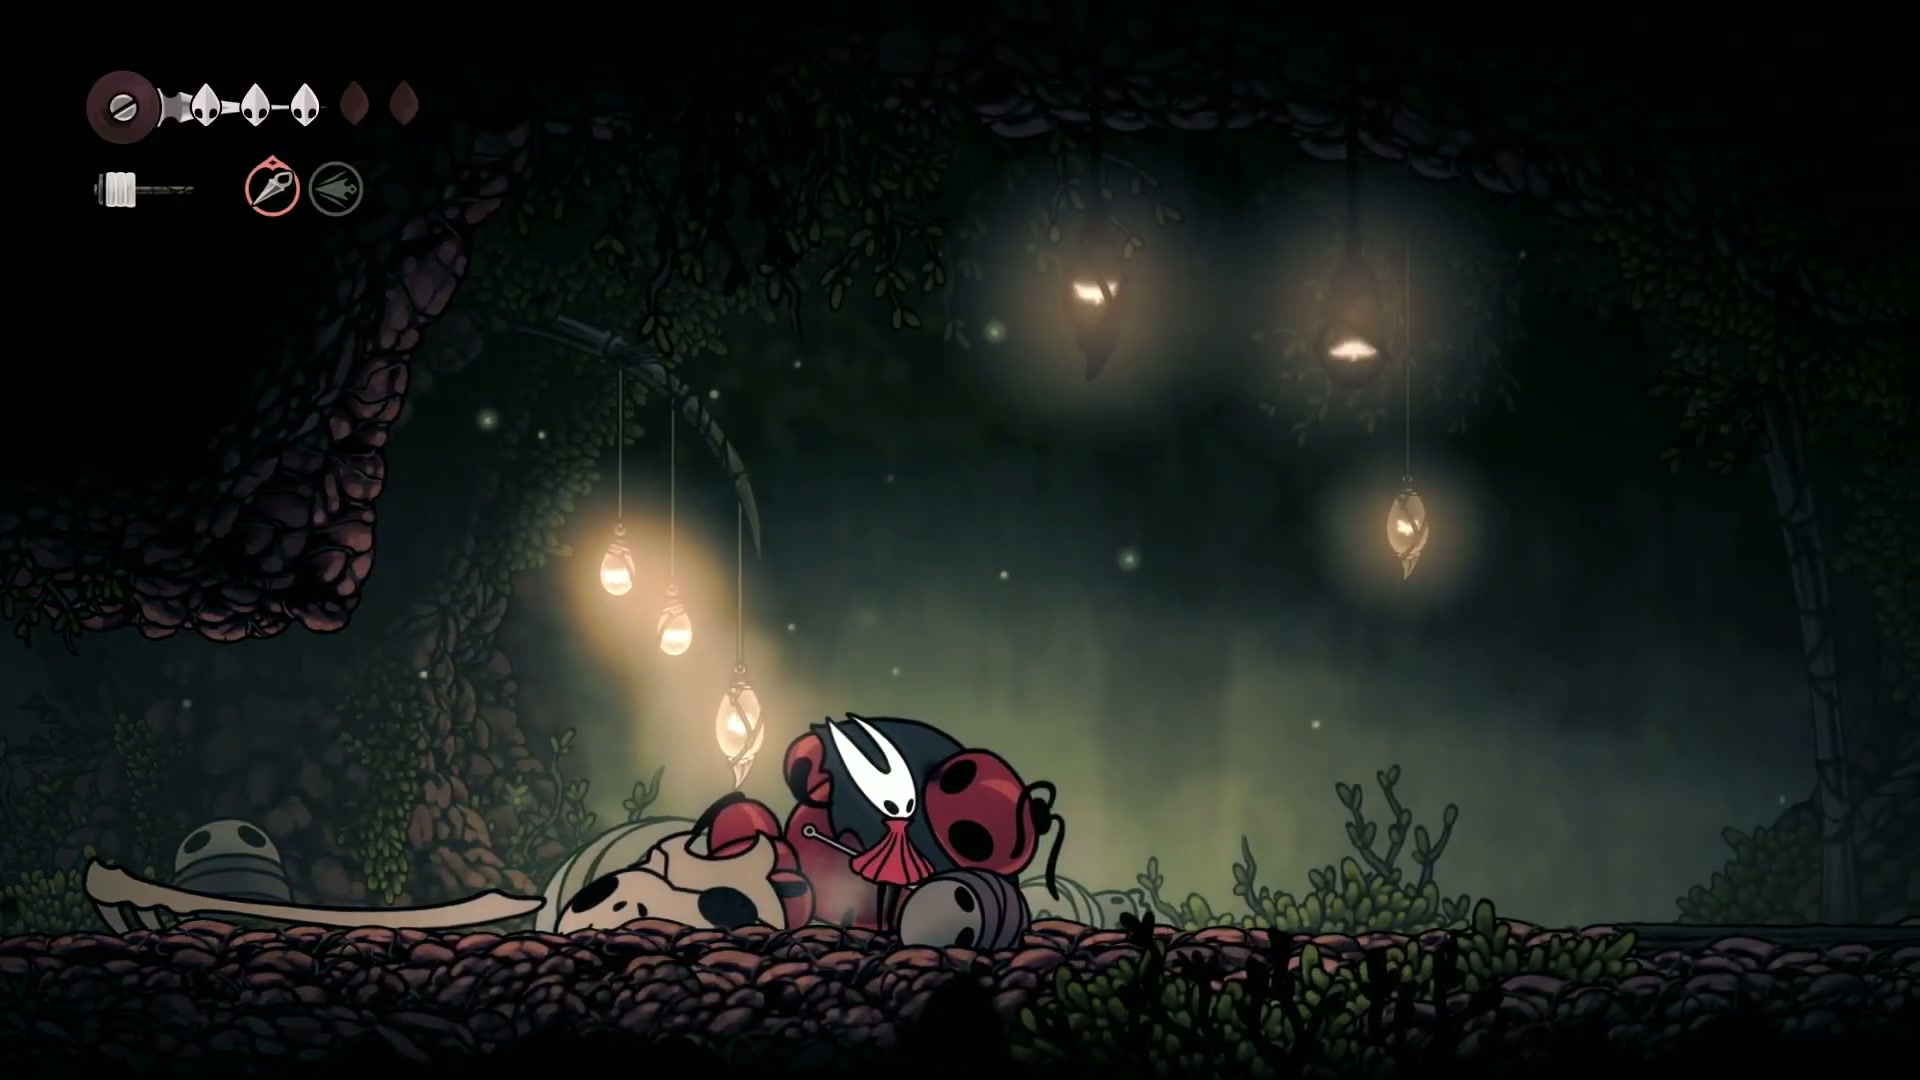
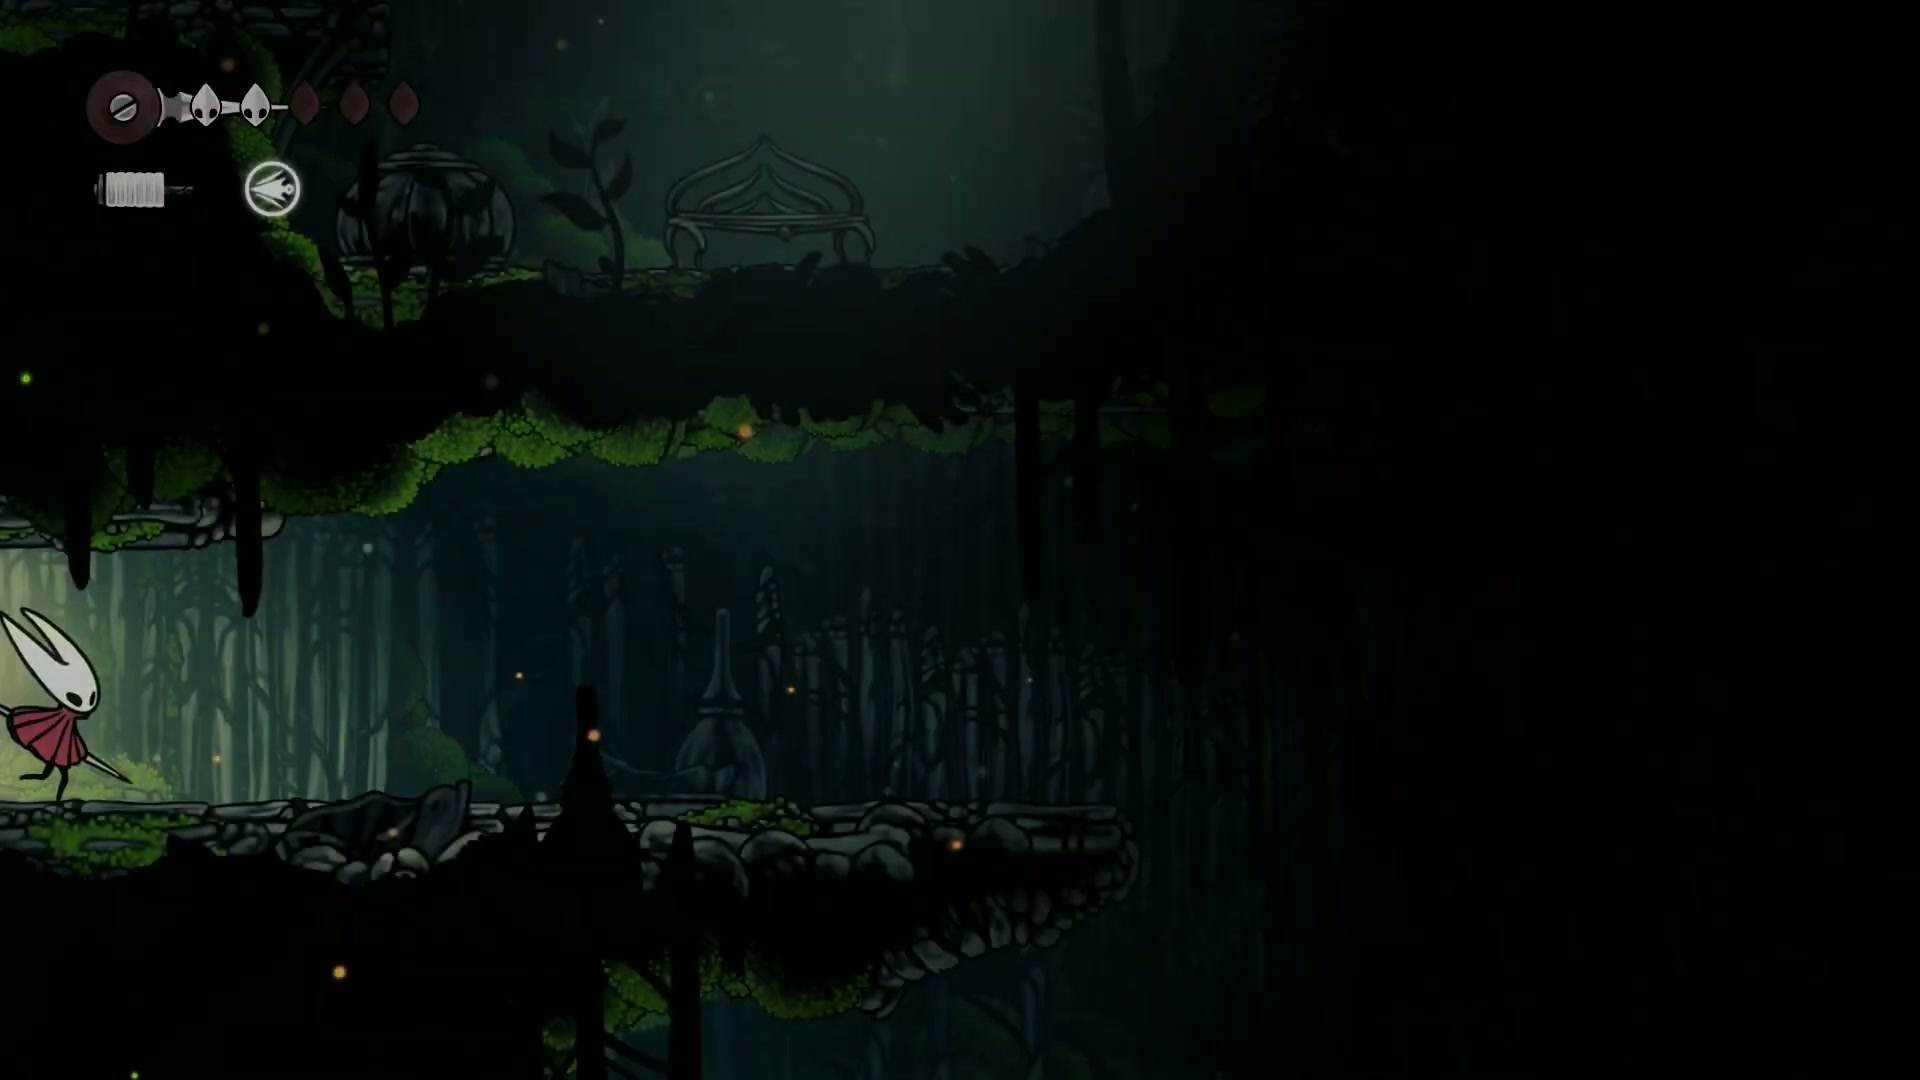
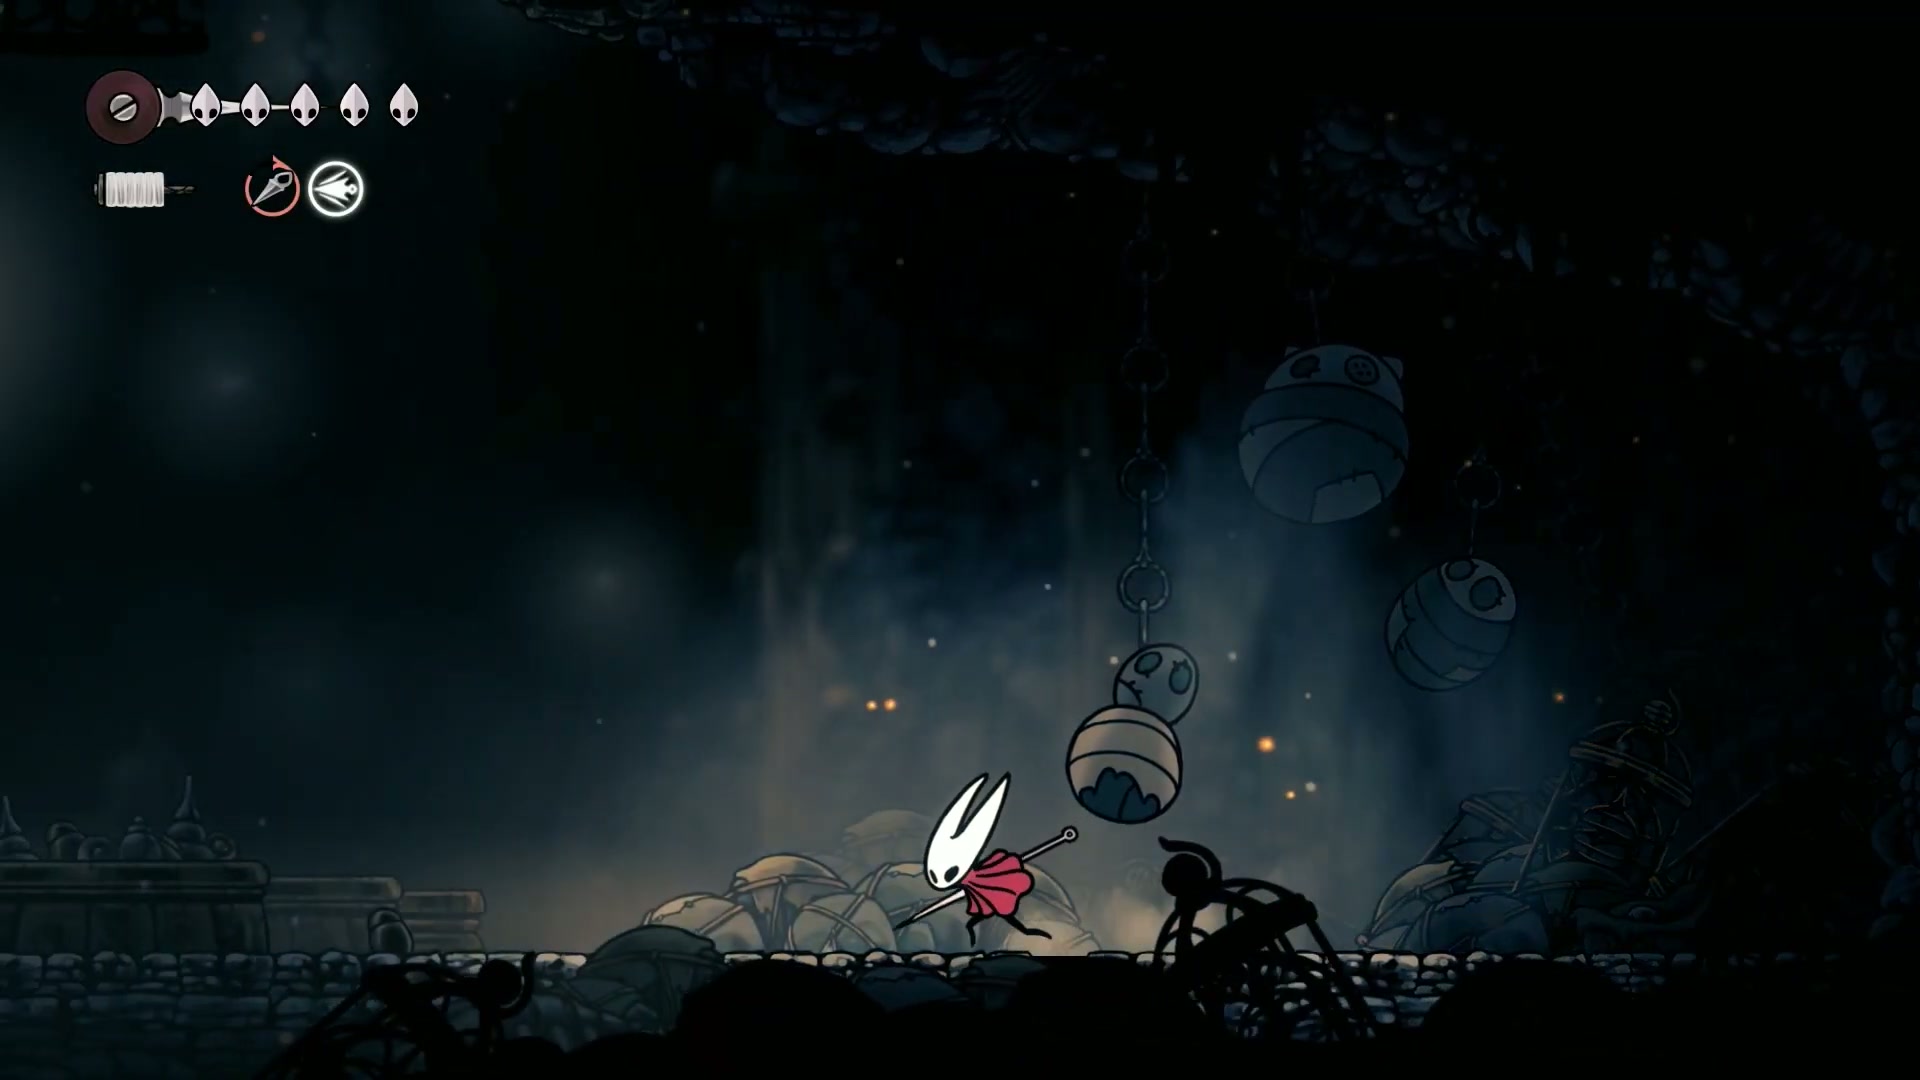
After ringing the bell (you know you want to), we’re heading up and to the left to explore the highest reaches of The Marrow. This section is a serious platforming challenge that will test your pogo skills. The ultimate goal: to rescue our very first caged Flea.
🏆 Boss-Level Execution: The path to the Flea is filled with spikes and tricky jumps. This is where the game starts demanding more precise movement. Stay patient, time your jumps, and use your downward slash to pogo off spikes and enemies to cross large gaps. Rescuing the Flea is a key objective for 100% completion.

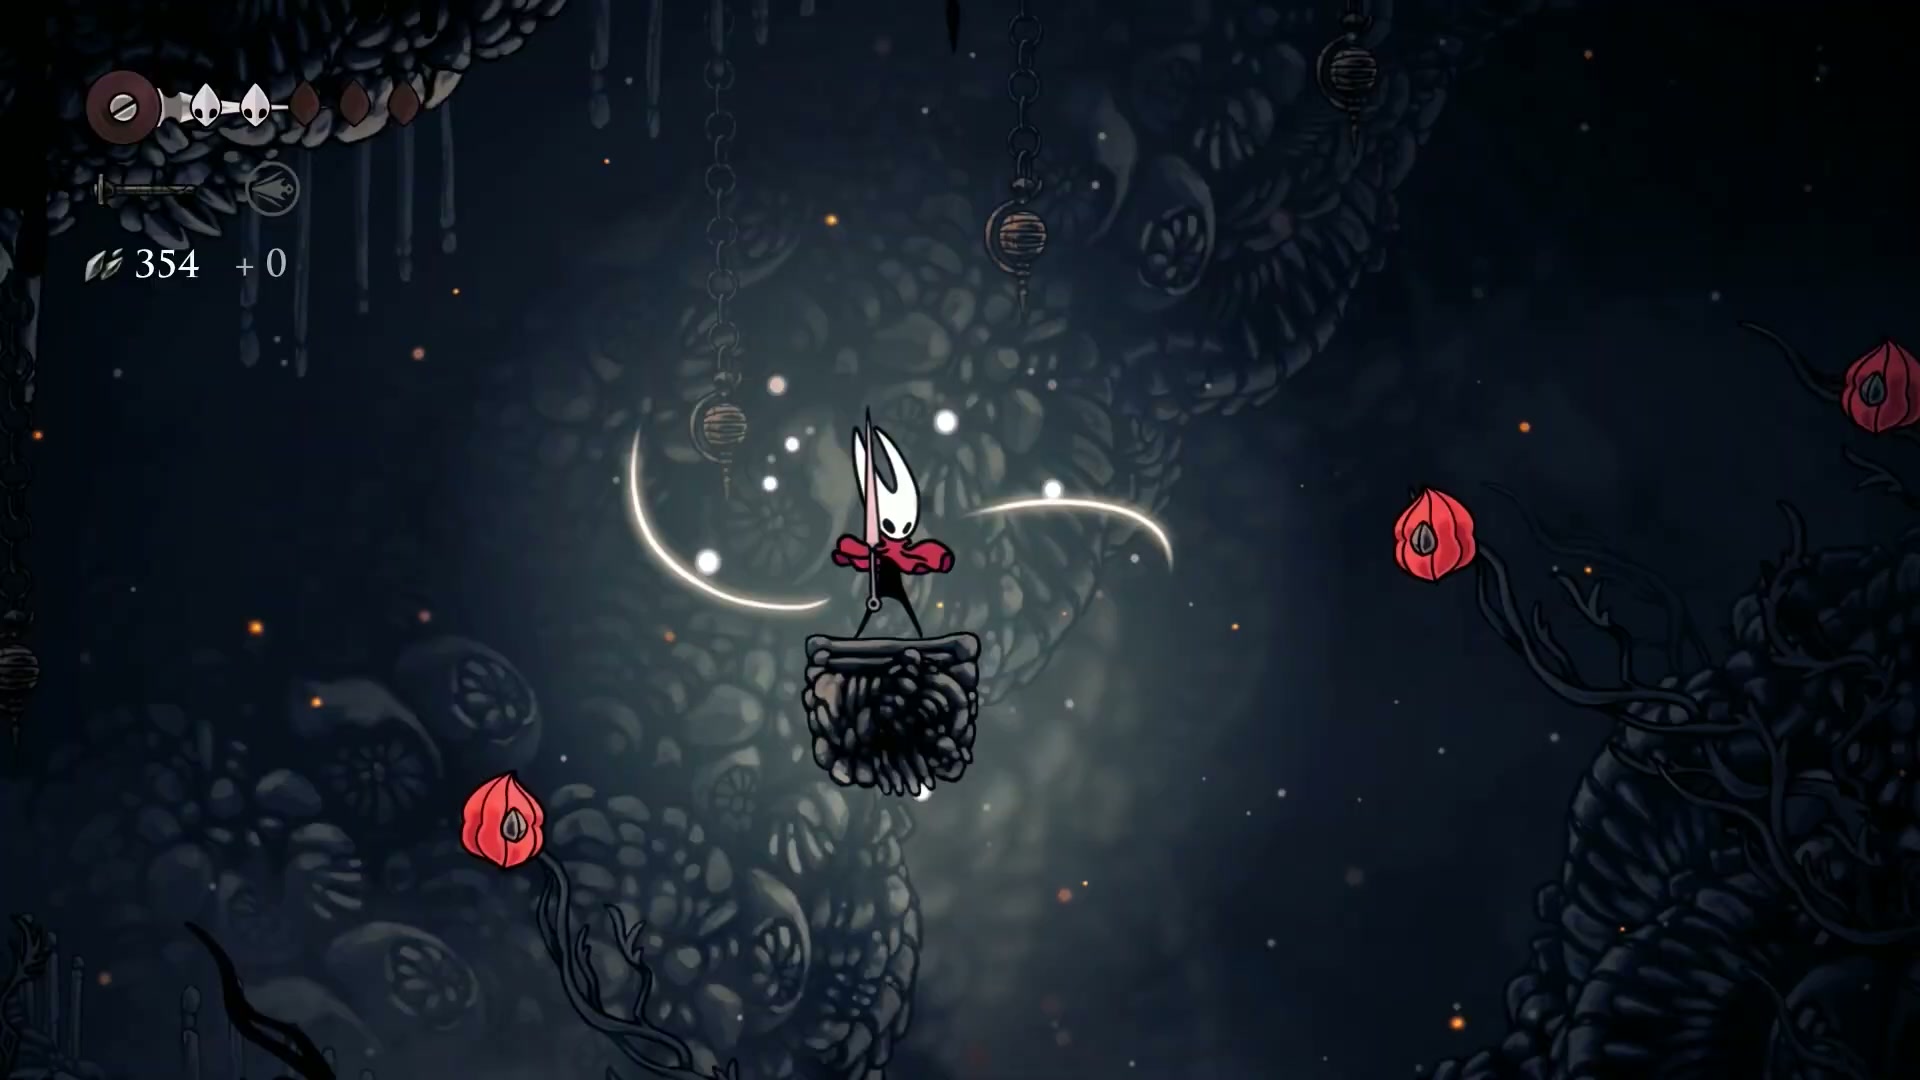
🧠 Master-Tier Strategies & Pro Tips
🎯 Elite Pogo Technique: The D-Pad Method
[Segment Reference: 14:15 - 14:57]
Struggling with the diagonal pogo jumps required for this 100% Completion Guide? The joystick can be imprecise. Here’s a pro tip to nail them every time.
🔥 Advanced Technique Breakdown:
-
Switch to the D-Pad - Segment: 14:19
For precise pogo sections, switch your movement from the analog stick to the D-pad. The D-pad provides exact directional inputs, eliminating the ambiguity of the joystick. -
Roll Your Thumb - Segment: 14:24
To perform a diagonal pogo, press both theDownandLeft/Rightbuttons on the D-pad simultaneously. You can easily “roll” your thumb between these inputs to chain pogos together seamlessly. This lets you focus solely on timing your attack button presses.
⚠️ Don’t Be a Noob - Common Fails to Avoid
Based on insights from the content, here’s what NOT to do:
- ❌ Relying on the Joystick for Precision - Segment: 14:17
- ✅ Fix: Use the D-pad for tricky platforming sections as described above. It gives you direct, reliable control over your pogo direction.
- 🎯 Silksong Platinum Walkthrough Impact: Mastering this is non-negotiable for later-game challenges and trophies.
- ❌ Rushing the Pogo Gauntlet - Segment: 15:39
- ✅ Fix: Take a breath before each sequence. This is a rhythm challenge, not a race. Watch the patterns and time your first jump carefully.
- 💡 Pro Tip: If you fall, don’t get tilted. Every attempt builds muscle memory. This section is designed to train you for what’s to come.
🚀 Level Up Your Game Plan: The Optional Ant Boss
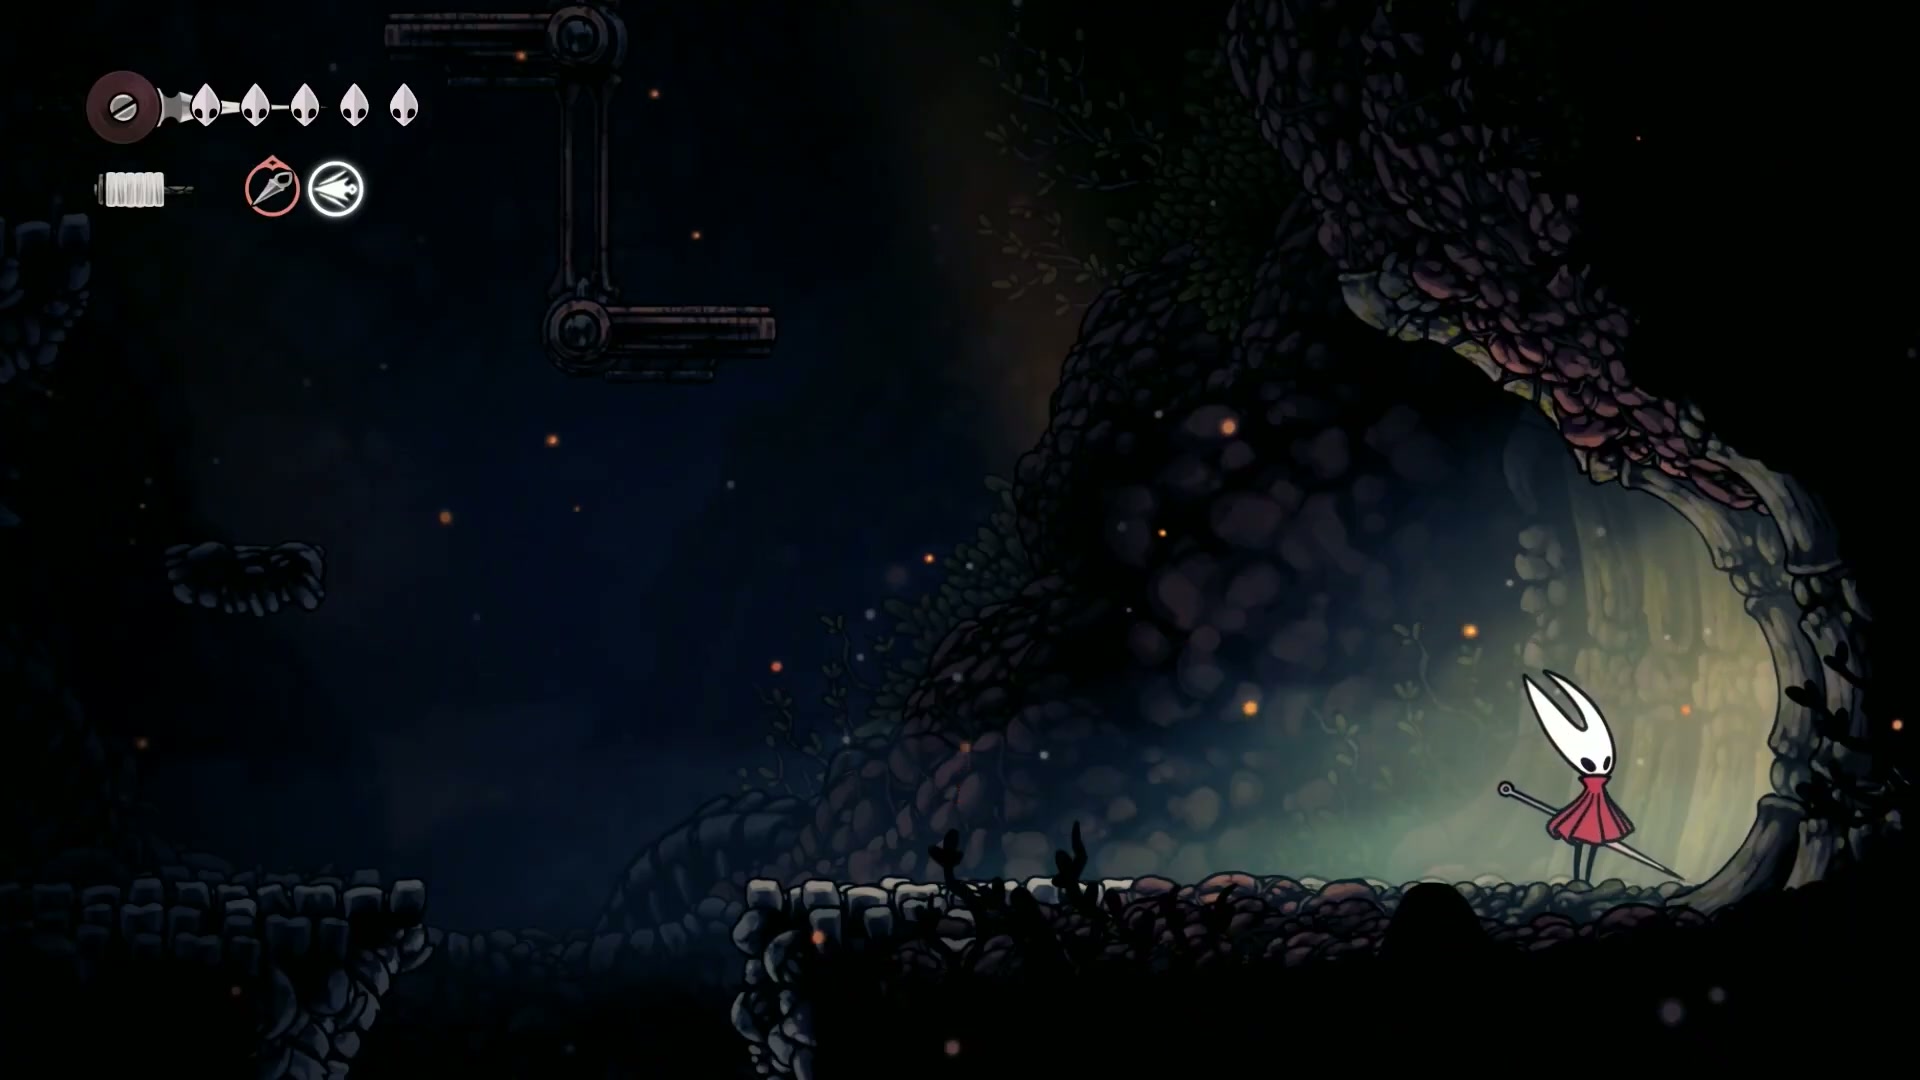
We’re about to face an optional boss that guards the entrance to Hunter’s March. He hits for two masks of damage and can be a massive roadblock. But we have a plan.
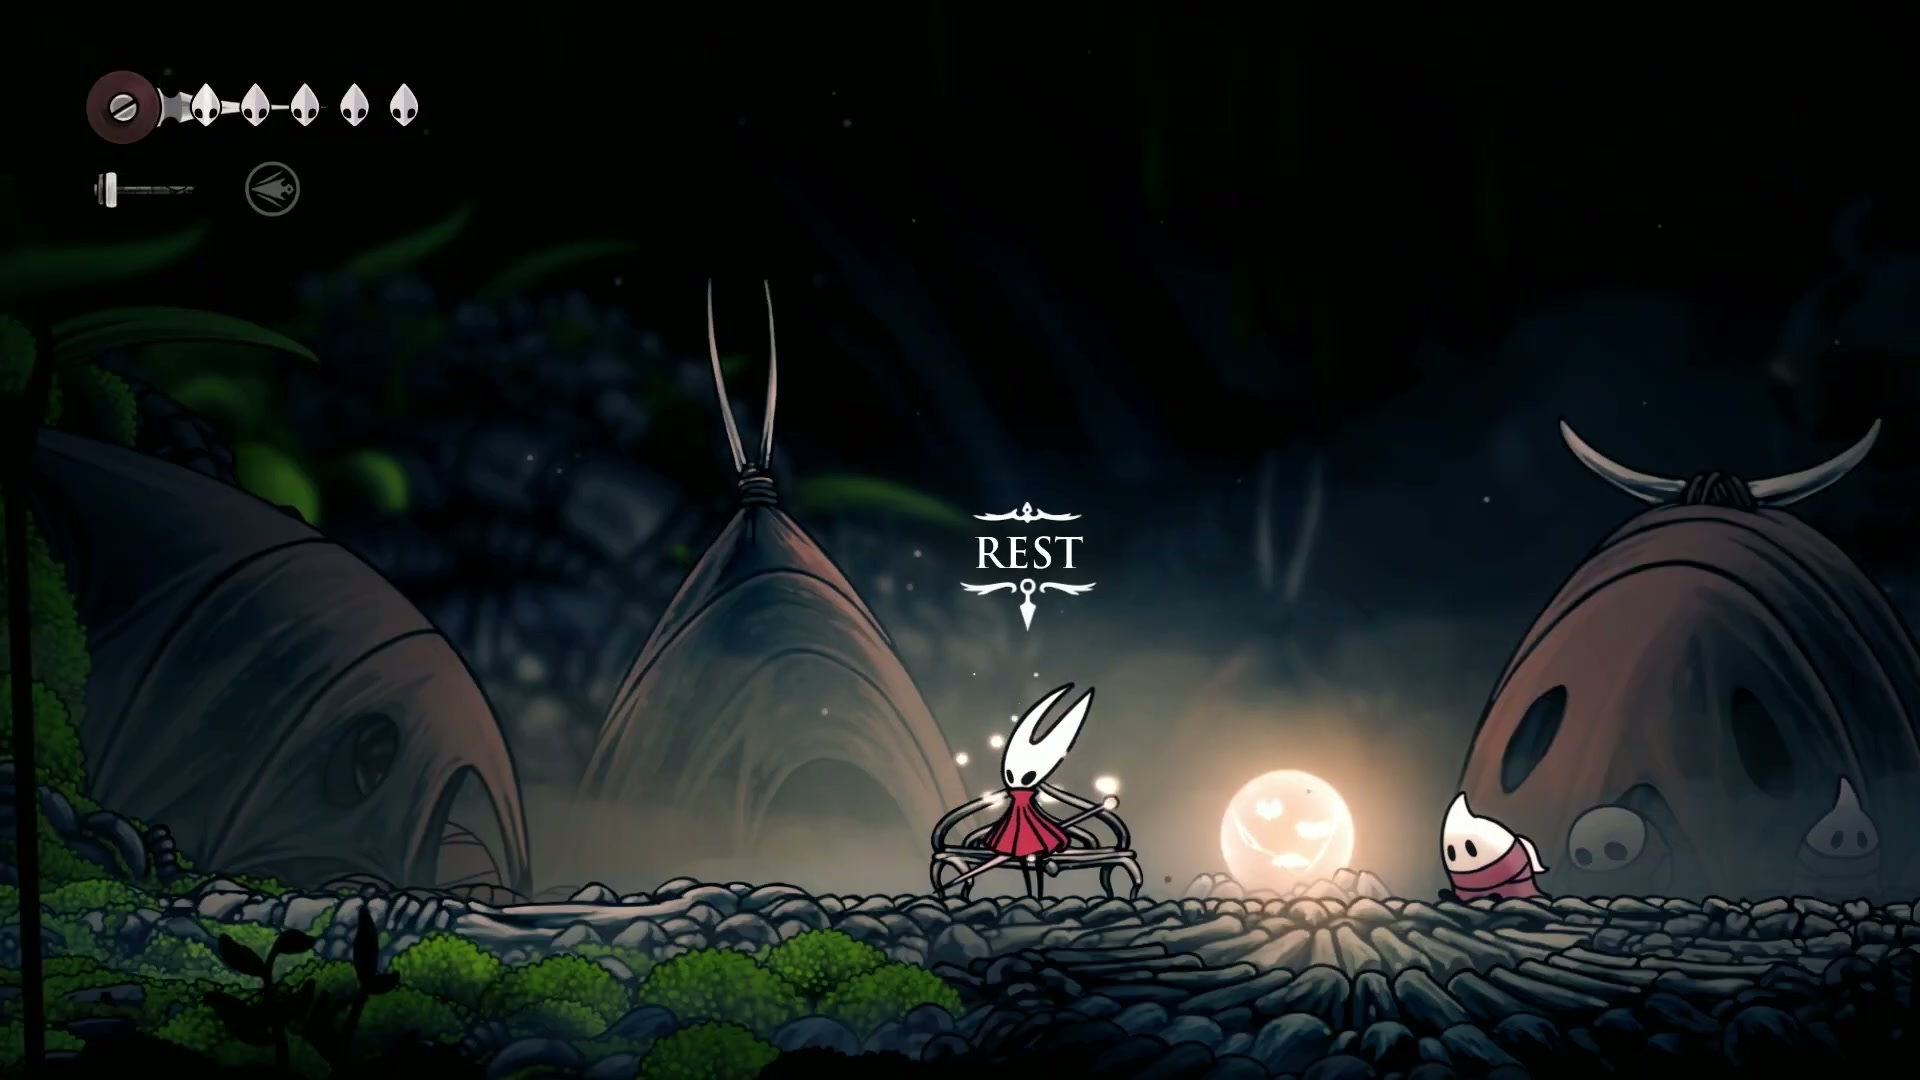
🎮 Phase 1: Acquire the Right Tool
- [X] Follow the main path until you find an NPC near a bench.
- [X] In the room with the NPC, grab the Straight Pin tool, a new throwable weapon.
- [X] Rest at the nearby bench to set your spawn point.
⚡ Phase 2: The Cheese Strategy

- [X] Lure the boss into the narrow tunnel leading into his arena.
- [X] His deadliest attacks are his jump-slams, which he can’t perform in the confined space of the tunnel.
- [X] This forces him into a predictable two-swipe combo.
🏆 Phase 3: Pro-Level Execution
- [X] Bait the two-swipe attack, backpedal, and then rush in for 1-2 hits.
- [X] If he teleports, hit him once. If he follows up with a second swipe, you’re safe to spam attacks because he’s locked into teleporting away after.
- [X] Use your spear and Straight Pins for extra damage to secure the kill.
❓ Community FAQ - Your Questions Answered
🎮 Q1: What are Pilgrim Shawls and why do I need them? - Referenced in segment 5:26
A: Pilgrim Shawls are key quest items that drop randomly from the Pilgrim enemies found throughout The Marrow and beyond. You’ll need to collect a total of 12 to turn in to an NPC in Bone Bottom later for a major reward. Make sure you’re taking out these enemies whenever you see them to start building up your collection early!
⚡ Q2: This optional Ant Boss is wrecking me. Do I have to fight him now? - Referenced in segment 21:46
A: No, you don’t! This boss is entirely optional for now. The area he guards, Hunter’s March, is much easier to navigate once we get the dash ability in a future part. However, if you want the satisfaction (and loot) now, using the tunnel cheese strategy detailed above is the most effective way to beat him with your current toolset.
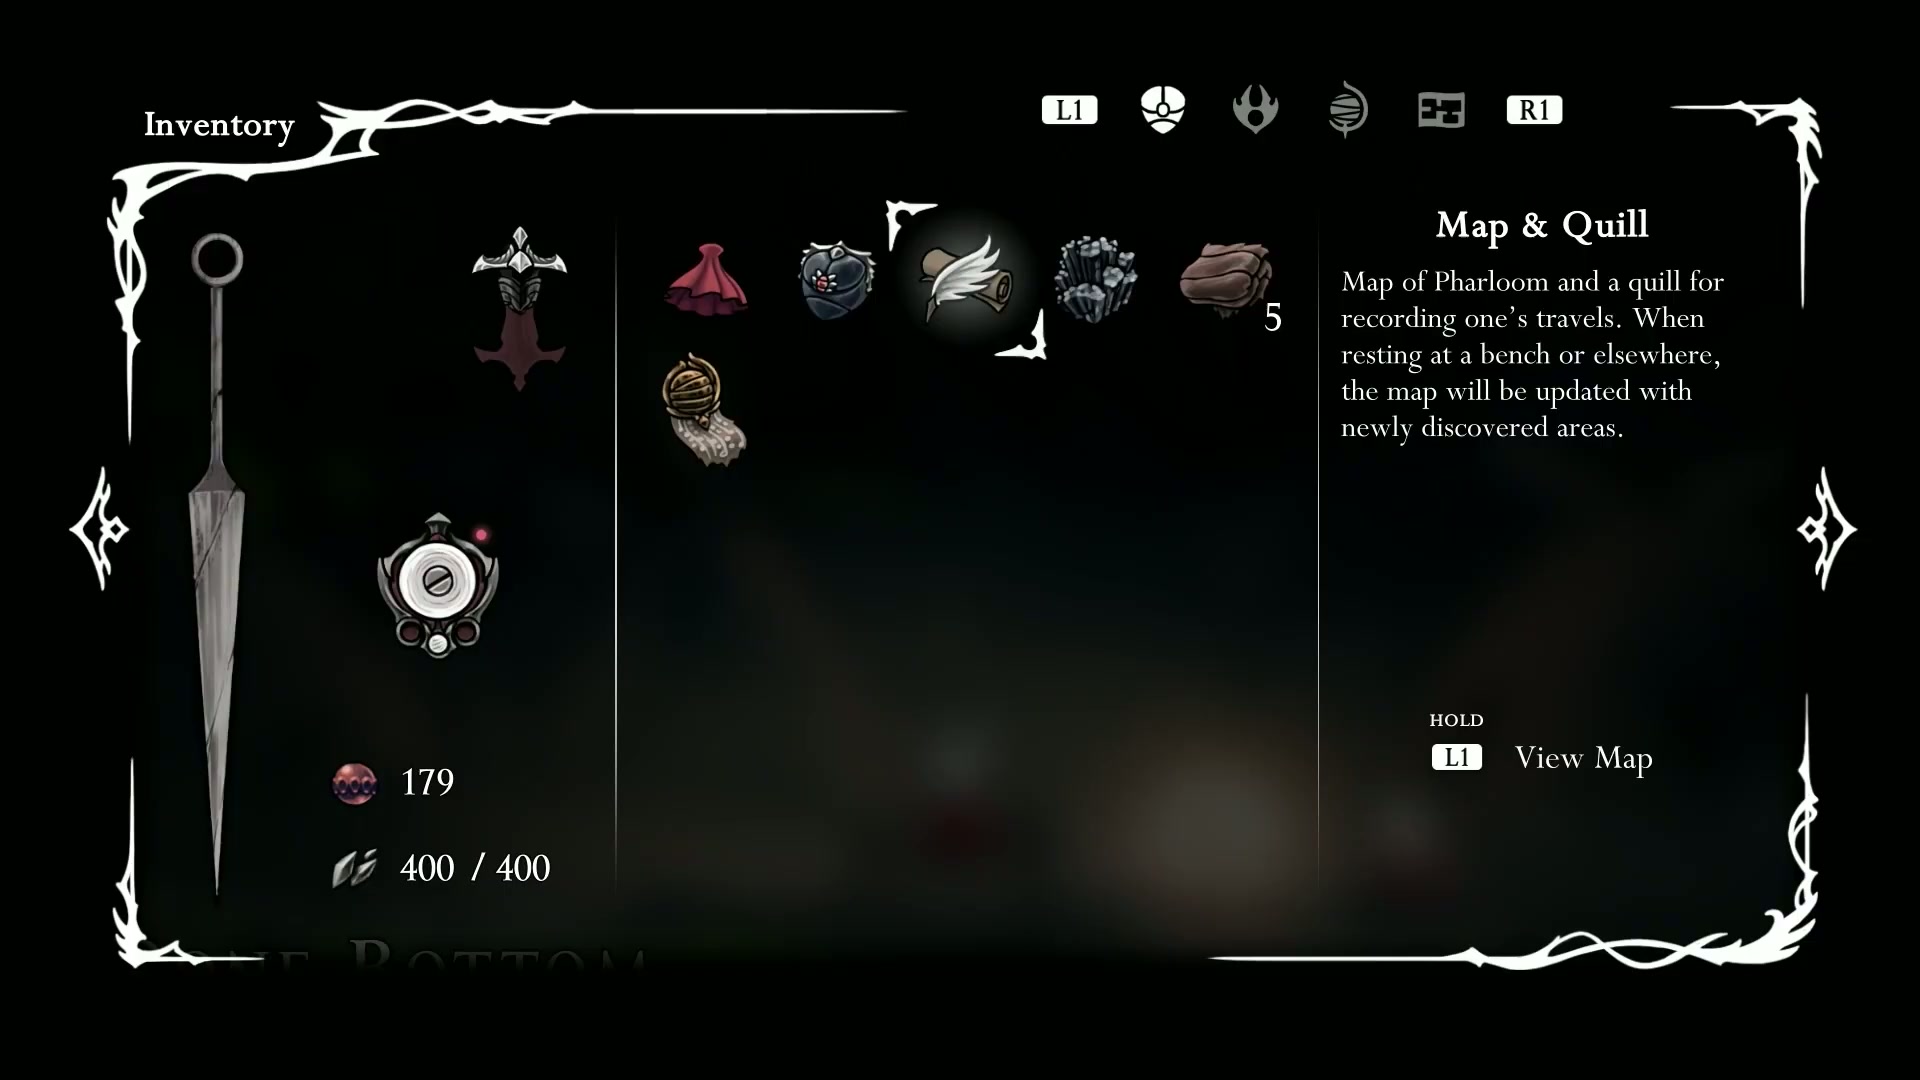
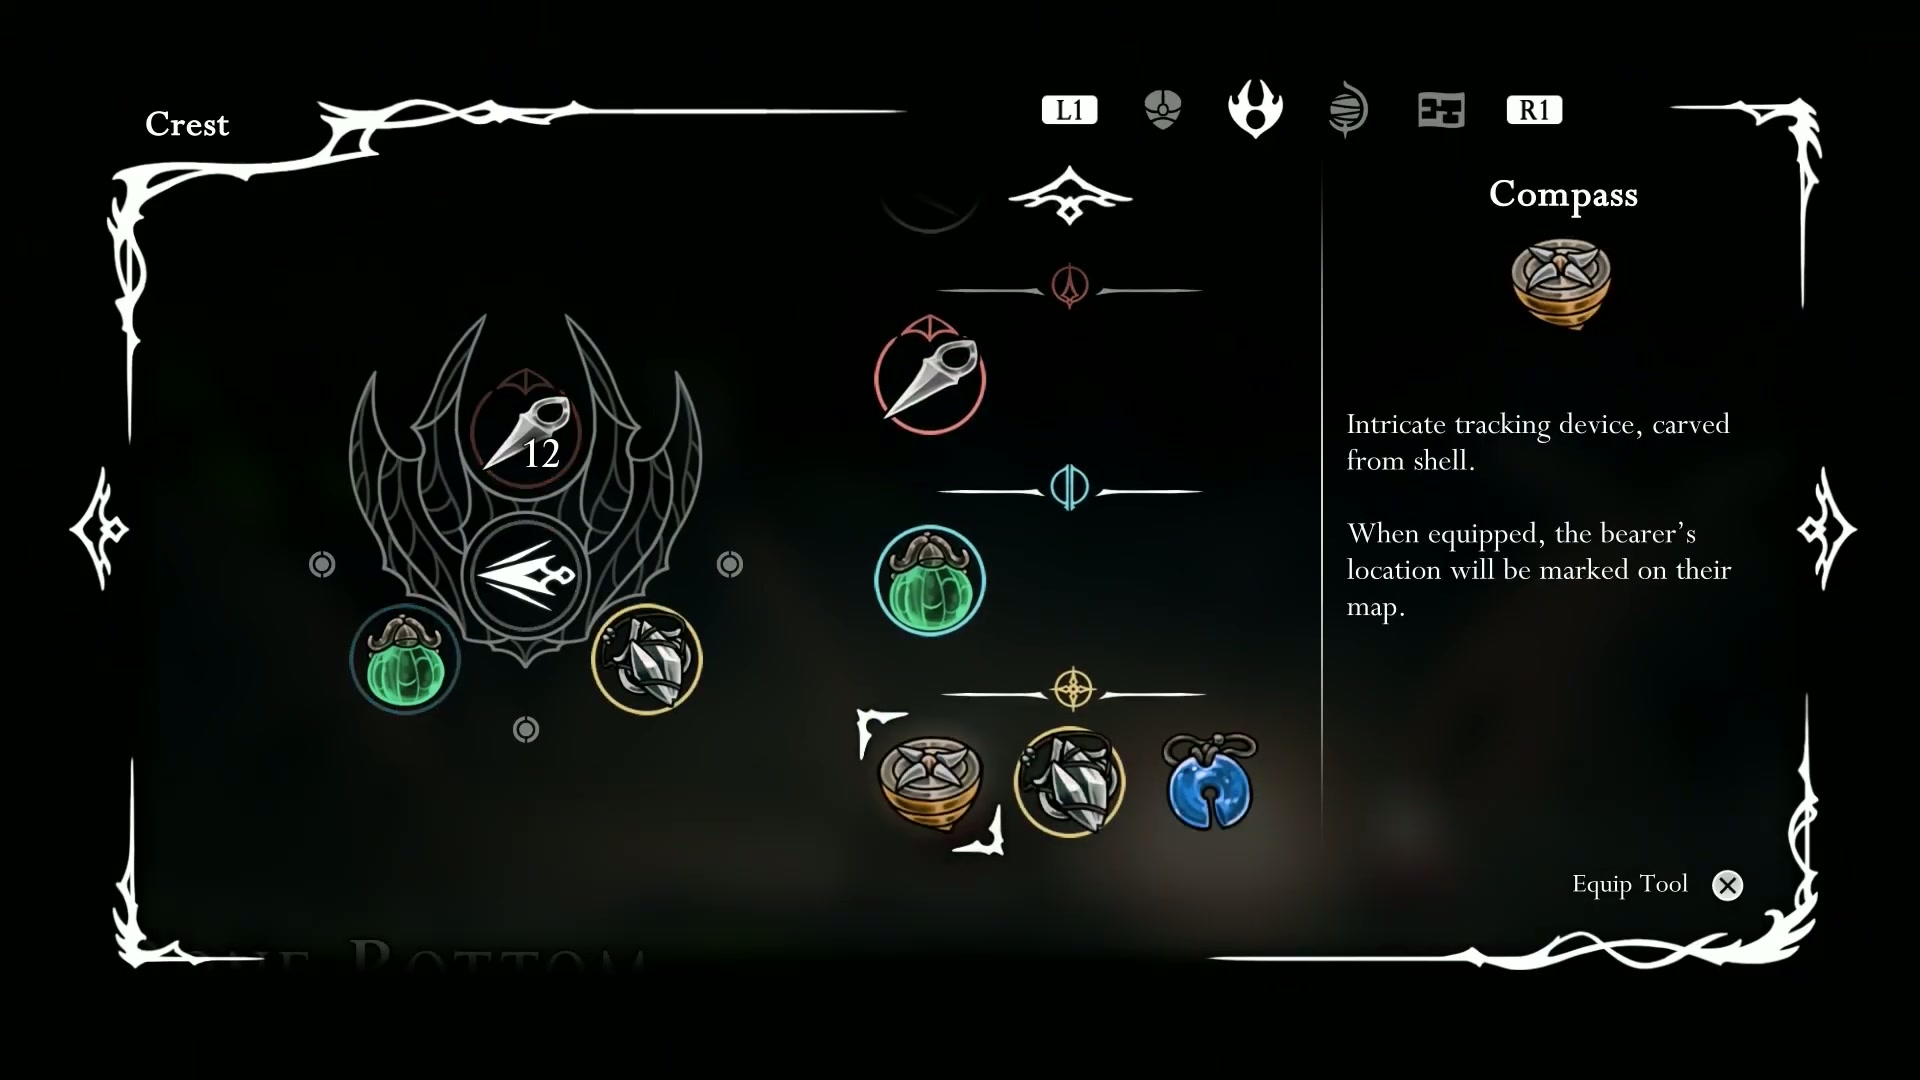
🎯 Q3: How does the new Straight Pin tool work? Does it cost anything? - Referenced in segment 21:05
A: The Straight Pin is a powerful new tool that lets you throw projectiles. It’s great for getting in chip damage or hitting enemies from a safe distance. Be warned: it’s not free. While you can use your initial stock of pins, they are replenished by consuming your Rosary Beads/Shards whenever you rest at a bench. Use them wisely, especially when you’re saving up to buy something!
✅ Your Silksong Platinum Walkthrough Part 2 Checklist
🎮 Immediate Actions (Do This Now):
- [X] Defeat the secret heavy mini-boss near spawn for the Beast Shard. - Referenced in segment 1:42

- [X] Break the secret wall in Moss Home to open a major shortcut. - Referenced in segment 4:56
- [X] Rescue your first Flea in the upper platforming section of The Marrow. - Referenced in segment 9:20
⚡ Short-term Goals (This Part):
- [X] Acquire the Craft Metal from the dangerous spike-pogo room. - Referenced in segment 13:09
- [X] Obtain the Straight Pin tool from the room with the thief NPC. - Referenced in segment 20:25
- [X] Defeat the optional Ant Boss guarding Hunter’s March. - Referenced in segment 25:12
🏆 Long-term Mastery (For 100% Completion):
- [X] Begin collecting Pilgrim Shawls from Pilgrim enemies (Goal: 12). - Referenced in segment 5:26
- [X] Purchase the Deep Docks Map from the mapmaker. - Referenced in segment 32:05
- [X] Unlock the Bell-evator shortcut from Deep Docks to Bone Bottom. - Referenced in segment 33:09
🌟 Final Boss: Summary & Next Moves
That wraps up Part 2 of our Silksong Platinum Walkthrough! We’ve fully conquered The Marrow, defeated two challenging bosses, mastered the pogo, and armed ourselves with a new tool. The path is now open to the Deep Docks and Hunter’s March.
🎯 Key Wins You Just Unlocked:
- 🎮 Total Marrow Control - Every shortcut and secret in The Marrow is now yours.
- ⚡ New Combat Options - The Straight Pin adds a new ranged dimension to your fights.
- 🏆 100% Path Cleared - You’ve collected every key item in this section required for 100% completion.
🚀 Your Next Quest:

With the Deep Docks map in hand and a bench unlocked, you are perfectly positioned for Part 3, where we will dive into the depths of this new zone, hunt for more upgrades, and continue our quest for the Platinum trophy. Get ready!
💬 Join the Gaming Community!
🌟 This Guide Helped You Level Up?
Share the epic knowledge! If this Silksong Platinum Walkthrough Part 2 - 100% Completion Guide helped you master The Marrow, spread the love in the gaming community!
🎮 Share Where Gamers Gather:
- 🎯 Discord Servers - Drop this in your Hollow Knight & Silksong communities
- 🐦 Twitter/X - Tweet your boss-killing wins
- 📱 Reddit - Share in r/HollowKnight and r/Silksong
- 📺 Twitch/YouTube - Reference this guide in your streams and videos
- 💬 Gaming Forums - Help other players get that 100% completion!
🎯 More Epic Gaming Content
Stay tuned for more guides that actually help you git gud!
🏷️ Tags: #Silksong #SilksongWalkthrough #SilksongGuide #HollowKnight #SilksongPlatinum #Silksong100Percent #Gaming #GamerLife #ProTips #TeamCherry #Metroidvania
📊 Content Stats:
- 📝 Word Count: 1,350
- ⏱️ Read Time: 20 minutes
- 🎯 SEO Focus:
Silksong Platinum Walkthrough Part 2 - 100% Completion Guide+ The Marrow, Deep Docks, optional boss, collectibles. - 🌍 Global Reach: Optimized for international gaming audiences.
- 📱 Mobile-Friendly: Perfect for reading on your phone while you play.
- 📸 Visual Content: 32 strategically placed image markers for maximum engagement.