Conquer Silksong Part 4 with our 100% Platinum Walkthrough! Explore Farfields & Greymoor, unlock Drifter's Cloak, defeat bosses, and use pro strategies.
Walkthrough Video
Cheats & Solution
🎮 Hollow Knight: Silksong - Ultimate Silksong Platinum Walkthrough Part 4 - 100% Completion Guide & Pro Strategies

🔥 What You’re Getting in this Silksong Platinum Walkthrough Part 4 - 100% Completion Guide
This guide breaks down everything from Part 4 of the Silksong Platinum Walkthrough so you can:
• 🎯 Master Two New Zones - Conquer the confusing paths of Farfields and the treacherous halls of Greymoor for 100% completion.
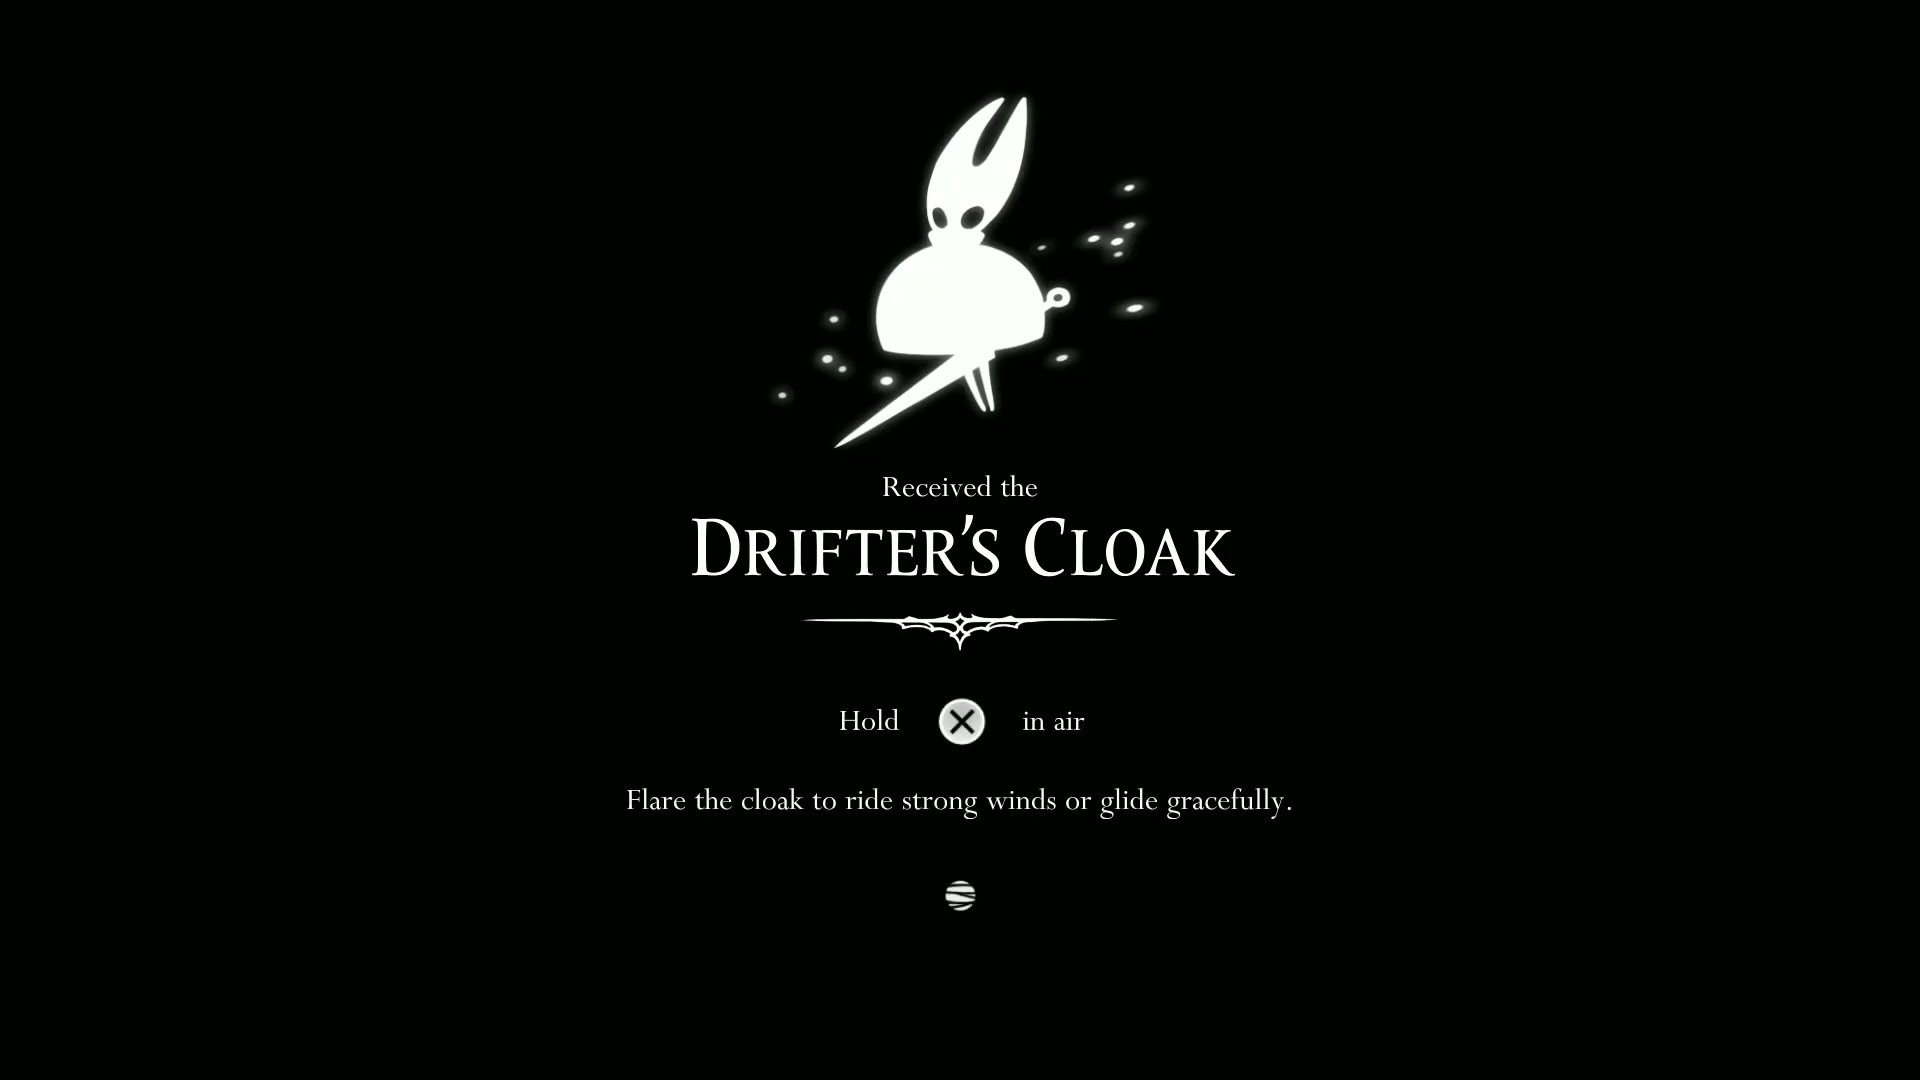
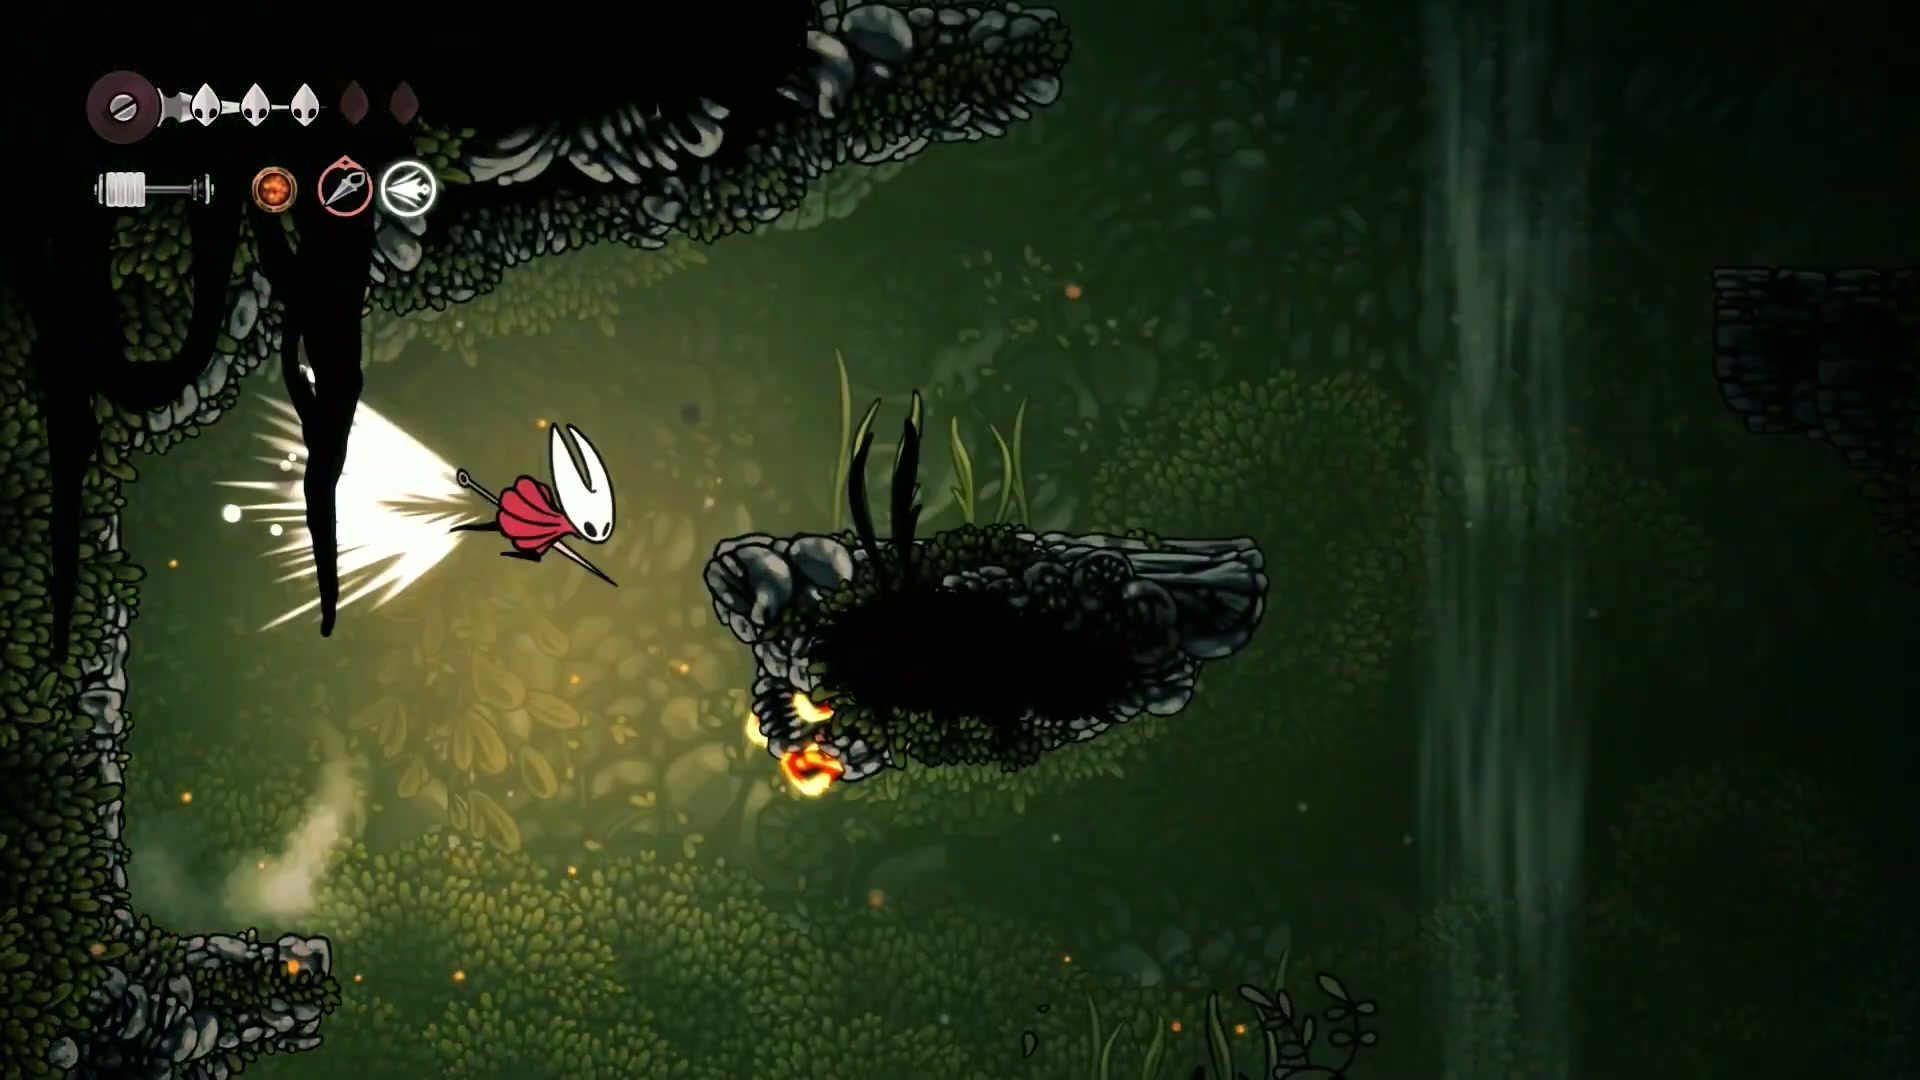
• ⚡ Unlock a Game-Changing Ability - Get your hands on the Drifter’s Cloak and learn to glide through Pharloom’s skies.
• 🚀 Defeat a Major Boss - Learn the patterns and strategies to take down Greymoor’s guardian with the help of a new friend.
• 💪 Complete Critical Quests - Finish the Flexile Spines and Garb of Pilgrims quests, and kick off the Hunter’s Journal.
⏰ Time Investment: 25 minutes to read, lifetime of Silksong improvement.
📖 The Complete Breakdown
🎮 Section 1: Pre-Quest Prep - The Rosary Bead Farm
Based on segments [0:58 - 2:19] from the original content
Before we dive headfirst into what the creator calls “a skill check of a level,” we need to make sure our wallet is stacked. The first major objective in this part of our Silksong Platinum Walkthrough Part 4 - 100% Completion Guide is to get at least 130 Rosary Beads. We’ve got a ton of crucial items to buy on the path ahead.
🔥 Key Takeaways:
- 💡 Goal: Farm a minimum of 130 Rosary Beads before entering Farfields.
- ⚡ Efficiency: One run of this farm route takes about 45 seconds and yields around 30 beads.
- 🎯 Location: The area just before the entrance to Farfields, backtracking from the bench.
💬 Community Quote:
“If you had like zero beads, you could do it in like five or six runs and you’d be fine.”
🎮 Step-by-Step Farming Route:
-
Reset at the Bench - Use the bench right before Farfields to reset all the enemies in the area.
-
Backtrack & Clear - Head left from the bench and take out the four enemies that drop beads. This includes the two standard bugs, “good old Todd,” and the guy we famously “poked in the butt.”

-
Rinse & Repeat - Once you’ve collected the beads, run back to the bench to reset the world and start again. Repeat until you have at least 130 beads.
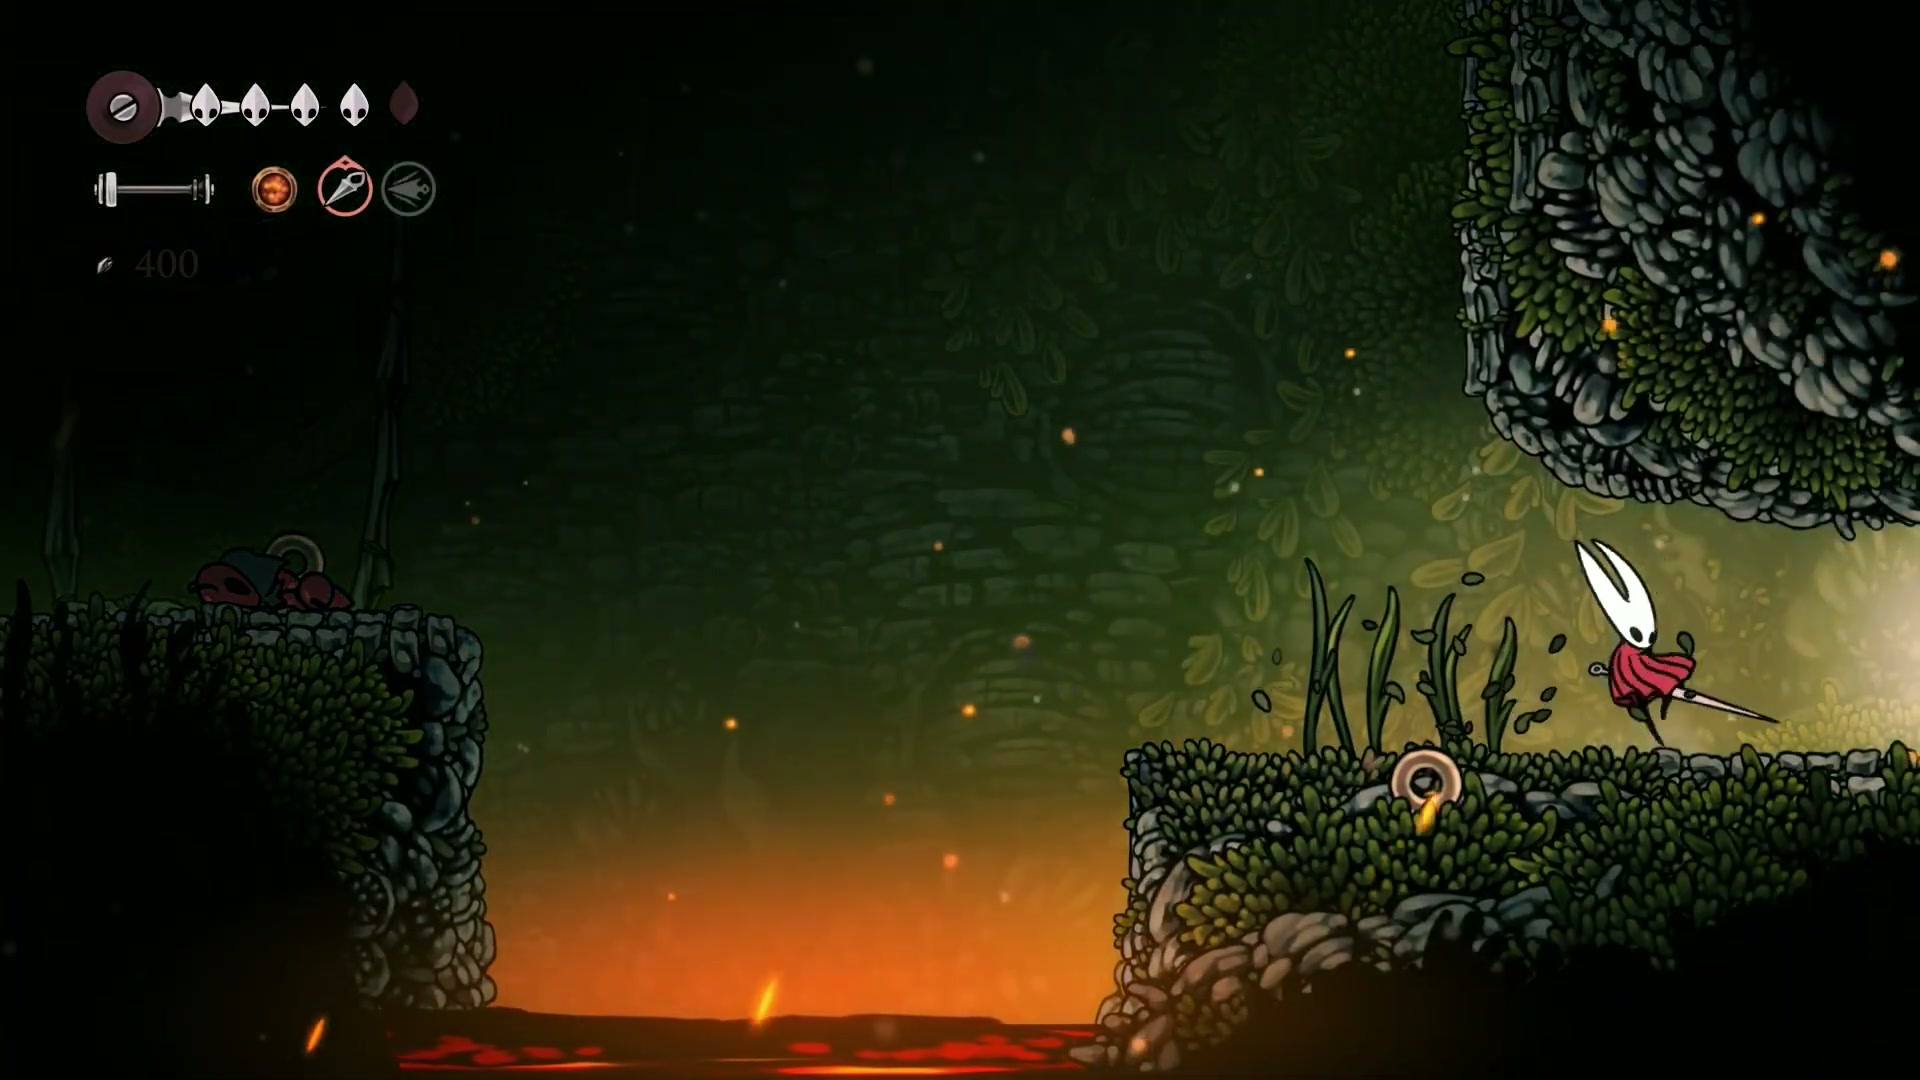
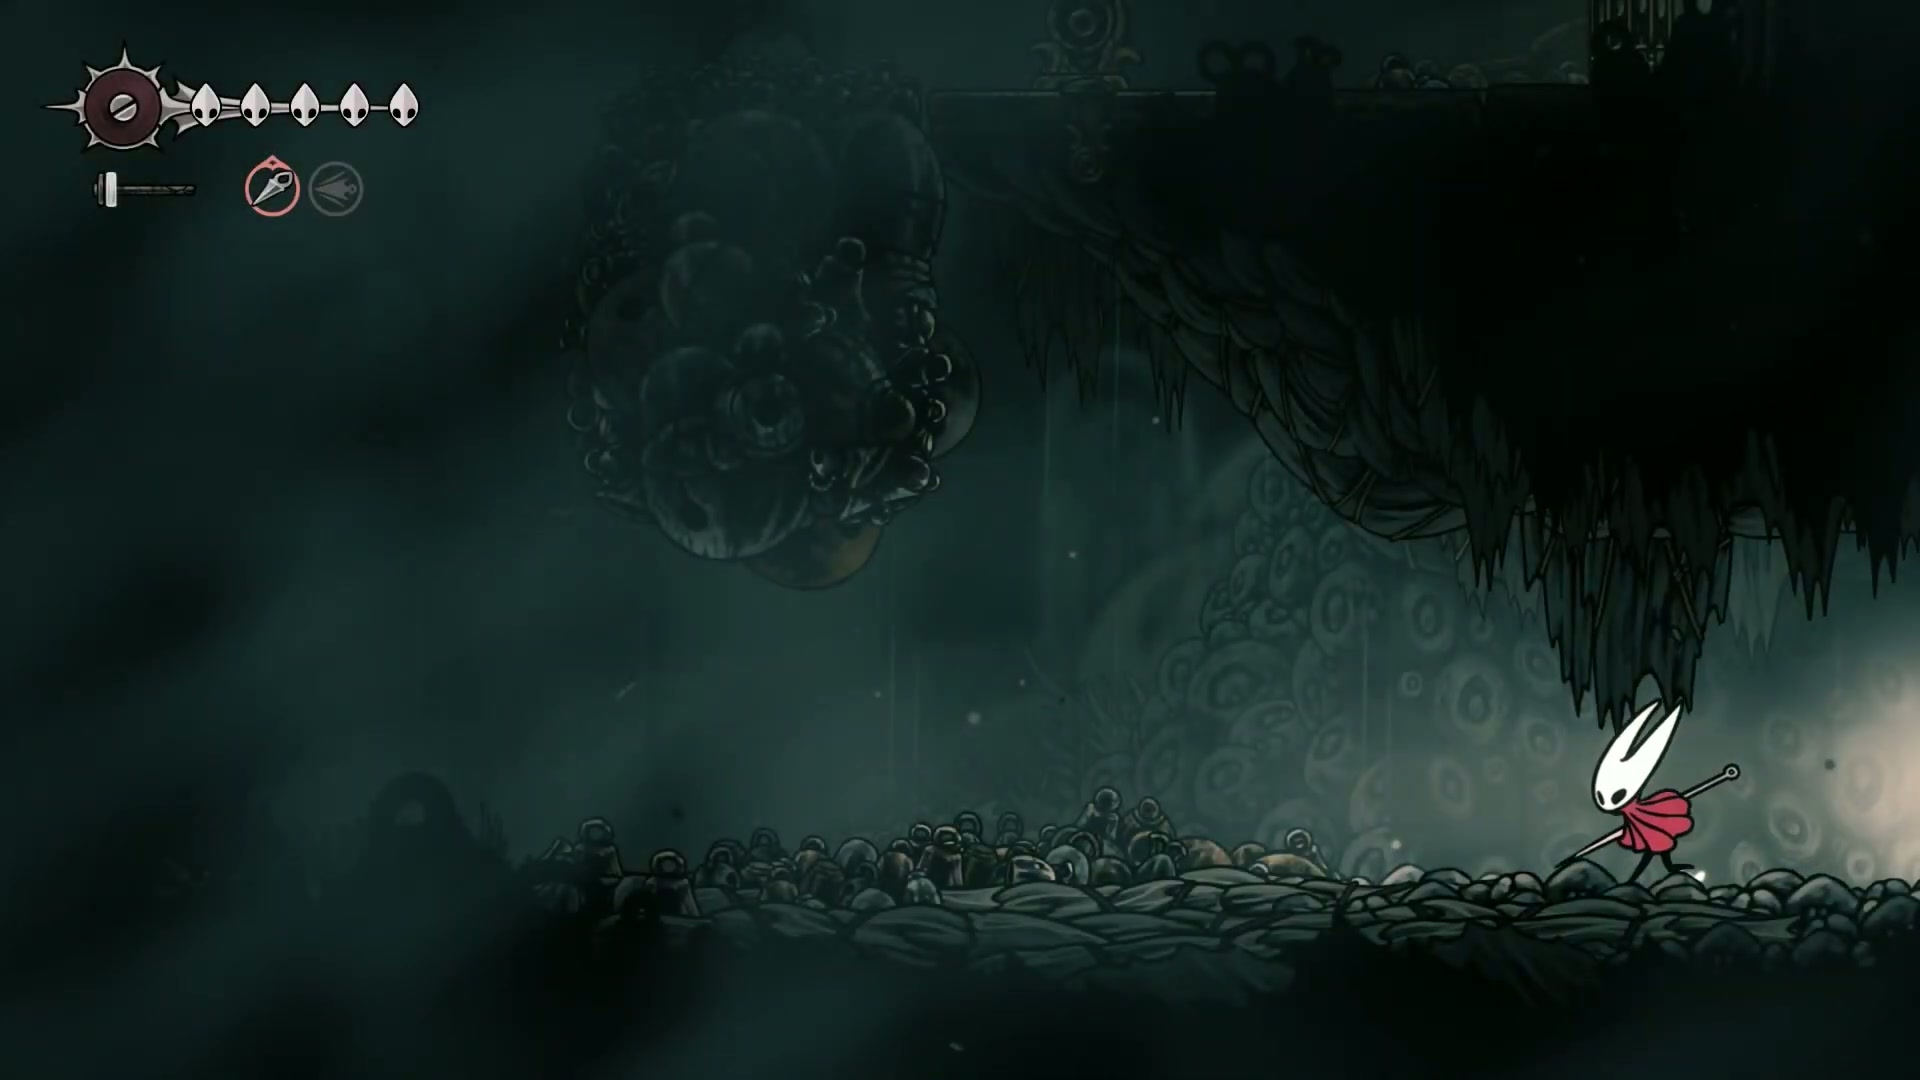
⚡ Section 2: Welcome to Farfields - The Path to the First Hub
Covering segments [2:19 - 7:17] insights
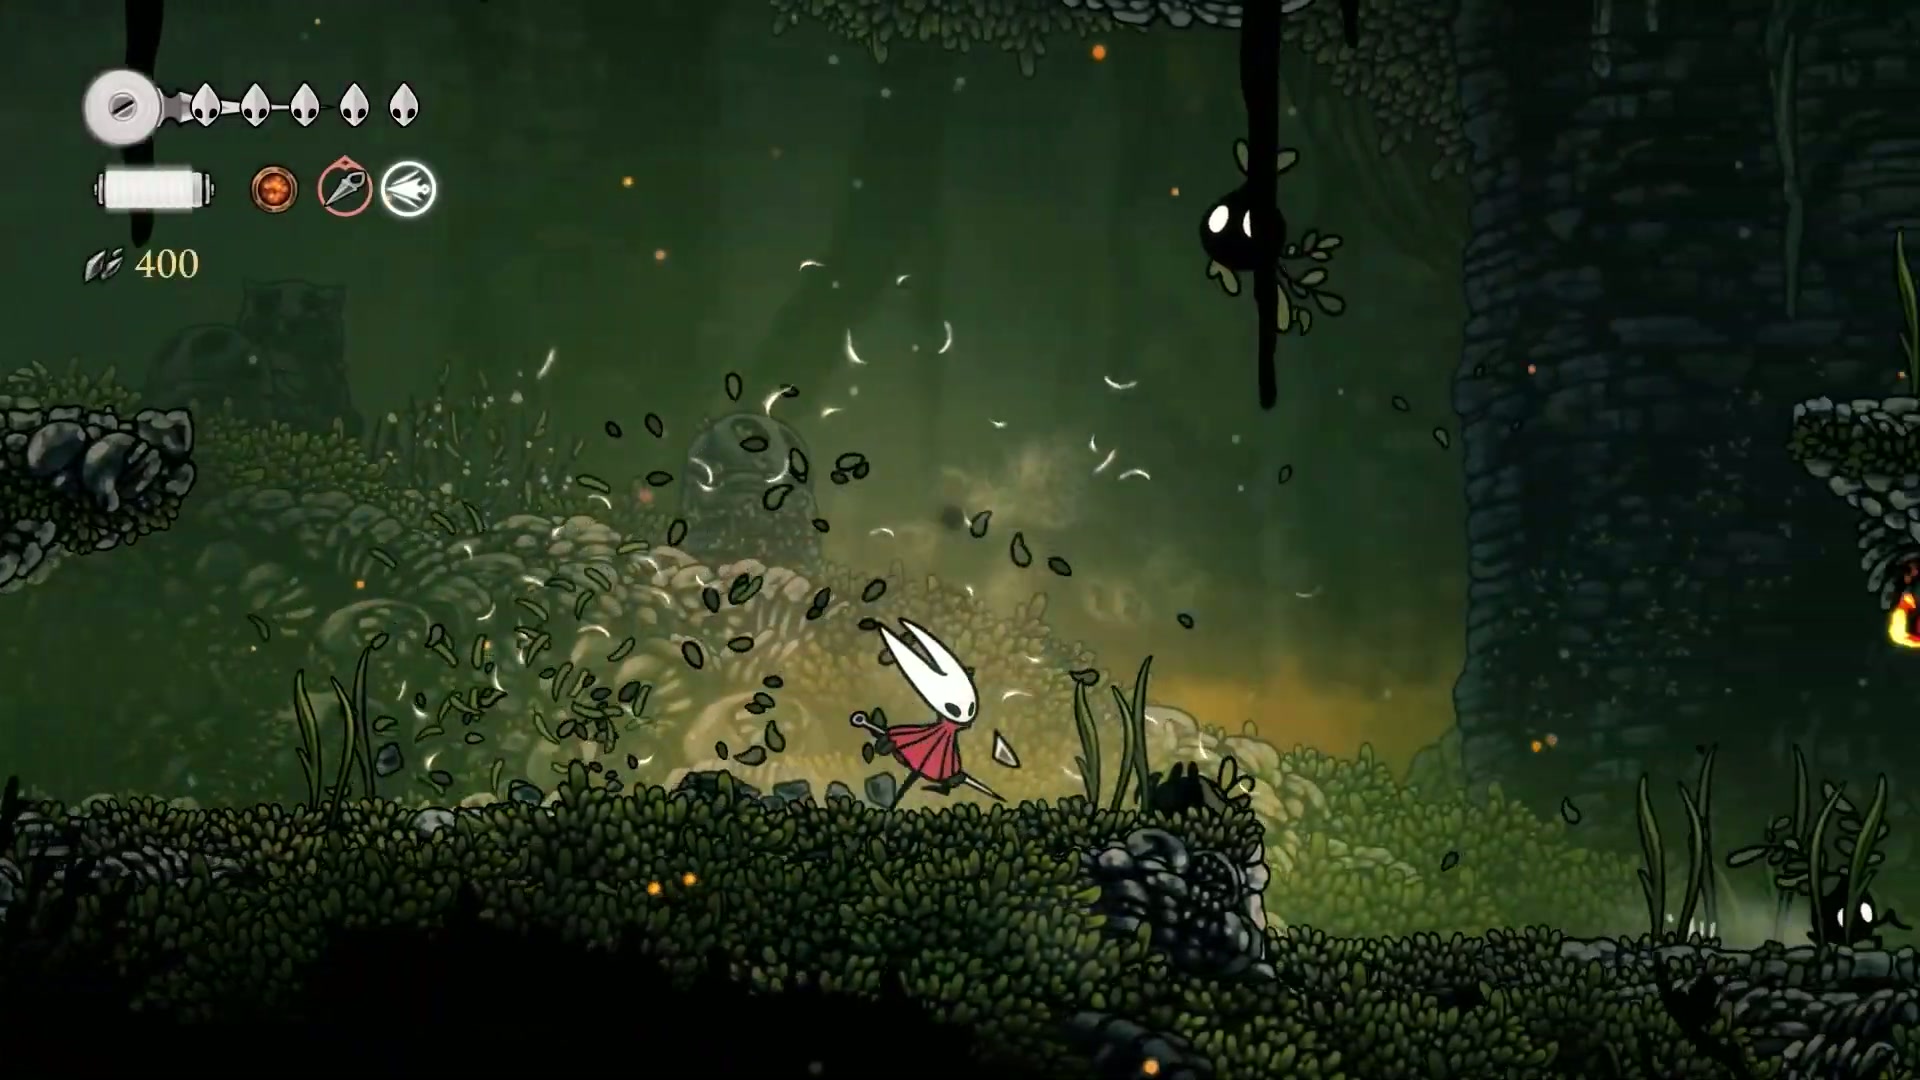
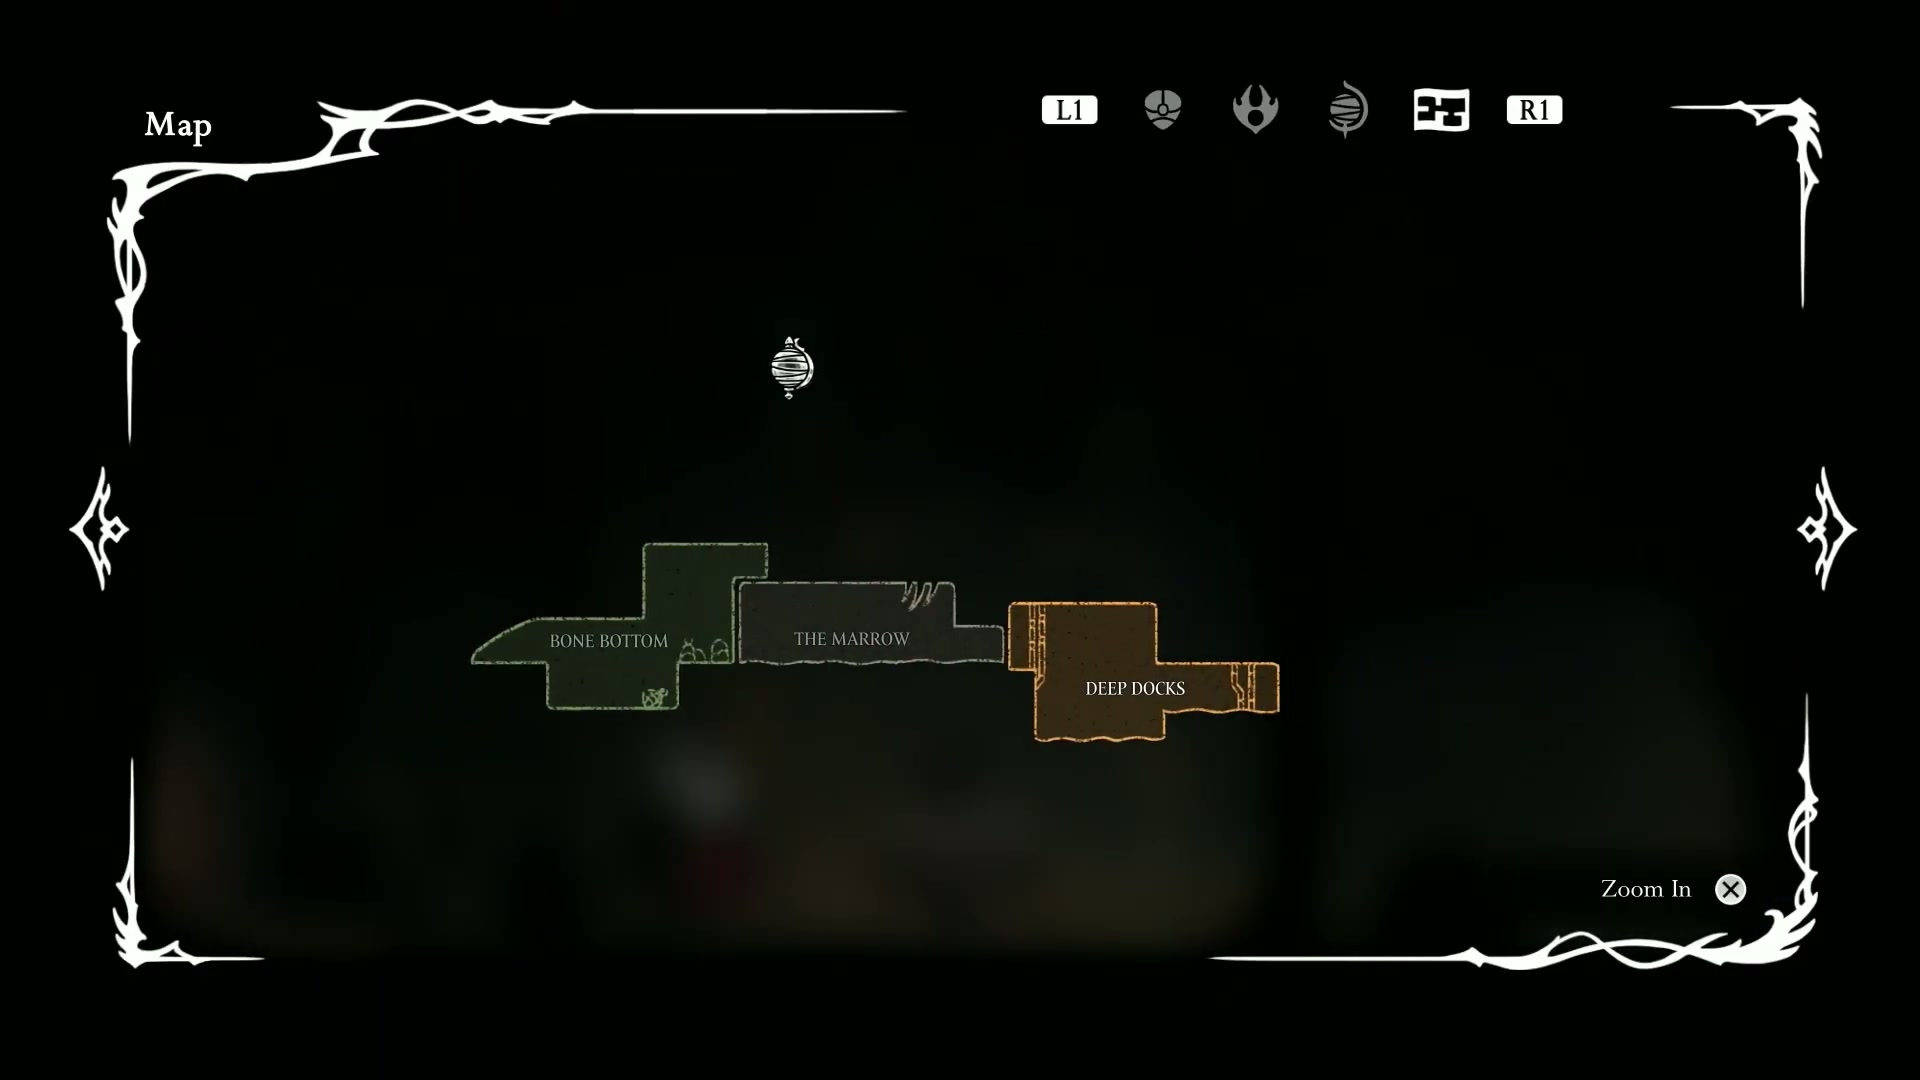
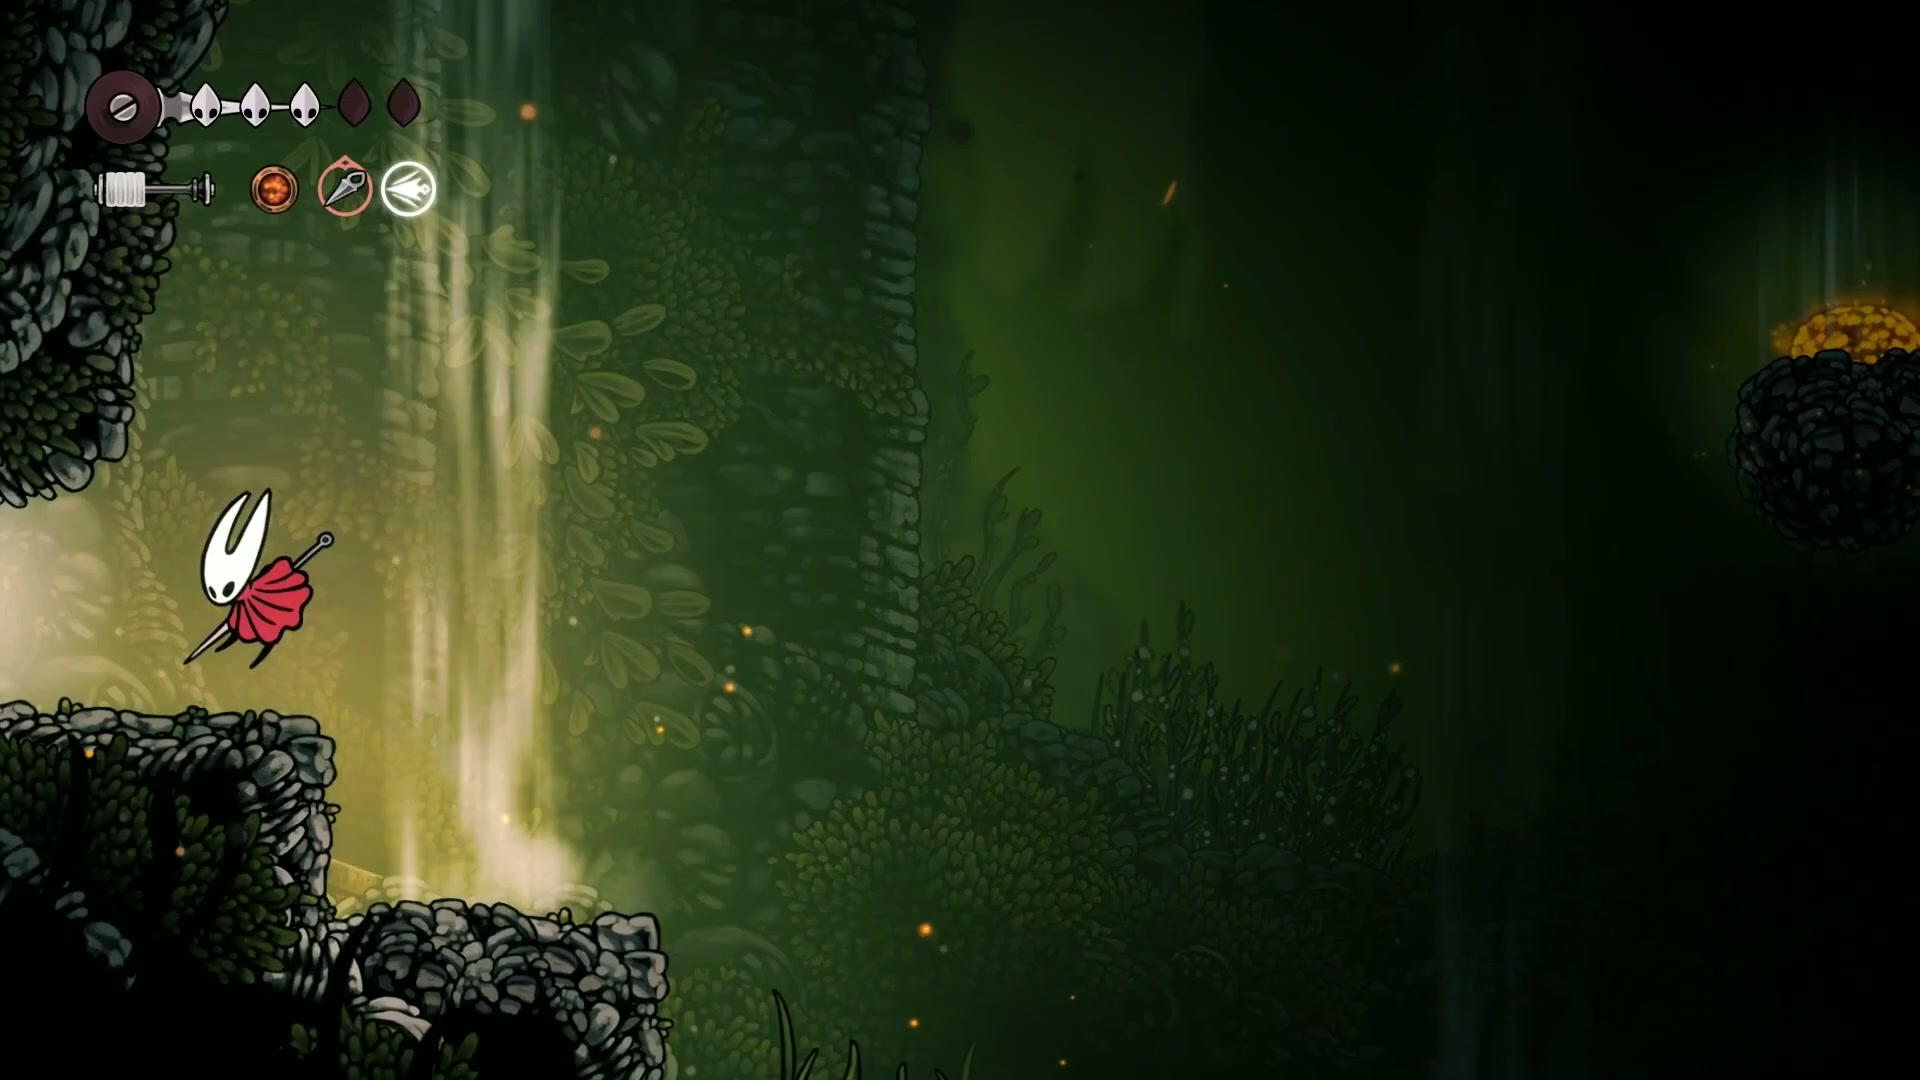
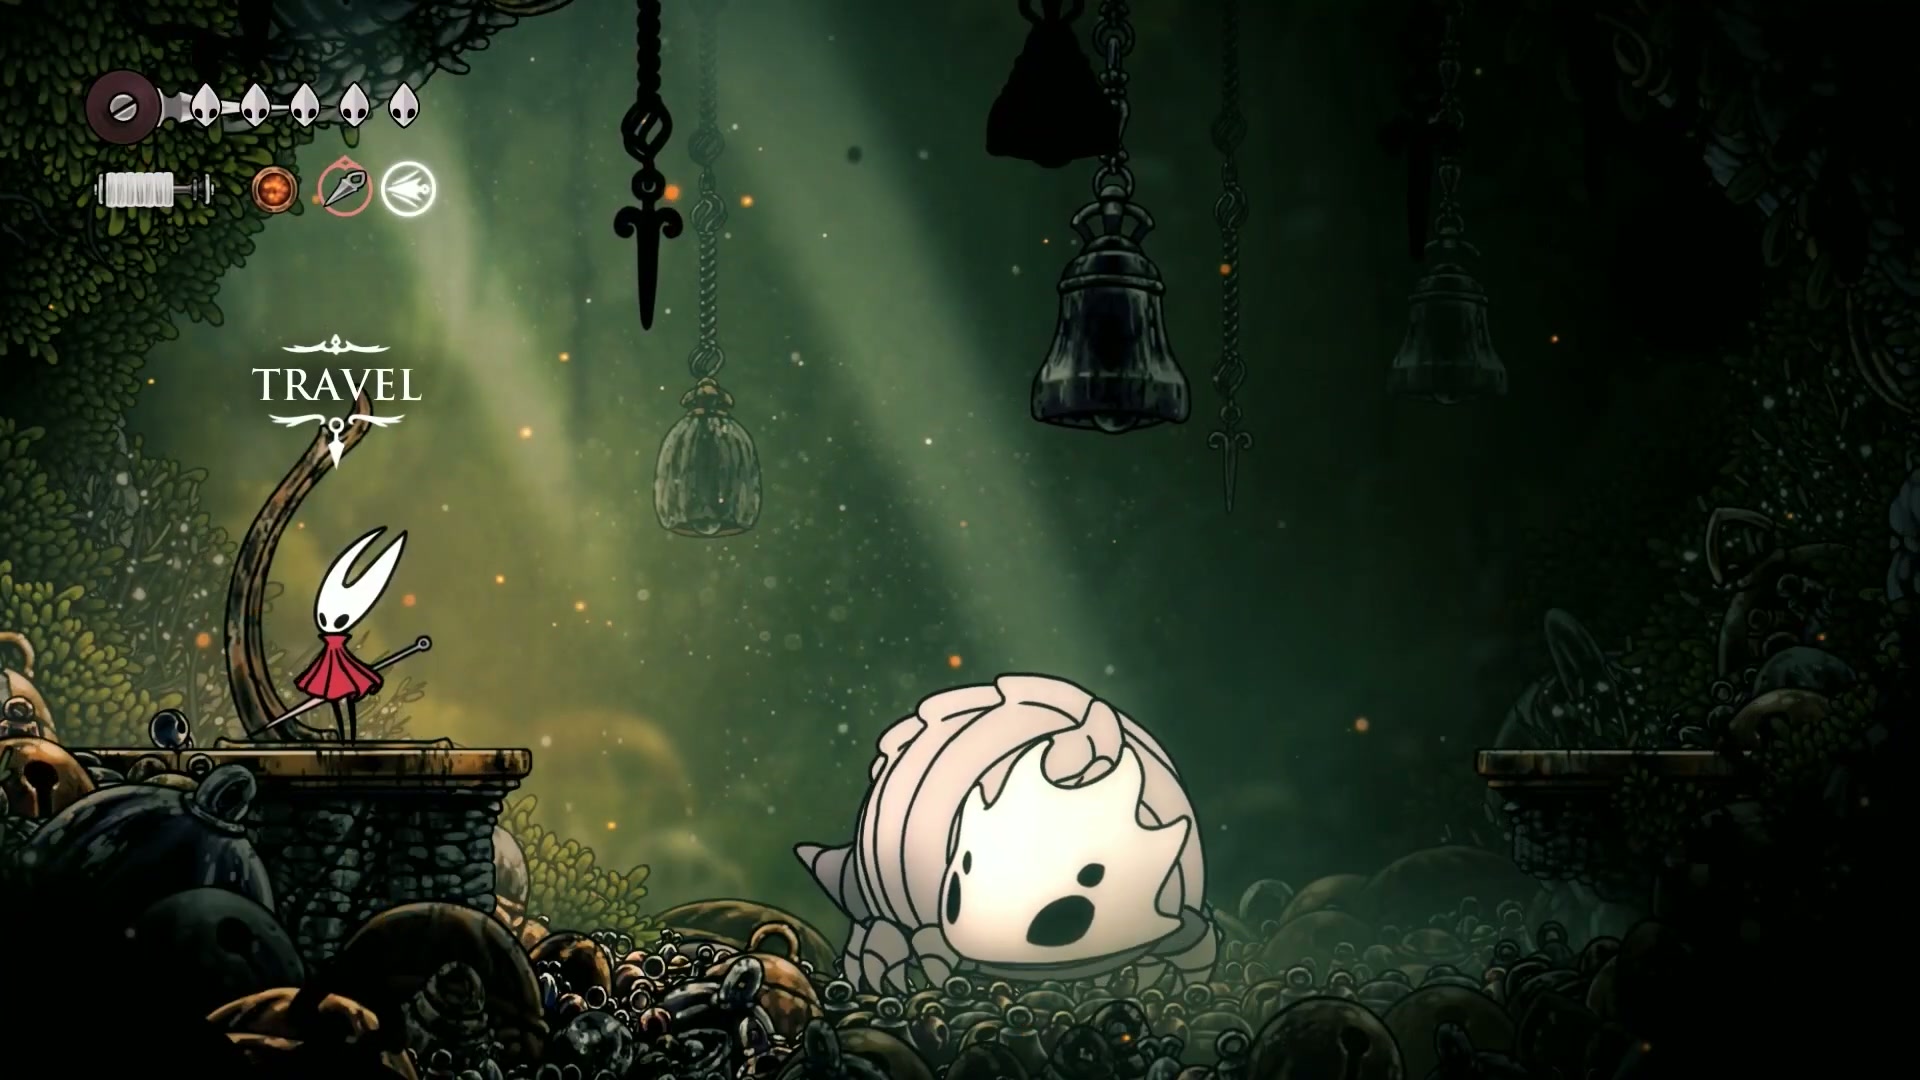
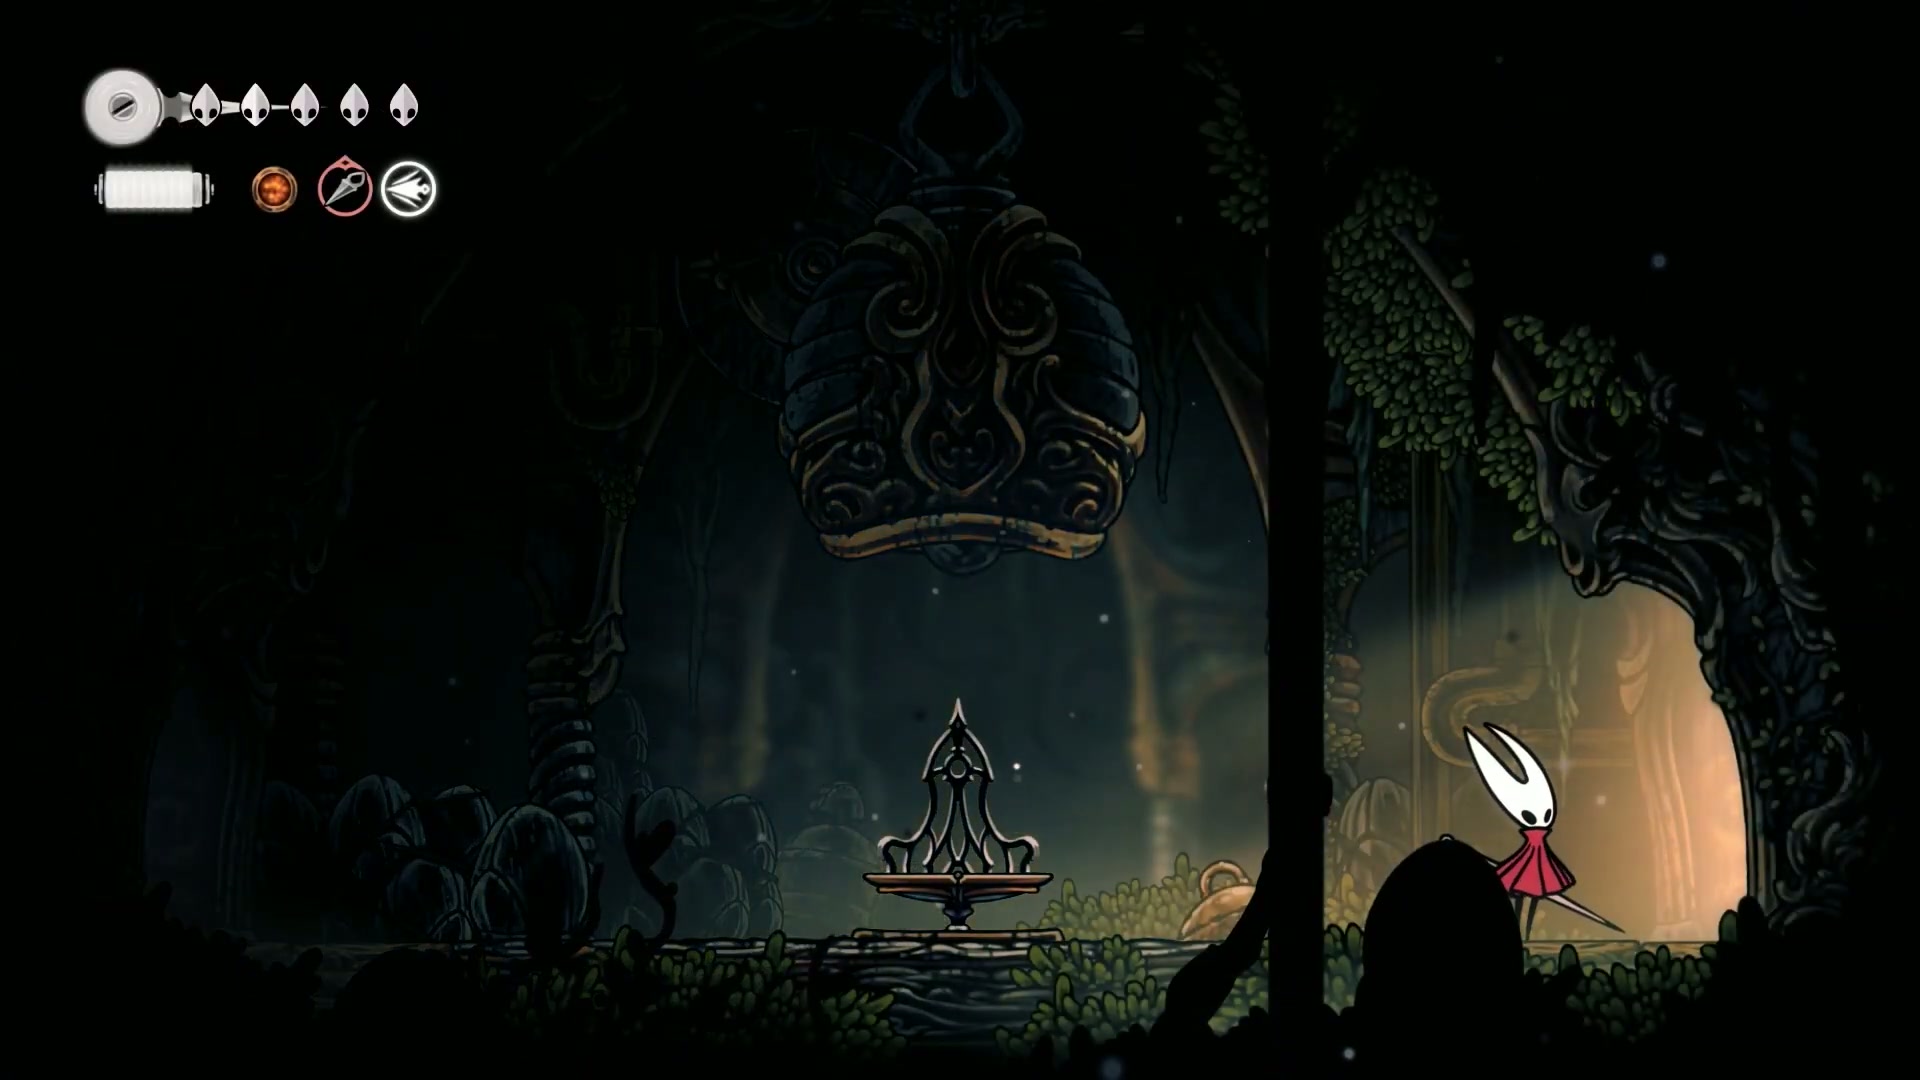
With our pockets full, it’s time to enter Farfields. This area can be confusing, with multiple paths that all feel like the “right way.” We’ll be taking the most efficient route to grab key items, unlock shortcuts, and establish a base of operations.
🚀 Key Objectives:
- 🎯 Find the first Shard Statue in Farfields.
- 💪 Unlock the fourth Bellway (fast travel).
- 🔥 Purchase the Farfields map from Shack.
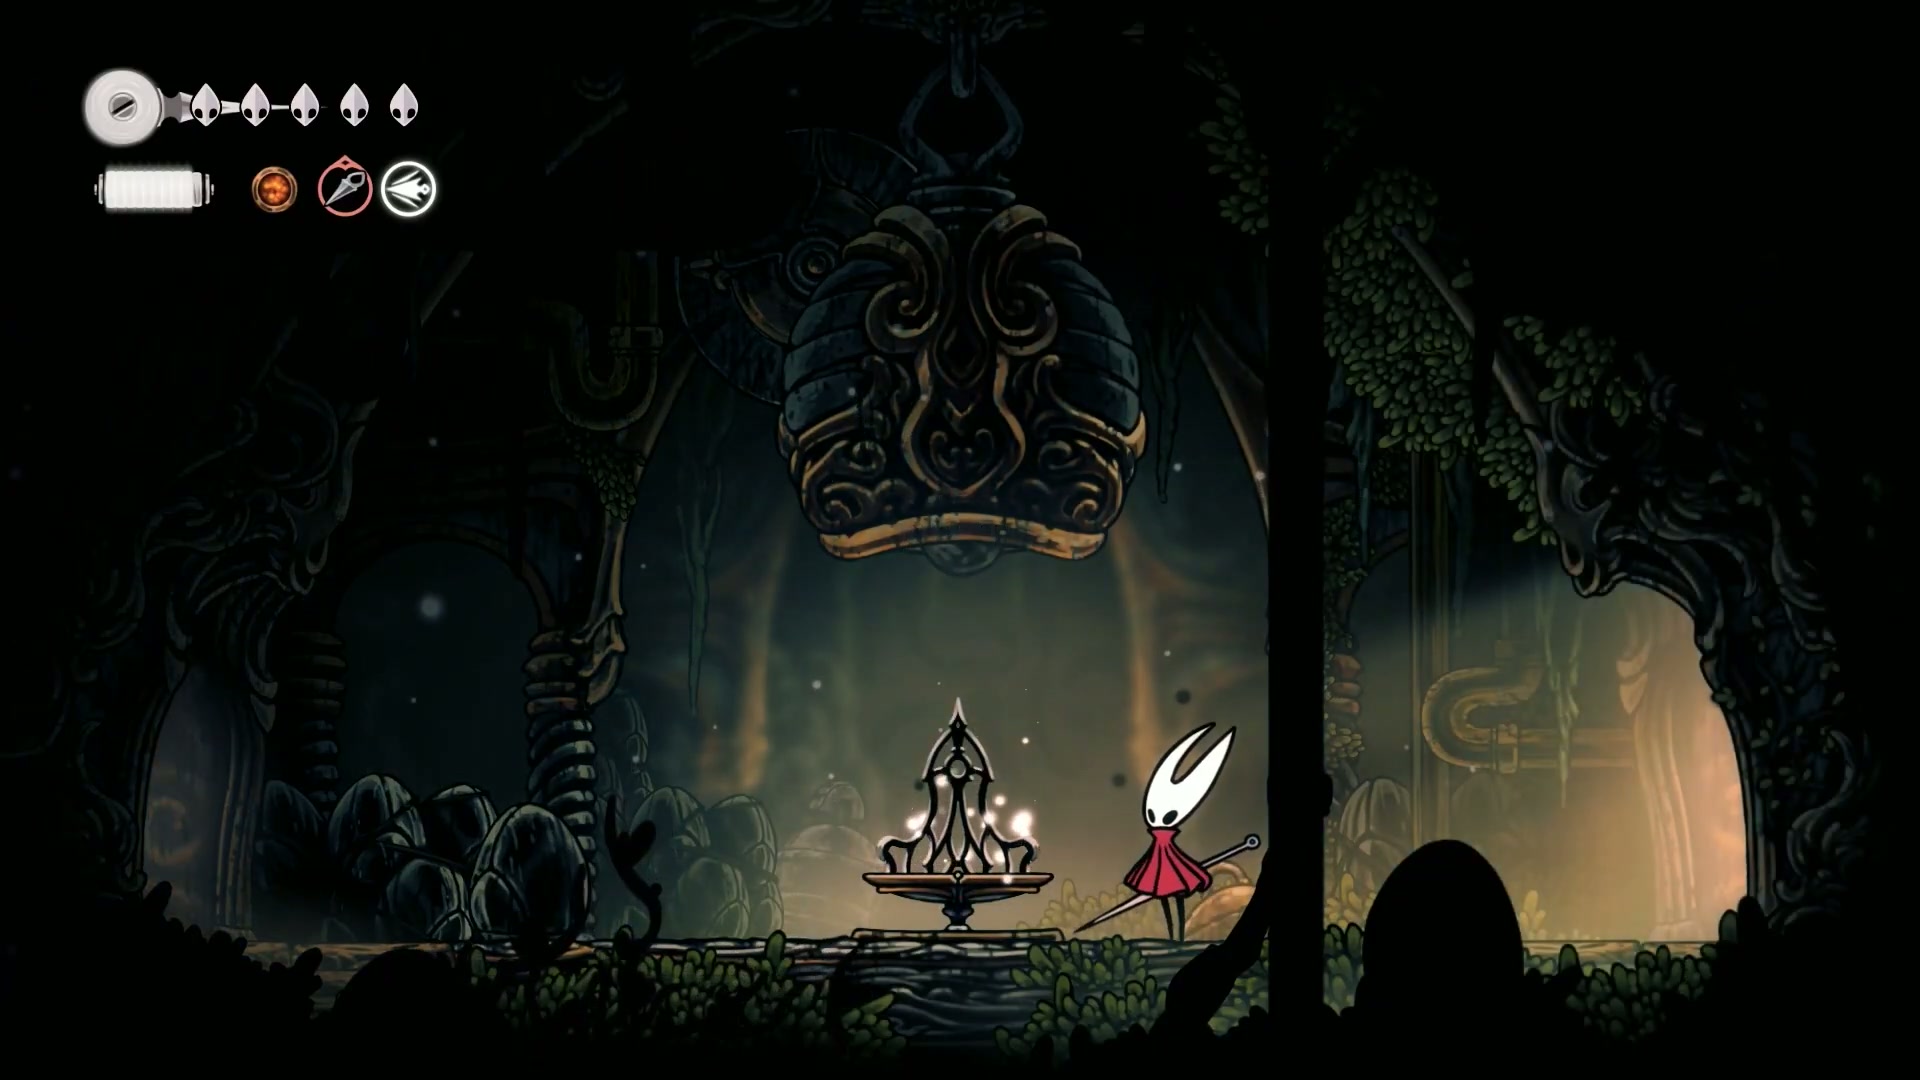
After fighting through the initial enemies and grabbing the Shard Statue (04:01), you’ll navigate a tricky platforming section. Be careful not to fall, or you’ll take an embarrassing detour like our guide did (04:47). Your immediate goal is to find the area’s first bench and the Bellway station.
You’ll need those beads to pay 80 to unlock the Bellway (06:24), providing a crucial fast-travel point for this 100% Completion Guide. Immediately after, drop down to the right to find Shack and buy the Farfields Map (07:07), which will leave you broke but finally able to see where you’re going.
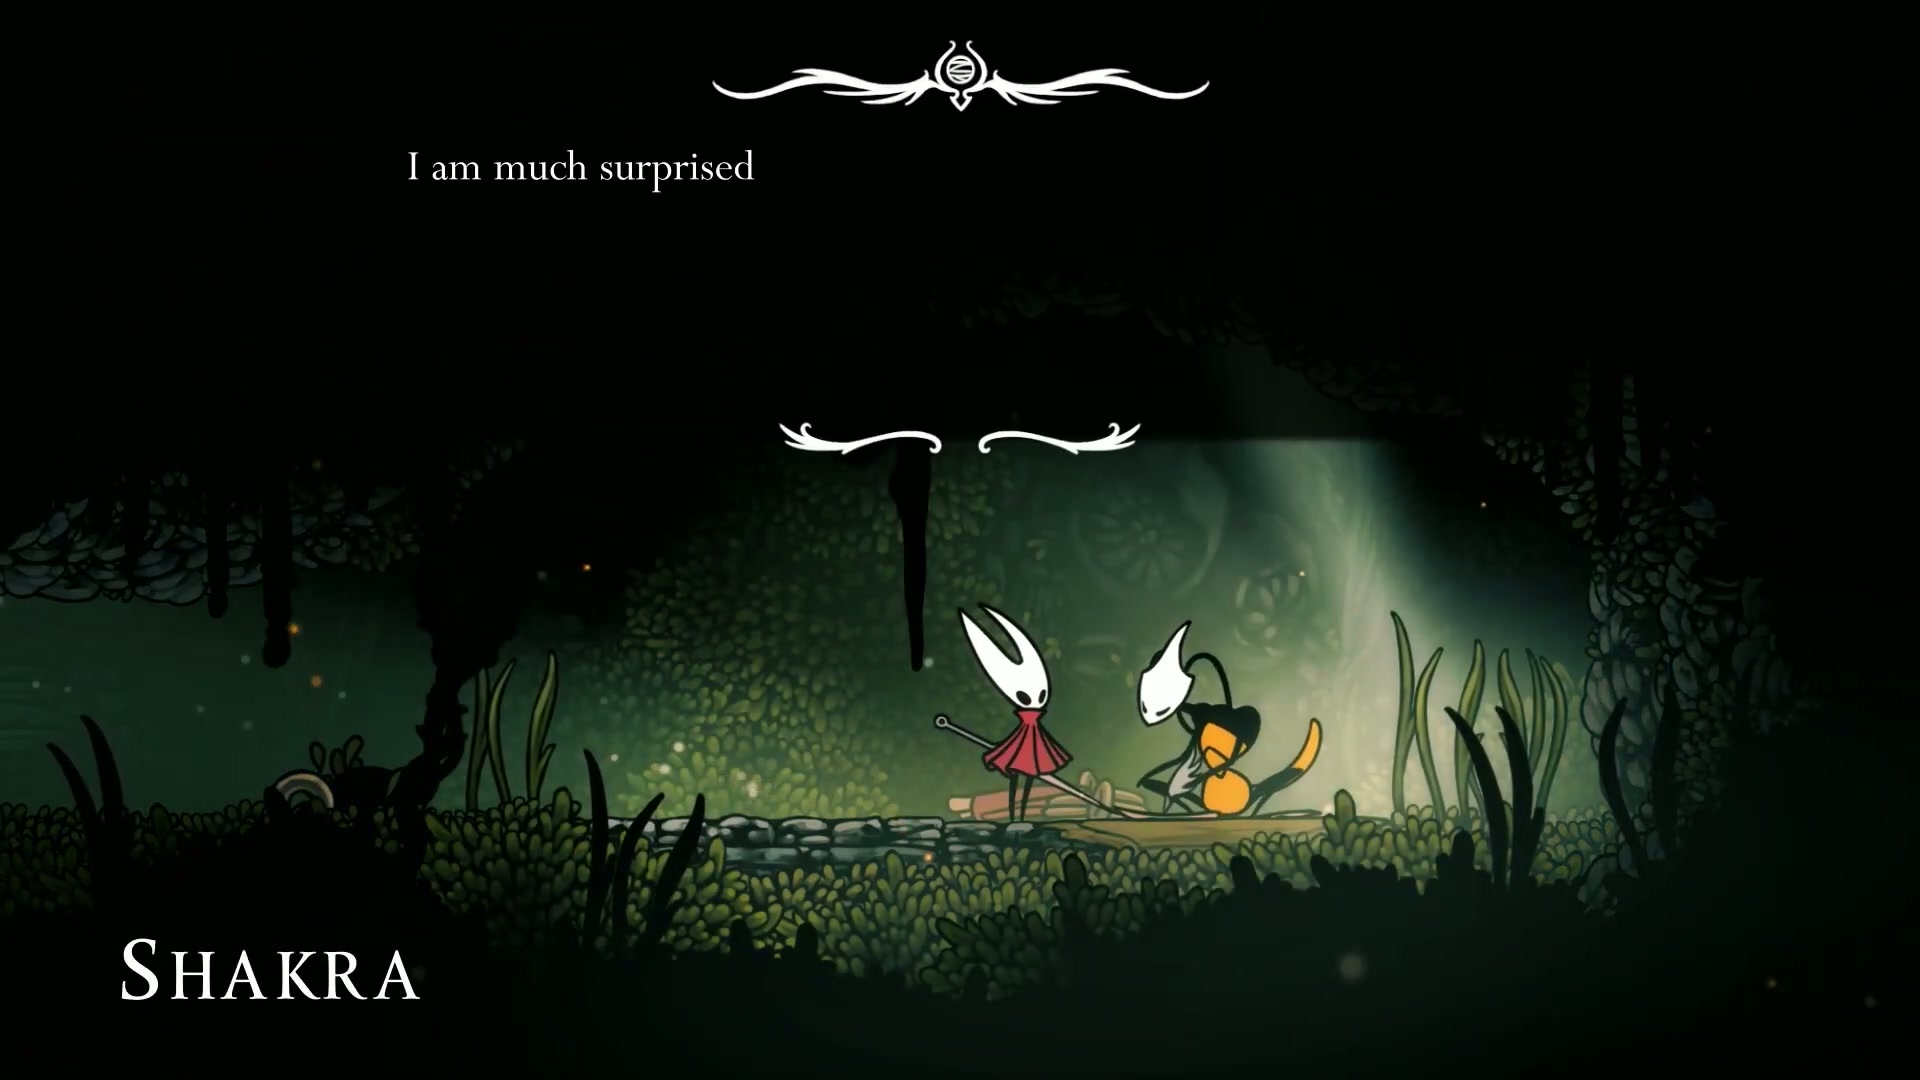
💥 Section 3: The Seamstress & The Drifter’s Cloak Quest
Deep dive into segments [20:57 - 30:05] content
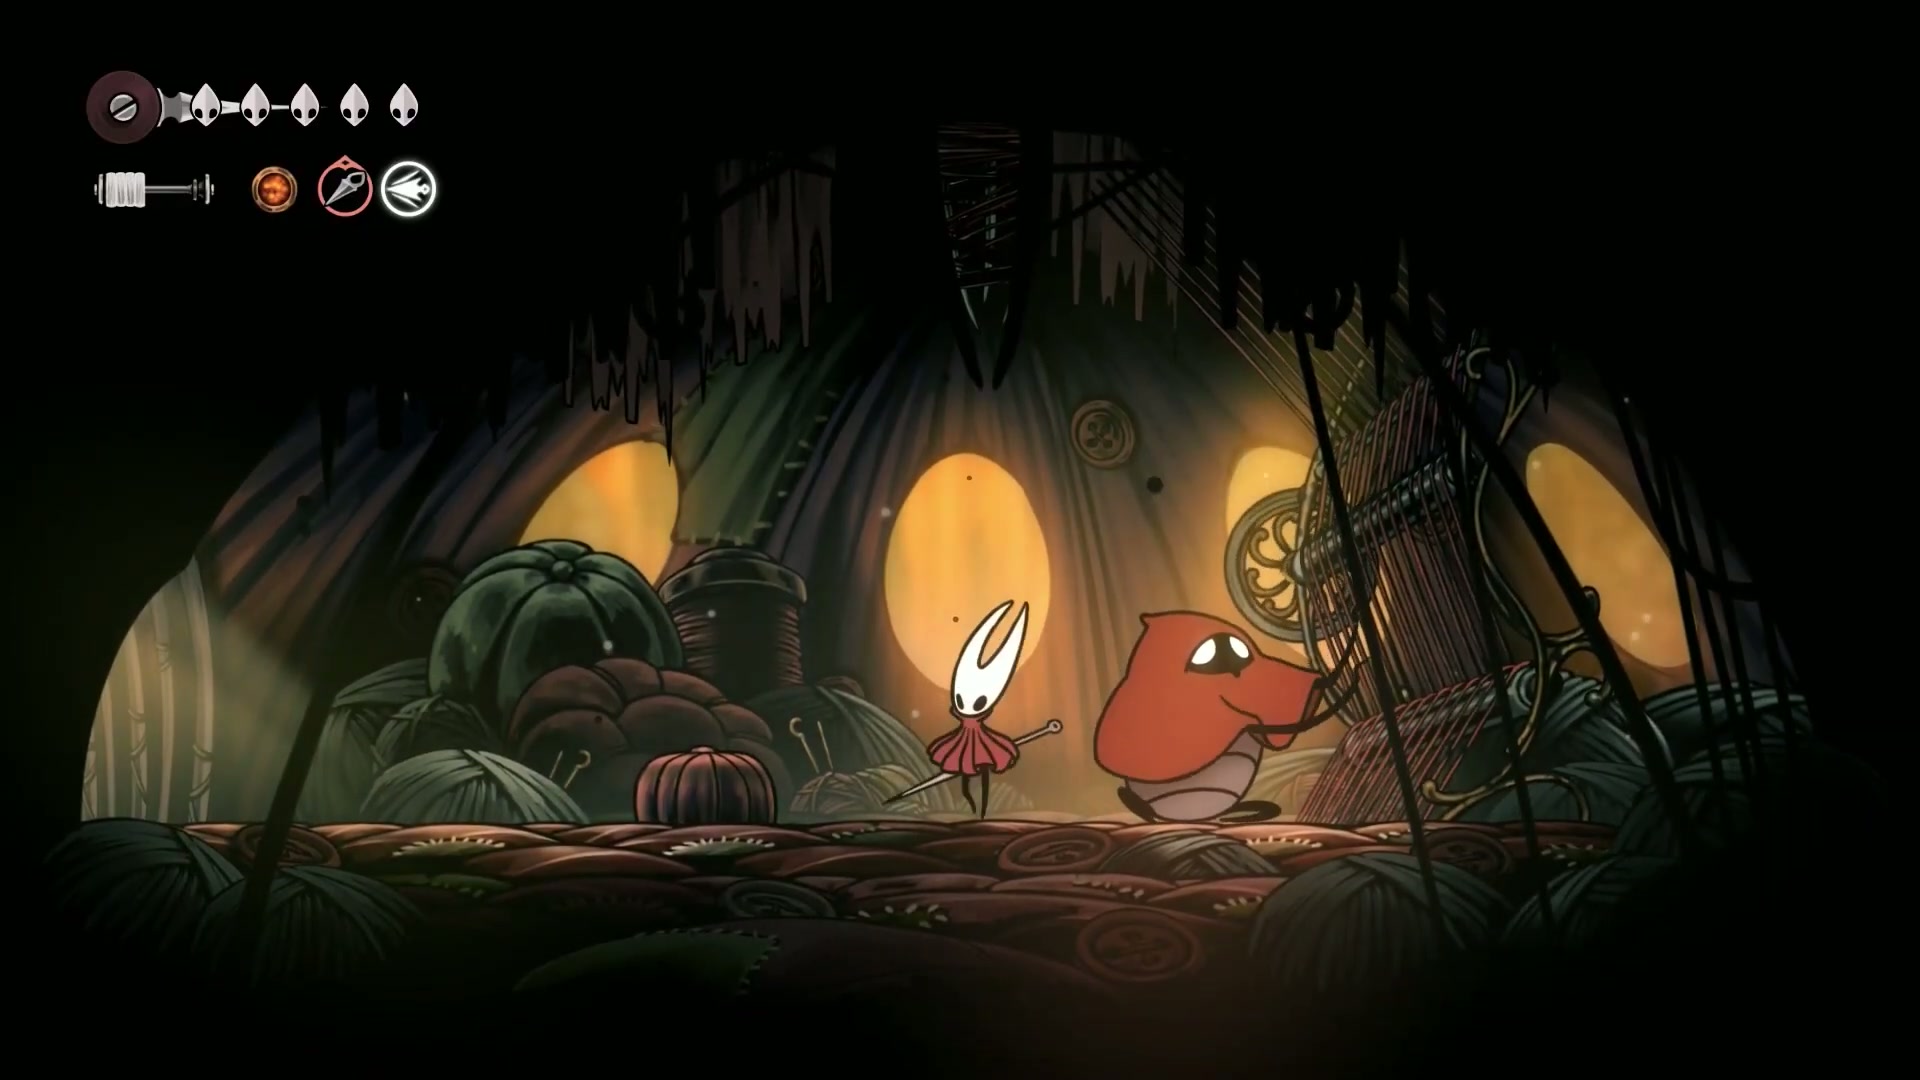
One of the most critical parts of this chapter is meeting the Seamstress (20:42). She hates the Citadel and will give you two interwoven quests: collect 25 Flexile Spines and deliver the remaining Pilgrim’s Shawls. This questline is mandatory for progressing and unlocks one of the most important abilities in the game.
🏆 Quest-Level Execution:
To get the Flexile Spines, you need to find the spiky, burrowing enemies in the nearby cave. The technique is simple but requires speed:
- Hit the enemy once to make it shoot out its spikes.
- Quickly destroy the spikes on the ground to collect the Flexile Spines.
- The spikes disappear after a few seconds, so prioritize collecting them.
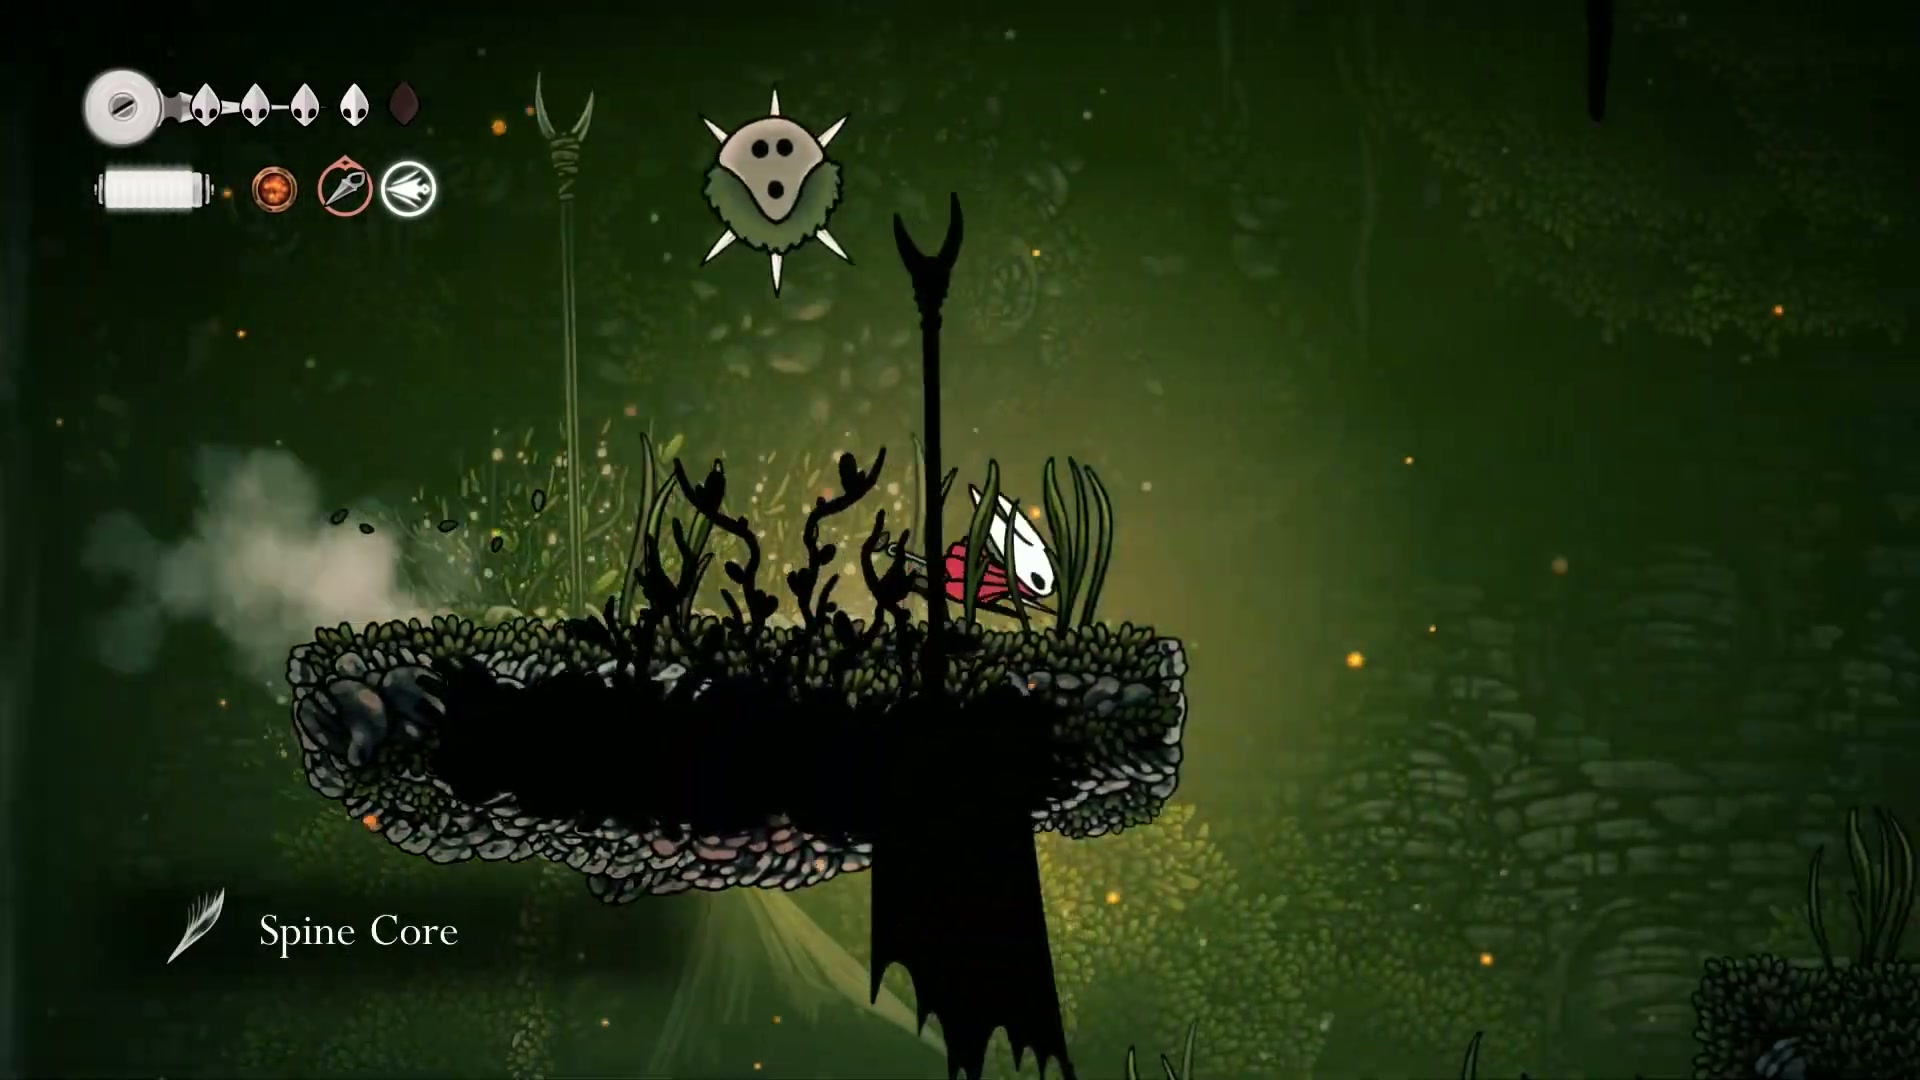
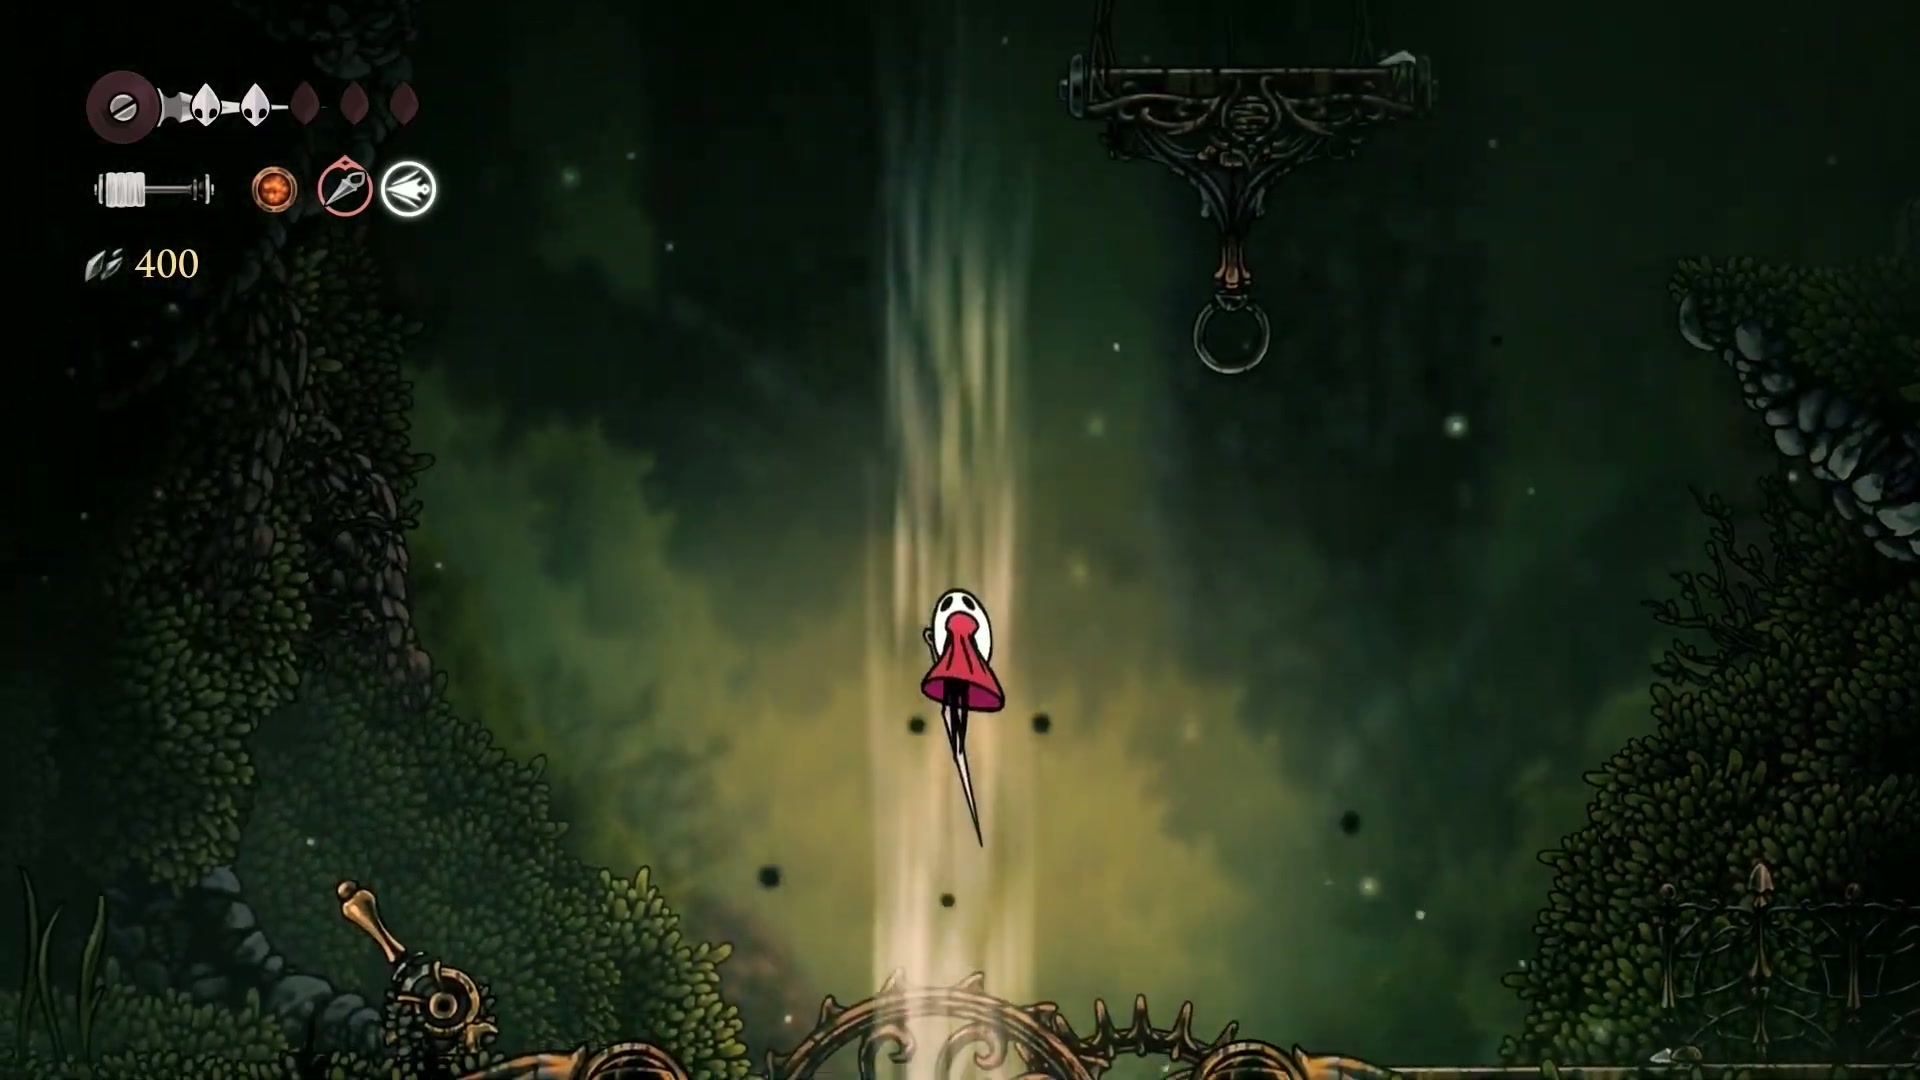
Completing this quest for the Seamstress rewards you with the Drifter’s Cloak (29:56), a massive upgrade that allows you to glide on air currents, opening up huge sections of Farfields and the rest of Pharloom.
After receiving the cloak, use it to access a secret area above the Seamstress’s room to find a crucial Mask Shard (32:12).
🧠 Master-Tier Strategies & Pro Tips
🎯 Elite Silksong Platinum Walkthrough Part 4 Techniques
[Segment Reference: 42:58 - 45:00, 50:26 - 51:47]
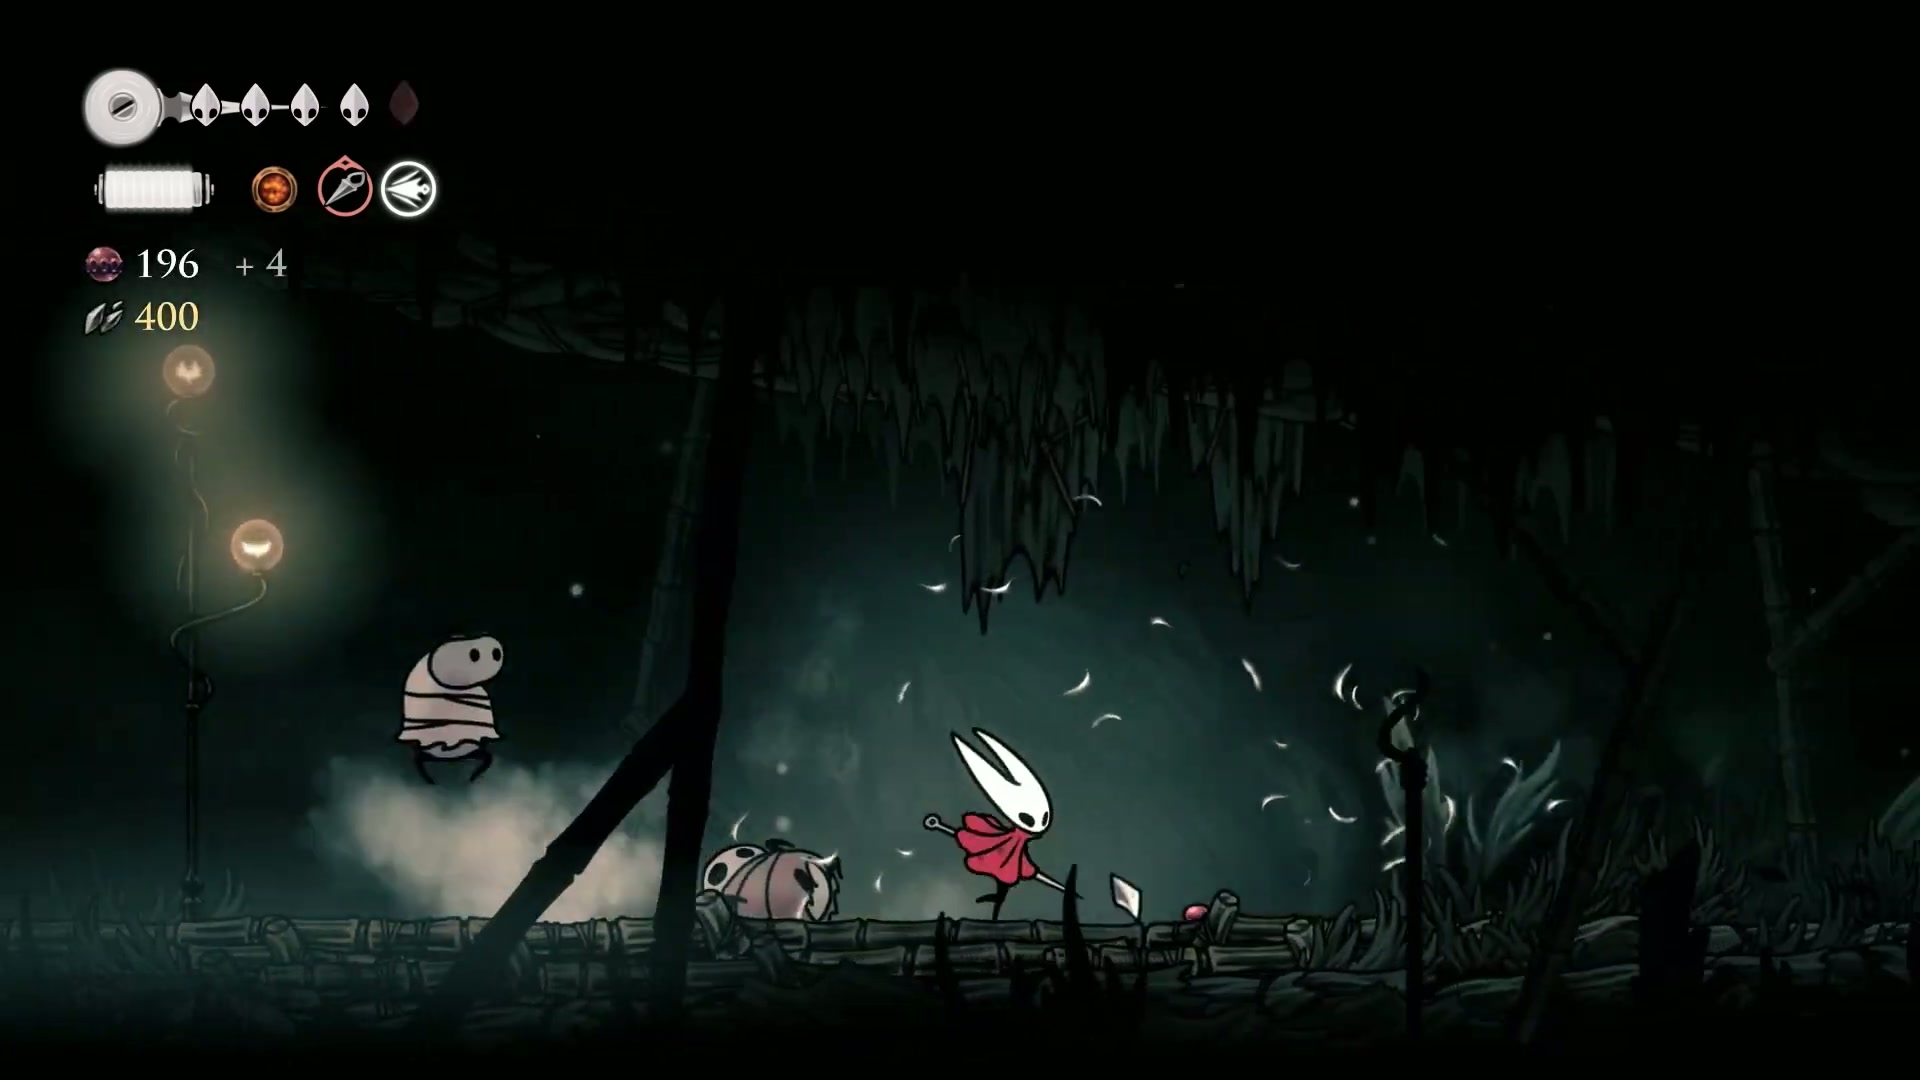
Navigating Greymoor and reaching the boss requires mastering a few key enemy interactions and platforming skills.
🔥 Advanced Technique Breakdown:
-
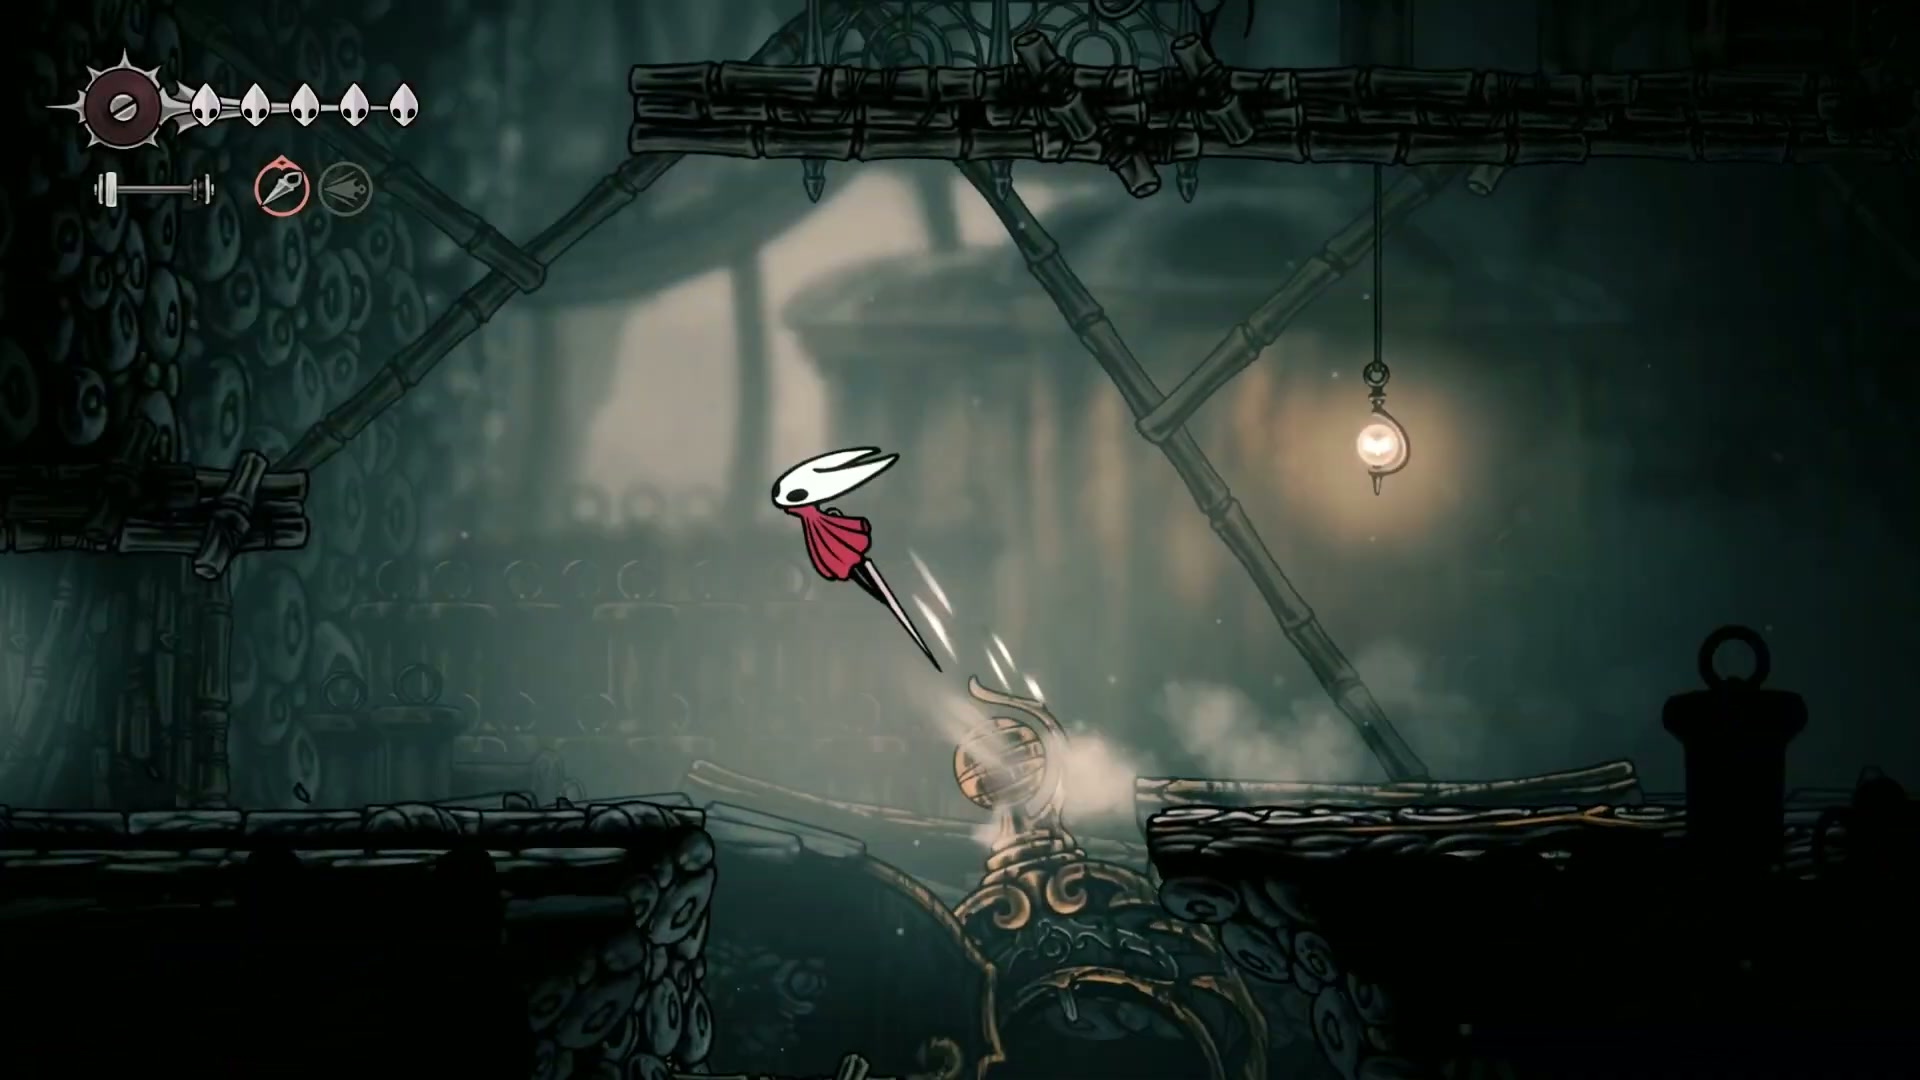
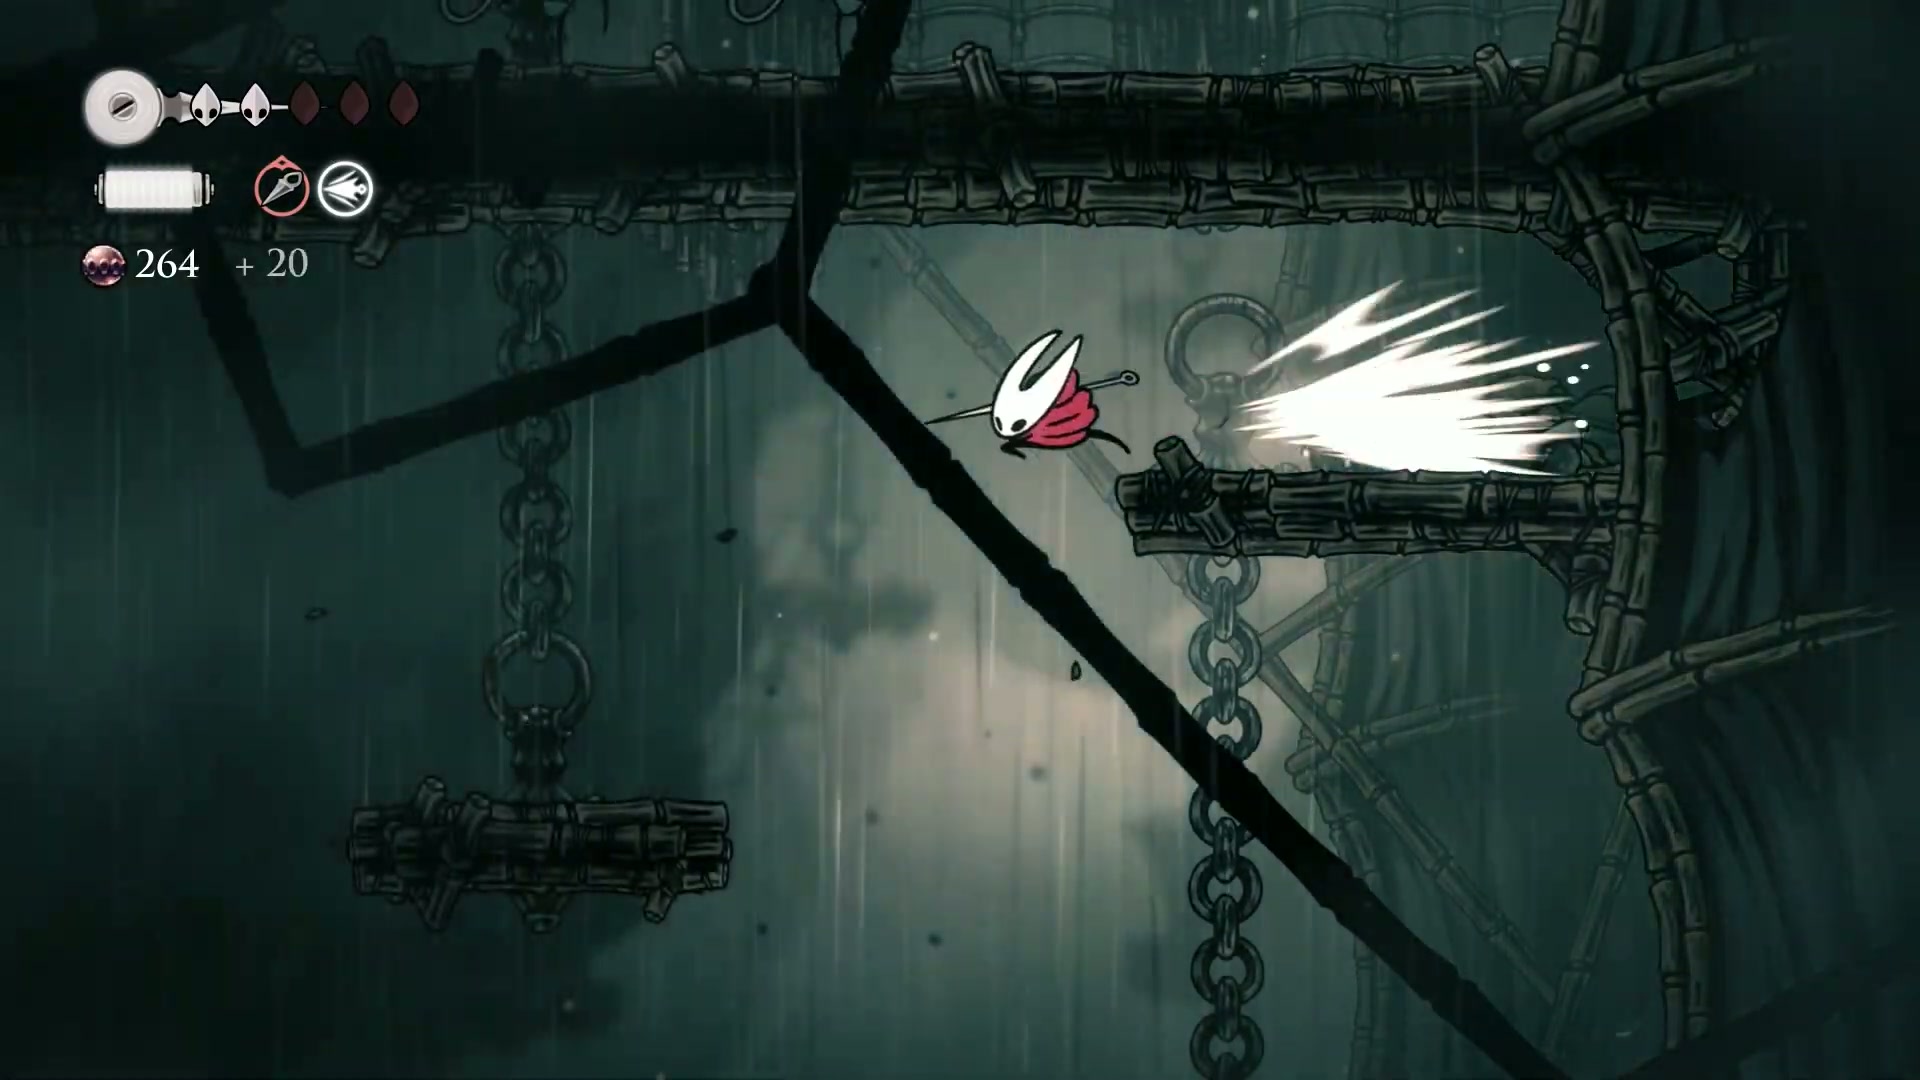
Bird Ricochet Platforming - Segment: [50:26 - 51:08]
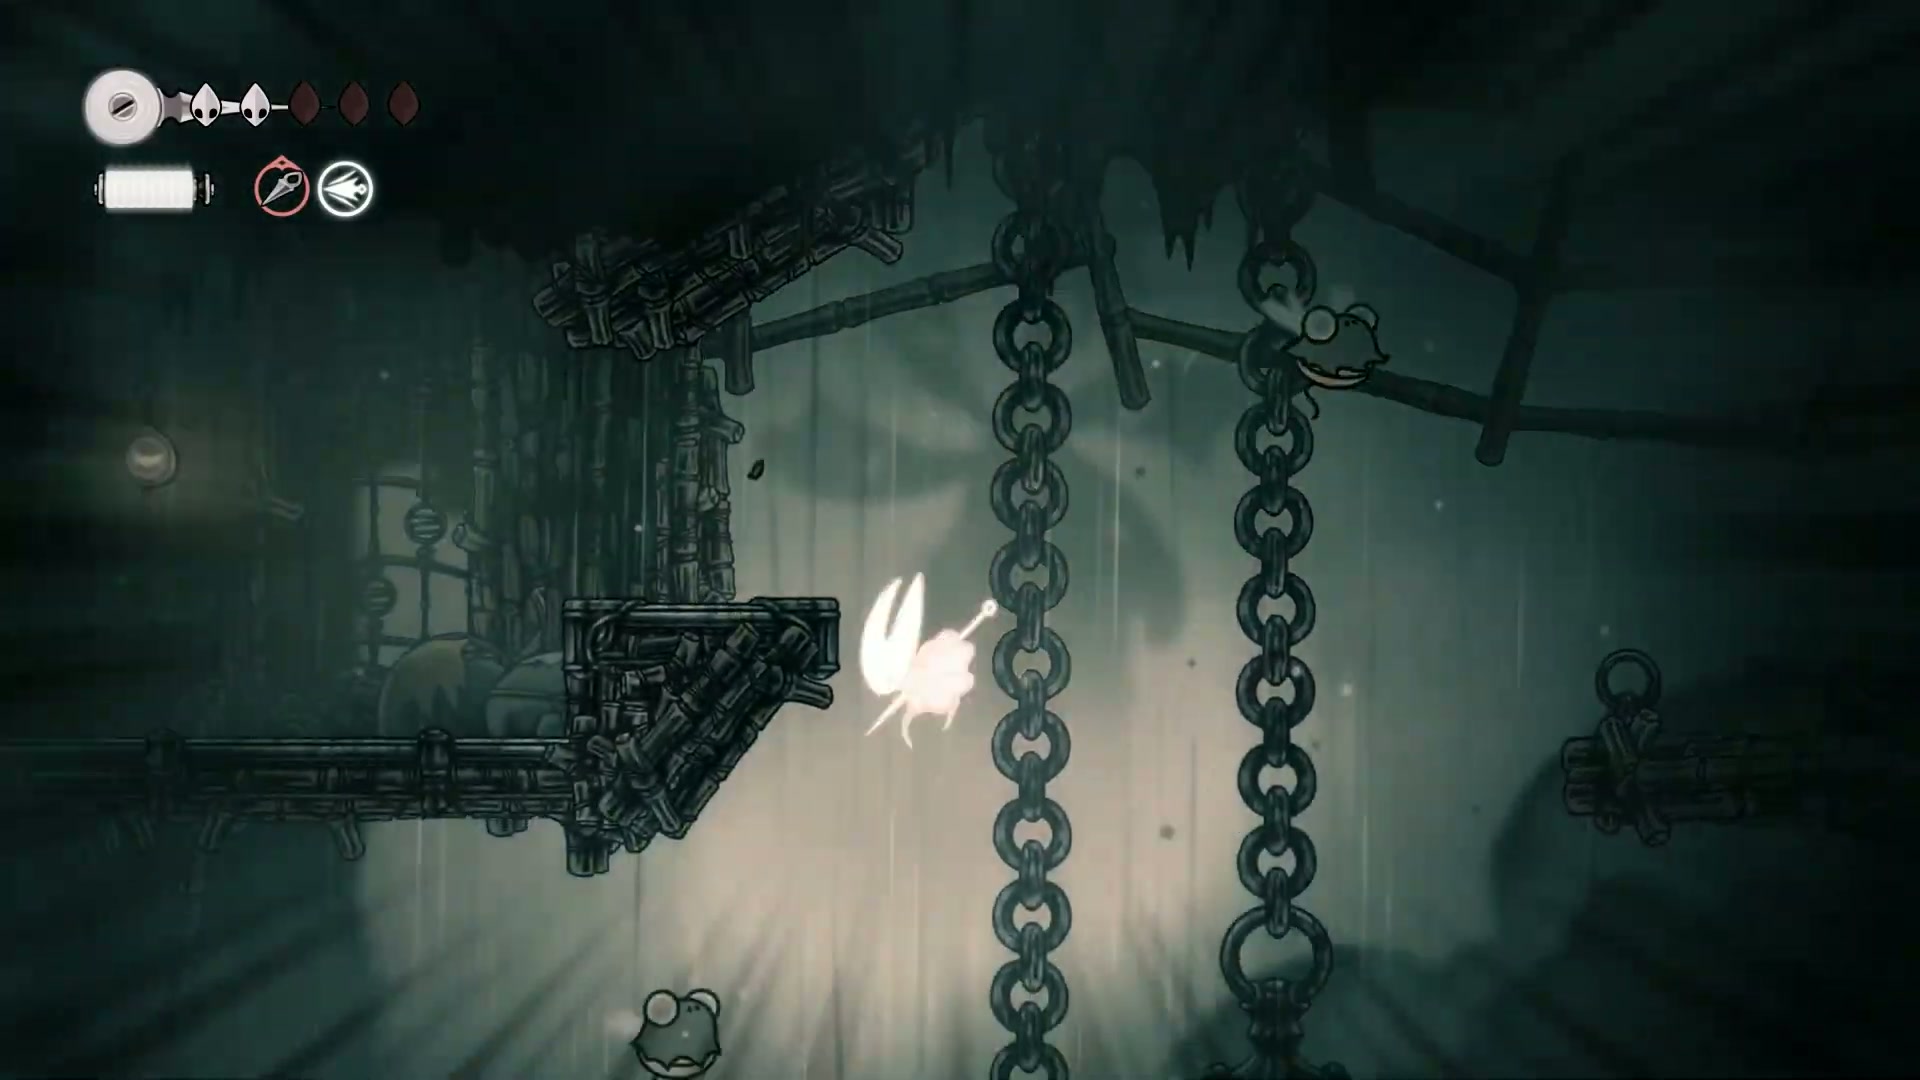
To ascend through Greymoor, you must pogo off the flying bird-like enemies. The key is to bait their dive attack and then use a downward strike to bounce off them and gain height. If you kill them by mistake, you’ll have to reset at the bench. This is a pure skill check. -
Scissor Bitch Evasion - Segment: [54:36 - 55:11]
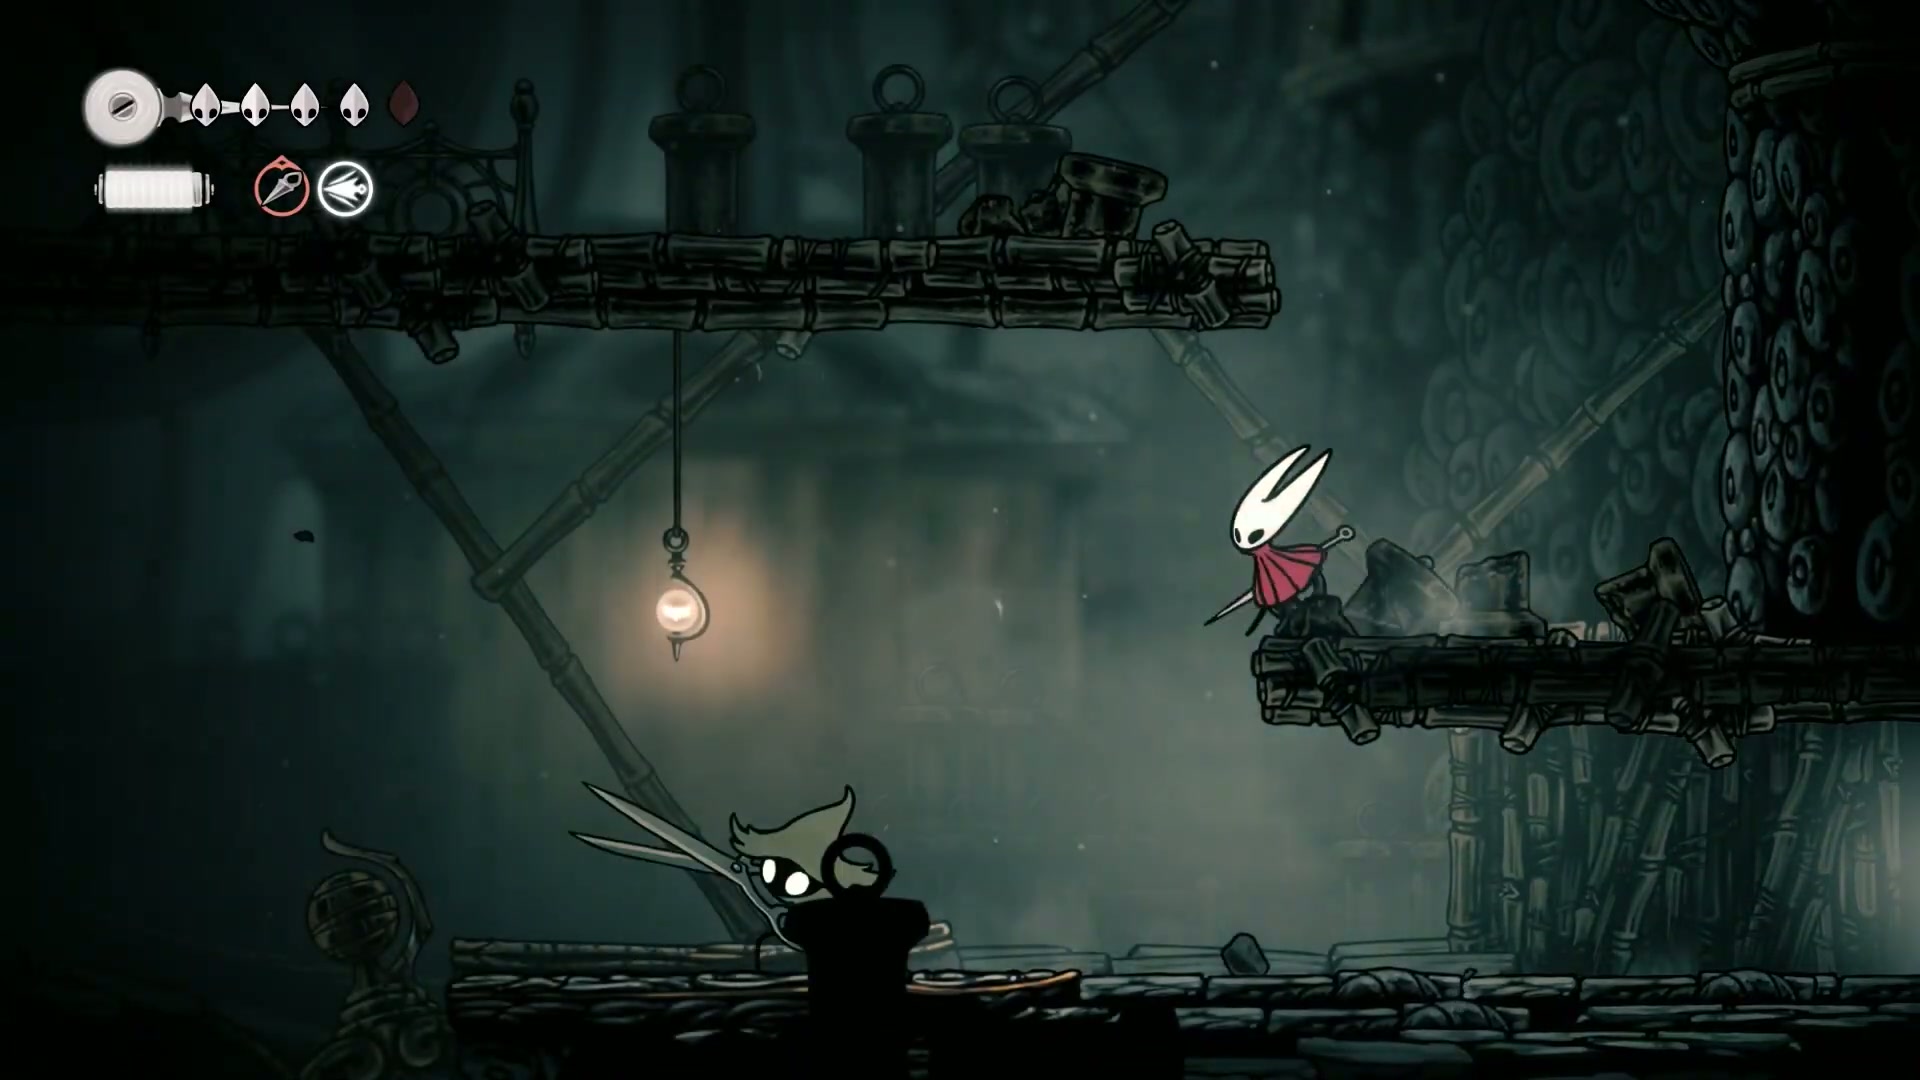
The creator’s most hated enemy, the “scissor bitch,” can attack through floors and ceilings. The pro move is to stay mobile and listen for their audio cue. Don’t fight them in tight spaces; lure them into open areas where you can easily dodge their lunges and get behind them.
⚠️ Don’t Be a Noob - Common Fails to Avoid
Based on insights from the content, here’s what NOT to do:
- ❌ Falling in the First Farfields Room - Segment: [04:47 - 05:46]
- ✅ Fix: Take your time with the jumps. The creator humorously shows us exactly what happens when you rush: a long, embarrassing climb back up. Be patient and deliberate with your platforming.
- 🎯 Silksong Platinum Walkthrough Part 4 - 100% Completion Guide Impact: Falling here wastes precious time and can be frustrating early in a difficult chapter.
- ❌ Fighting the Mice Head-On - Segment: [57:00 - 57:29]
- ✅ Fix: The mace-wielding mice in Greymoor are surprisingly tough and relentless. Instead of dueling them directly, use the environment. As shown at 1:05:32, you can lure them into the spike traps for an easy, satisfying kill.
- 💡 Pro Tip: These enemies are more dangerous than they look and are responsible for many of the guide creator’s deaths. Respect them or get wrecked.
❓ Community FAQ - Your Questions Answered
🎮 Q1: What are Crests and why did my loadout reset? - Referenced in segment [1:01:48 - 1:03:00]
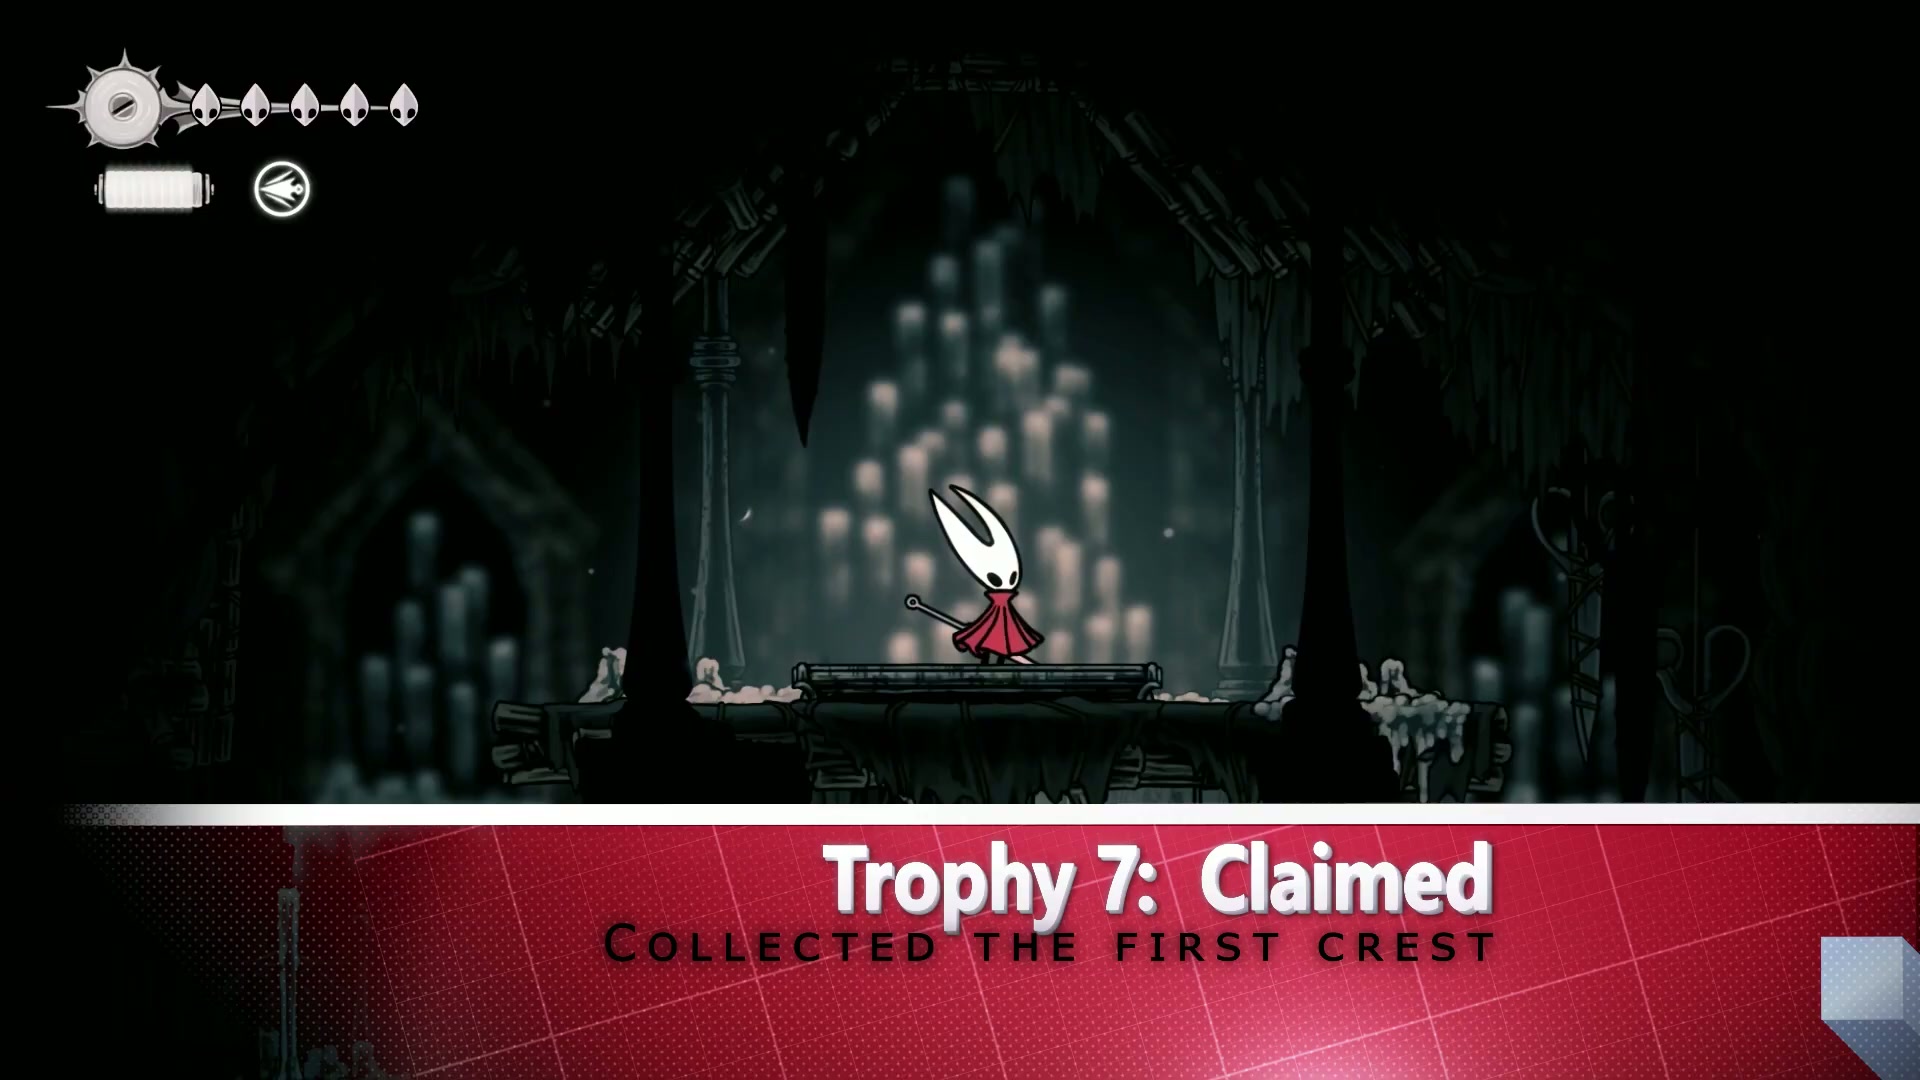
A: Crests are essentially different loadouts for Hornet. When you find and claim a new Crest, like the Reaper Crest in the Chapel, the game automatically switches you to it. This resets your equipped tools and Memory Lockets. That’s why it’s crucial to head back to a bench immediately after claiming one to re-equip your preferred setup for the boss fight.
⚡ Q2: How does the Rosary String item work? Is it worth it? - Referenced in segment [44:57 - 45:23]
A: The device in Greymoor lets you spend 80 Rosary Beads to get a “Rosary String” item worth 60 beads. You’re losing 20 beads in the transaction, but it’s like depositing your money in a bank. The Rosary String stays in your inventory even if you die and fail to recover your cocoon, protecting your currency. It’s a great option if you’re struggling with a tough section and worried about losing a large number of beads.
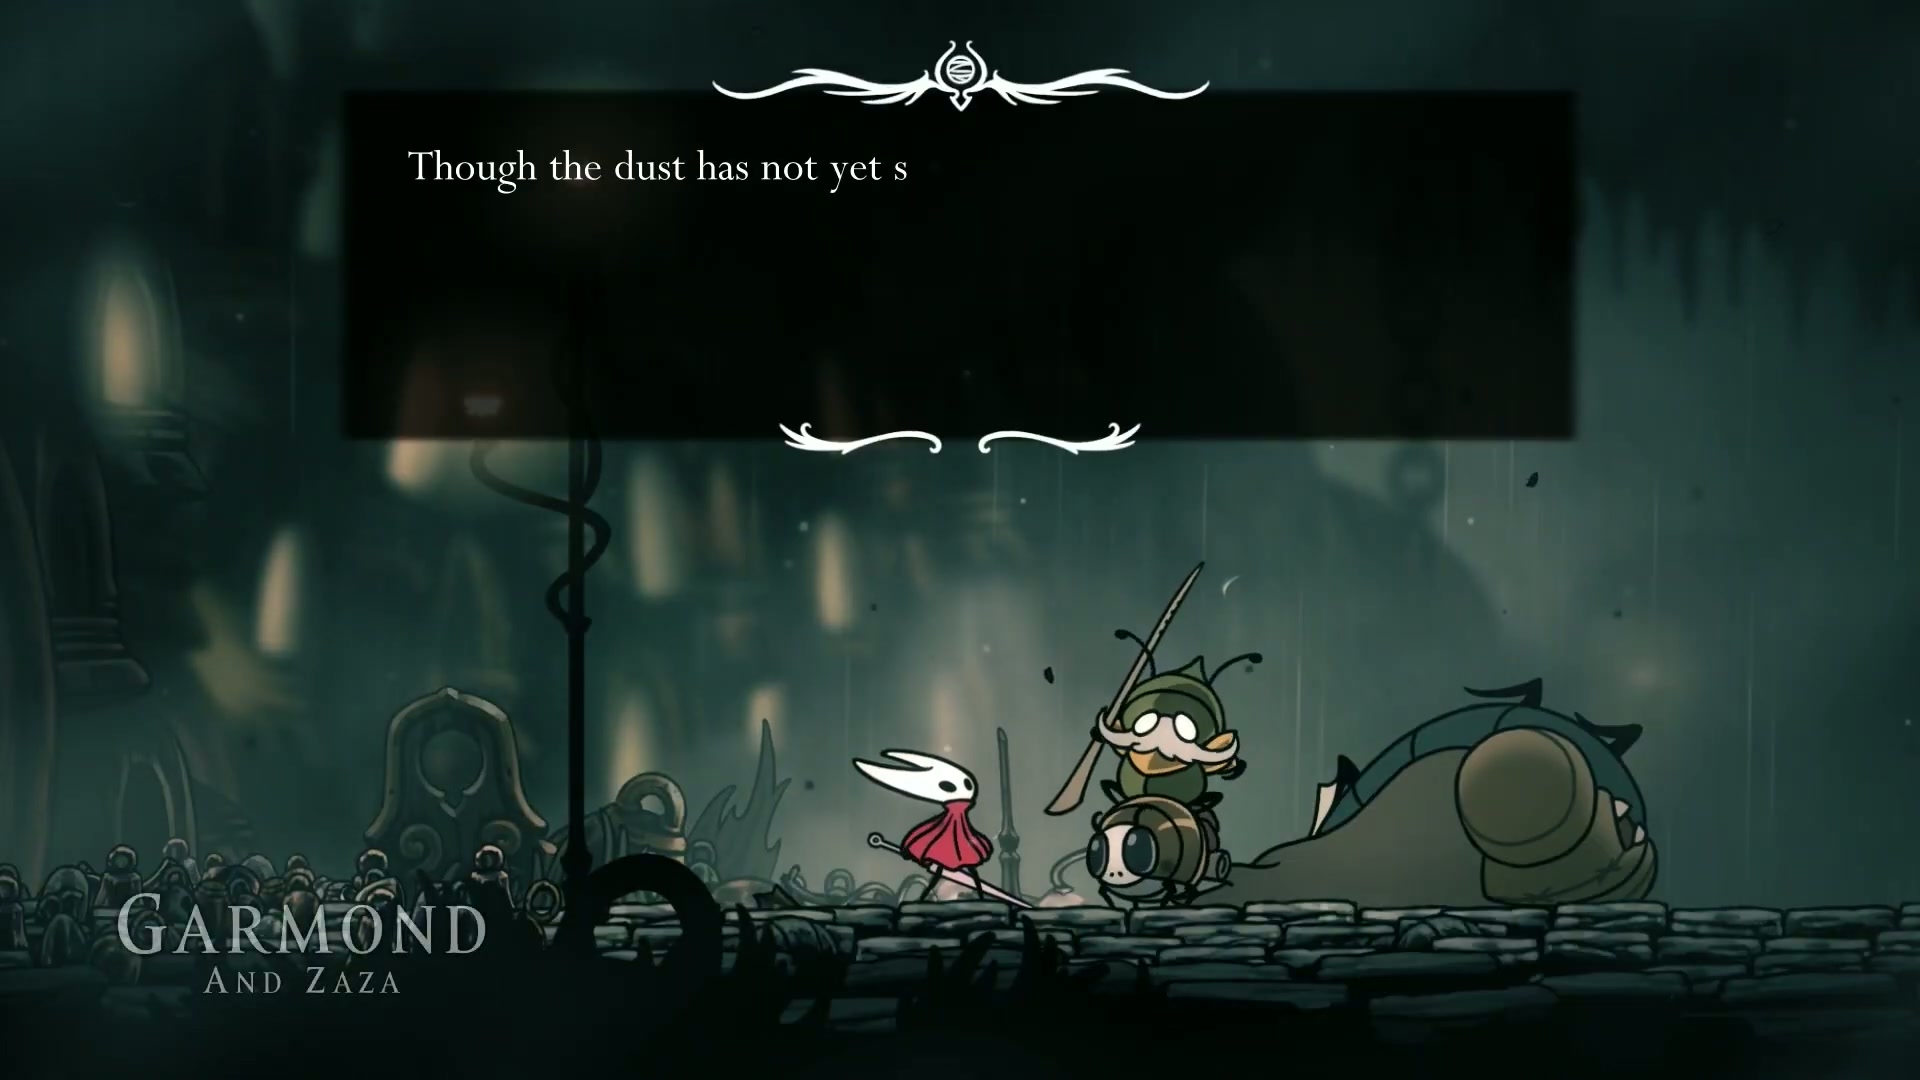
🎯 Q3: My NPC friend Zazu isn’t at the boss door! What do I do? - Referenced in segment [1:10:03 - 1:11:00]
A: This happened in the video! If Zazu isn’t waiting for you, you likely didn’t fully exhaust his dialogue earlier. You need to backtrack to where you first met him in Greymoor (55:24), talk to him again, and then return to the bench near the boss arena. After resting, he should appear at the entrance, ready for you to request his aid.
🎉 Epic Moments & Legendary Quotes
🔥 Most Hype Moments from the Content:
[00:10] - “It’s probably going to result in a few hurt feelings and what I’m trying to say is that this is a skill check of a level and we are going to go on one hell of a journey.”
[55:40] - “I take it back… screw the friendship foreshadowing quote… fuck mice, just fuck the mice. I don’t like mice anymore. They have betrayed me.”
[1:18:26] - “A battle of gods, some might say.” (After both he and the boss were one hit away from death and he lost).
✅ Your Silksong Platinum Walkthrough Part 4 - 100% Completion Guide Mastery Checklist
🎮 Immediate Actions (Do This Now):
- [x] Farm at least 130 Rosary Beads using the route at the start. - Referenced in segment [01:15]
- [x] Buy the Farfields map from Shack. - Referenced in segment [07:07]
- [x] Activate the Farfields Bellway station. - Referenced in segment [06:24]
⚡ Short-term Goals (This Chapter):
- [x] Collect 25 Flexile Spines and all Pilgrim’s Shawls for the Seamstress. - Referenced in segment [21:34]

- [x] Unlock the Drifter’s Cloak ability. - Referenced in segment [29:56]
- [x] Find the Mask Shard in the secret area above the Seamstress. - Referenced in segment [32:12]
- [x] Claim the Reaper Crest from the Chapel. - Referenced in segment [1:01:48]
🏆 Long-term Mastery (For 100% Completion):
- [x] Defeat the Greymoor boss. - Referenced in segment [1:18:29]
- [x] Start the “Bugs of Farloom” journal by talking to Nu. - Referenced in segment [47:29]
- [x] Find the Memory Locket in the Greymoor mouse maze. - Referenced in segment [1:07:52]
🌟 Final Boss: Summary & Next Moves
You’ve survived the skill check! This part of the Silksong Platinum Walkthrough Part 4 - 100% Completion Guide was a massive undertaking, but you’ve emerged with a powerful new ability, a new combat loadout, and two entire regions explored. You’ve navigated the deceptive Farfields, survived the treacherous Greymoor, and made a new (somewhat useful) friend.
🎯 Key Wins You Just Unlocked:
- 🎮 Total Mobility: The Drifter’s Cloak opens up vertical exploration like never before. - Covered in segment [29:56]
- ⚡ Combat Versatility: The Reaper Crest gives you a new, heavy-hitting playstyle. - Detailed in segment [1:01:48]
- 🏆 Major Story Progression: Defeating the Greymoor boss has unlocked the next main quest. - Explained in segment [1:23:48]
🚀 Your Next Quest:
With the Greymoor boss defeated and a mysterious cutscene revealed, your next main objective is the Threadspun Town. Prepare yourself for the next leg of this epic journey!
💬 Join the Gaming Community!
🌟 This Guide Helped You Level Up?
Share the epic knowledge! If this Silksong Platinum Walkthrough Part 4 - 100% Completion Guide helped you conquer Farfields and Greymoor, spread the love!
🎮 Share Where Gamers Gather:
- 🎯 Discord Servers - Drop this in your Hollow Knight communities.
- 🐦 Twitter/X - Tweet your boss-slaying wins.
- 📱 Reddit - Share in r/HollowKnight and r/Silksong.
- 📺 Twitch/YouTube - Reference this guide in your streams and videos.
- 💬 Gaming Forums - Help other players who are stuck in this skill check.
🏷️ Tags: #Silksong #HollowKnight #SilksongGuide #SilksongWalkthrough #PlatinumTrophy #100Completion #Gaming #GamerLife #ProTips #TeamCherry #Metroidvania