Master Silksong Platinum Walkthrough Part 7! This 100% completion guide uncovers missable items, Far Fields secrets, and crucial strategies. Avoid game-breaking mistakes for your ultimate run.
Walkthrough Video
Cheats & Solution
🎮 Silksong - Ultimate Silksong Platinum Walkthrough Part 7 - 100% Completion Guide & Pro Strategies
🔥 What You’re Getting in this Silksong Platinum Walkthrough Part 7 Guide
Welcome back, weavers! This is Part 7 of the ultimate 100% completion guide for Silksong, and it’s time for the great cleanup. We’ve unlocked the core skills needed to traverse Pharloom, and now we’re going back to mop up every last secret before we dare to advance the main story.
This guide breaks down the massive Act 1 cleanup so you can:
• 🎯 Secure Missable Items & Trophies - We’ll grab key collectibles and journal entries you could easily miss, including a crucial B-Shard and the “Protected” trophy.
• ⚡ Avoid a Game-Breaking Mistake - Learn about the critical “point of no return” and why progressing the main story right now would be devastating for your 100% run.
• 🚀 Master Brutal Obstacle Courses - Conquer some of the most diabolical platforming challenges in the game hidden away in Far Fields.
• 💪 Unlock an Overpowered Tool - Find a secret NPC and complete his quest to gain a tool that grants you extra health beyond your natural limits.
⏰ Time Investment: 25 minutes to read, a lifetime of completionist bragging rights.
📖 The Complete Breakdown
🎮 Section 1: The Golden Rule & Bone Bottom Prep
Based on segments [0:28 - 7:06] from the original content
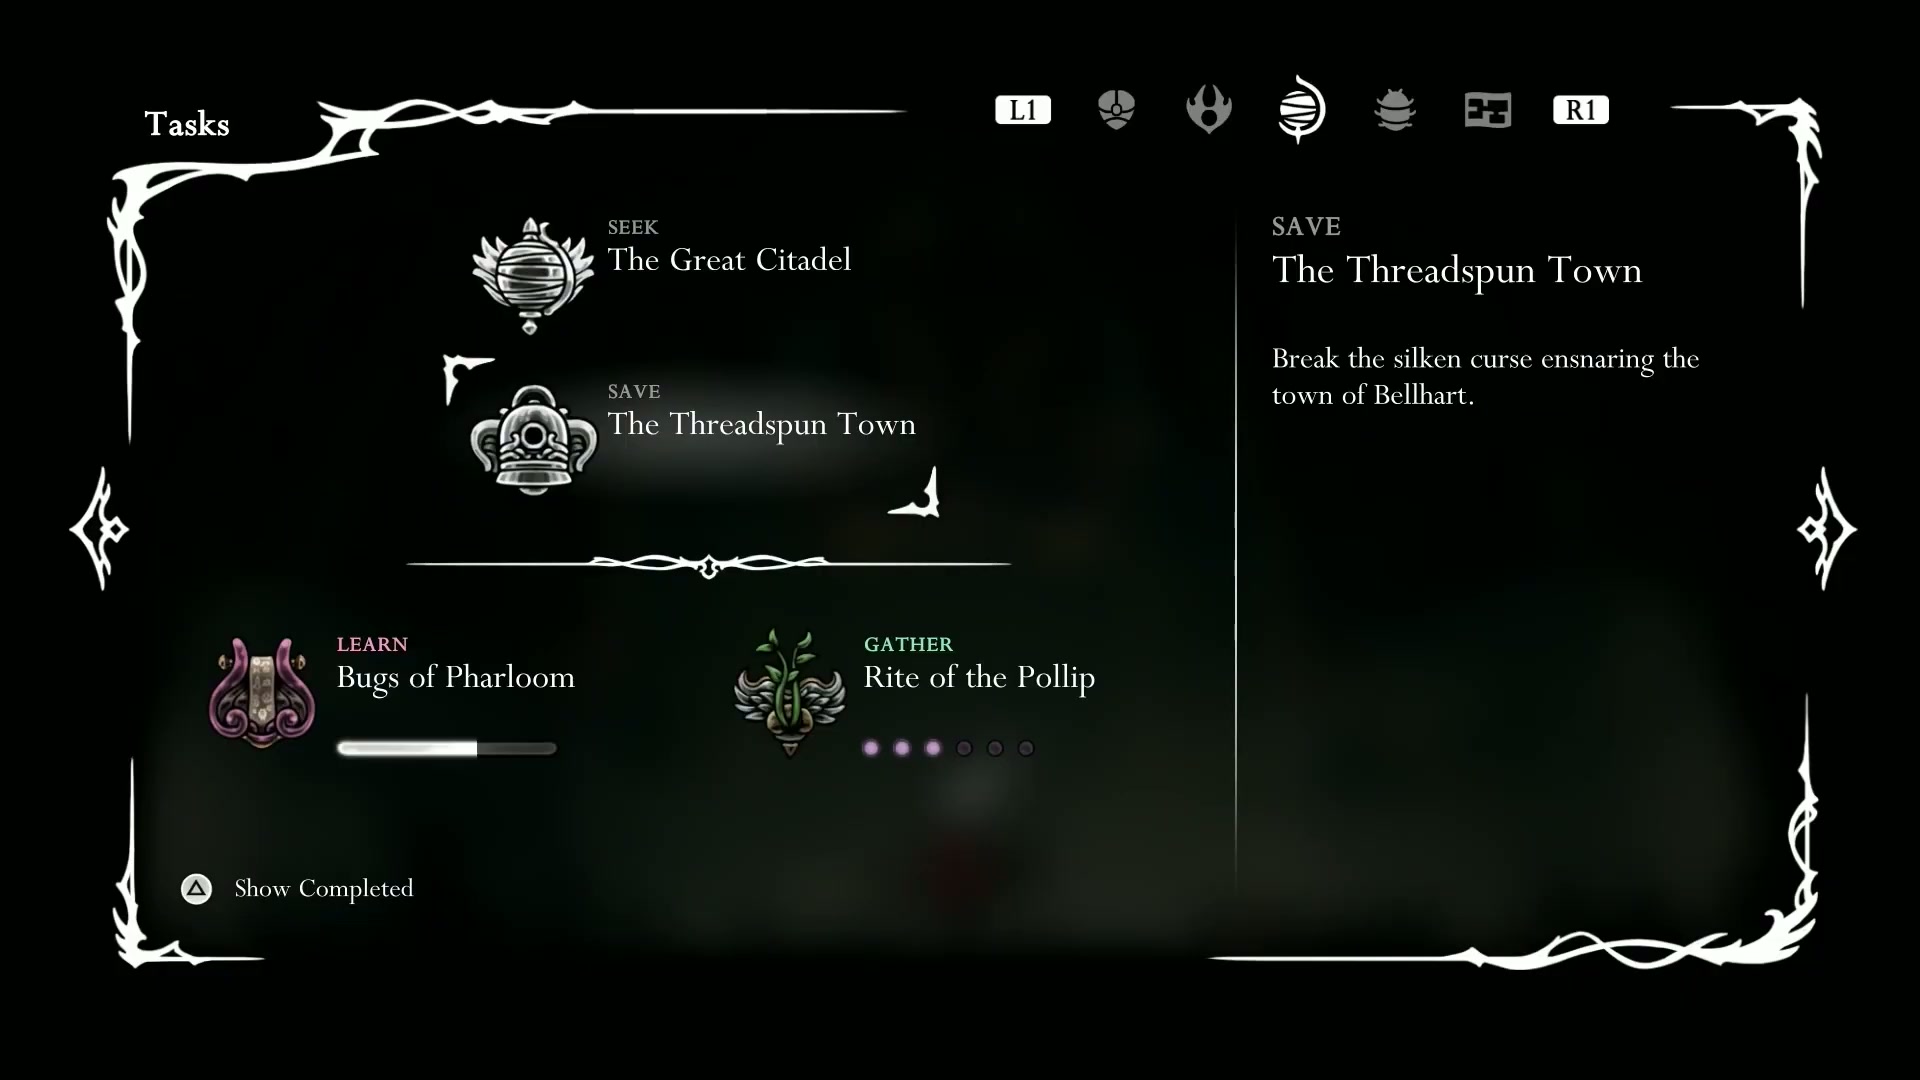
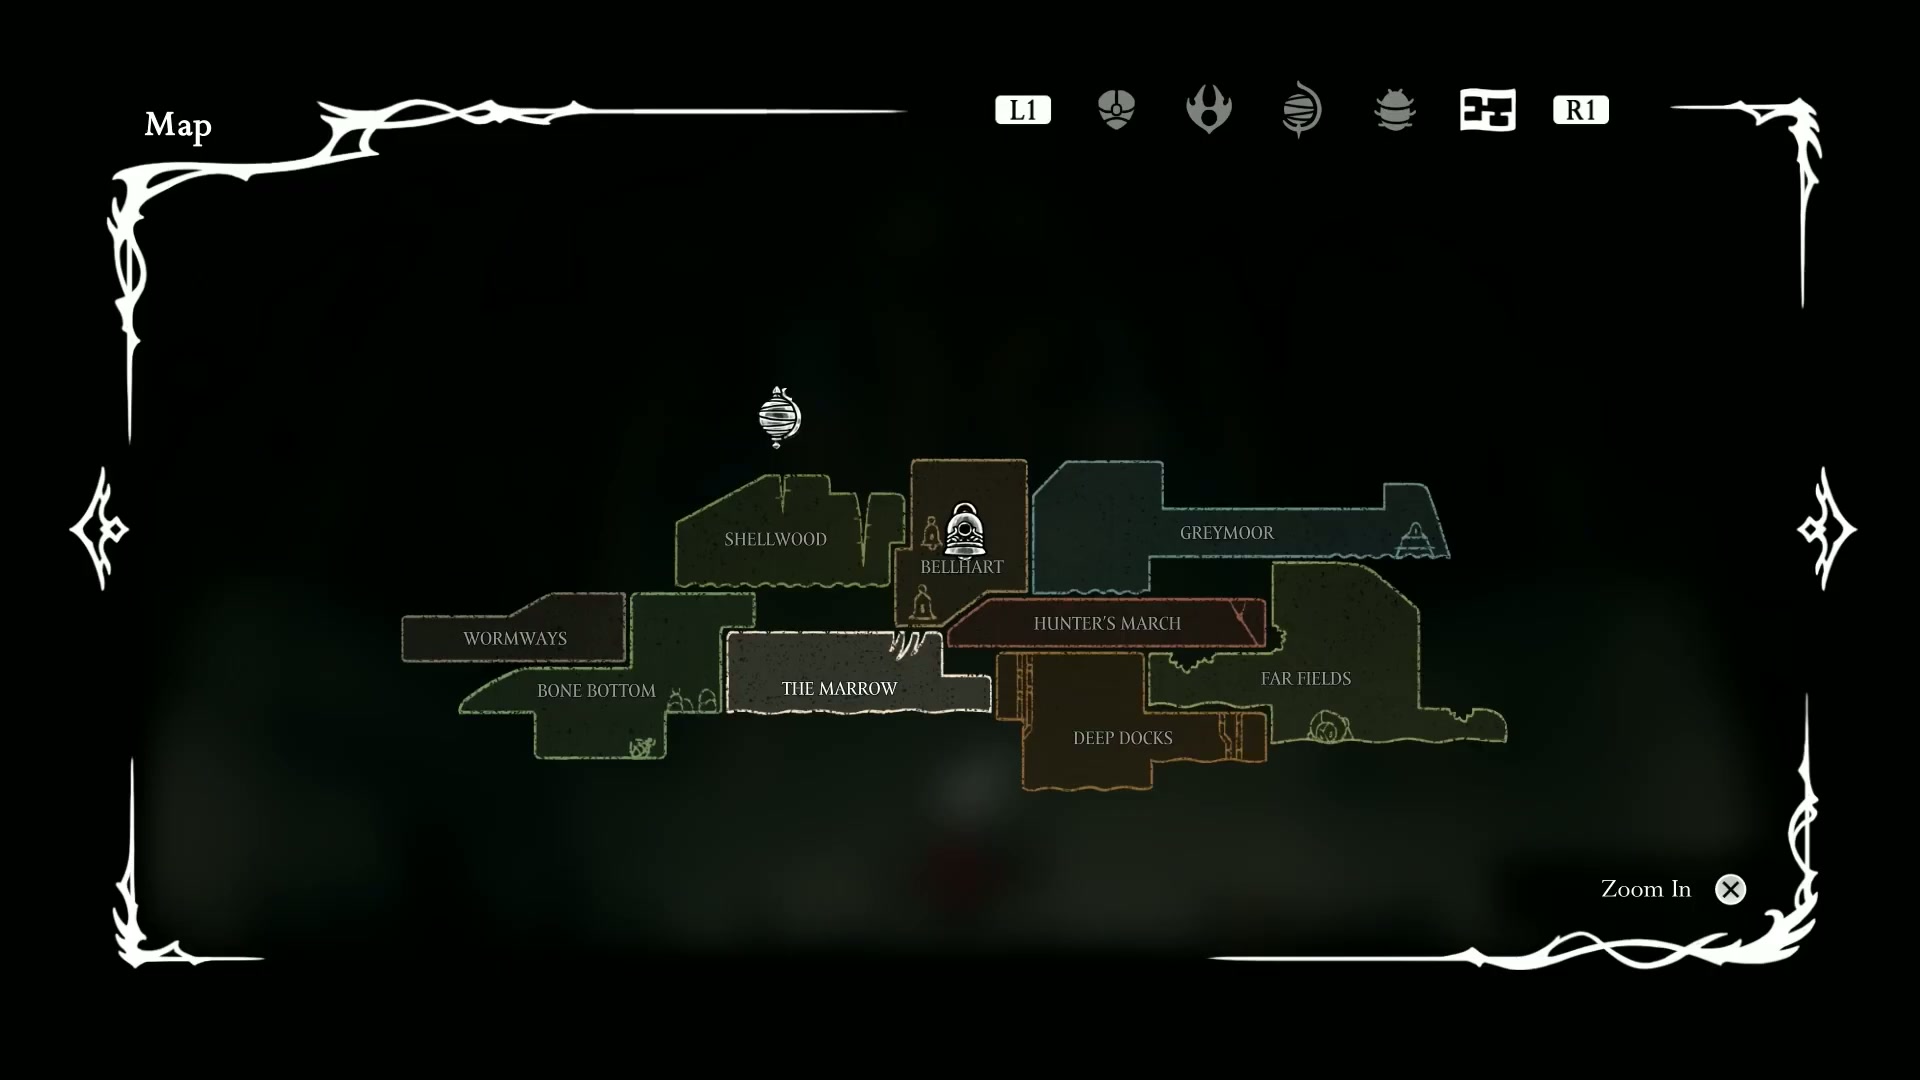
Before we take a single step, let’s get one thing clear: DO NOT complete the main questline in Shellwood and Bellheart (the “Threadspun Town” quest). Finishing this pushes the world state into Act 2, causing many NPCs and side quests to vanish. For our Silksong Platinum Walkthrough Part 7 - 100% Completion Guide, this is a critical moment to pause the main story and clean house.
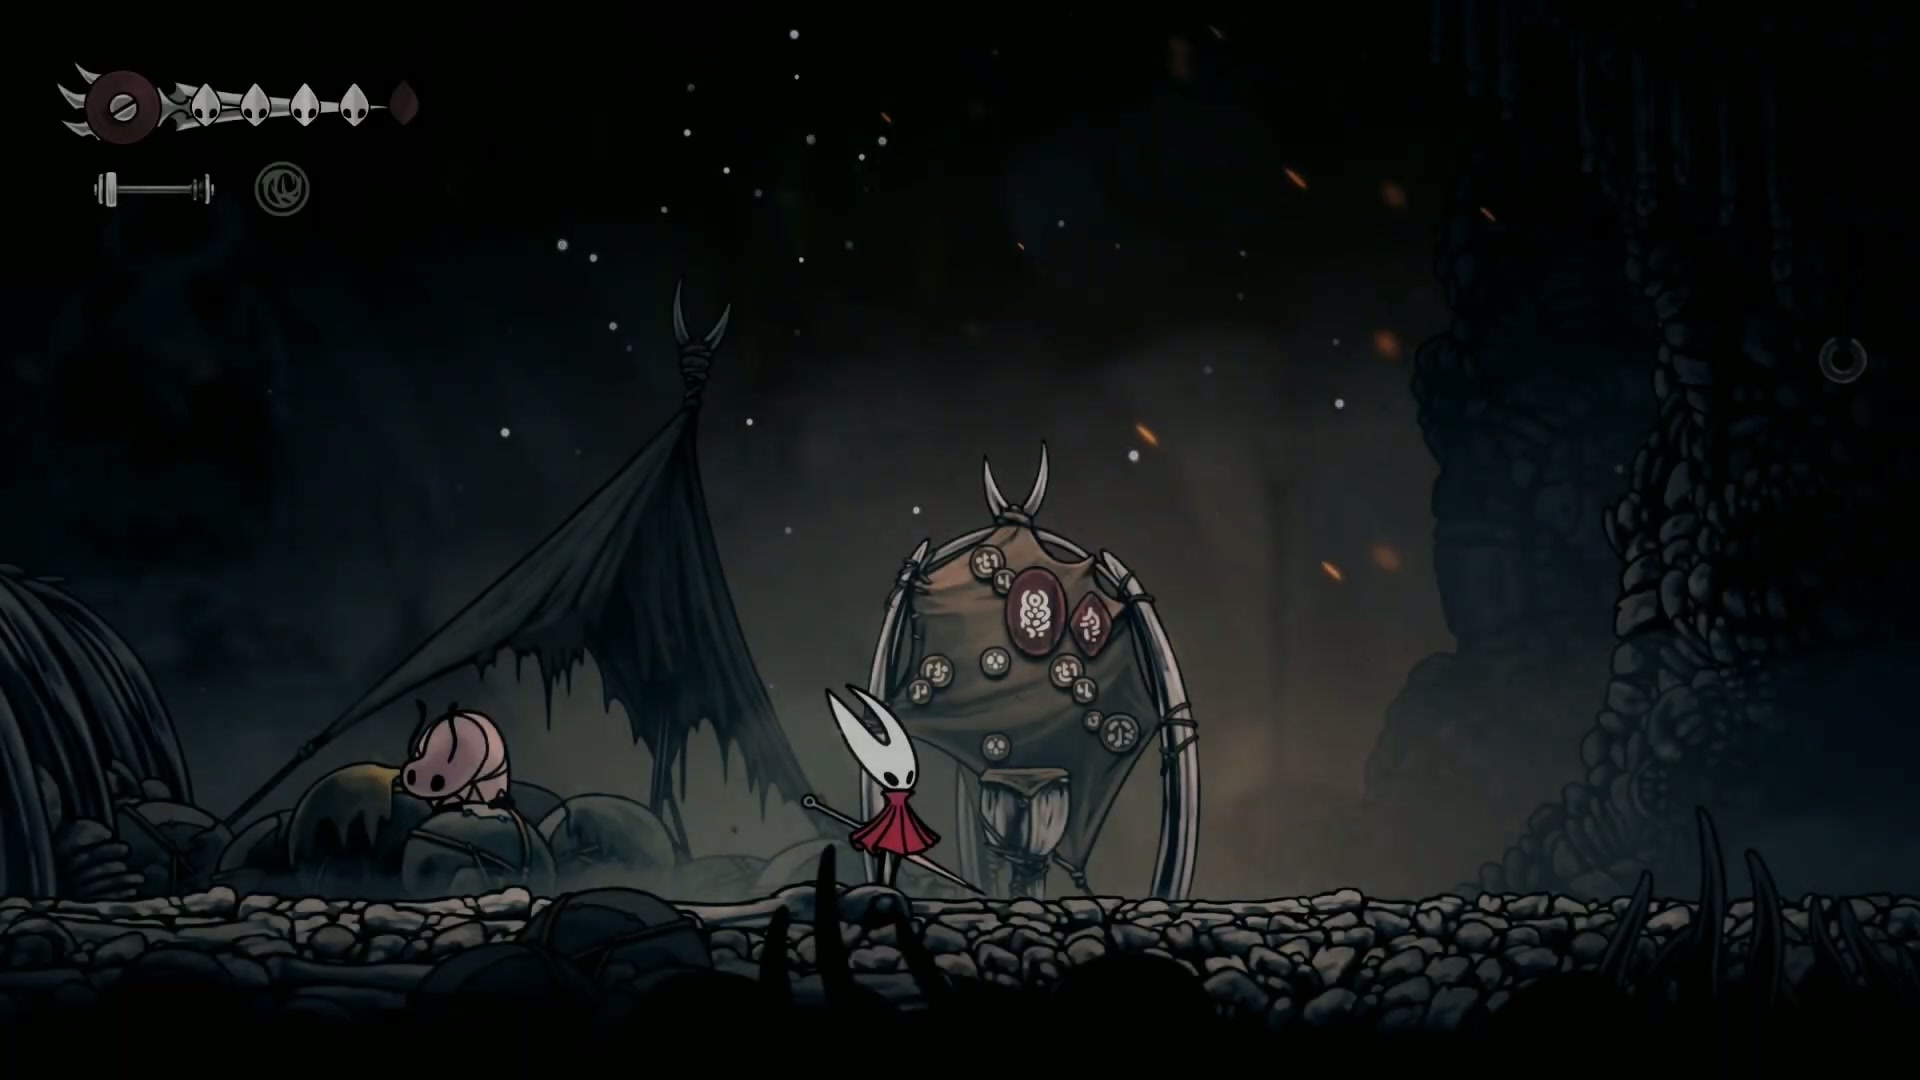
With that warning out of the way, our first stop is Bone Bottom. It’s time to light up the quest board.
🔥 Key Takeaways:
- 💡 The end of Shellwood/Bellheart is a major point of no return for Act 1.
- ⚡ We are backtracking through nearly every area to get 100% of collectibles with our new skills.
- 🎯 Our journey starts by accepting every single quest from the Bone Bottom board.
💬 Community Quote:
“A clean space is a clean mind. So let’s go clean up everybody. Come on.”
🎮 Step-by-Step Breakdown:
-
Accept All Quests (06:03) - Travel to Bone Bottom and interact with the quest board. Accept everything available, including “The Terrible Tyrant,” “Volatile Flint Beetles,” and the donation quest for the bridge.
-
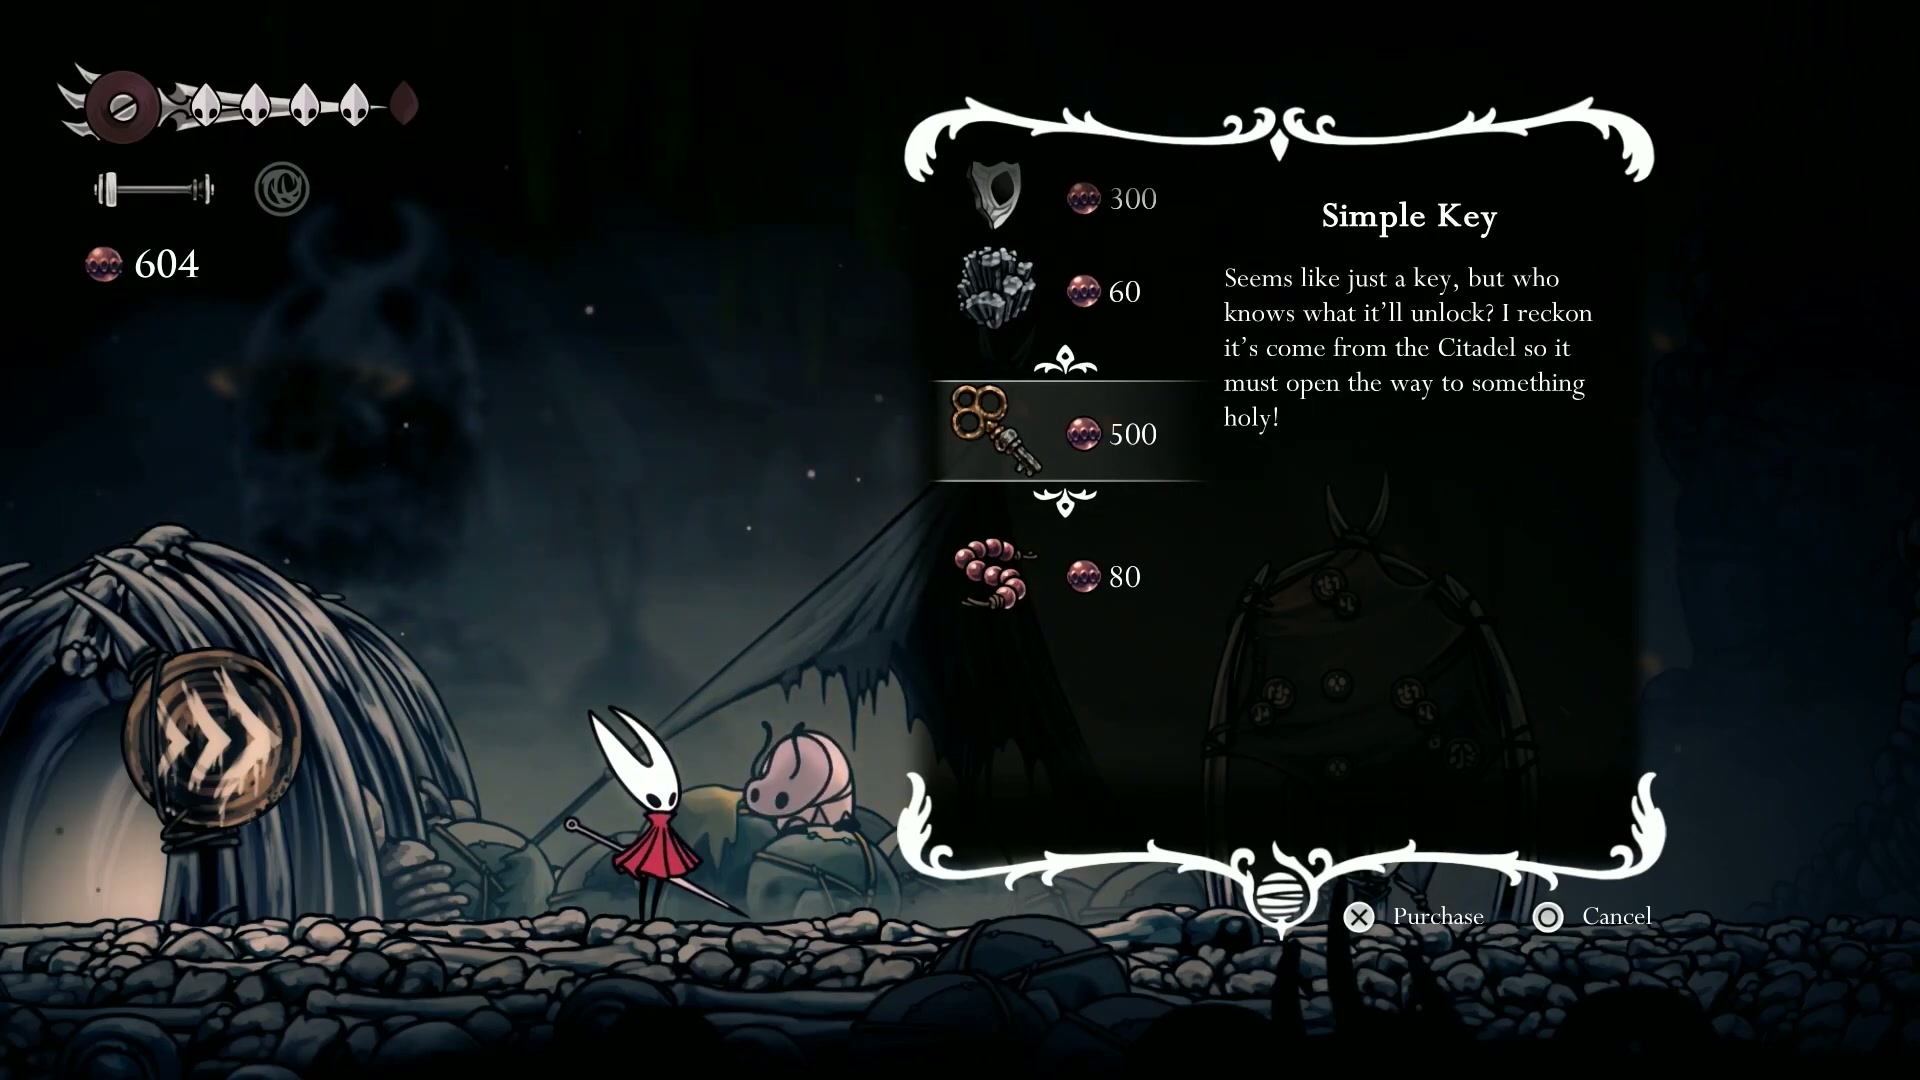
Shop Smart (06:32) - Visit the shopkeeper. Now is the time to buy the Simple Key. If you’re prone to losing your Rosaries, buy it immediately. We’ll also be buying the Mask Shard here shortly to work towards a trophy.
-
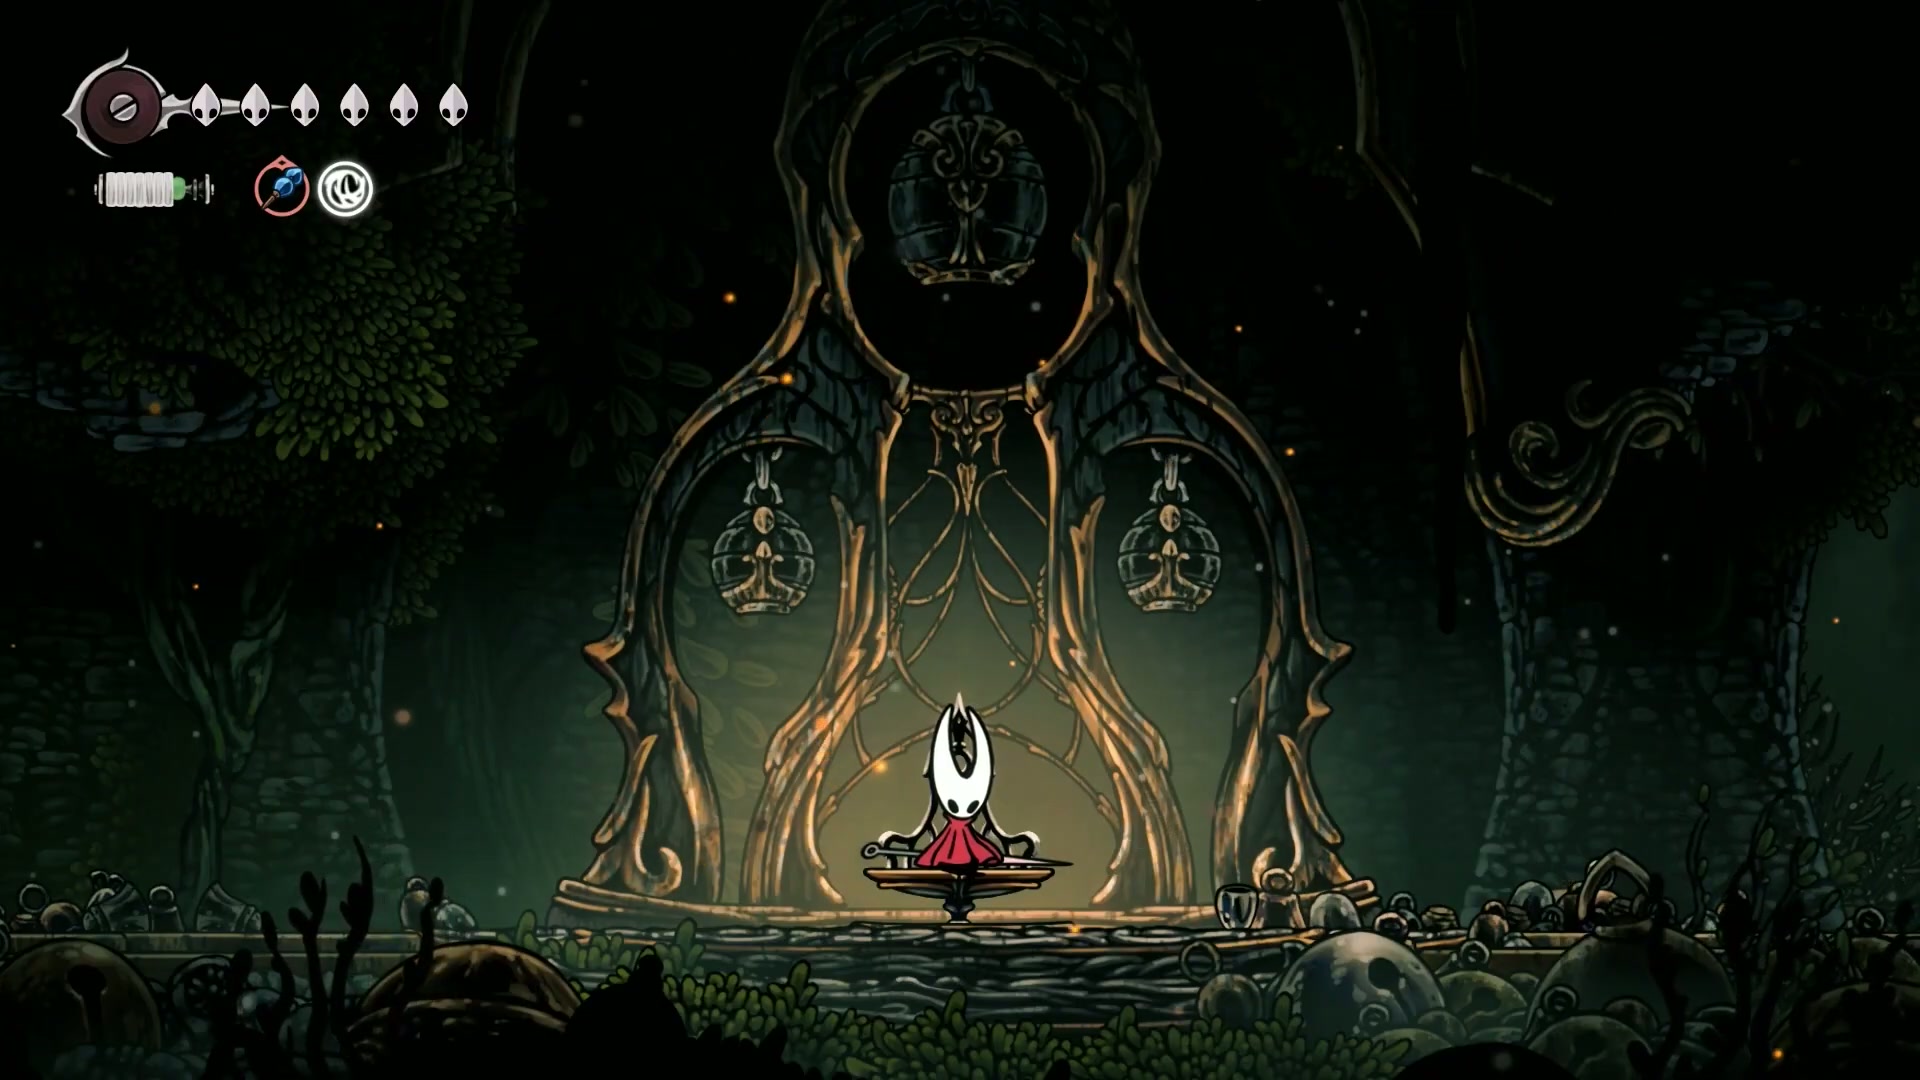
Equip for Exploration (07:34) - Sit at the bench and swap to your preferred exploration loadout. The Wanderer Crest is highly recommended for its speed and saved loadouts, which we’ll be kitting out with more Memory Lockets soon.

⚡ Section 2: Bug Hunt & Tyrant Takedown
Covering segments [7:08 - 26:12] insights
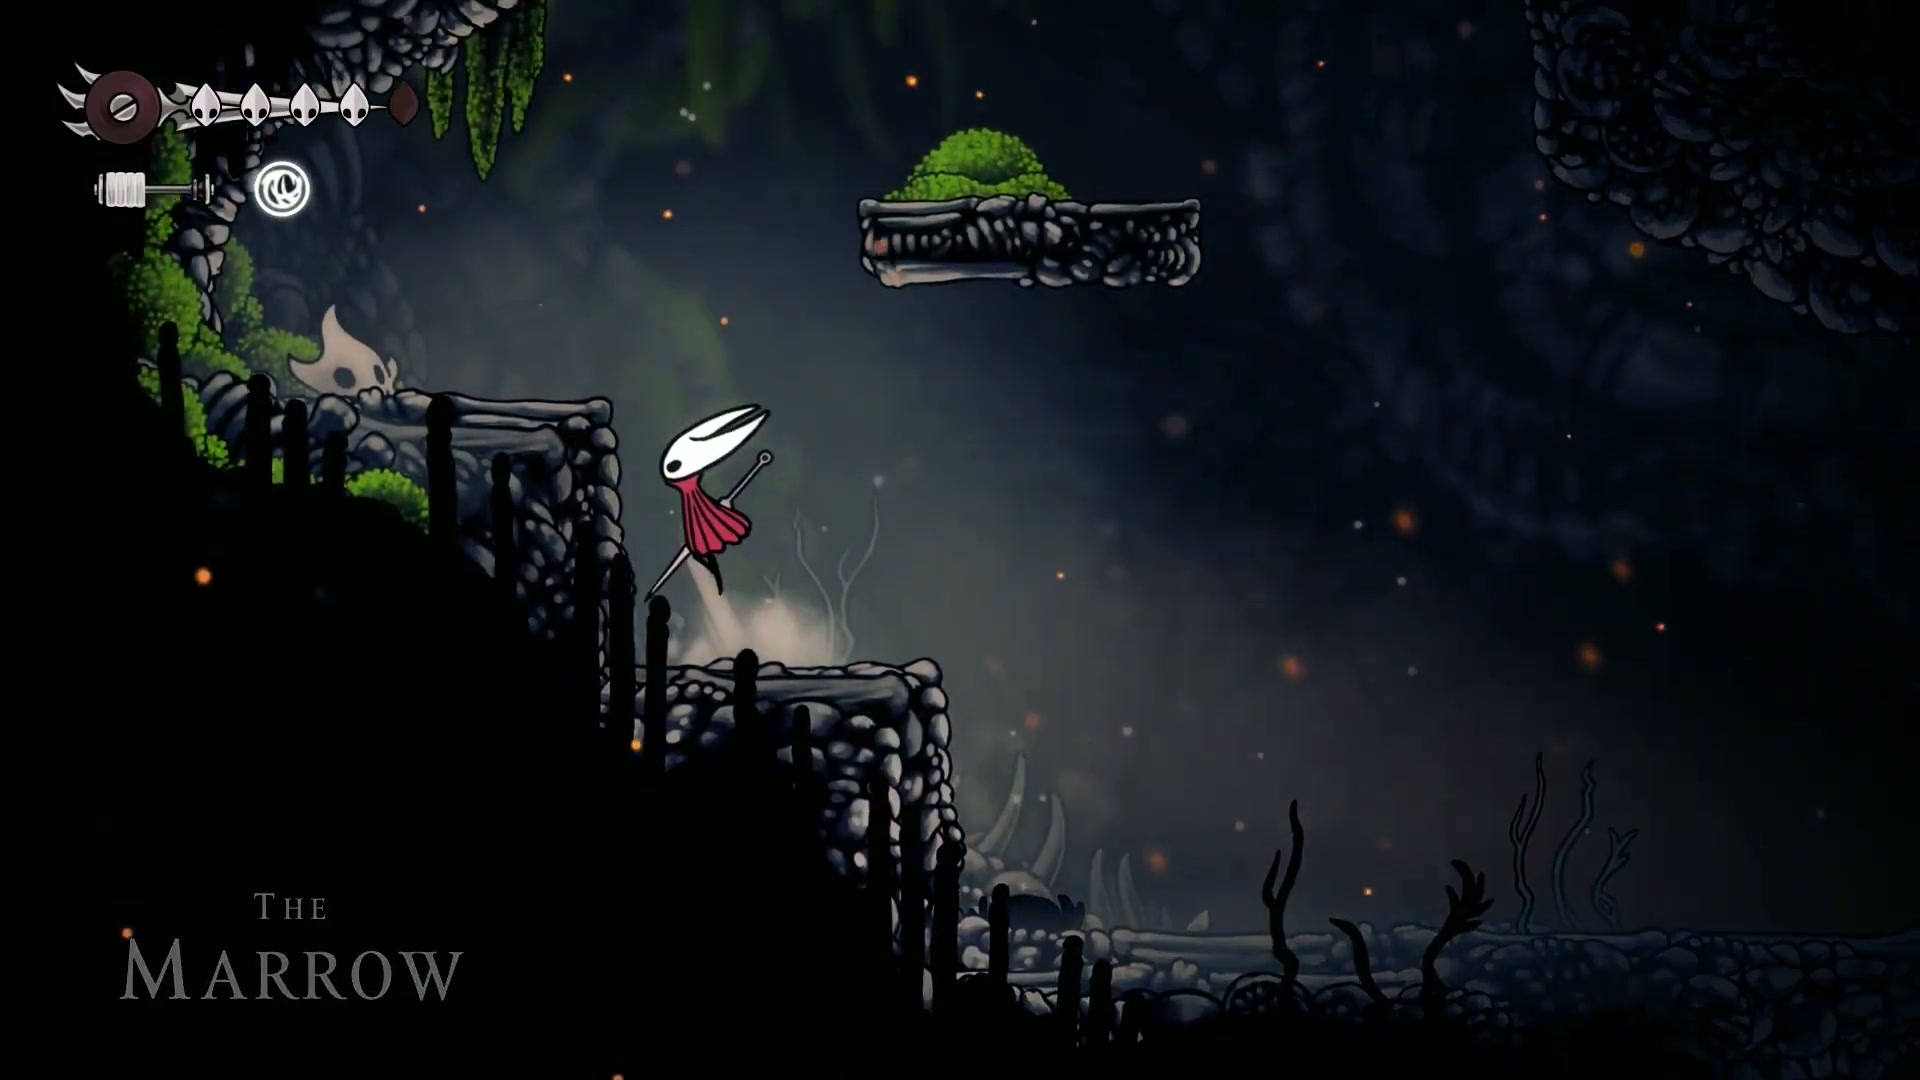
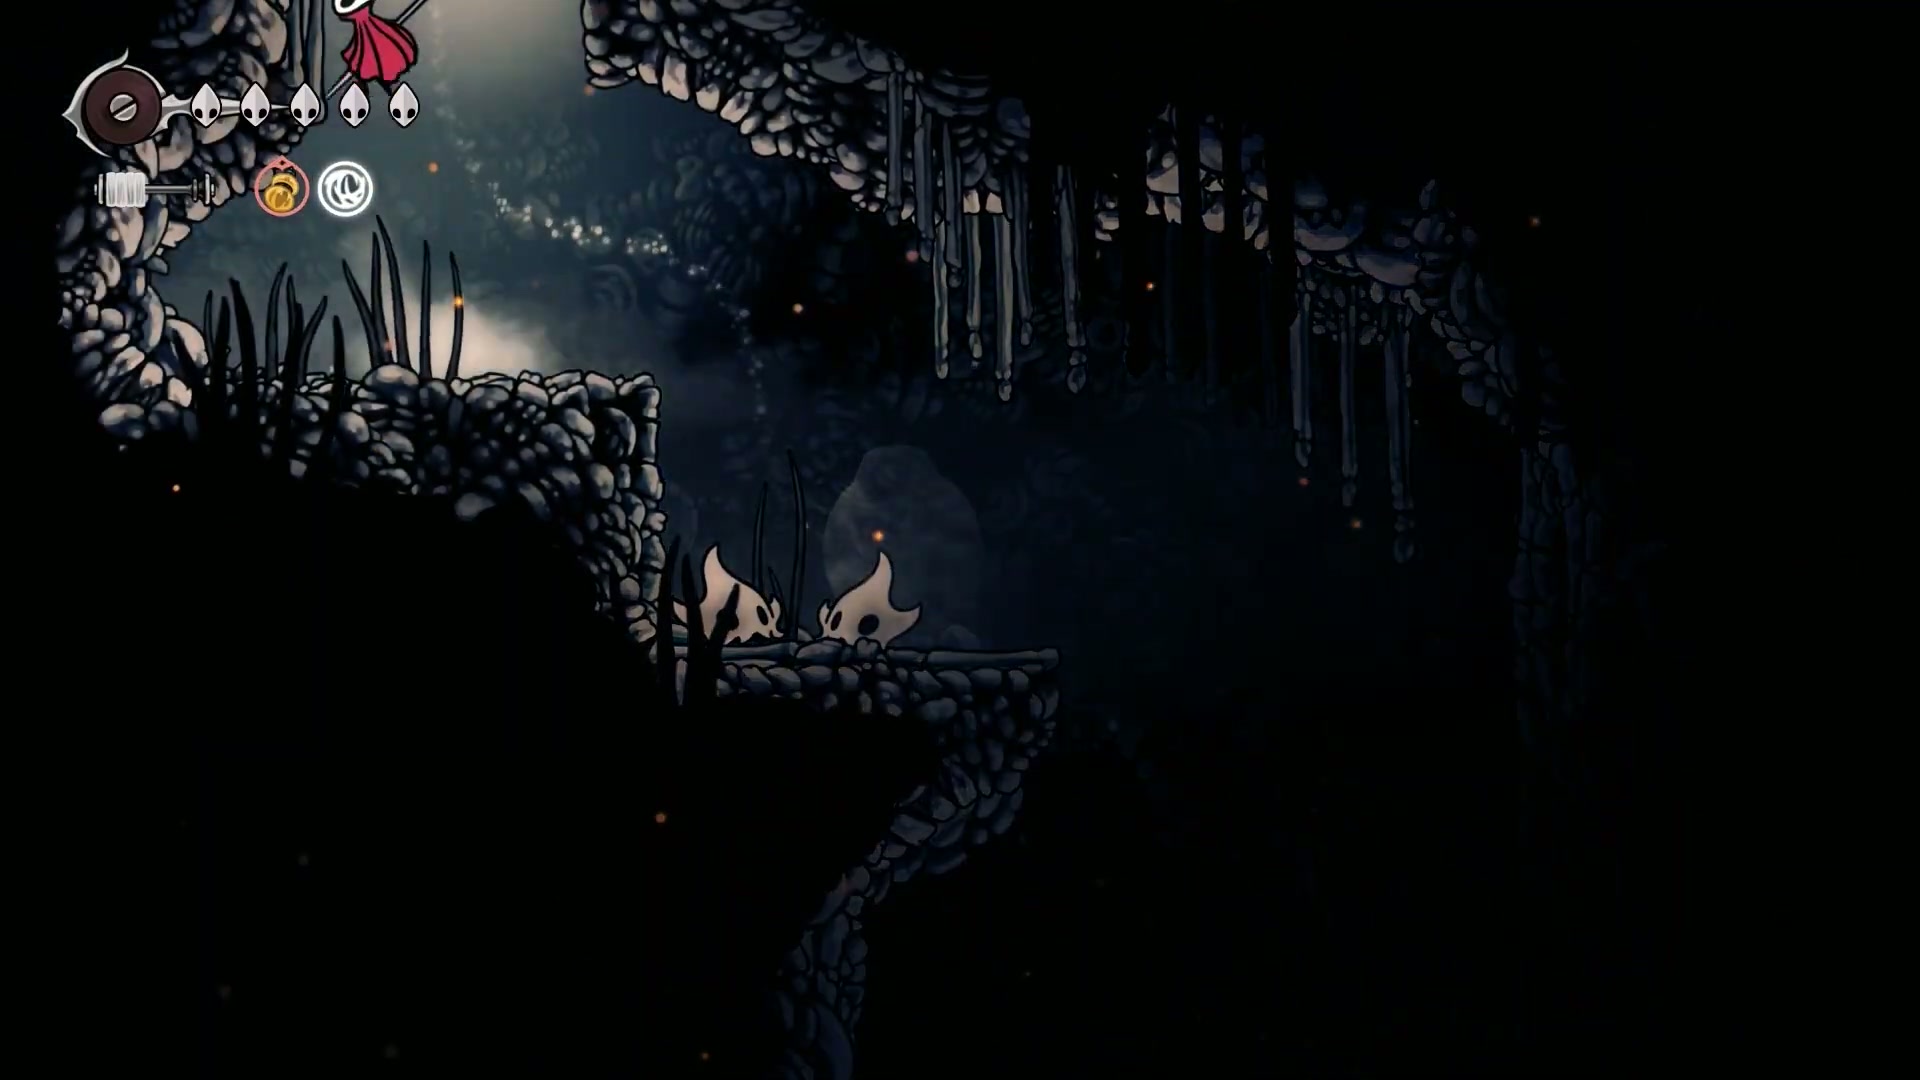
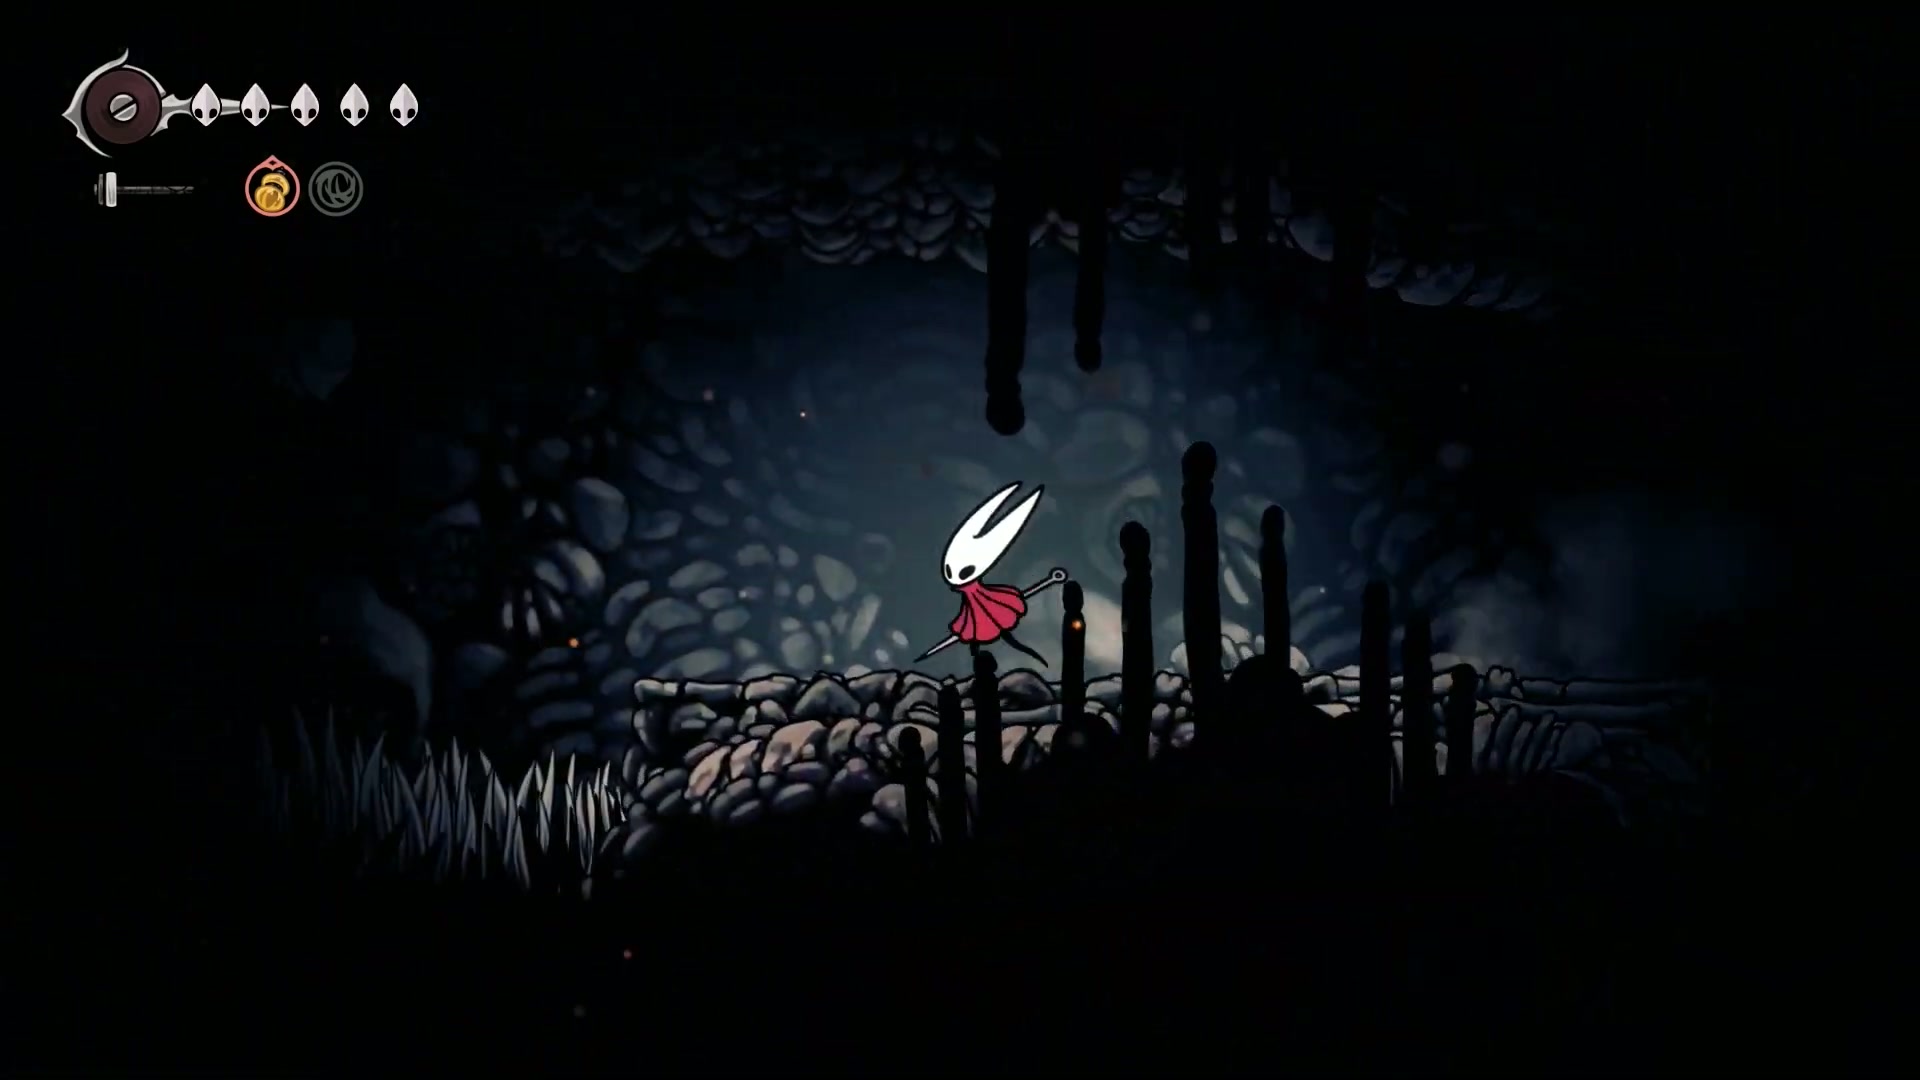
Our first major task is to complete the “Volatile Flint Beetles” quest in The Marrow. This will take us through old areas where we can now reach new secrets, including a hidden Memory Locket.
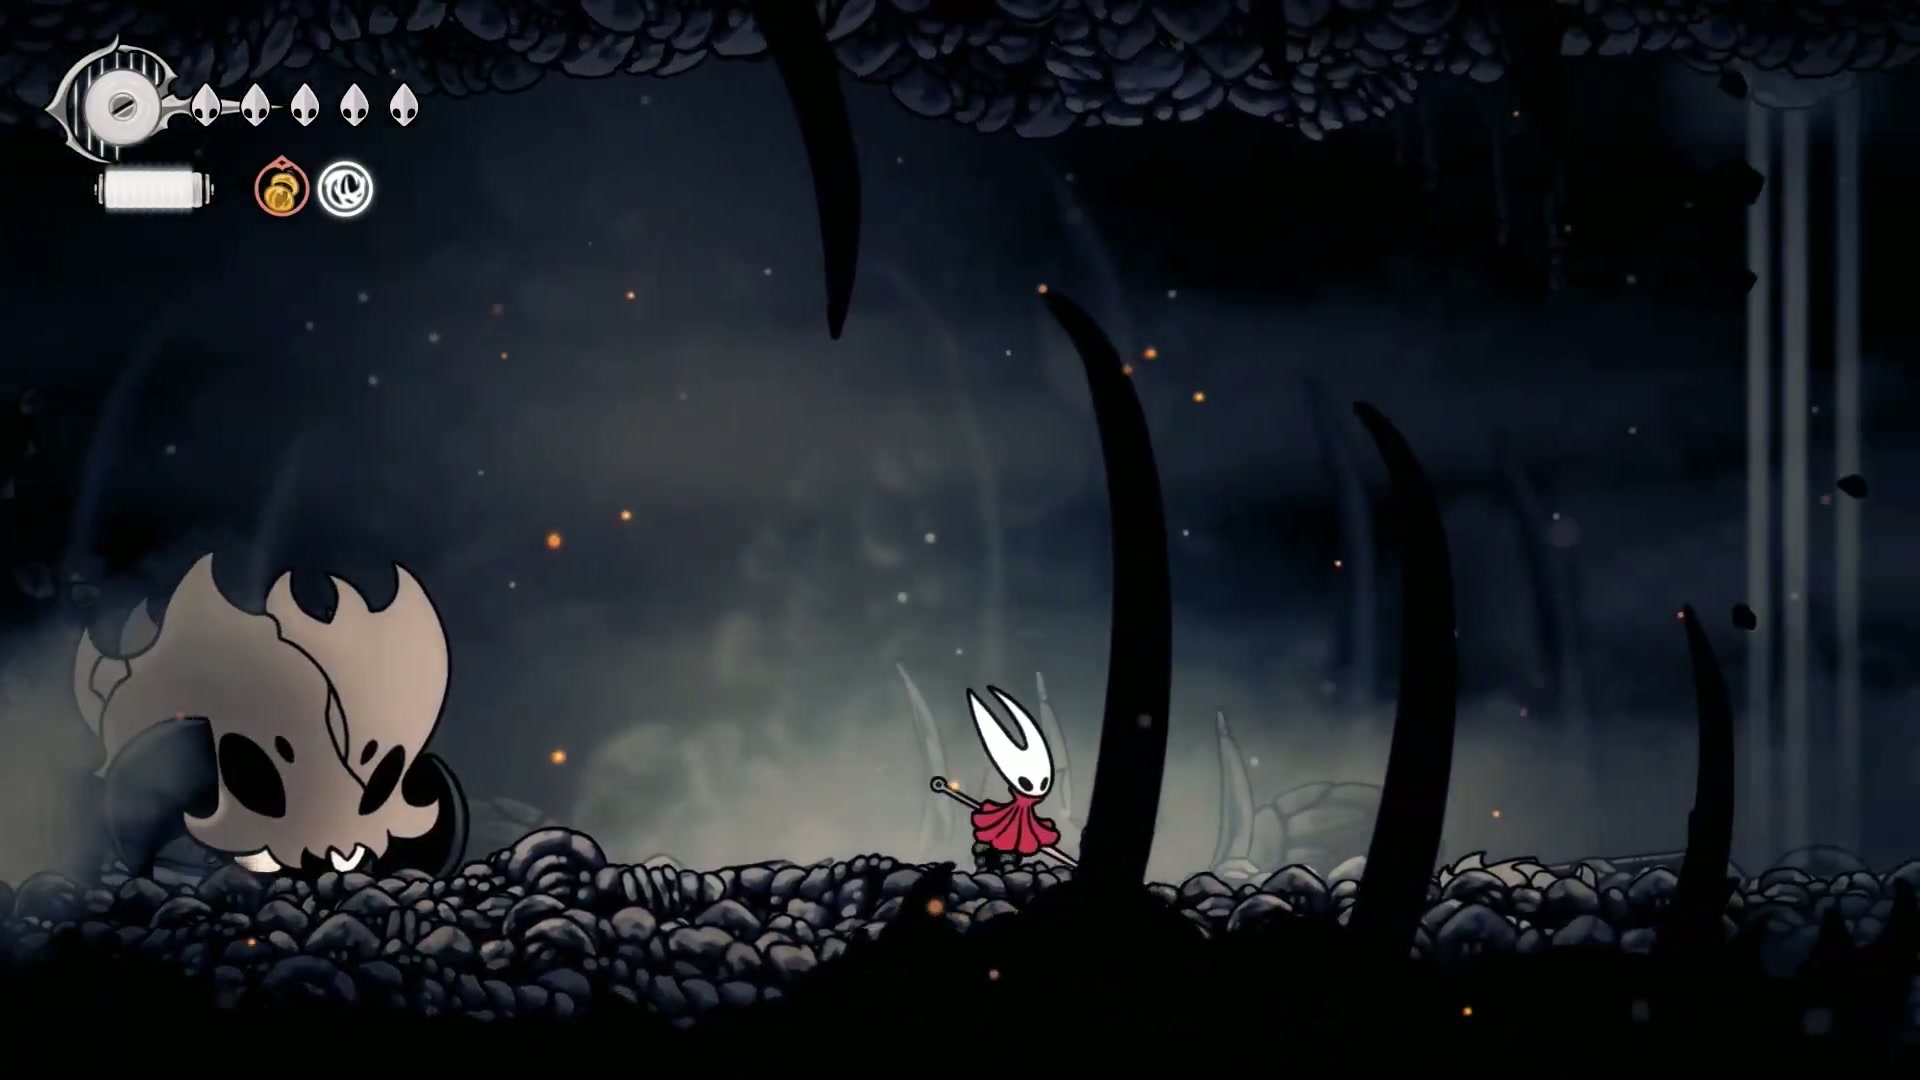
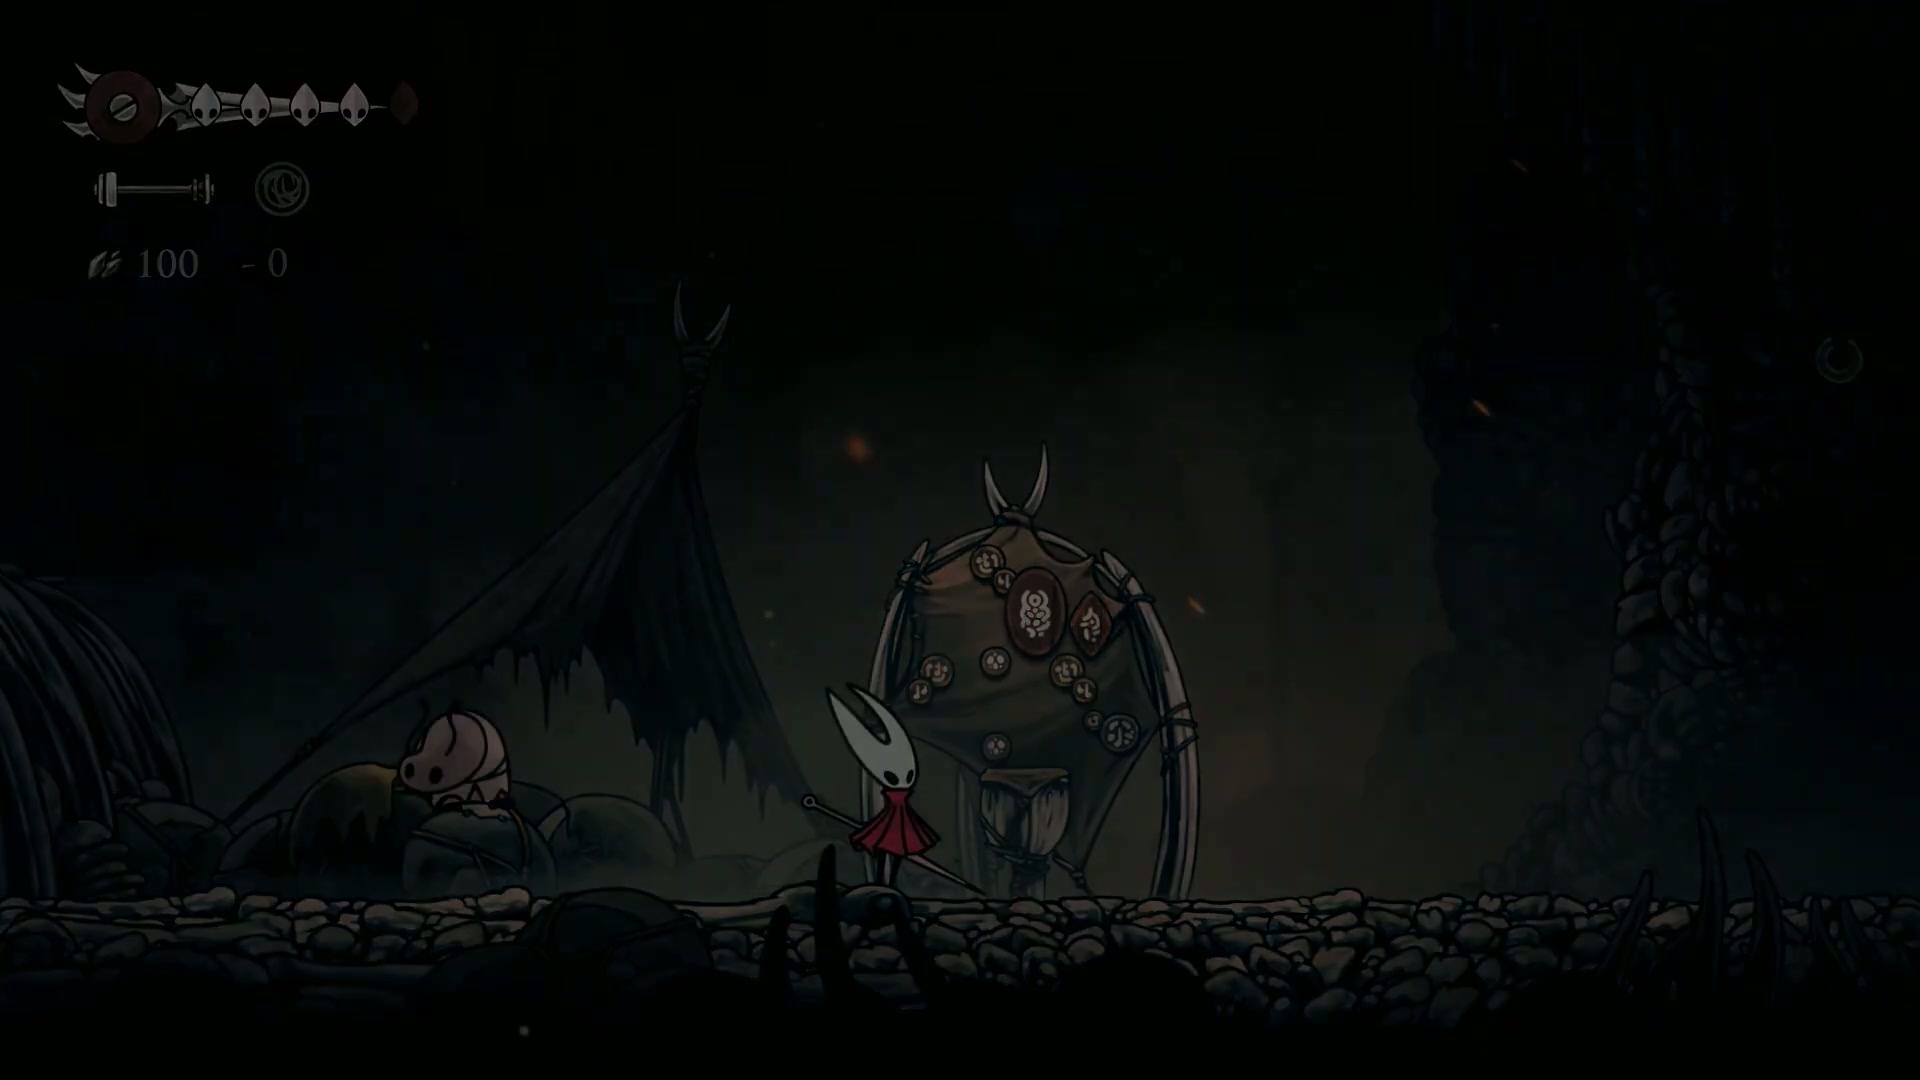
After that, we’re hunting bigger game: the Terrible Tyrant. This boss is the key to a buggy, optional side story that we need to set up correctly.
🚀 Pro Player Moves:
-
🎯 Beetle Tracking (10:45): Use the quest’s scent trail mechanic to easily locate the three explosive beetles scattered throughout The Marrow. A faint line will guide you directly to them.
-
💪 Runback Cheese (23:04): The run back to the Terrible Tyrant is annoying. Don’t fight the two tough enemies in the narrow passage. Just take the hits, run past them, and heal up using the silk from the large enemy and the full spool right before the boss arena. It’s faster and safer.
-
🔥 Tyrant Takedown (23:44): The Tyrant’s main attack is a charge. The signal is when he starts running in place. As soon as you see his feet moving but he’s not going anywhere, get ready to jump over him and punish him from behind.
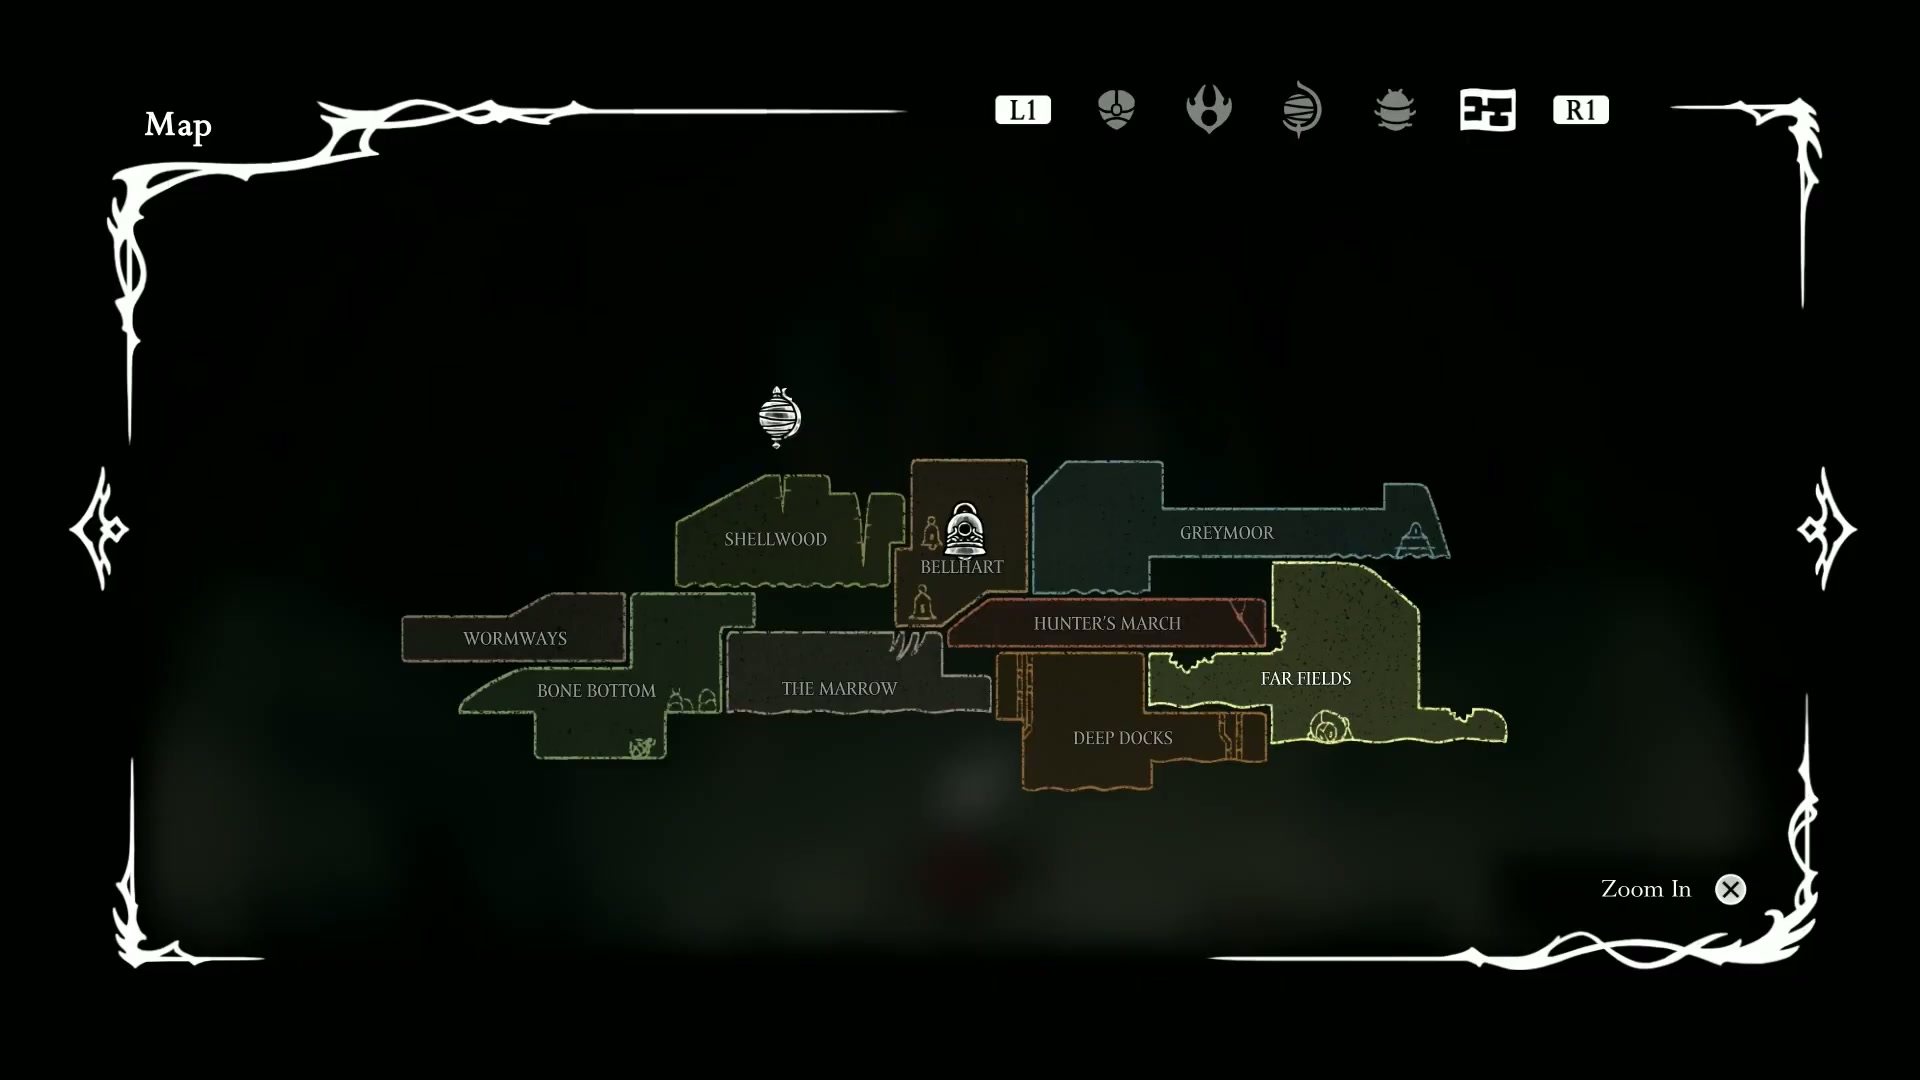
💥 Section 3: The Infamous Far Fields Gauntlet
Deep dive into segments [53:36 - 69:38] content
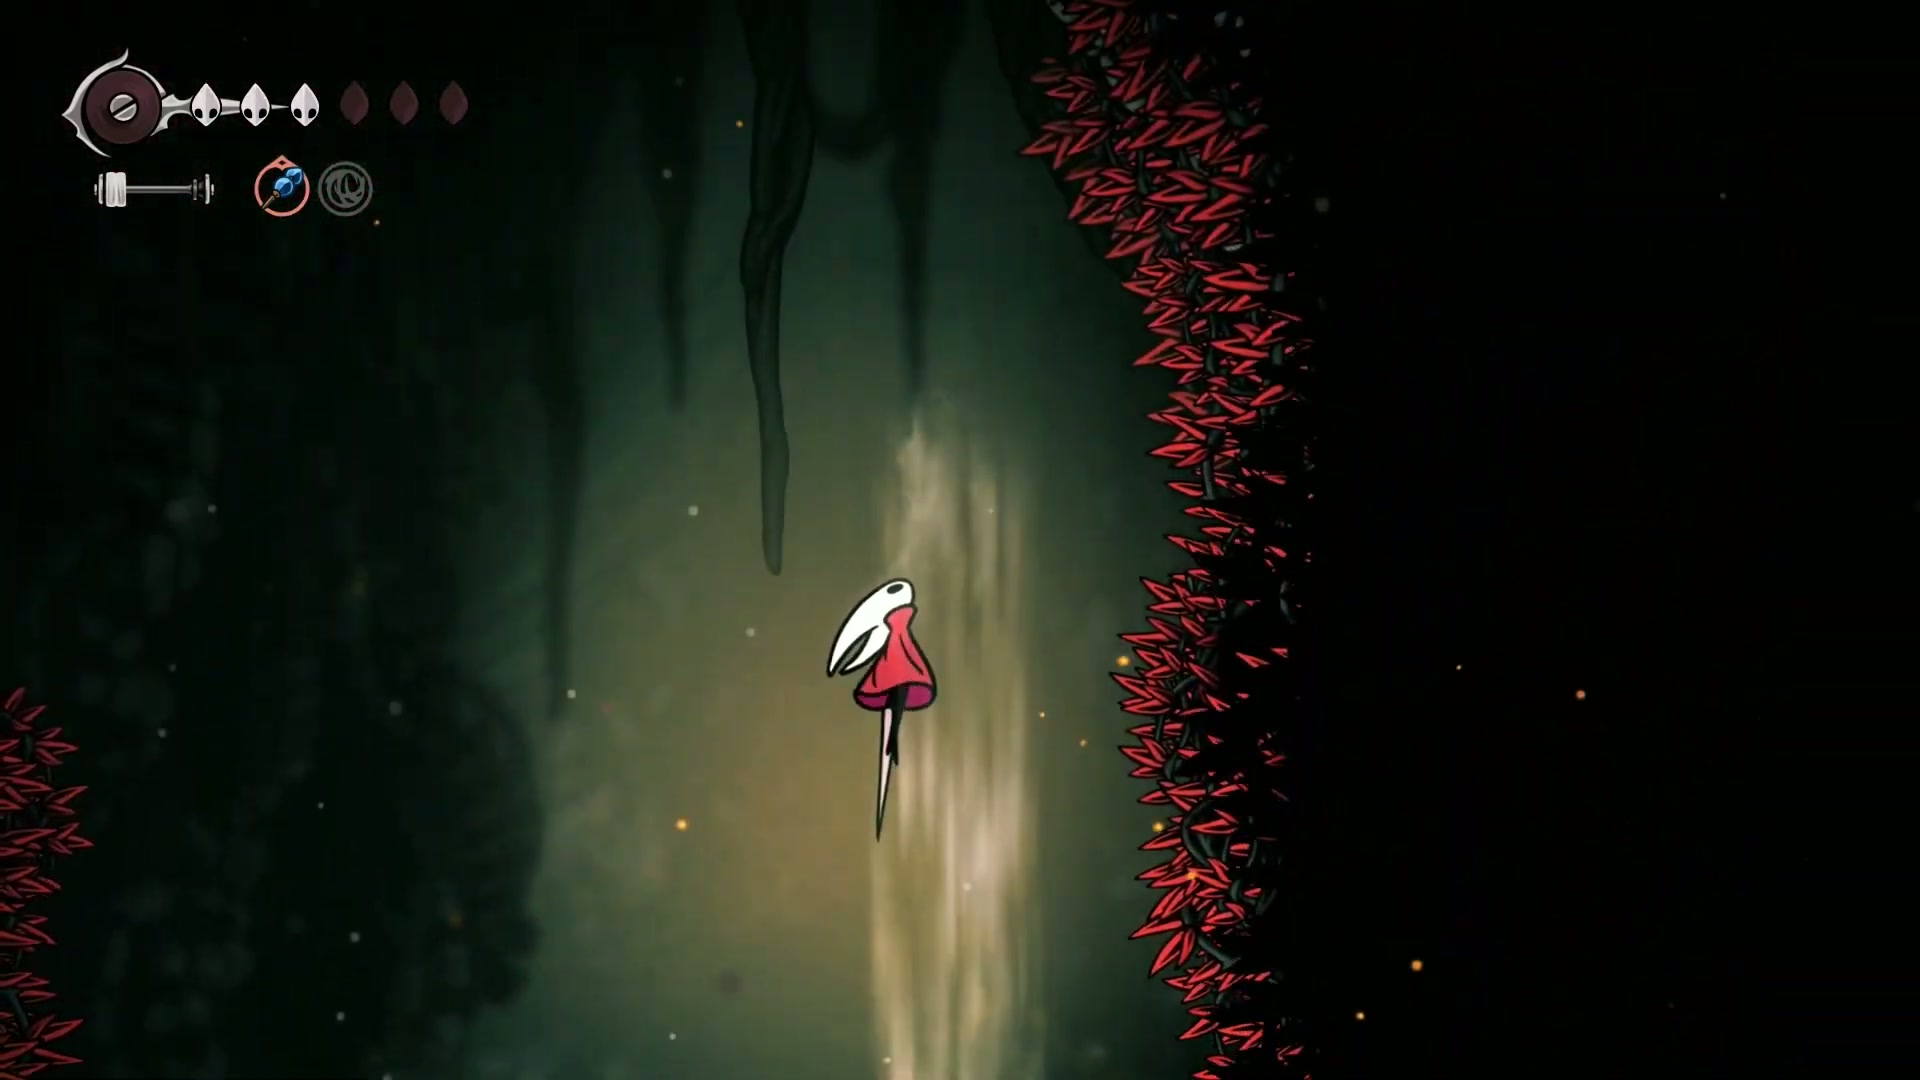
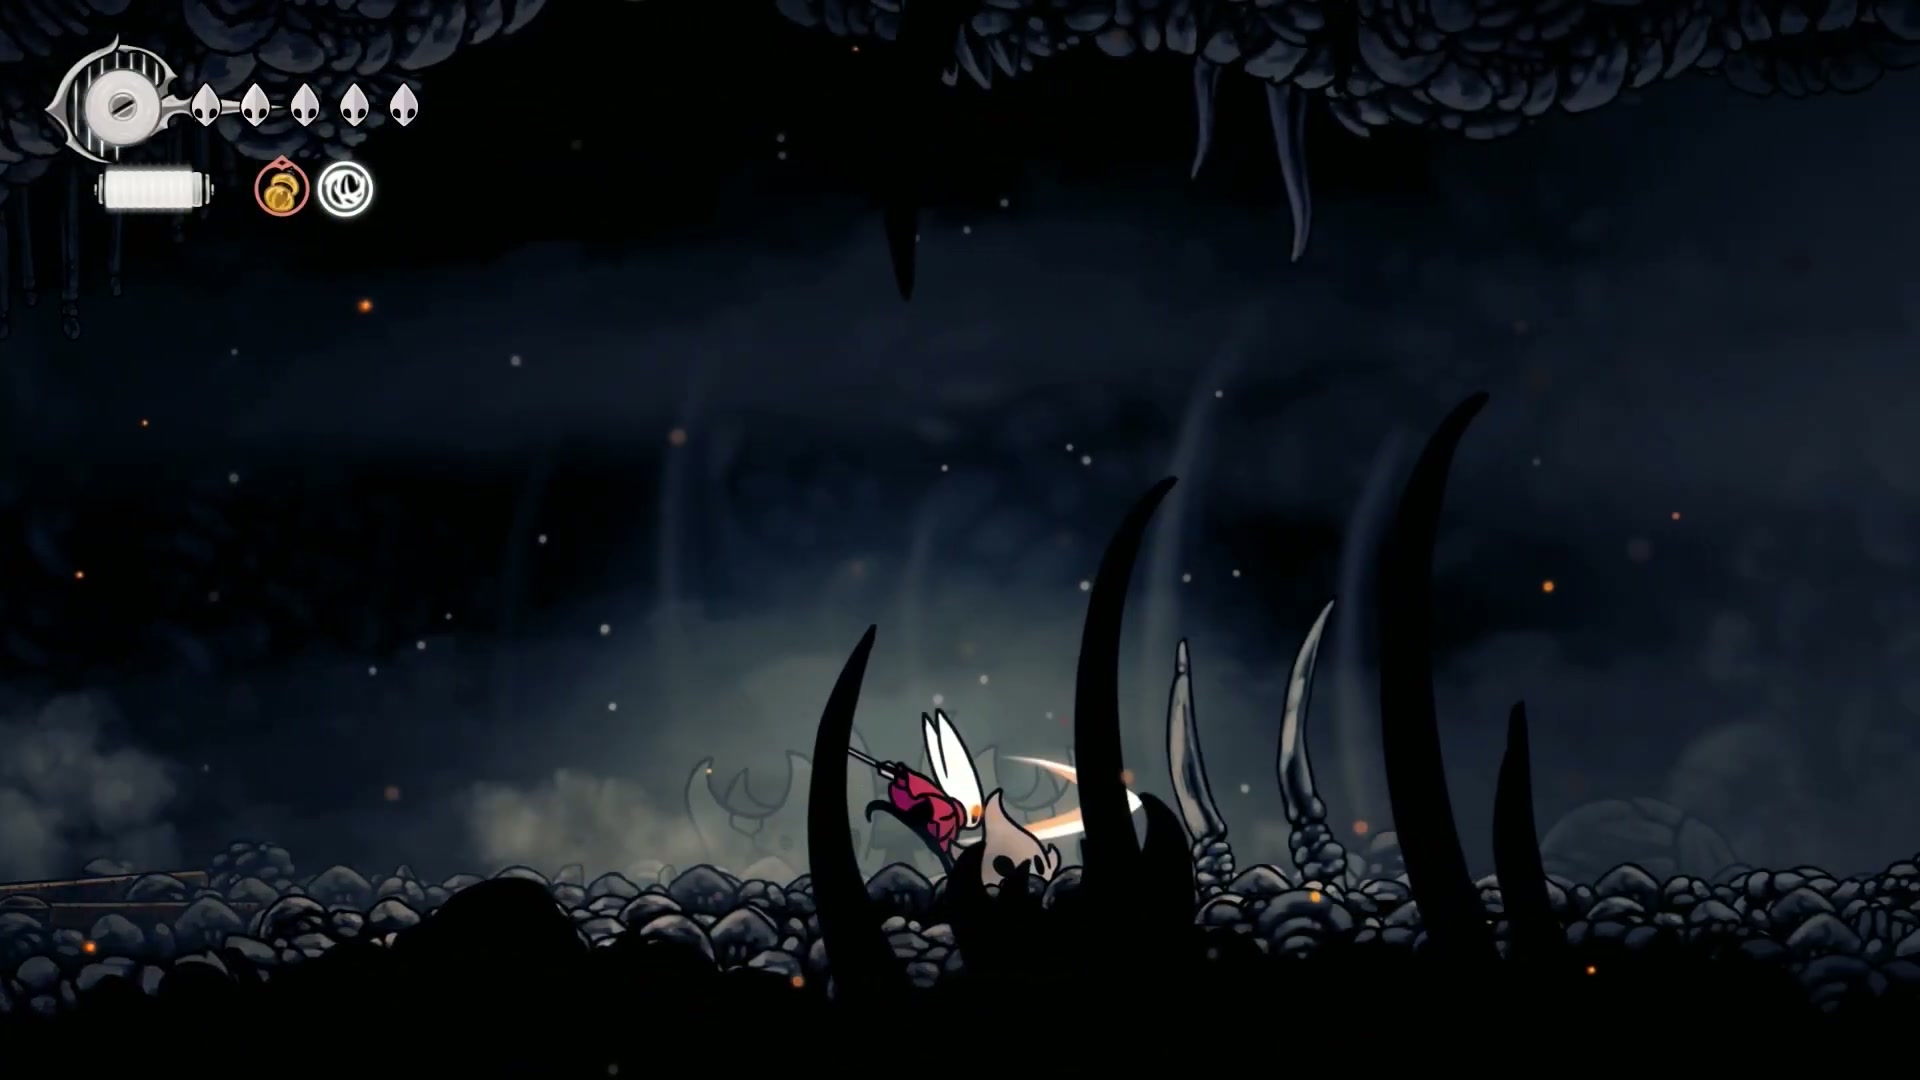
This is one of the toughest platforming challenges in the game, hidden away in a secret section of Far Fields. It requires mastery of every movement skill you have in a non-stop, pixel-perfect sequence. Your reward? A missable journal entry and a valuable B-Shard.
🏆 Boss-Level Execution:
The final section of the obstacle course is the most brutal. You must launch diagonally left, dash, pogo off a bell, wall-jump, and glide, all while avoiding spikes on the ceiling and floor.
The Pro Tip (63:47): On the final wall jump before the last glide, you must land on the lowest possible part of the wall. If you jump from too high, your arc will send you straight into the ceiling spikes. It’s a jump that requires incredible finesse.
🧠 Master-Tier Strategies & Pro Tips
🎯 Elite Silksong Platinum Walkthrough Part 7 Techniques
[Segment Reference: 1:39 - 5:58]
One of the most talked-about secrets in this part of the game is the second Skull Tyrant boss that is supposed to invade Bone Bottom. It’s notoriously buggy and often doesn’t spawn. Here’s what you need to know for a 100% run.
🔥 Advanced Technique Breakdown:
-
It’s Not Required for Platinum - Segment: [3:14 - 3:39]
The journal entry for the “Skull Tyrant” is collected from the first one you fight (the Terrible Tyrant). Defeating the second, buggy one is not required for the journal, and thus not for the platinum trophy. If it doesn’t spawn for you, don’t panic. -
The Trigger Sequence - Segment: [4:14 - 4:44]
The event is supposed to trigger after you defeat the Terrible Tyrant, collect the Crown Fragment, and turn it in at the Bone Bottom quest board. The boss should then invade the next time you enter the area from the left. Trying to force it by resting, leaving the zone, or restarting the game may not work. Don’t waste too much time on it; if it happens, it happens.
⚠️ Don’t Be a Noob - Common Fails to Avoid

Based on insights from the content, here’s what NOT to do:
- ❌ Opening the Door Too Early - Segment: [64:52 - 65:46]
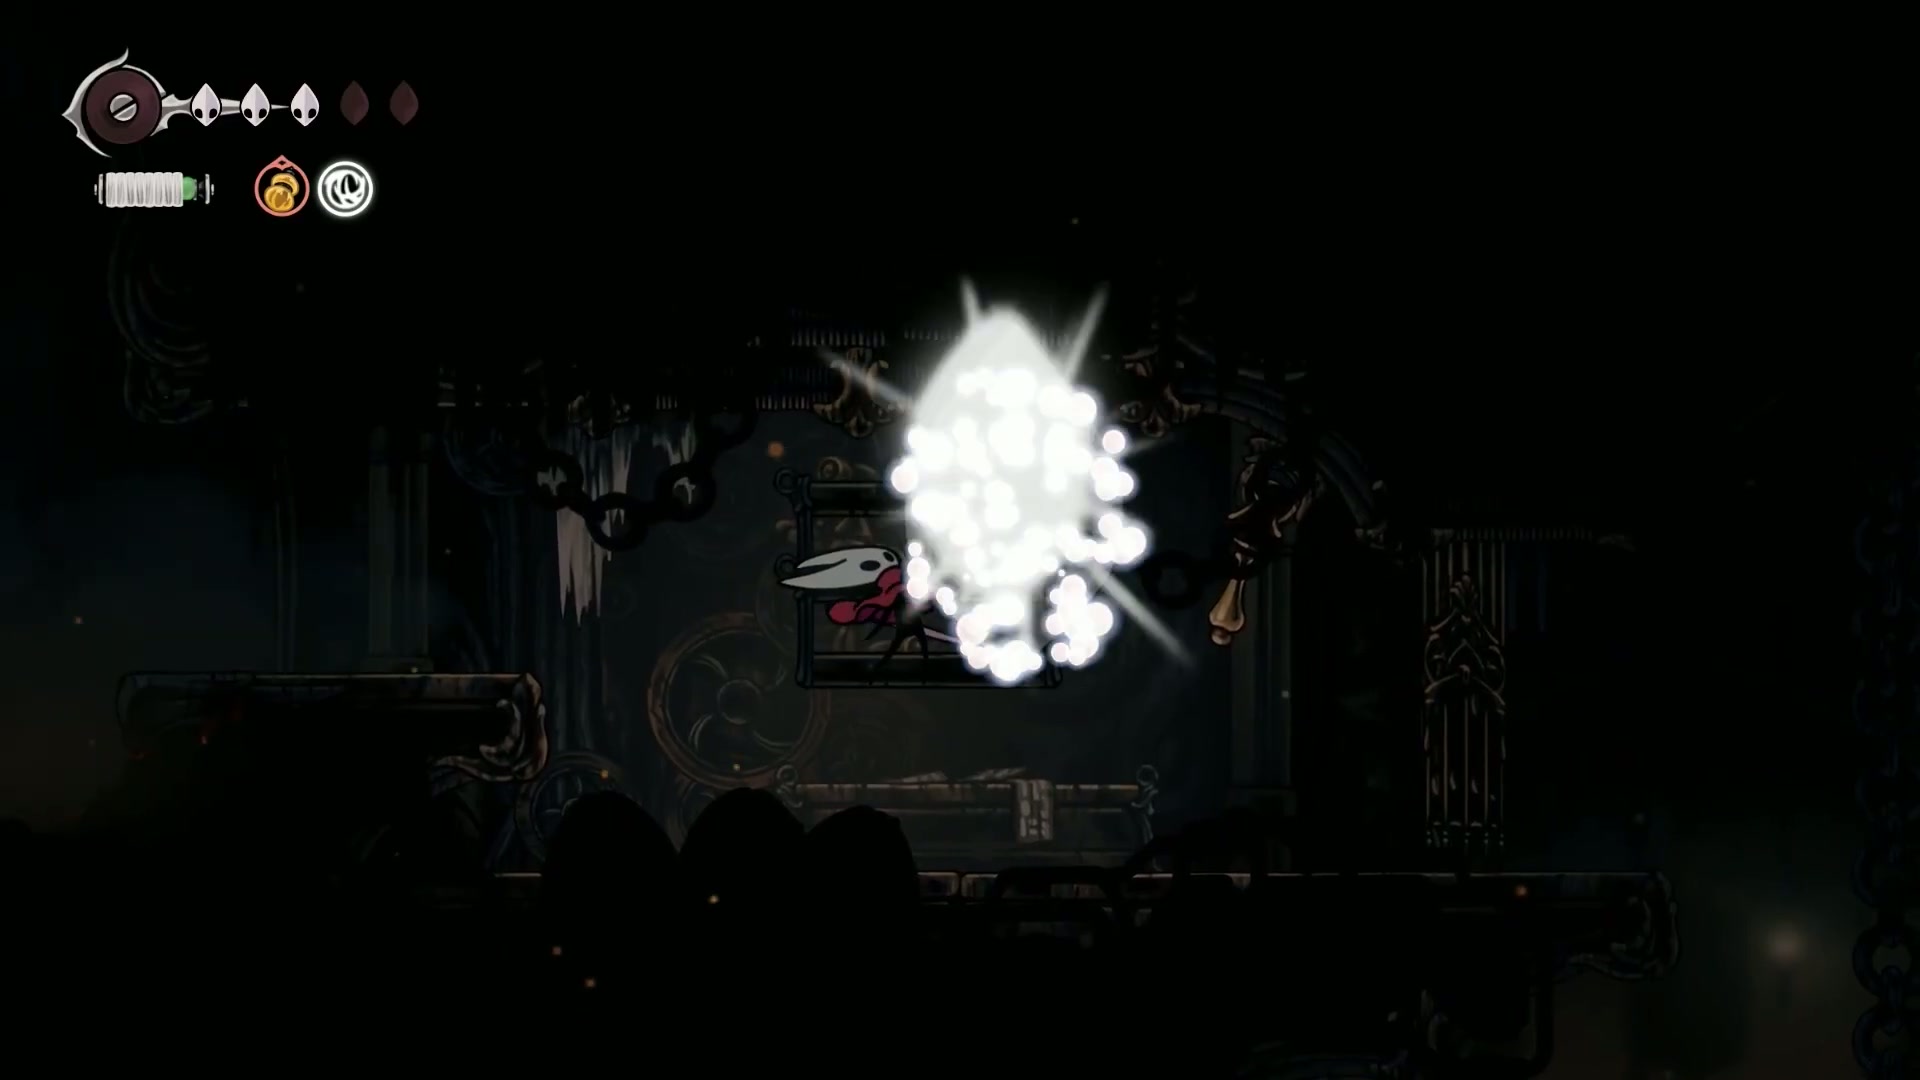
- The Mistake: At the end of the Far Fields gauntlet, there’s a mini-boss in a room with a lever that opens the door. If you open the door, the enemy might escape, potentially bugging out and preventing you from getting its journal entry and the B-Shard drop.
- ✅ Fix: Lure the enemy away from the door and defeat it safely within the room first. Use the upper platforms to cheese the fight by repeatedly pogoing on its head. Only after it’s defeated should you pull the lever.
- 🎯 Silksong Platinum Walkthrough Part 7 Impact: Missing this journal entry could void your 100% completion run.
- ❌ Progressing the Main Story - Segment: [0:28 - 1:24]
- The Mistake: Rushing through the main story and completing the quests in Shellwood and Bellheart before doing this massive cleanup.
- ✅ Fix: As this guide directs, use this chapter to backtrack and complete all available side content, quests, and exploration in the initial areas.
- 💡 Pro Tip: The game is structured in acts. Advancing the act advances the world state. Treat the end of major area questlines as potential points of no return.
✅ Your Silksong Platinum Walkthrough Part 7 Mastery Checklist
🎮 Immediate Actions (Do This Now):
- [x] Accept ALL quests from the Bone Bottom board - Referenced in segment [6:03]
- [x] Purchase the Simple Key from the shop - Referenced in segment [6:32]
- [x] Complete the “Volatile Flint Beetles” quest in The Marrow - Referenced in segment [16:46]
⚡ Short-term Goals (This Chapter):
- [x] Defeat the Terrible Tyrant boss and collect the Crown Fragment - Referenced in segment [23:30]
- [x] Unlock the Needle File tool by finding Xylitol in Wyrmways - Referenced in segment [46:11]
- [x] Conquer both Far Fields obstacle courses - Referenced in segment [64:21]
🏆 Long-term Mastery (For 100% Completion):
- [x] Obtain the “Protected” trophy by collecting four Mask Shards - Referenced in segment [35:17]
- [x] Acquire the B-Shard from the mini-boss in Far Fields - Referenced in segment [67:14]
- [x] Clear all secret paths and unlock all shortcuts in The Marrow, Wyrmways, Deep Docks, and Far Fields - Referenced throughout
🌟 Final Boss: Summary & Next Moves
You survived! This chapter was a marathon of backtracking and tackling some of the game’s most challenging hidden content. By following this guide, you’ve plugged major holes in your map, secured missable items, and perfectly positioned yourself to continue the story without fear of missing anything.
🎯 Key Wins You Just Unlocked:
- 🎮 Total Map Awareness - You’ve unlocked shortcuts and secret paths that connect the entire first act of the game. - Covered in segments [22:10, 40:00, 57:10]
- ⚡ Essential Upgrades - You’ve earned a new health mask, a B-Shard, and a tool for gaining temporary health, making future boss fights much easier. - Detailed in segments [35:17, 46:11, 67:14]
- 🏆 100% Run Secured - You’ve navigated critical points of no return and buggy content, keeping your platinum trophy run safe and sound. - Explained in segments [0:28, 64:52]
🚀 Your Next Quest:
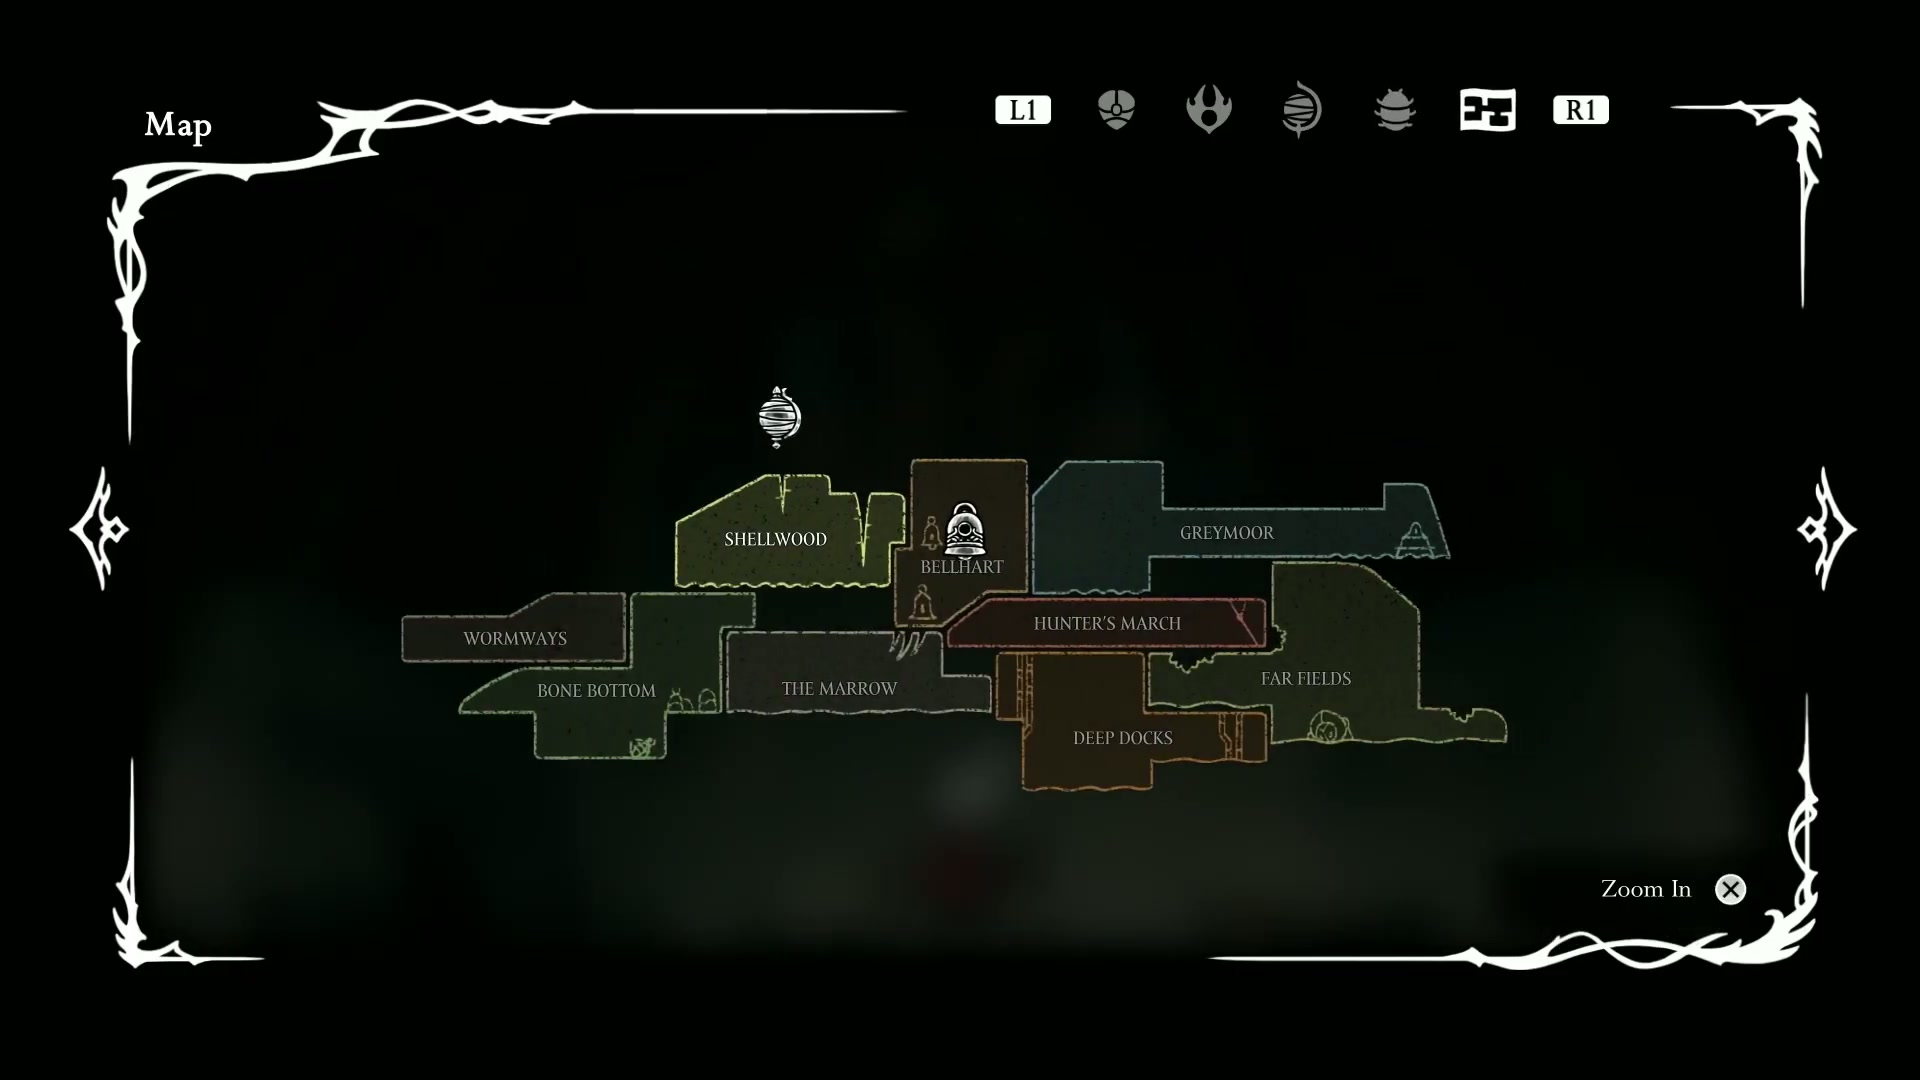
With the lowlands thoroughly cleaned, our next part of this Silksong 100% Completion Guide will take us to the remaining optional areas: the misty Greymoor and the treacherous Hunter’s March. Prepare for more secrets, tough enemies, and another major boss fight.
💬 Join the Gaming Community!
🌟 This Guide Helped You Level Up?
Share the epic knowledge! If this Silksong Platinum Walkthrough Part 7 guide helped you conquer the gauntlet and secure your 100% run, spread the love!
🎮 Share Where Gamers Gather:
- 🎯 Discord Servers - Drop this in your #hollow-knight or #silksong-spoilers channels.
- 🐦 Twitter/X - Tweet about surviving the Far Fields gauntlet and tag your friends.
- 📱 Reddit - Share this guide in r/HollowKnight or r/Silksong to help other players.
🔧 Found a Bug in Our Guide?
Help us patch this content! Spotted any errors or have a better strategy for the Tyrant? Let us know so we can make this the ultimate resource.
🛠️ Submit Feedback - Let’s make this the best Silksong 100% Completion Guide on the web!
🎯 More Epic Gaming Content
Stay tuned for Part 8, where we dive into Greymoor and beyond!
🏷️ Tags: #Silksong #SilksongWalkthrough #SilksongGuide #HollowKnight #SilksongTips #Gaming #100Completion #PlatinumTrophy #GamerLife #ProTips #TeamCherry #Metroidvania