Master Silksong Act 1 with Part 9 of our Platinum Walkthrough! Get 100% completion, conquer Blasted Steps, defeat The Last Judge, and unlock powerful new gear to begin Act 2.
Walkthrough Video
Cheats & Solution
🎮 Silksong - Ultimate Silksong Platinum Walkthrough Part 9 - 100% Completion Guide & Pro Strategies
🔥 What You’re Getting about Silksong Platinum Walkthrough Part 9 - 100% Completion Guide
Welcome back, weavers! This is a massive part of our journey. Today, we’re wrapping up Act 1 and stepping into the unknown. This guide breaks down the critical path forward, ensuring you miss nothing on your way to that shiny platinum trophy.
• 🎯 Master the Main Path - Learn the primary route to Act 2 and why it’s crucial for the story in this Silksong Platinum Walkthrough Part 9.
• ⚡ Complete All Act 1 Wishes - We’re cleaning up every last side quest in Bellheart and Bone Bottom for that sweet 100% completion.
• 🚀 Defeat the Final Act 1 Boss - Get the ultimate loadout and strategy to crush The Last Judge and officially enter Act 2.
• 💪 Unlock Powerful New Gear - Discover a game-changing charged attack and a lucky tool that can save you in a pinch.
⏰ Time Investment: 25 minutes to read, a lifetime of Silksong mastery.
📖 The Complete Breakdown
🎮 Section 1: The Path to Act 2 - Blasted Steps Fundamentals
Based on segments 0:00 - 9:38 from the original content
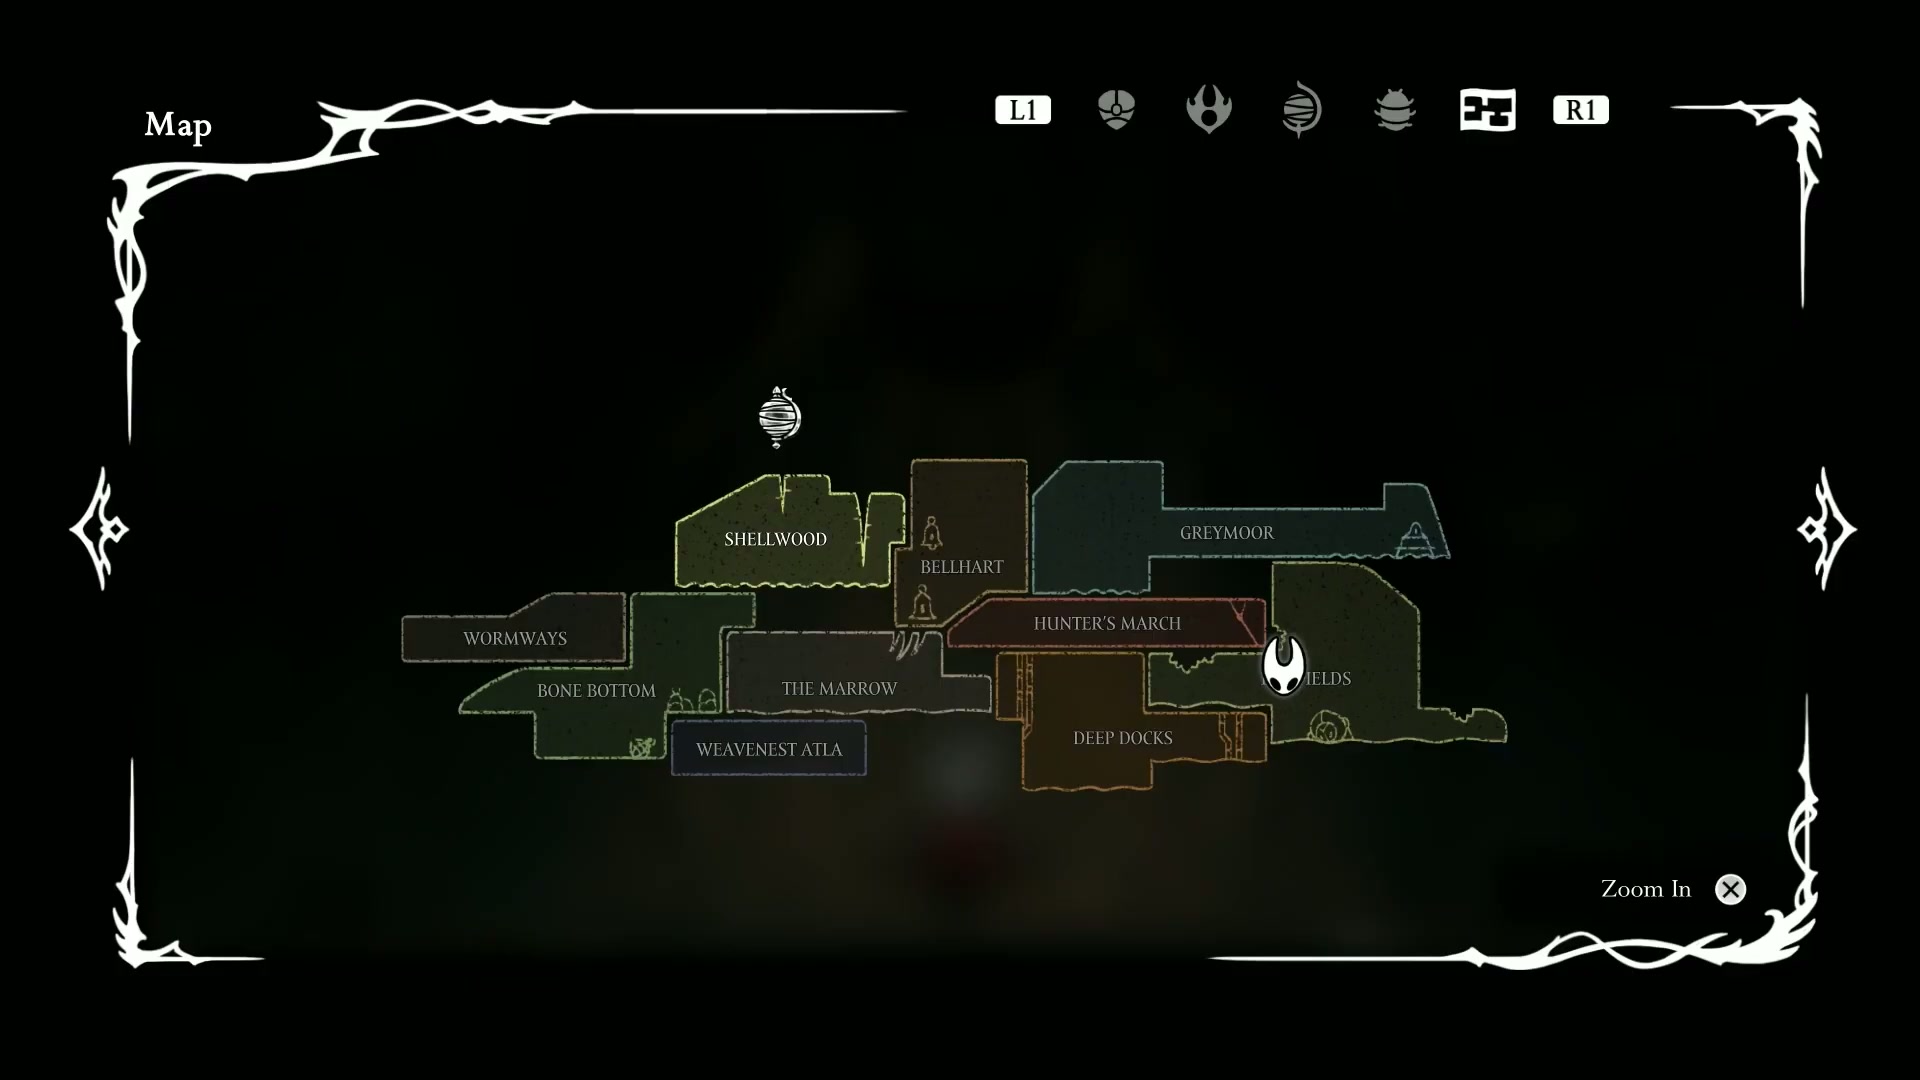
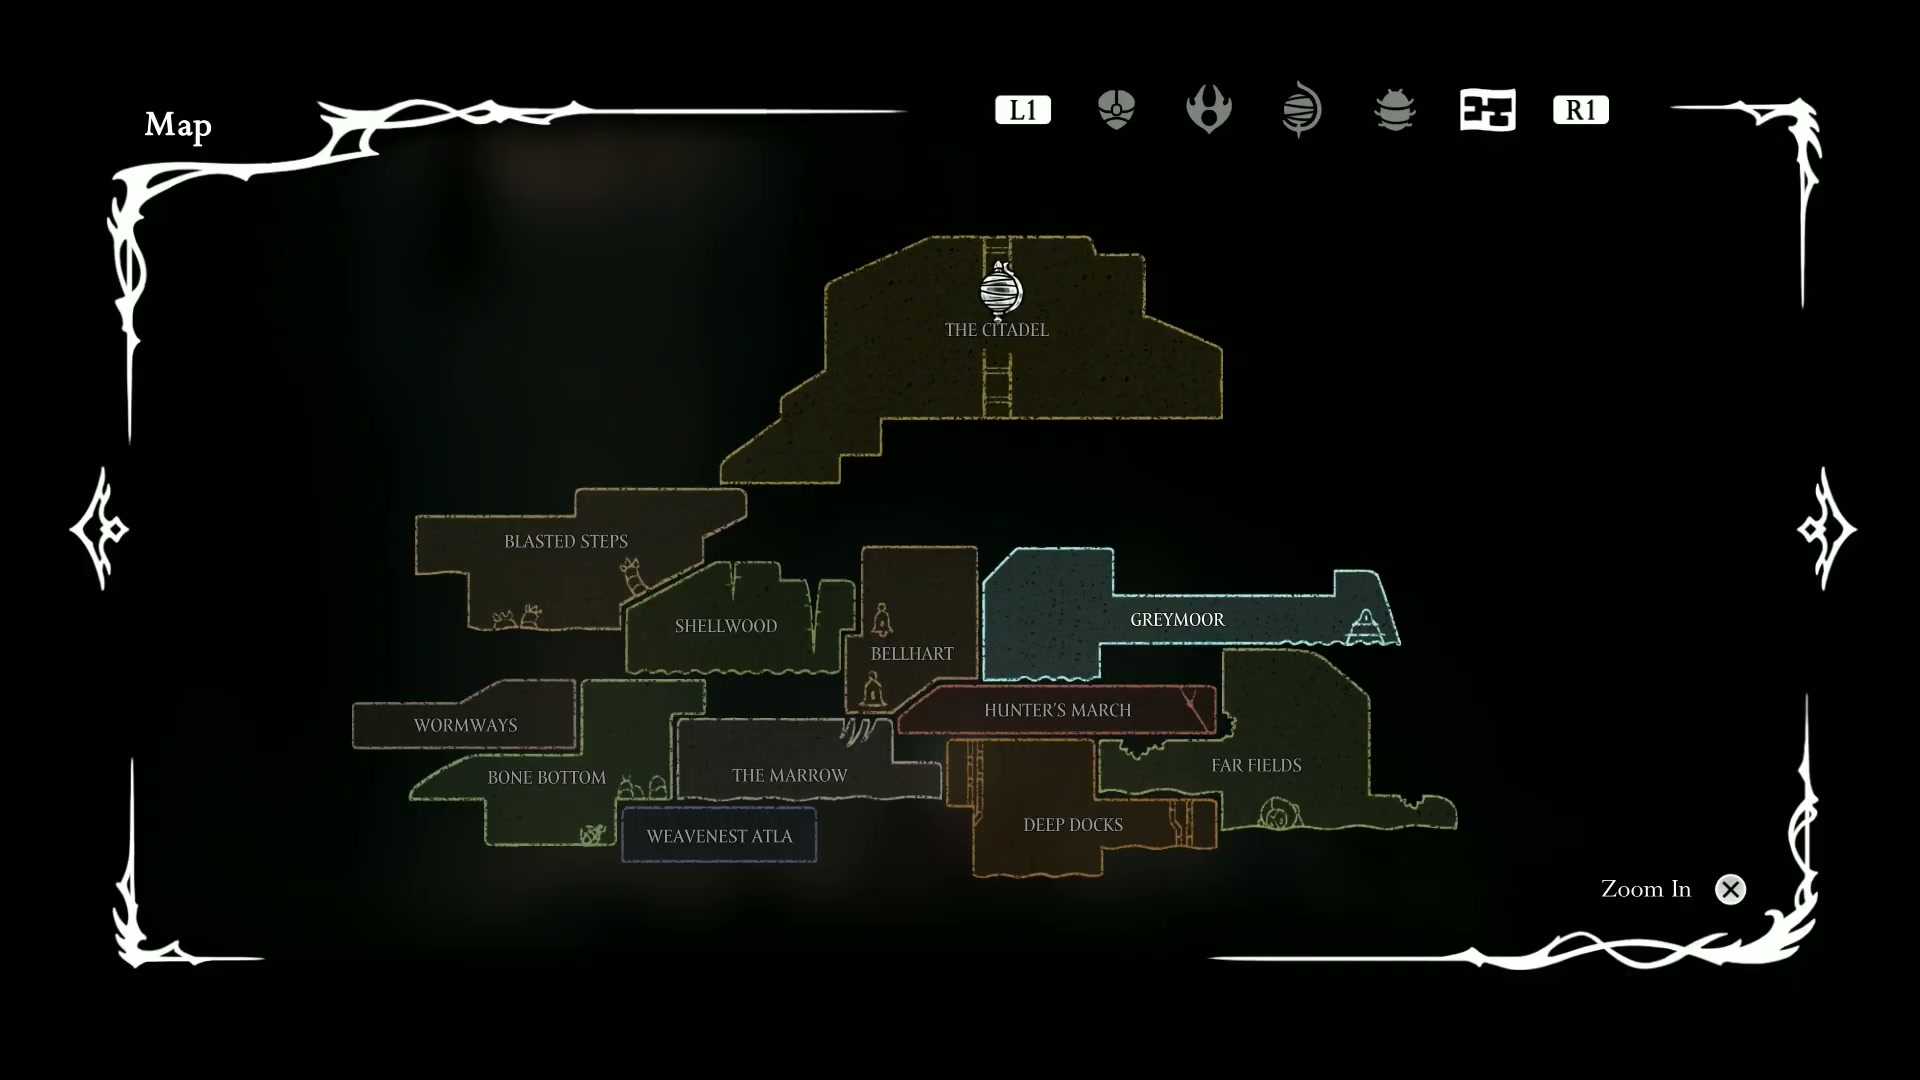
Alright, let’s get this straight: there are two ways to get to Act 2. The main story path, which we’re taking, goes from Shellwood to the Blasted Steps. The alternative route is a backdoor through Greymoor and Sinner’s Road. Don’t sweat it—we need to do both for the 100% completion, and we’ll open a fast travel point later to come back for the other path.
Before we leave, the only things you absolutely must do are the wishes in Bellheart and Bone Bottom. Everything else, like shop items and NPCs, will wait for you.
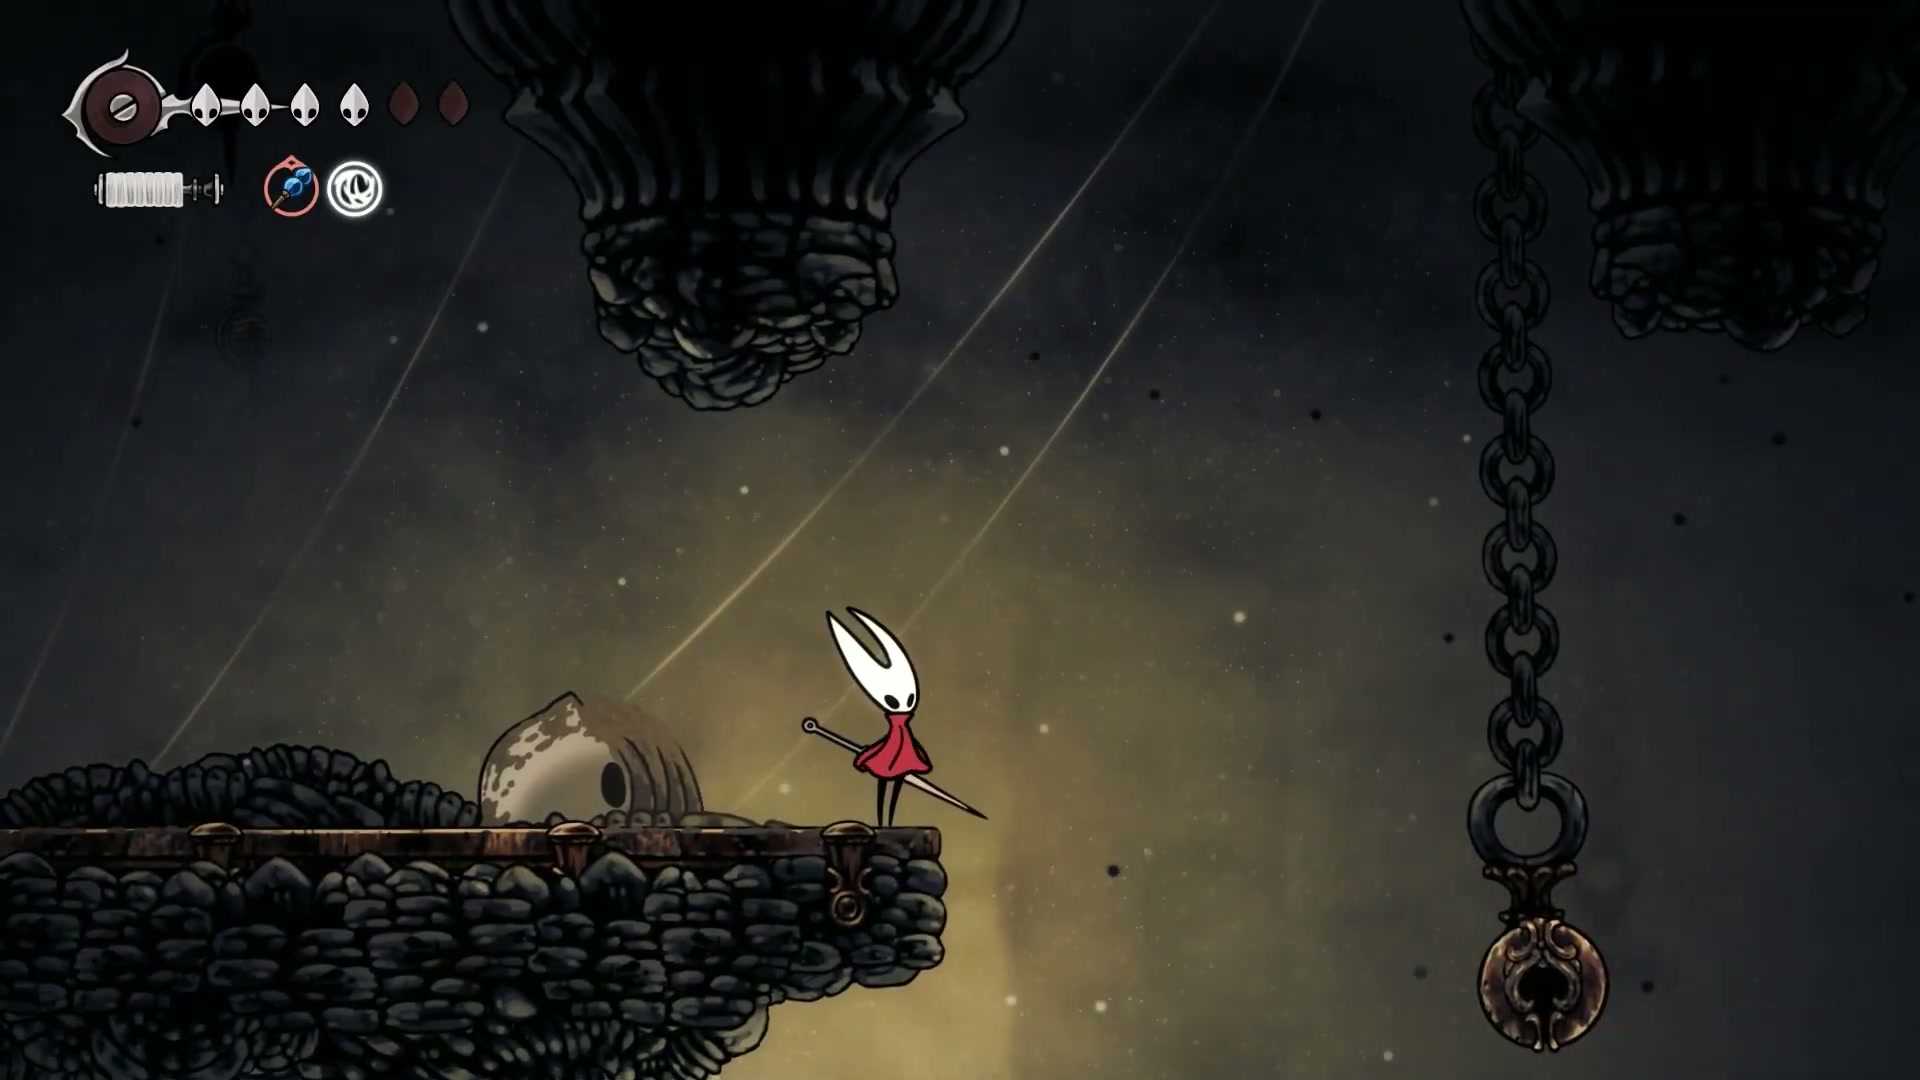
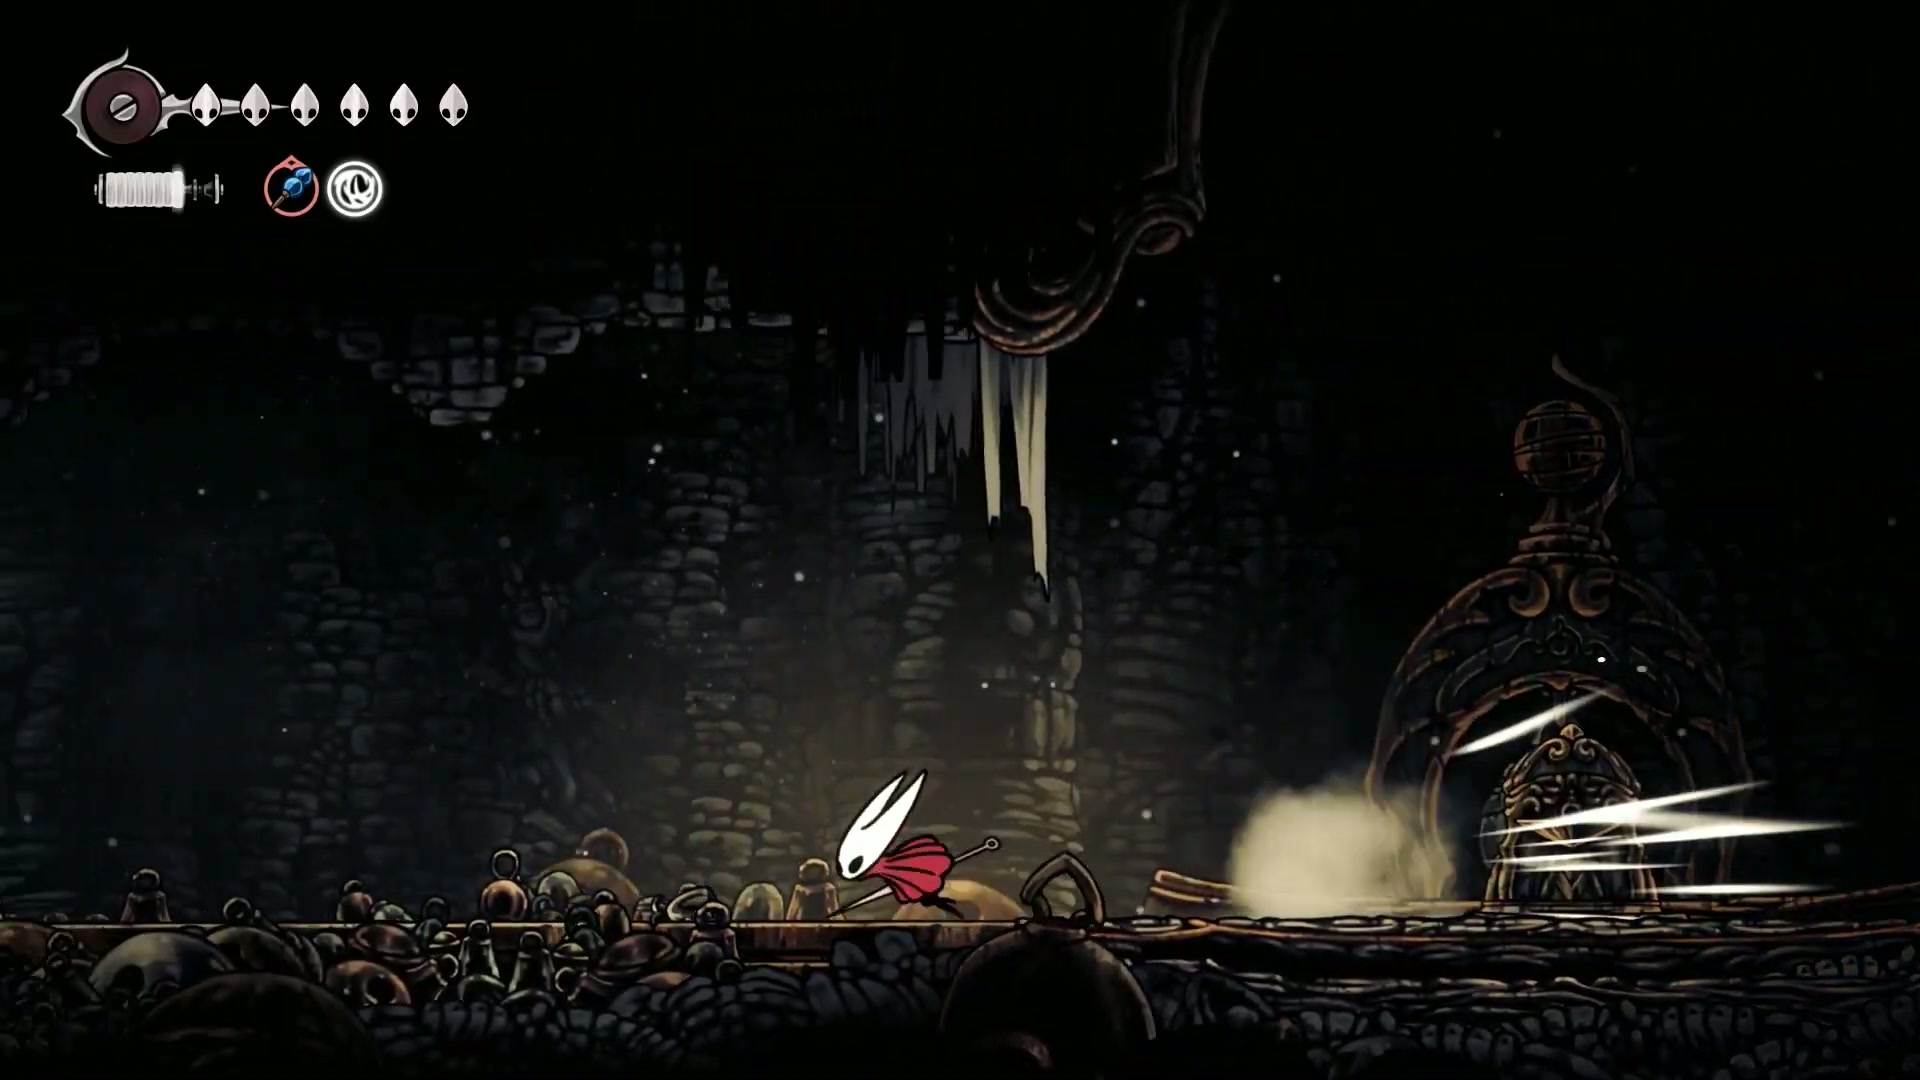
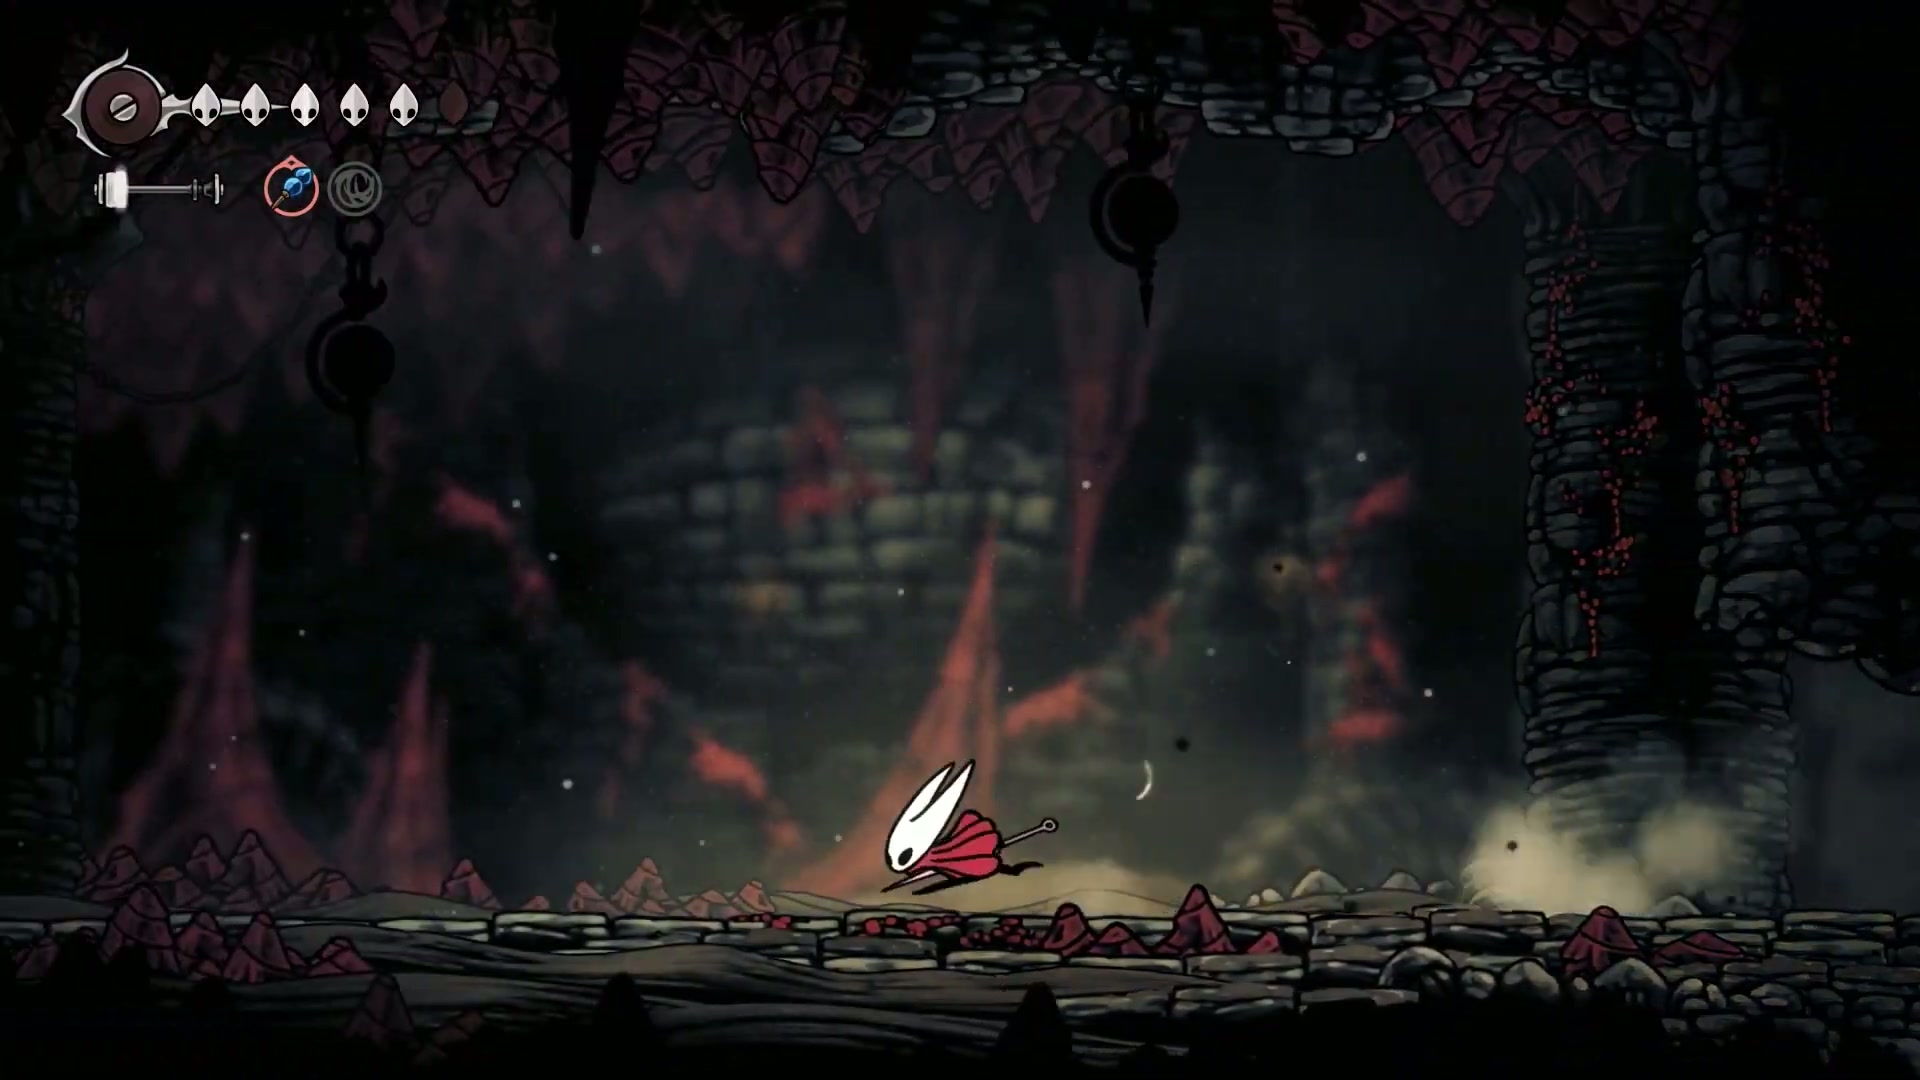
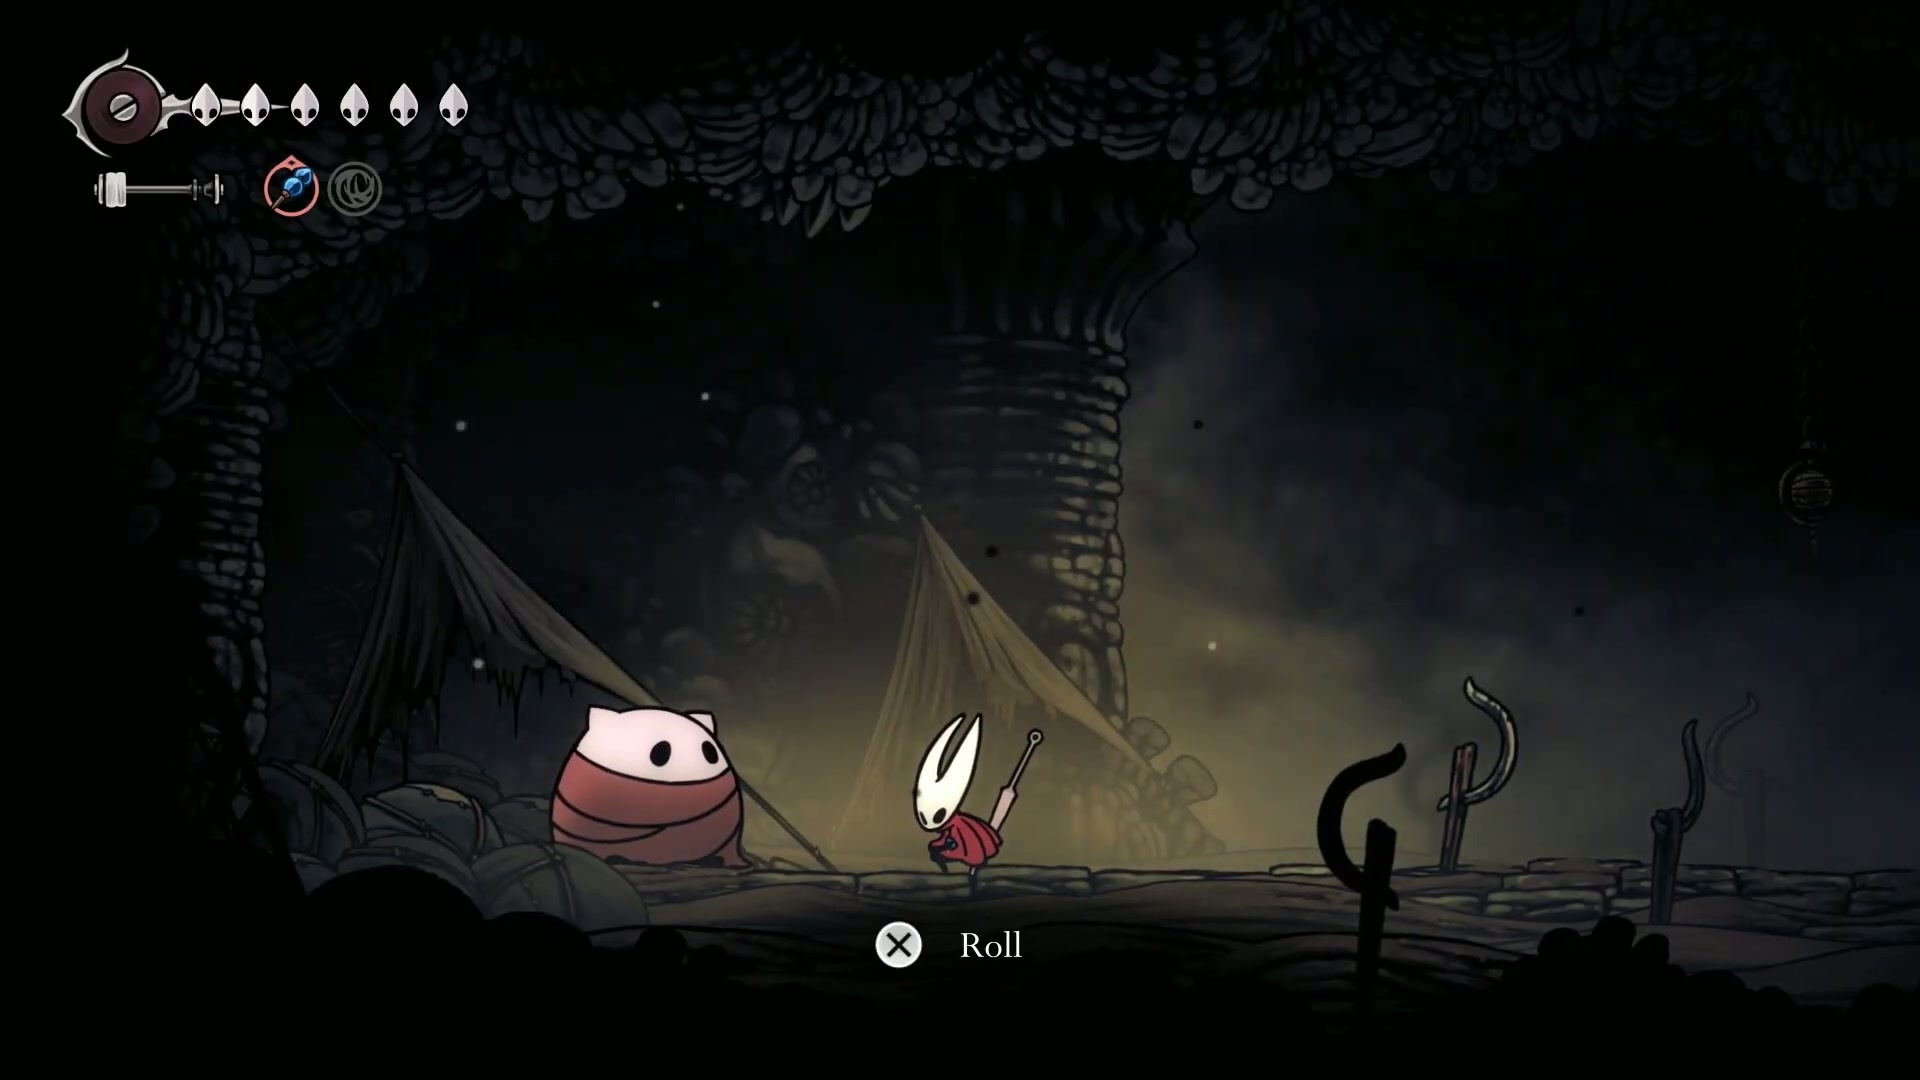
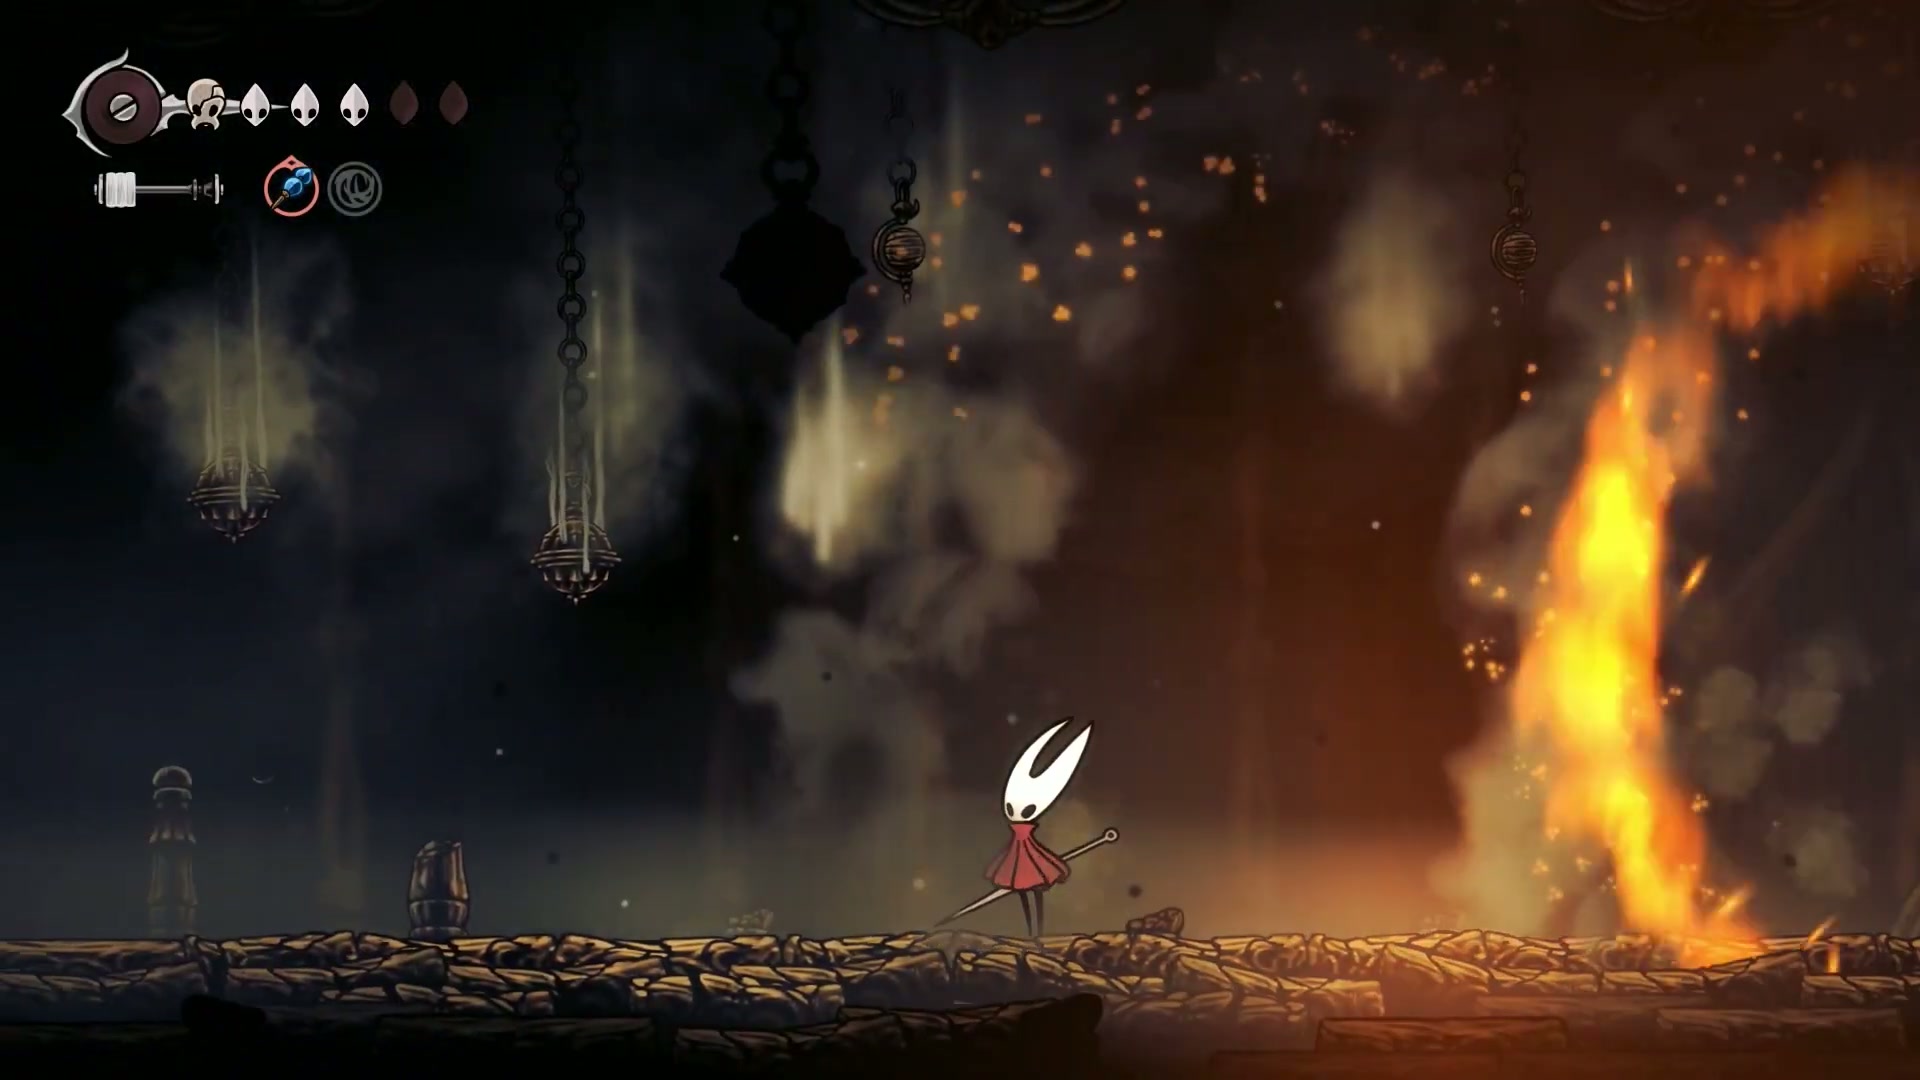
Our first stop is Shellwood, as we begin the trek into the Blasted Steps, a treacherous area defined by its punishing environment.
🔥 Key Takeaways:
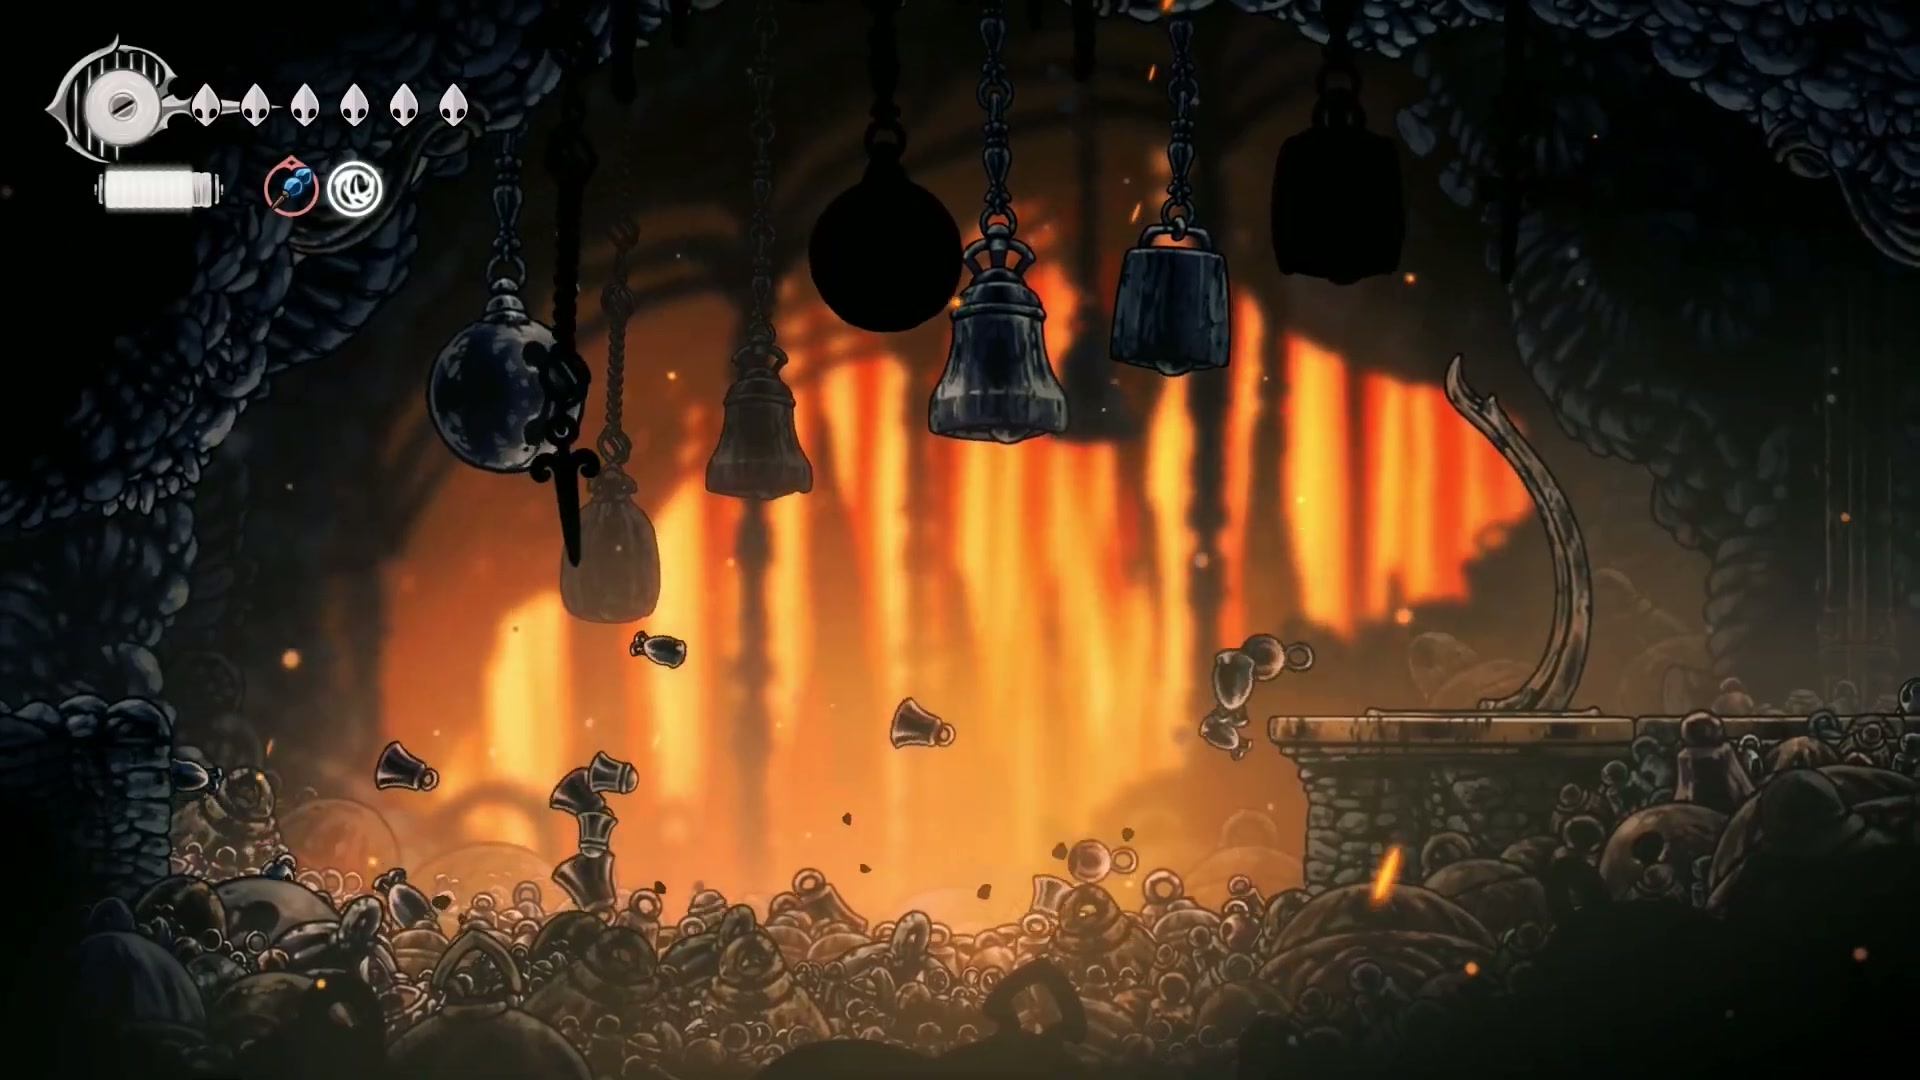
- 💡 The Blasted Steps are full of lethal sand that will chew through your health.
- ⚡ A powerful wind kicks in every 30 seconds or so, which can shove you into danger if you’re mid-air.
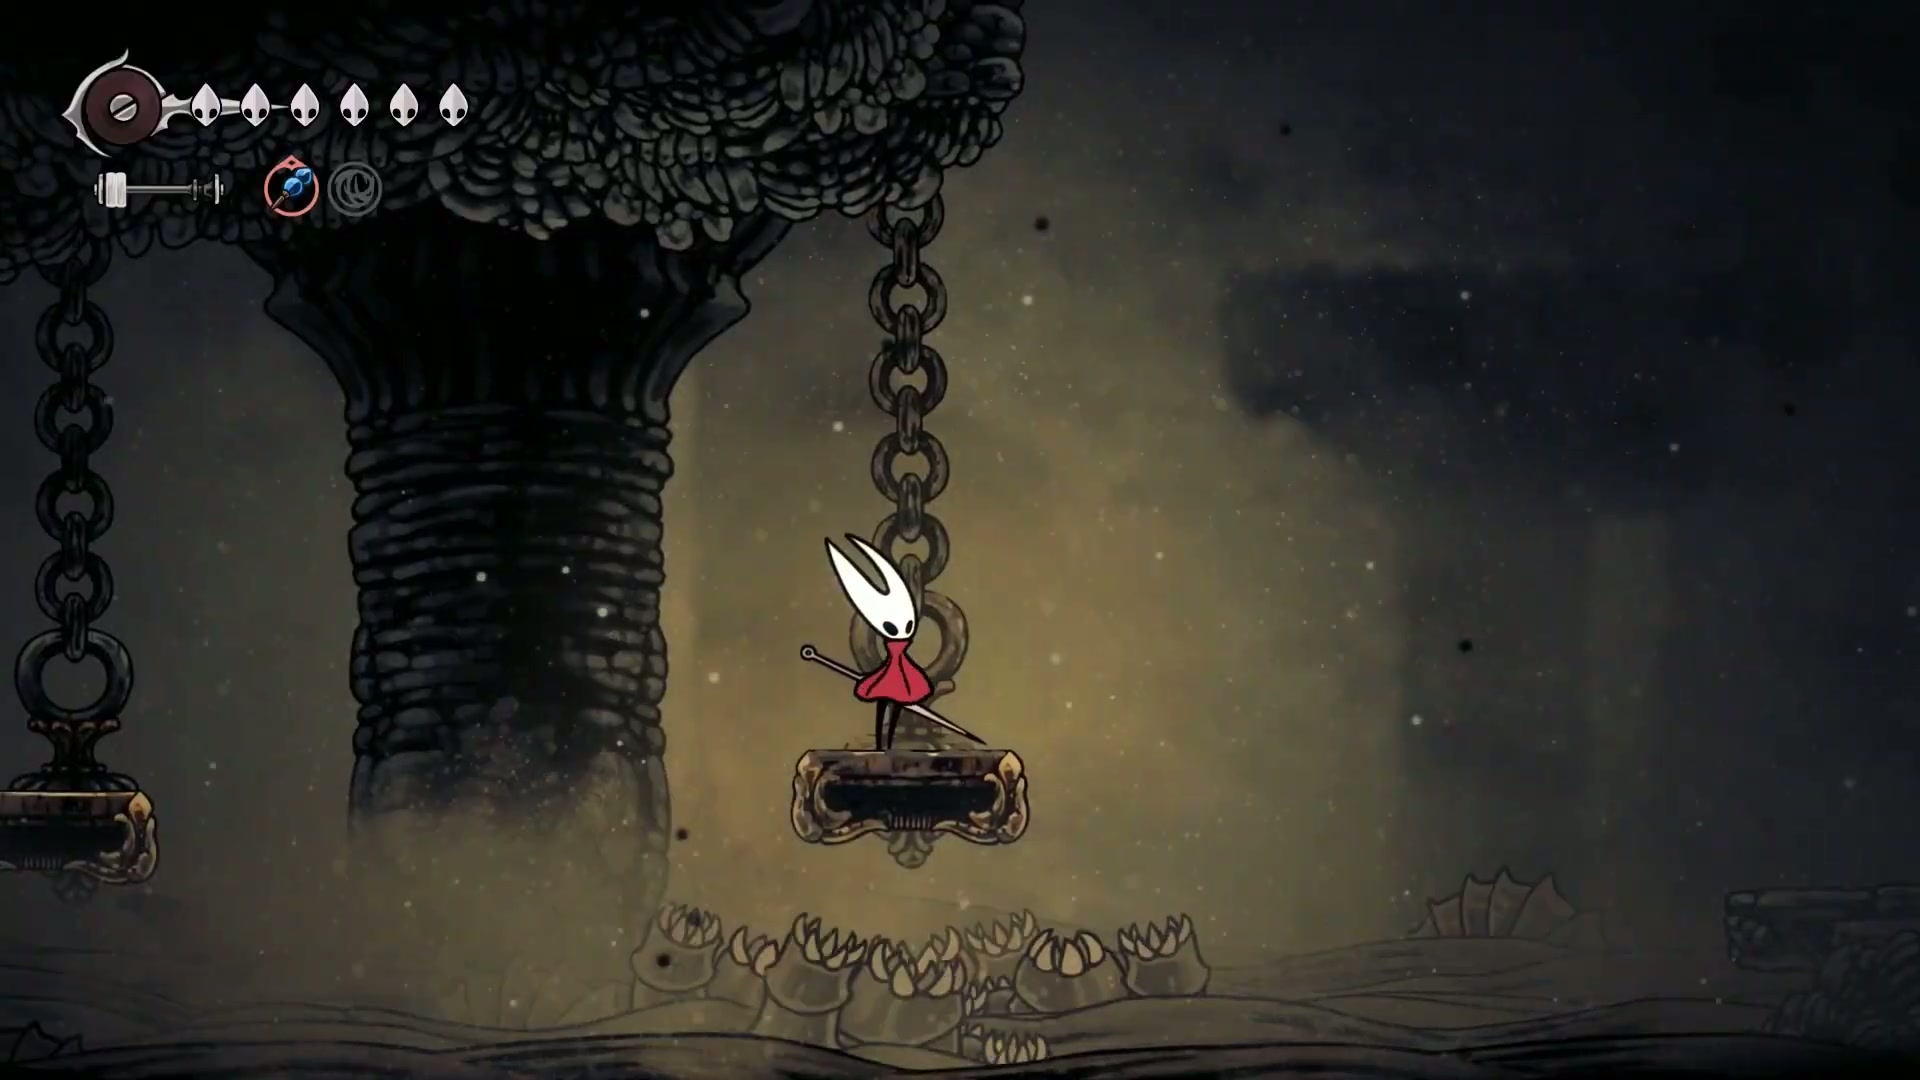
- 🎯 Use the bouncy bells to pogo across gaps, but be warned: they’re not as springy as the flowers or balloons you’re used to.
💬 Community Quote:
“Good judgment comes from a lot of experience and a lot of experience comes from a lot of bad judgment.” (from 01:35)
🎮 Step-by-Step Navigation:
-
Enter the Blasted Steps - From Shellwood, head up and across into the new area. You’ll immediately face the lethal sand and wind mechanics. Time your jumps between wind gusts.
-
Activate the Shortcut - After fighting a few new enemies and navigating the bell platforms, drop down to the left and hit a lever. This opens a critical shortcut, letting you skip the initial platforming gauntlet on future runs.

-
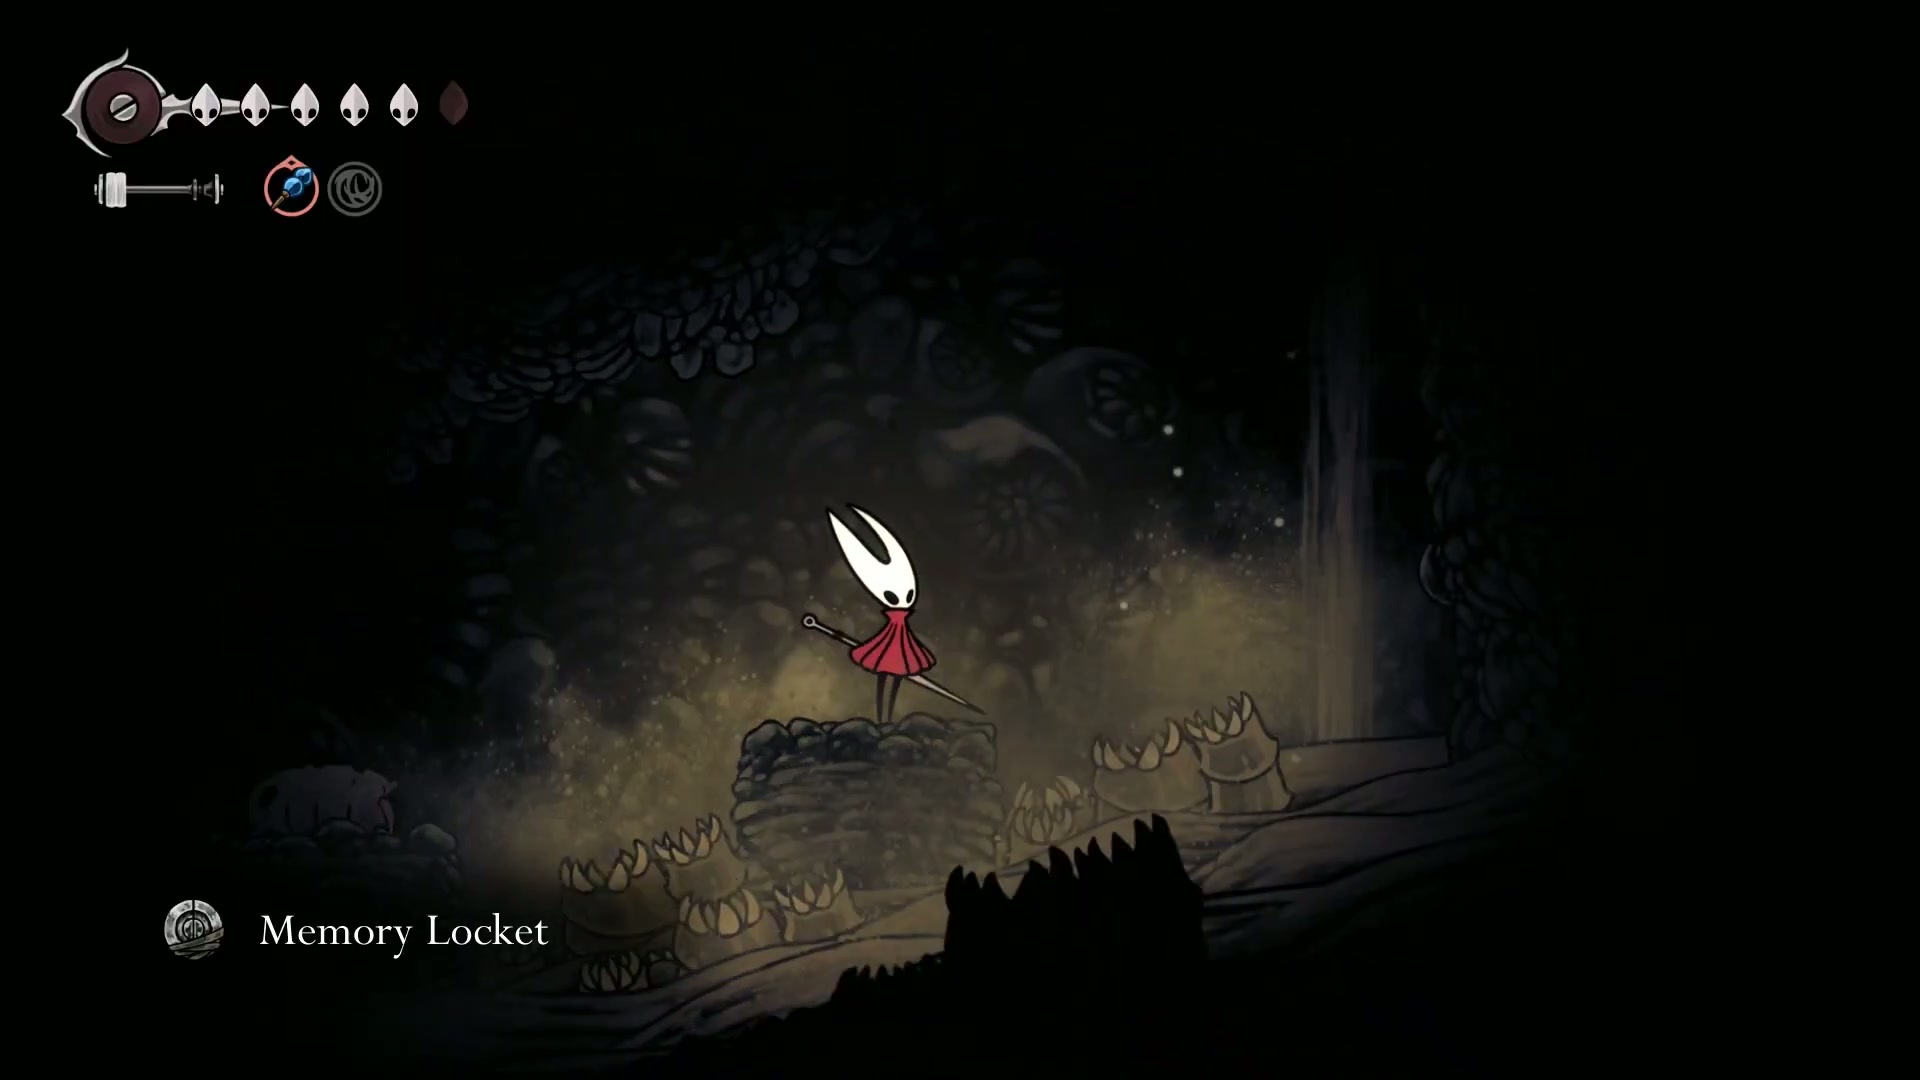
Find the Hidden Memory Locket - From the shortcut, drop down onto a hidden platform to the left to find a Memory Locket. Collecting all of these is mandatory for a trophy tied to the NPC Eva, so don’t miss it!
⚡ Section 2: Essential Collectibles & A Nasty Miniboss
Covering segments 9:38 - 19:42 insights
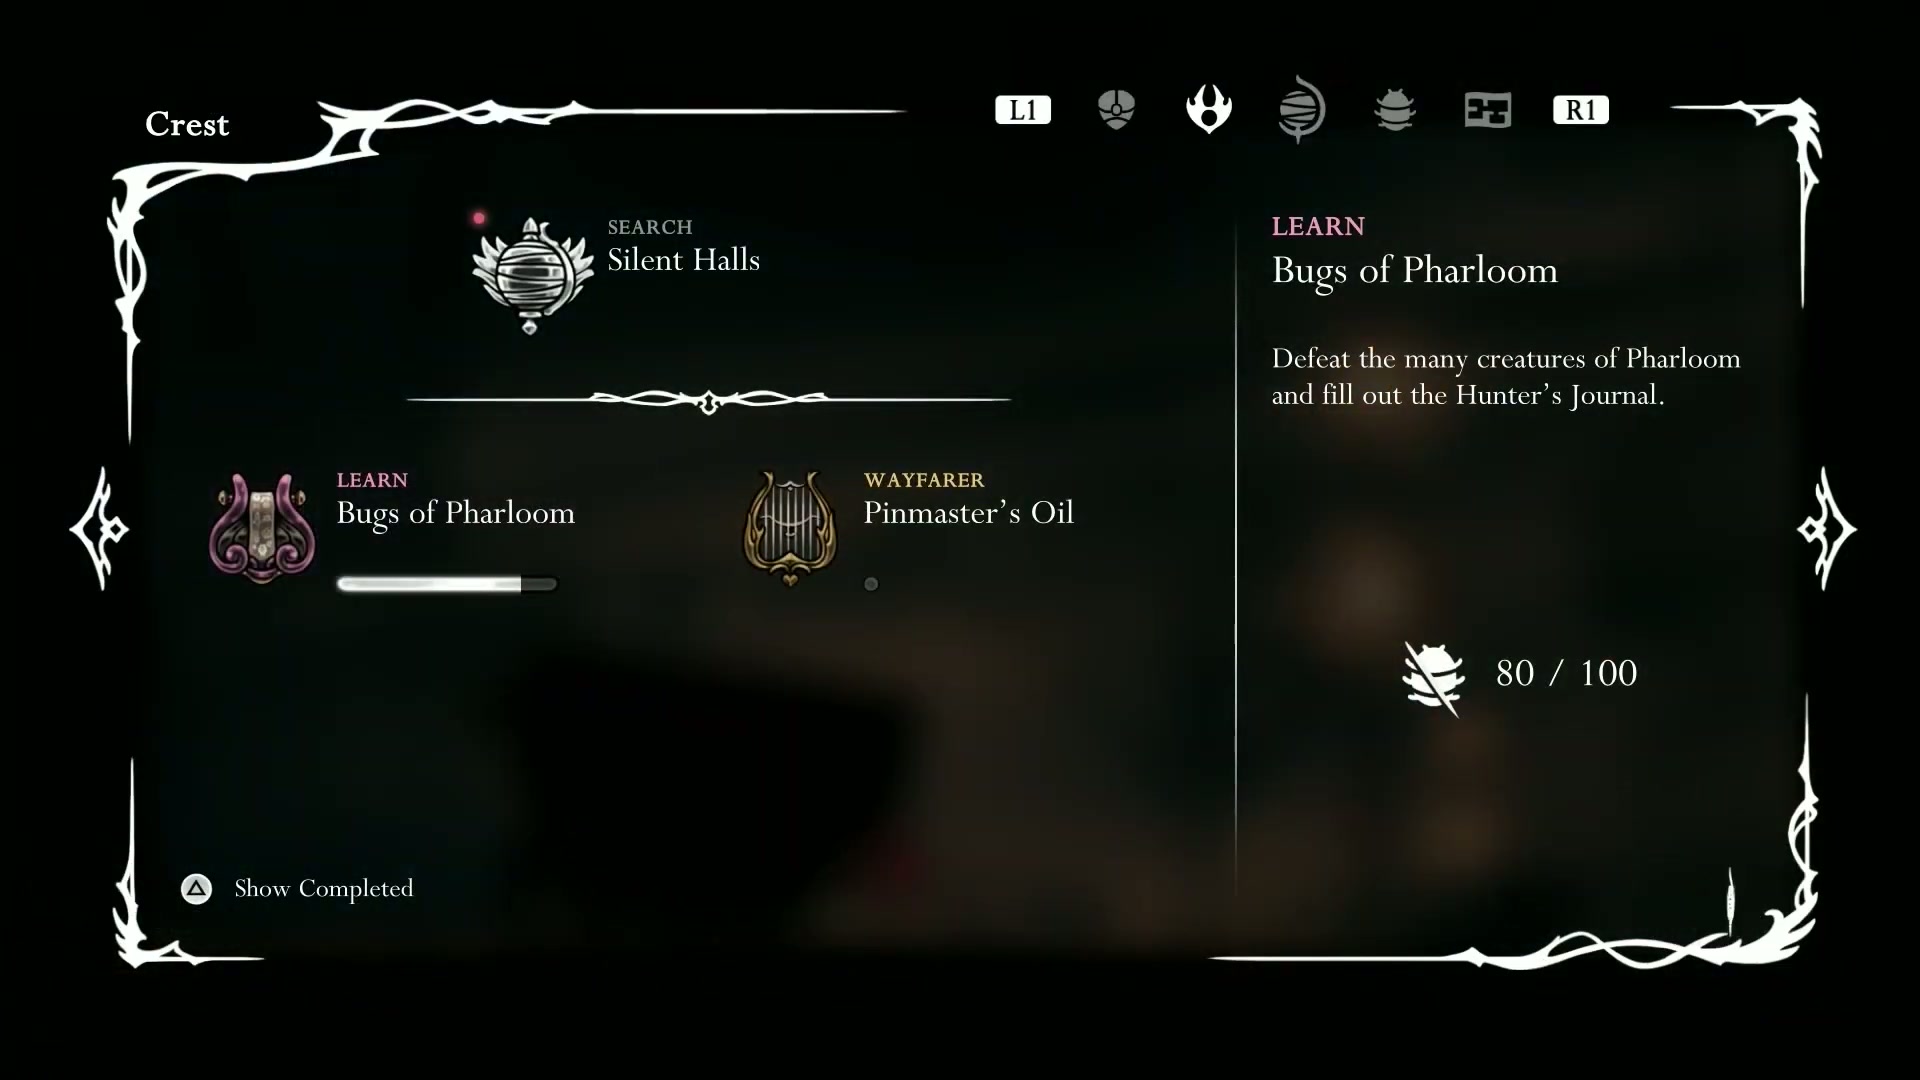
As you push deeper, you’ll encounter some of the most annoying enemies yet: the Drizznits. These things have aimbots, I swear. Prioritize getting their journal entries. You’ll also find the mapmaker, so be ready to spend 70 beads to buy the area map.
After more brutal platforming, you’ll find another important collectible: a Silk Eater hidden inside a large cocoon. From there, make your way up to a new safe zone.
🚀 Pro Player Moves:
-
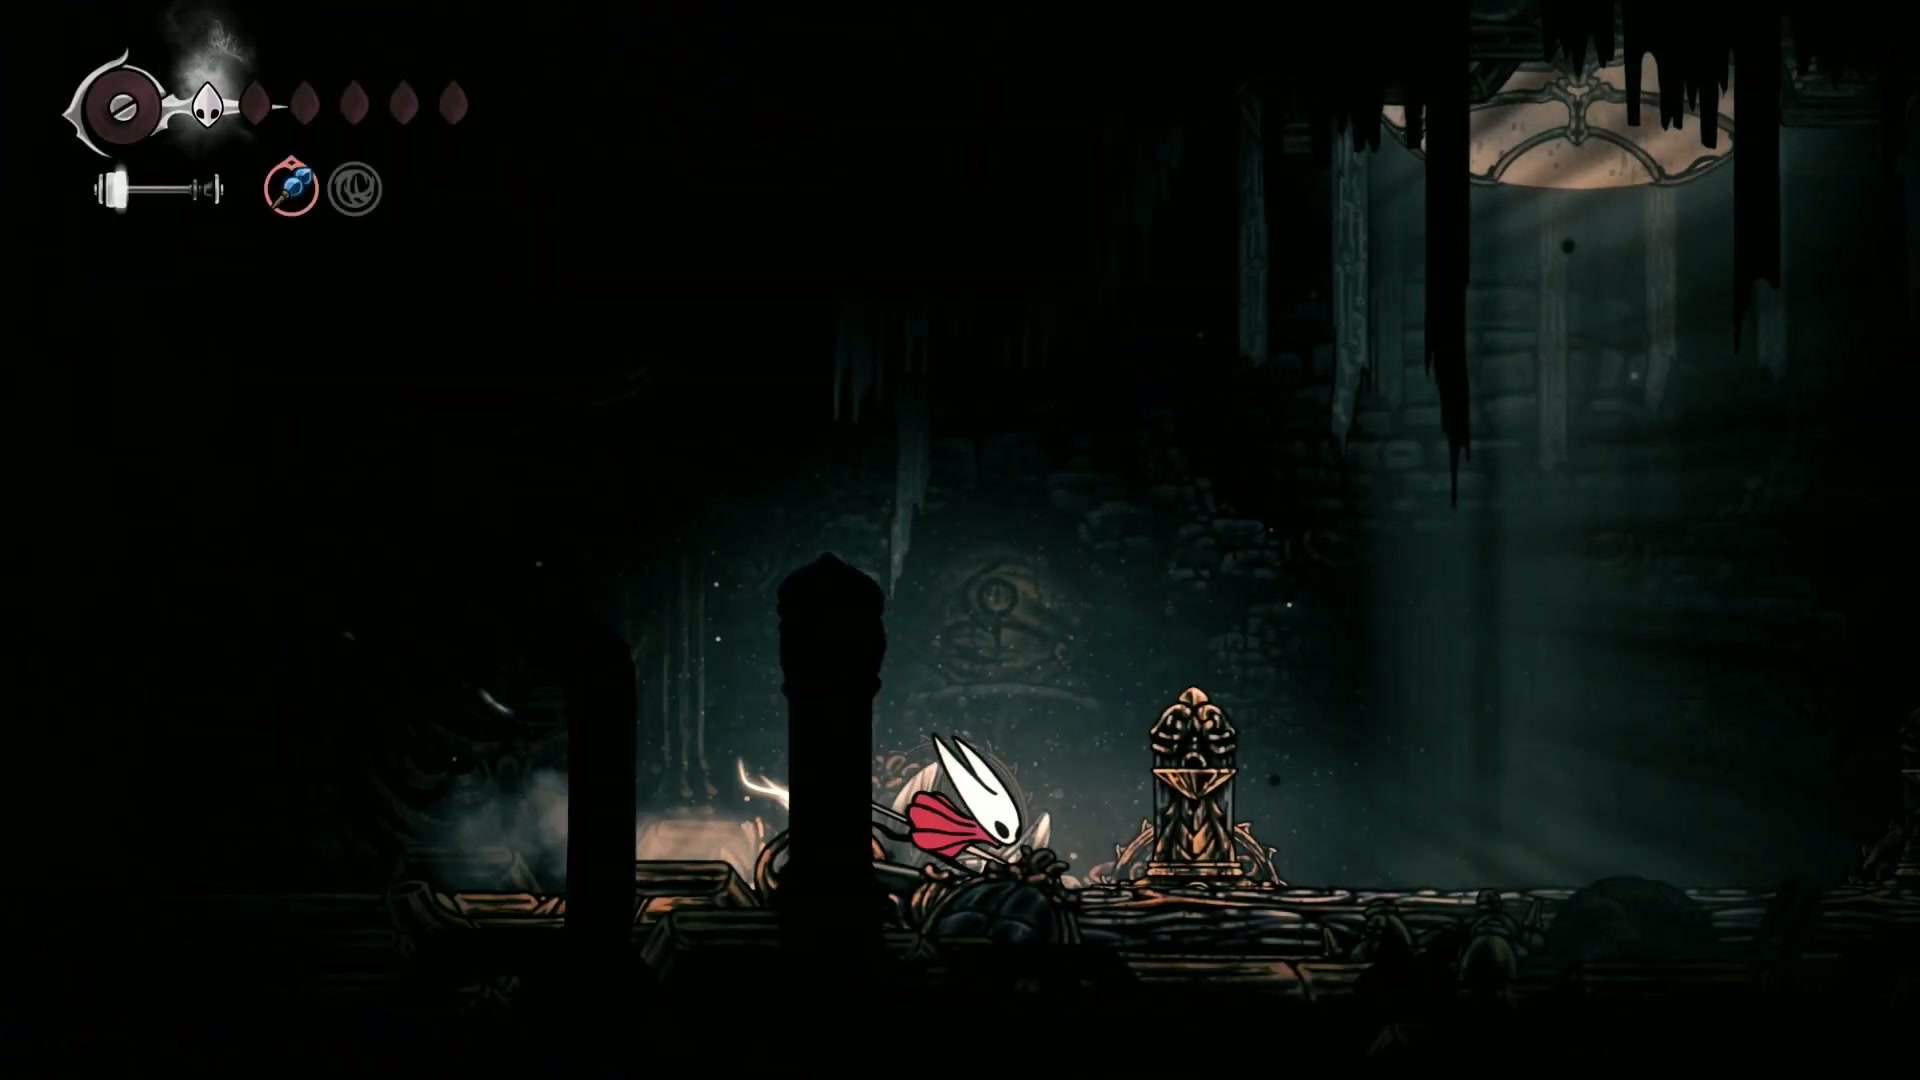
🎯 Activate the Bellway: You’ll find a new Bellway and a bench. Prioritize buying the Bellway first if you’re low on beads; it’s your only ticket out of here. This is the second-to-last one needed for the trophy!
-
💪 Defeat the Duo Miniboss: A side path leads to a fight against two large drill-worms. You only need to kill one to win. The trick is to focus on whichever one ends its charge pattern stuck against the left or right wall, giving you a massive window to deal damage.
-
🔥 Progress Sherma’s Quest: After beating the miniboss and reloading the area (by leaving and returning), the NPC Sherma will appear near the bench. Exhaust her dialogue to progress her storyline.
💥 Section 3: New Powers & Pre-Boss Cleanup
Deep dive into segments 19:42 - 55:33 content
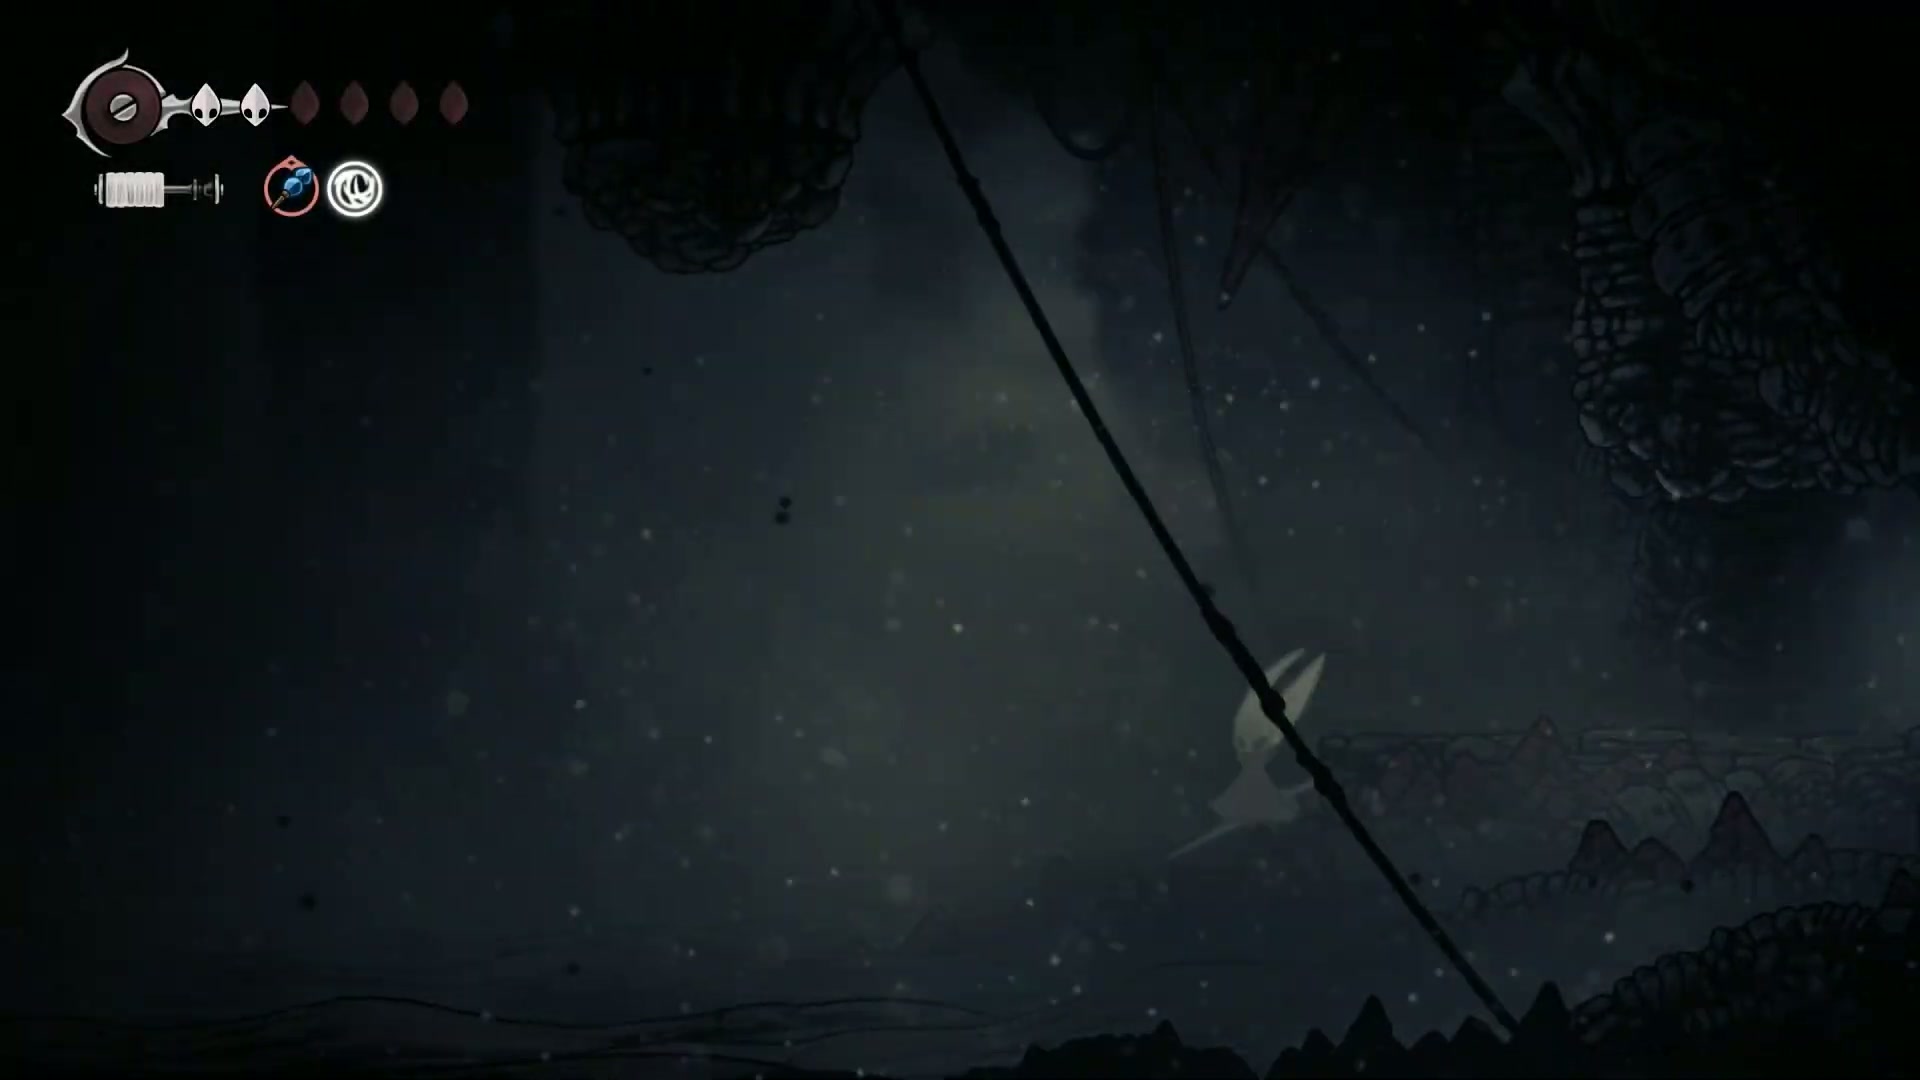
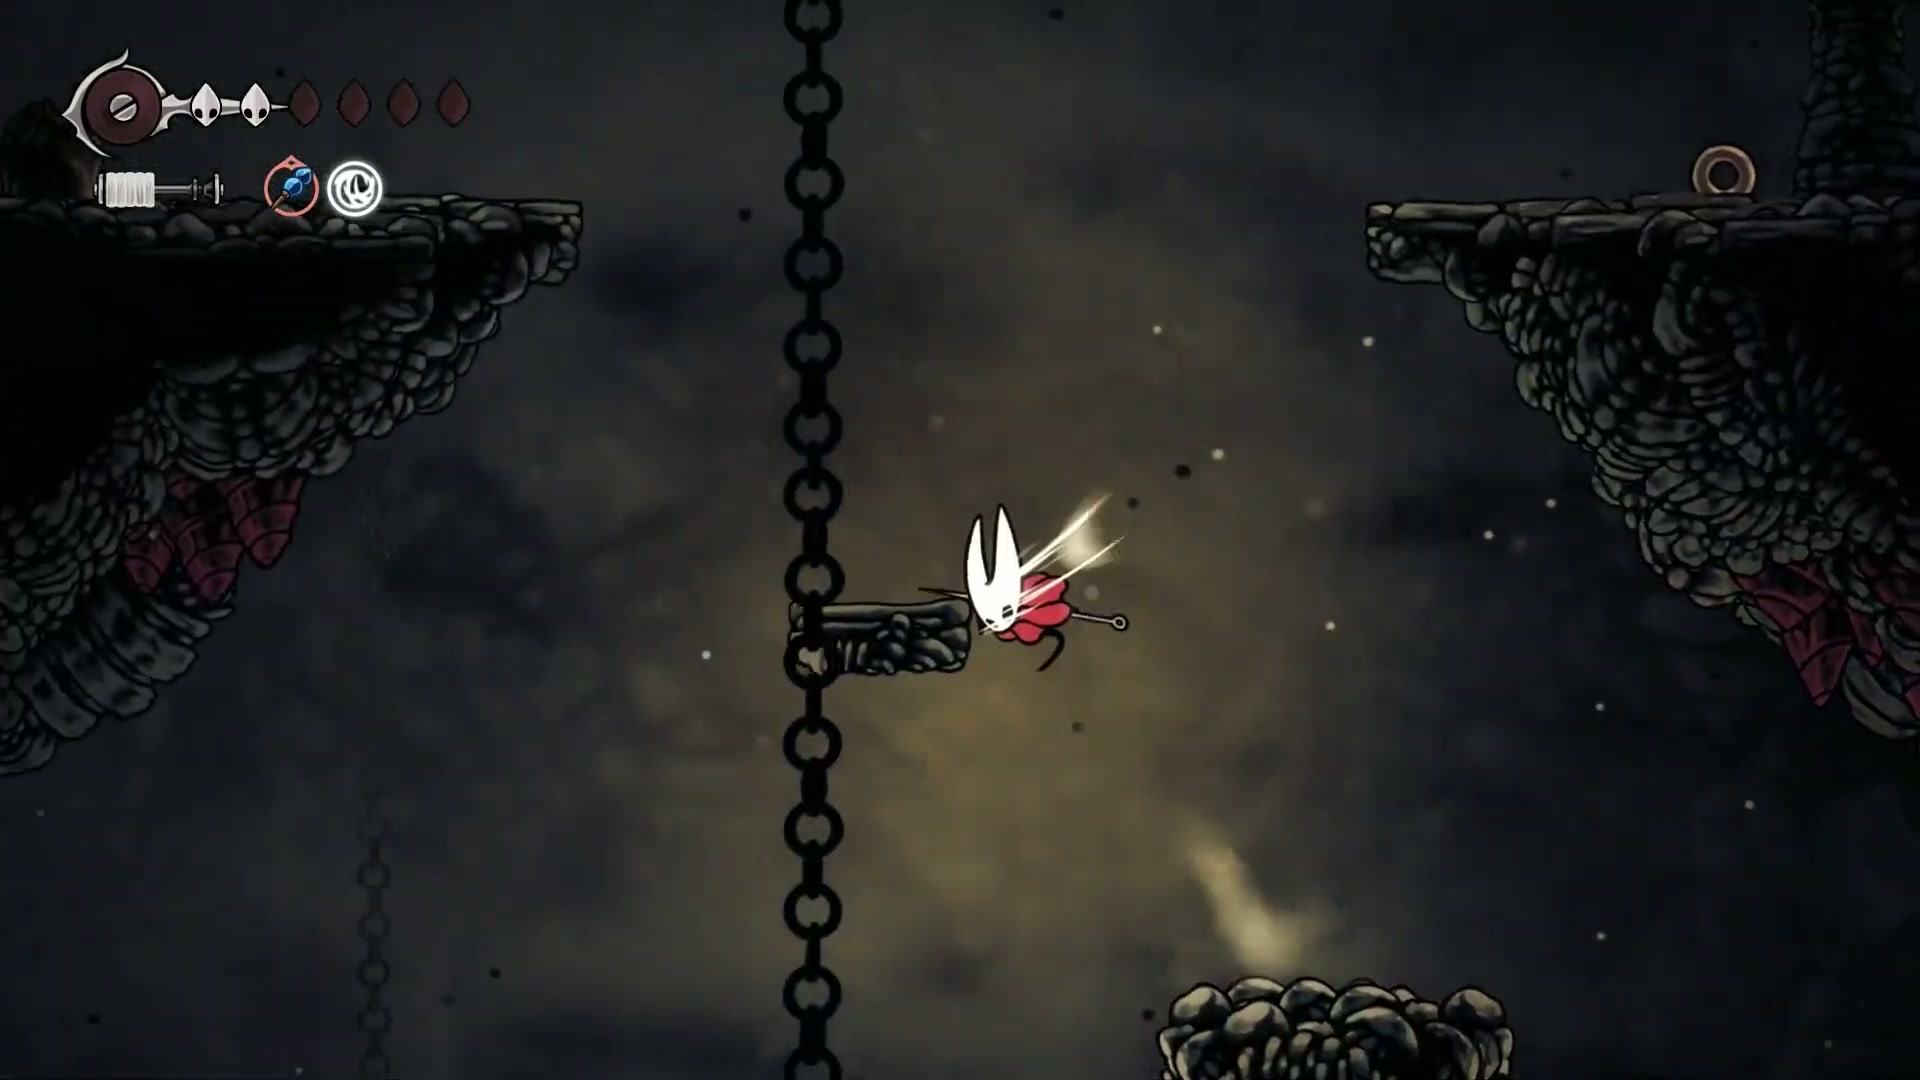
Get ready for one of the most rage-inducing platforming sections in Act 1. It requires perfectly timed running jumps across tiny platforms, all while the wind tries to ruin your day. Once you clear it, your reward is a new ability and a powerful tool.
🏆 Boss-Level Execution:
-
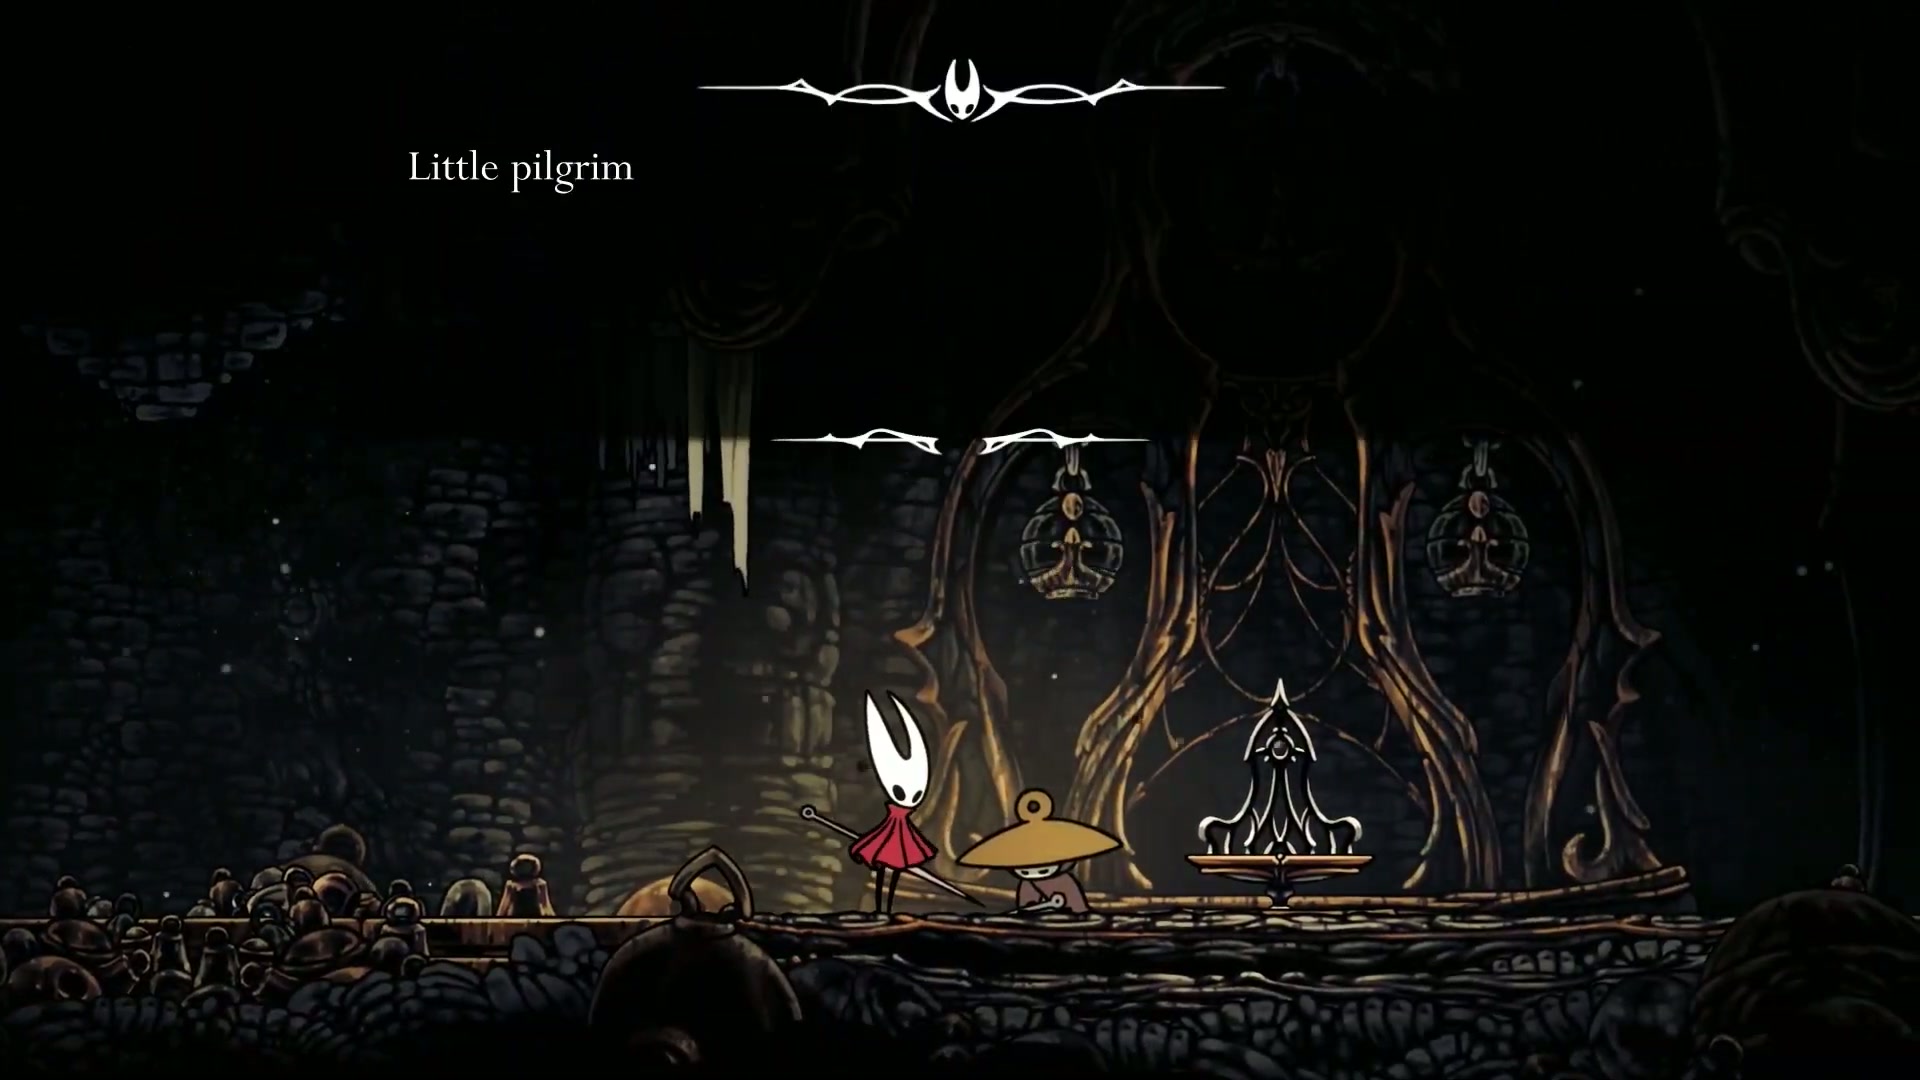
Learn Needle Strike: Find the tent of The Pinstress. She will teach you the Needle Strike, a powerful charged attack that will be clutch for upcoming boss fights.

-
Win the Magnetite Dice: You’ll meet Lumble the Lucky, an NPC who challenges you to a dice game. You must beat him 10 times.
- The Trick: He’s not just lucky; the game is timed! For a perfect roll, count to 12 with a “one-two-three” rhythm as Hornet shakes the dice, then throw. Once you get the timing down, you can win every time.
- The Reward: Winning 10 games gets you the Magnetite Dice, a tool that gives you a chance to ignore incoming damage—a free hit!
-
Complete All Wishes: Before fighting the final boss, we backtrack to complete all remaining wishes for 100% completion and the secret ending. This includes:
- Farming 25 Ragpelts in Greymoor.
- Donating 250 beads for the Restoration of Bellheart.
- Finding 8 Silver Bells in the Bellheart tunnels.
- Finding the Missing Courier.
🧠 Master-Tier Strategies & Pro Tips
🎯 Elite Silksong Platinum Walkthrough Part 9 - 100% Completion Guide Techniques
[Segment Reference: 55:33 - 1:04:13]
This is it—the final boss of Act 1. The runback is diabolical, but the fight itself is a rhythm game. Here is the ultimate loadout and strategy.
🔥 Final Boss Loadout:
- Tools: Fractured Mask (for a chance at an extra life), silk-generating tools, Magnetite Dice (for a chance at a free hit), and Weighted Anklets.
- Crest: Wanderer Crest (for rapid attacks).
- Ability: Threadstorm.
🔥 Advanced Technique Breakdown: Beating The Last Judge
-
Phase 1: The Rhythm - Segment: 1:11:15 - 1:12:04
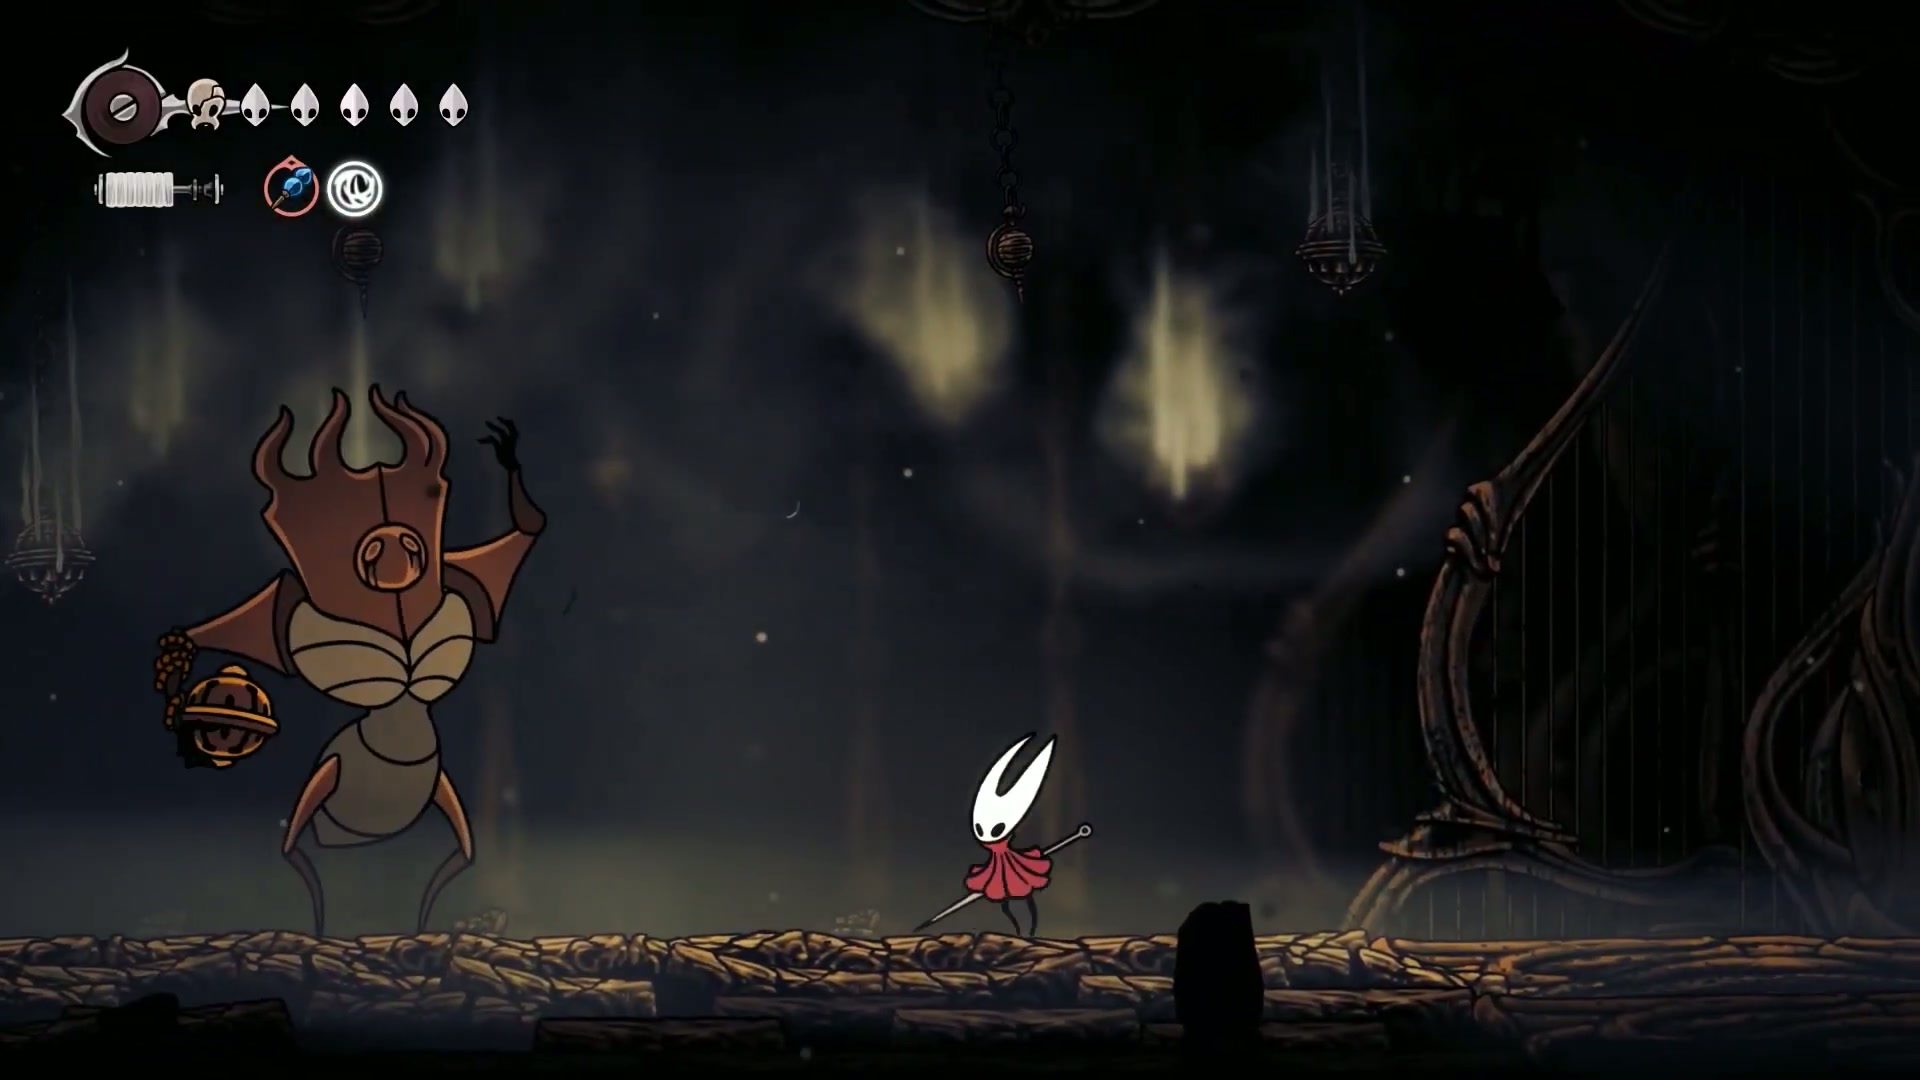
The boss has simple, telegraphed attacks. Stay in the center and react. If he jumps, he’ll either follow up with another jump or a wide spin attack (dash away). If he lunges, dash away. That’s it. Stay calm and punish his openings. -
Phase 2: Don’t Panic - Segment: 1:12:04 - 1:14:39
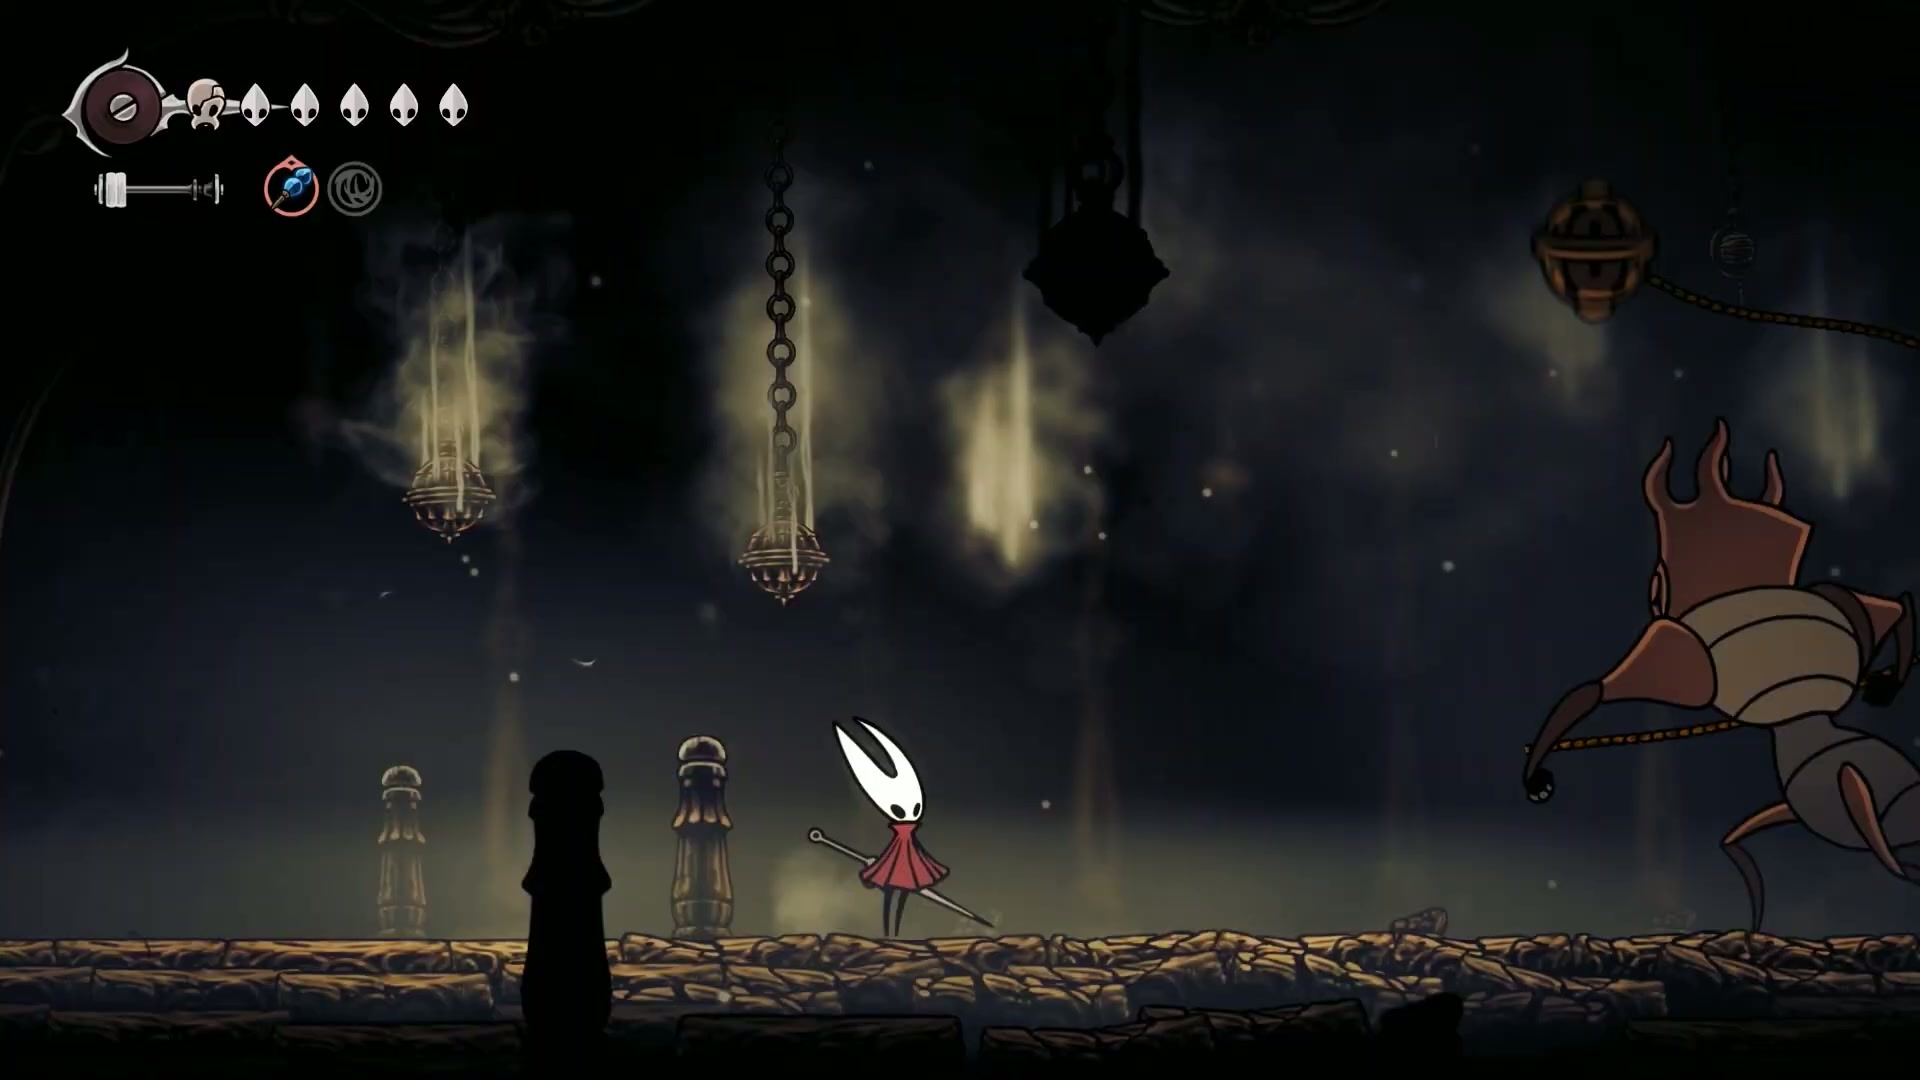
The attacks are the exact same, but now they have fire visuals. Don’t let it psych you out. There is only one new move: a charge across the screen. Simply jump over him when you see him gearing up for it. The best time to deal massive damage is when he sends a firewall across the ground—jump over it and unleash your Needle Strike or Threadstorm.
🎉 Epic Moments & Legendary Quotes

🔥 Most Hype Moments from the Content:
[21:18] - “I fucking hate this. I hate it so much.” (The raw pain of that one platforming section)

[1:13:20] - “Let me know if you think this is hard in the comments. I’m curious. […] I think a lot of people say this is a really hard fight. But I just don’t get that.”
[1:15:37] - “Oopsies!” (The perfect deadpan reaction to the elevator plummeting into the abyss)
🌟 Final Boss: Summary & Next Moves
Congratulations, you’ve officially survived Act 1 and stepped into the Underworks, the gateway to Act 2. We’ve cleaned up all missable content, defeated the final boss, and are perfectly positioned for the next leg of our Silksong Platinum Walkthrough Part 9 - 100% Completion Guide.
🎯 Key Wins You Just Unlocked:
- 🎮 Completed all wishes in Bellheart and Bone Bottom, securing progress towards the secret ending.
- ⚡ Defeated The Last Judge and officially progressed the main story into Act 2.
- 🏆 Acquired the Needle Strike ability, the Magnetite Dice tool, and found all missable collectibles and journal entries for Act 1.
🚀 Your Next Quest:
In Part 10, our mission is to navigate the treacherous, maze-like Underworks, reach the Citadel, and unlock the fast travel point that will allow us to return to Greymoor and tackle the alternate route for 100% completion.
💬 Join the Gaming Community!
🌟 This Guide Helped You Level Up?
Share the epic knowledge! If this Silksong Platinum Walkthrough Part 9 - 100% Completion Guide helped you conquer Act 1, spread the love!
🎮 Share Where Gamers Gather:
- 🎯 Discord Servers - Drop this in your #silksong-guides channel.
- 🐦 Twitter/X - Tweet your victory over The Last Judge!
- 📱 Reddit - Share this guide in r/HollowKnight and r/Silksong.
- 💬 Gaming Forums - Help other weavers master Act 1.
🔧 Found a Bug in Our Guide?
Help us patch this content! Spotted any errors or have suggestions to make this guide even more epic?
🛠️ Submit Feedback - Let’s make this the ultimate Silksong resource!
🏷️ Tags: #Silksong #SilksongWalkthrough #SilksongGuide #HollowKnightSilksong #TeamCherry #Gaming #PlatinumTrophy #100Completion #GamingGuide #ProTips #BossFight